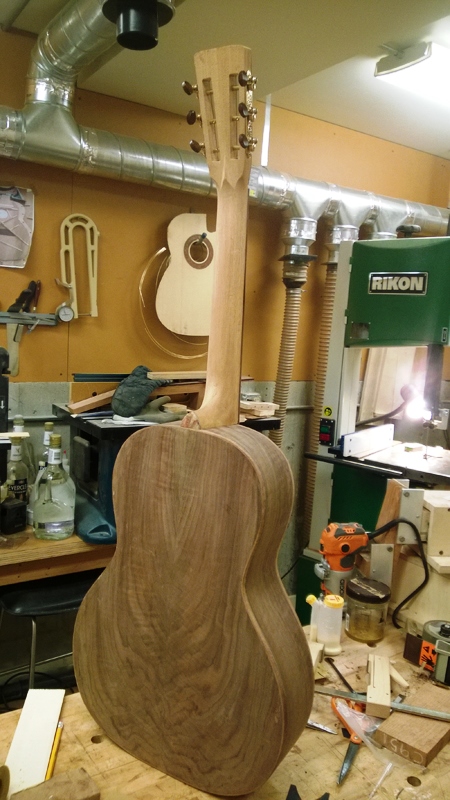
A bit more traditional this time. I am building a commissioned guitar that is going to be a surprise gift. For this guitar I decided to be more traditional than my last few builds. I have built a few of these 00 guitars, but this will be the first where I use non-scalloped braces.
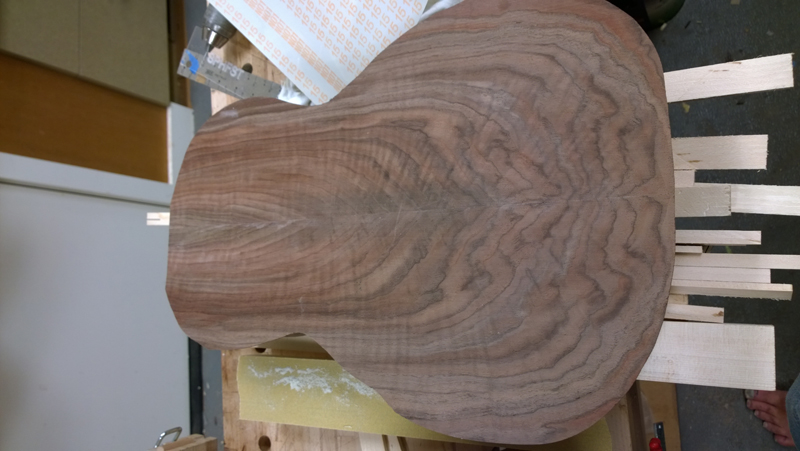
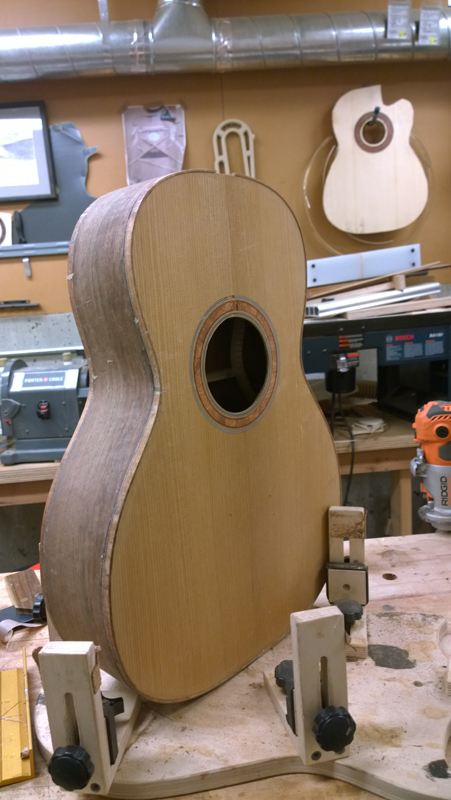
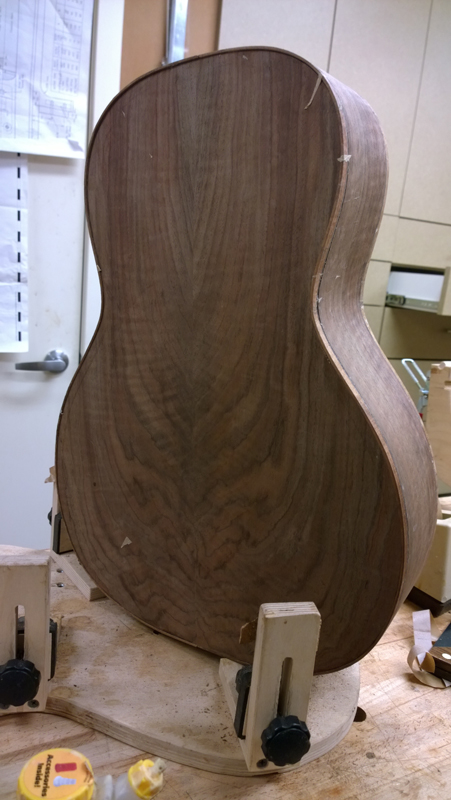
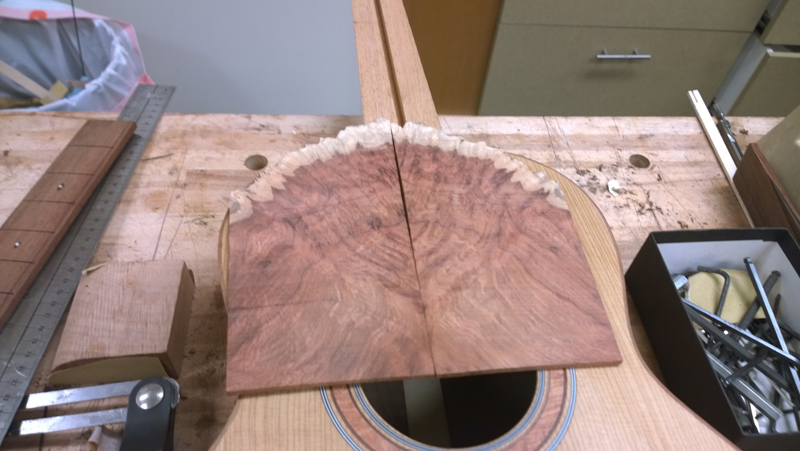
The Claro Walnut is beautifully figured, and the Torrefied Adirondack Spruce top has that warm, aged colour and stiffness that comes from the thermal treatment.
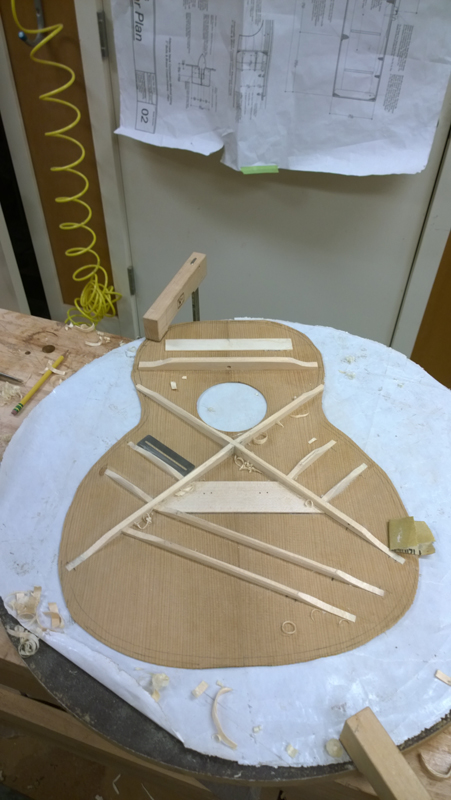
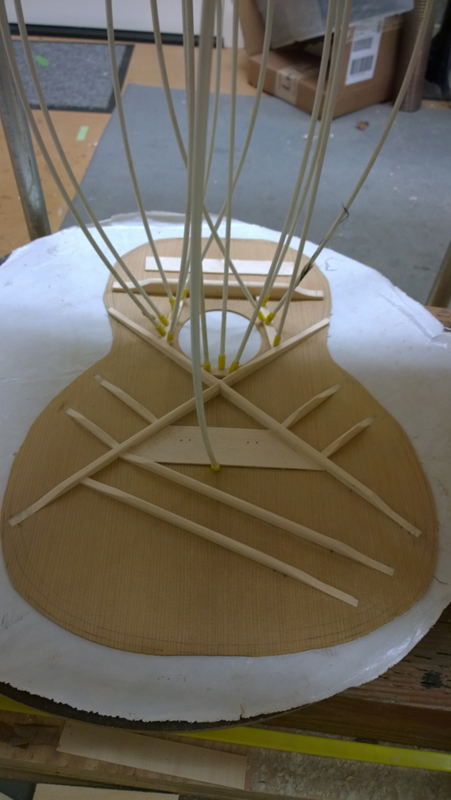
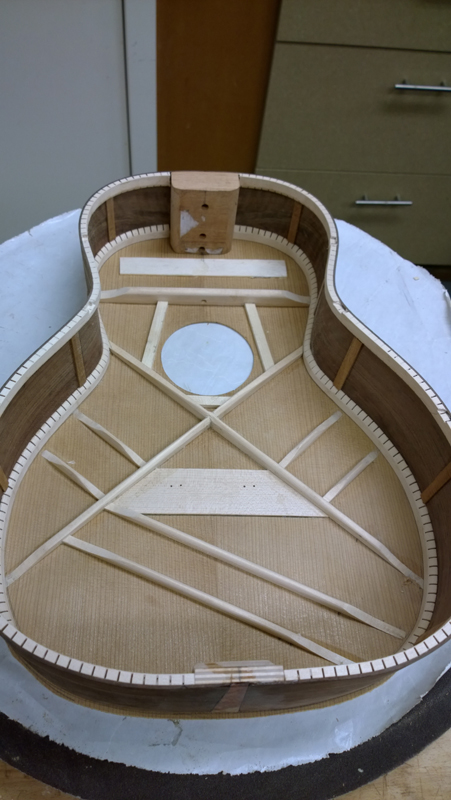
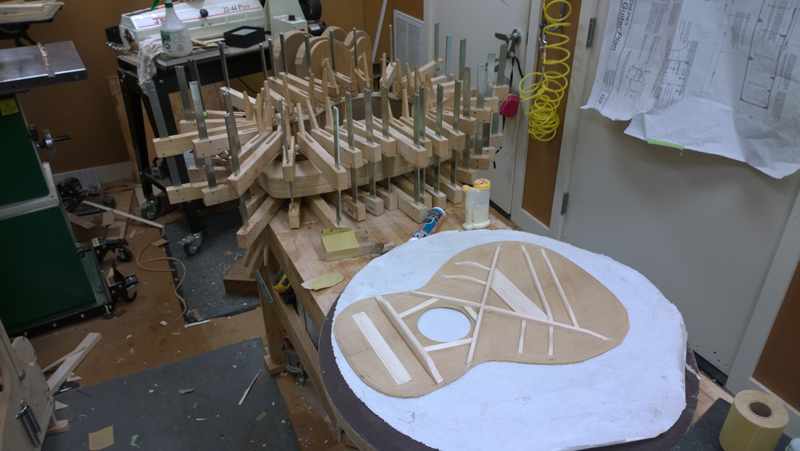
Why Non-Scalloped?John J asked about the brace choice. All my other X-braced guitars have been scalloped, and I wanted to branch out. Many good luthiers don’t scallop their braces. Scalloping emphasises the bass and treble response; non-scalloped braces tend to produce stronger high overtones and better perceived string separation. It’s a different tonal balance, not necessarily better or worse — just different.
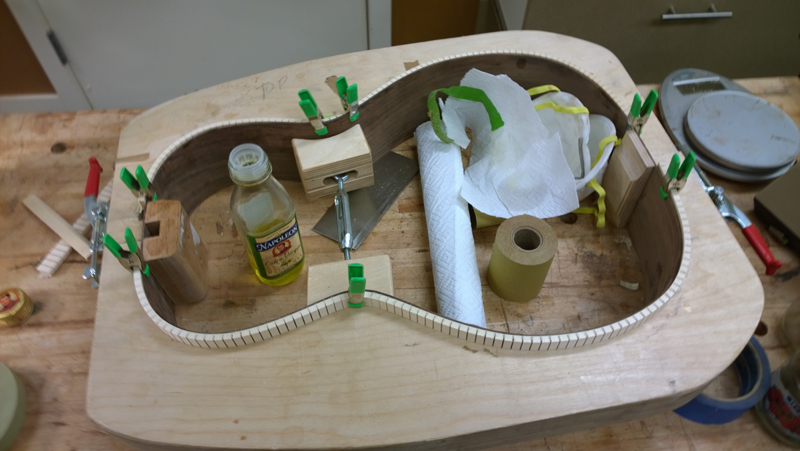
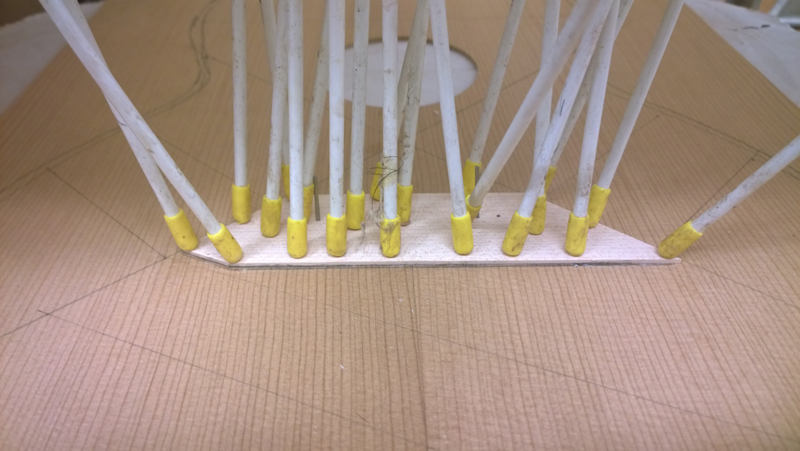
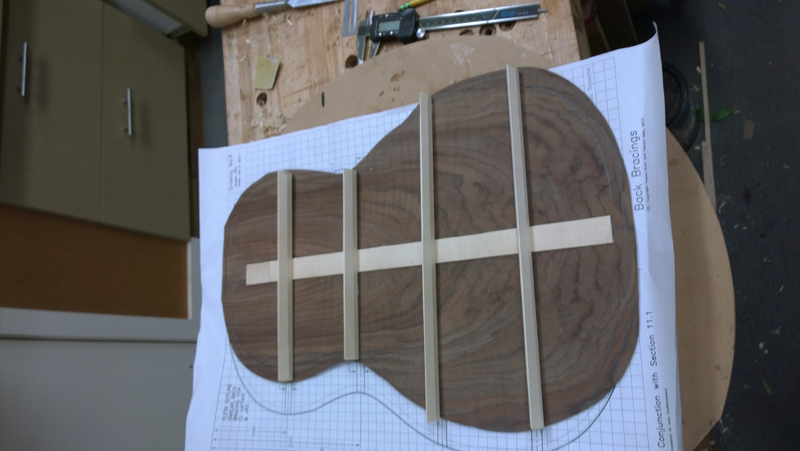
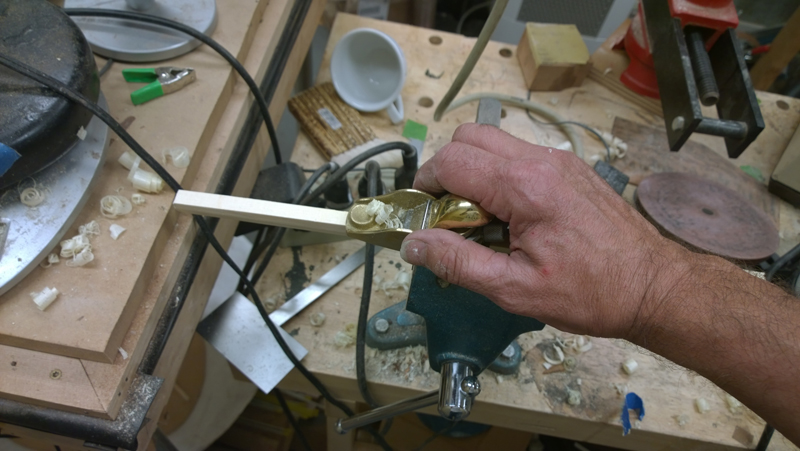
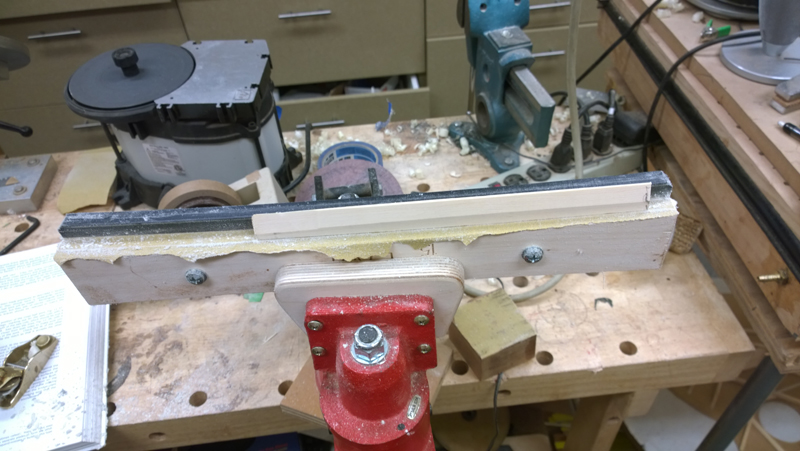
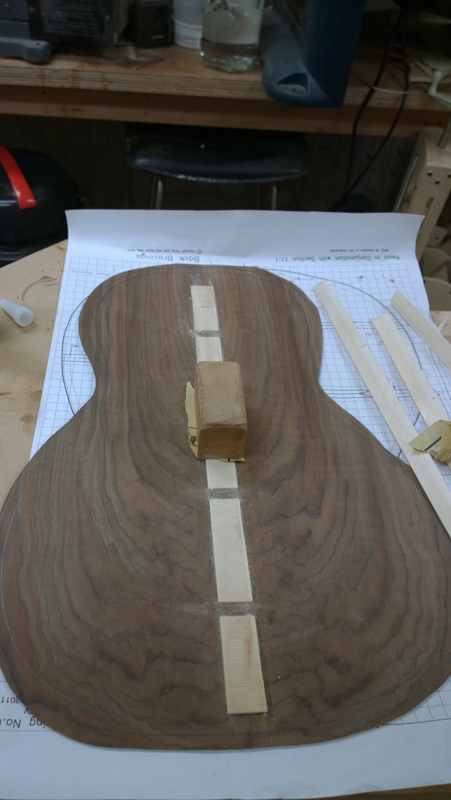
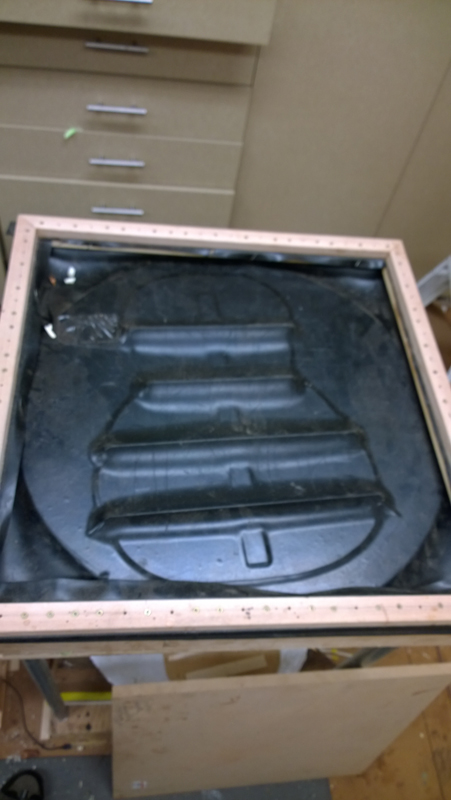
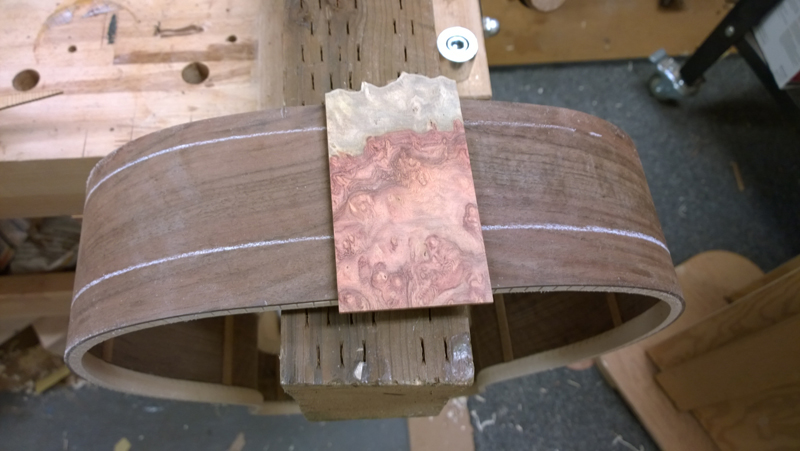
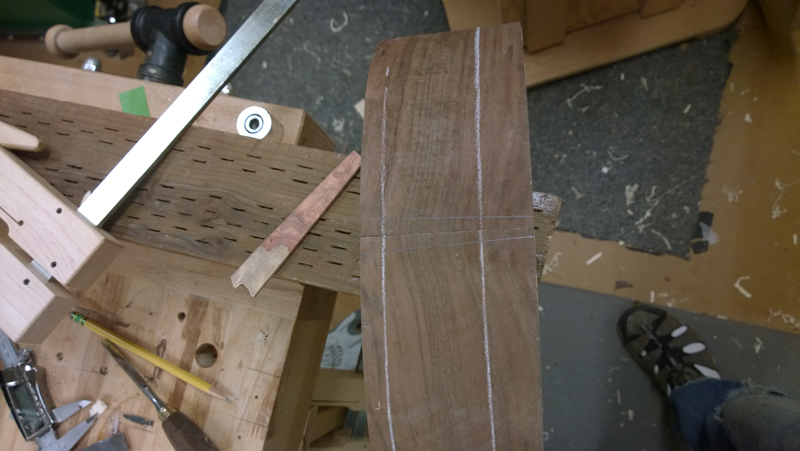
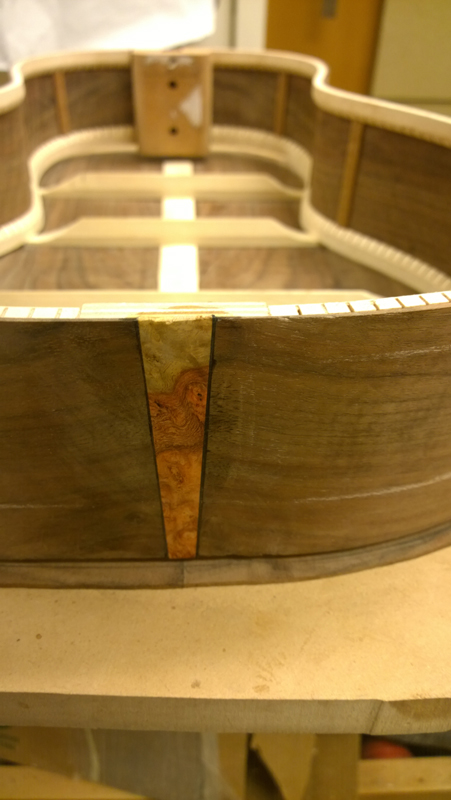
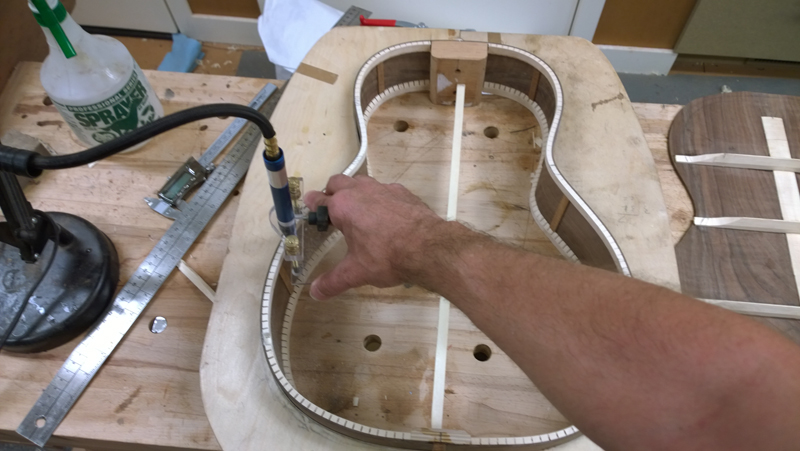
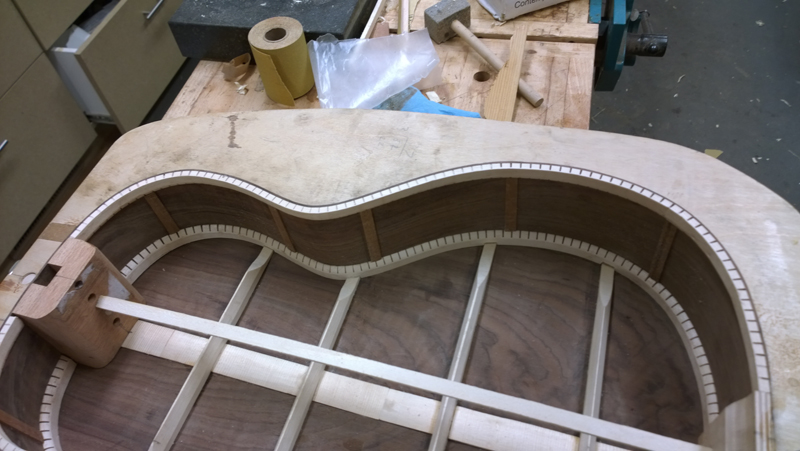
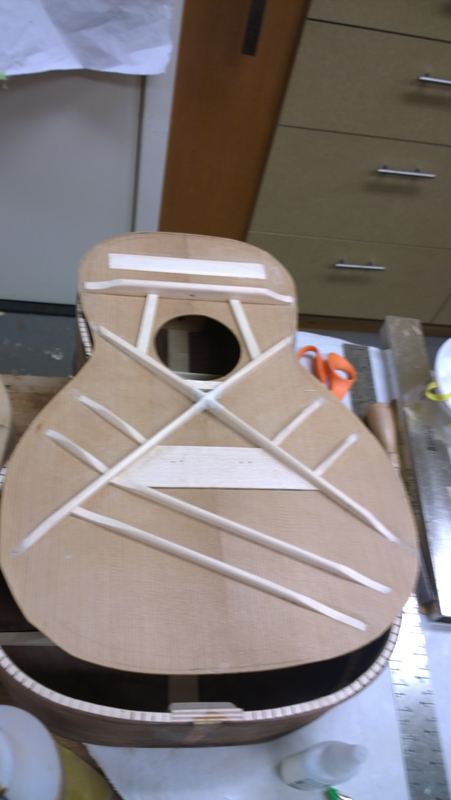
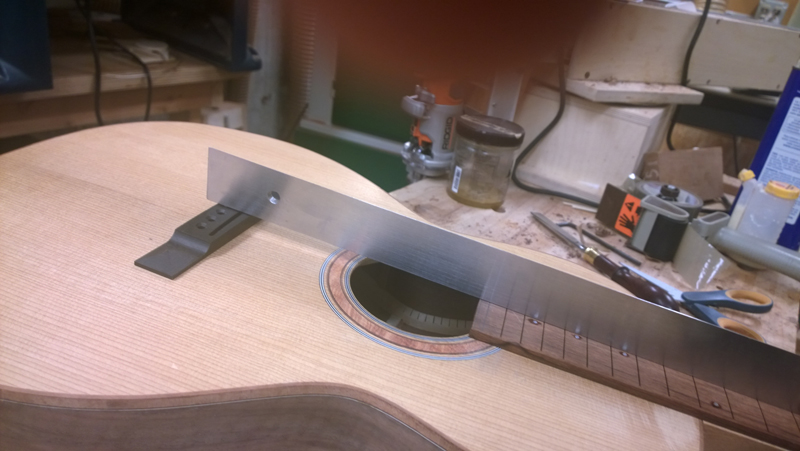
I used a plane and a radiused sanding jig to put a 15-foot radius on the back braces. Given that the braces were pre-shaped, I used my vacuum box to clamp them in place. I sliced off a bit of Amboyna for a tail wedge and installed it with some black fibre strips. I need to inlet for the braces top and bottom, but I am close to being able to assemble the guitar.
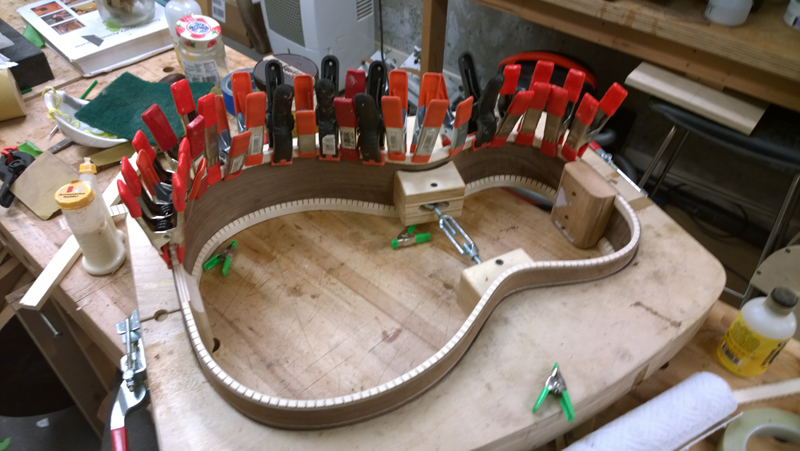
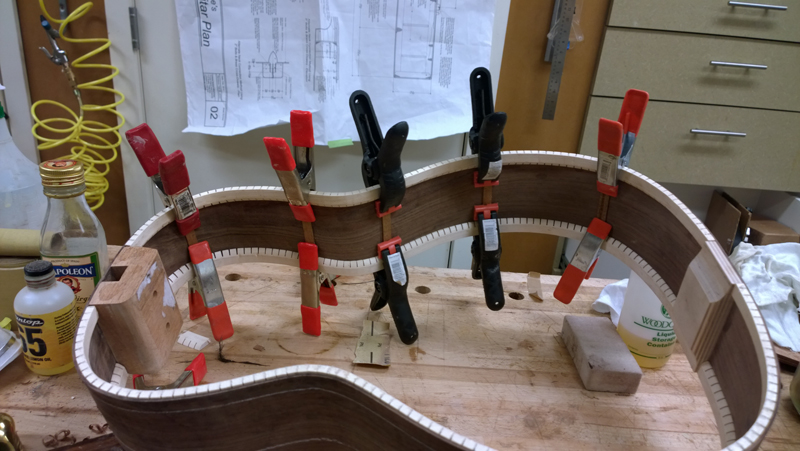
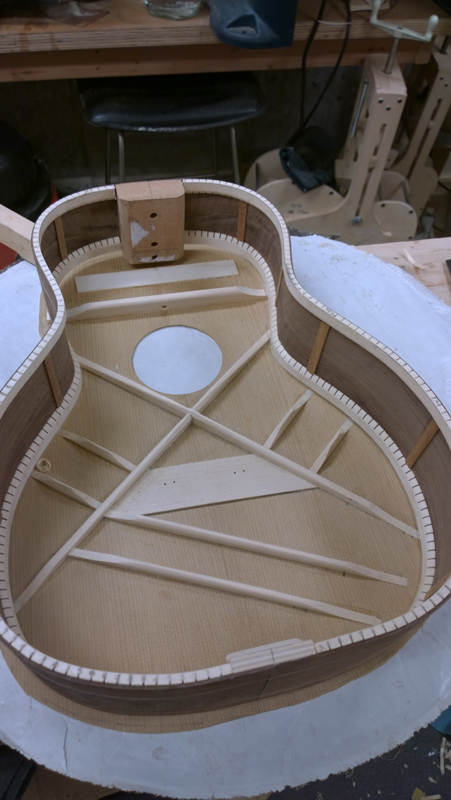
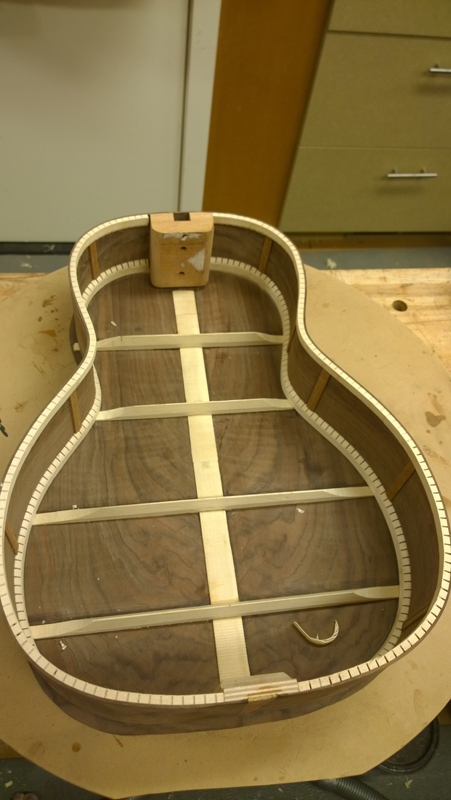
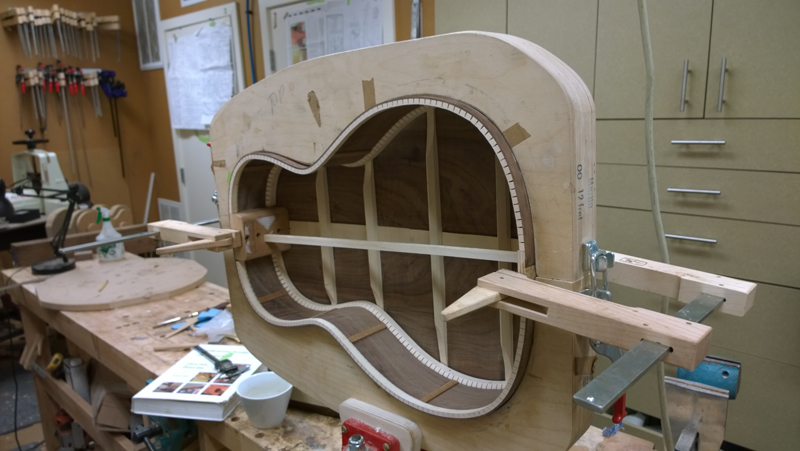
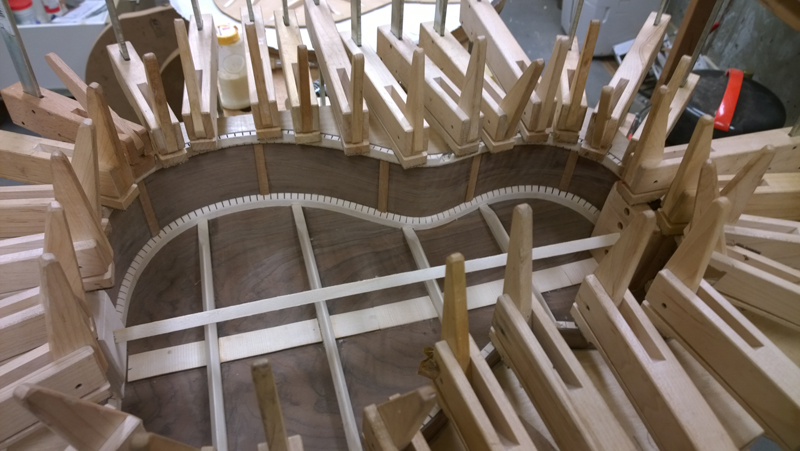
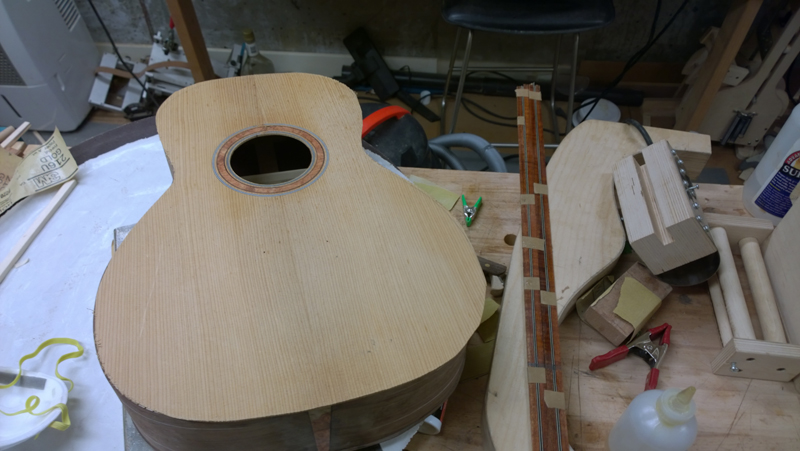
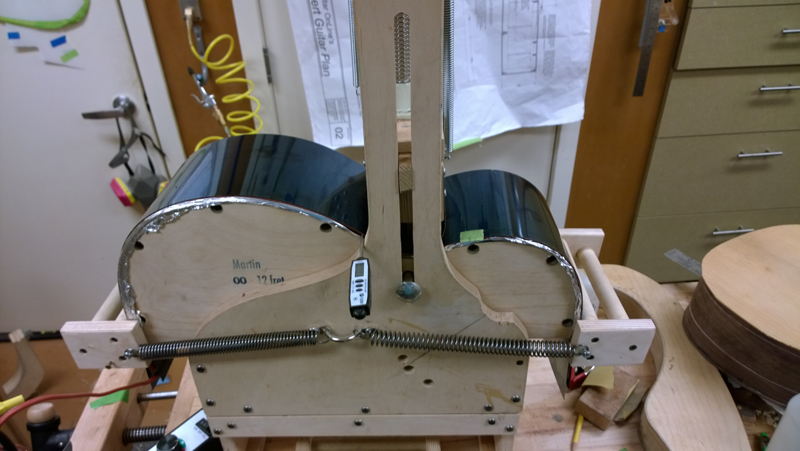
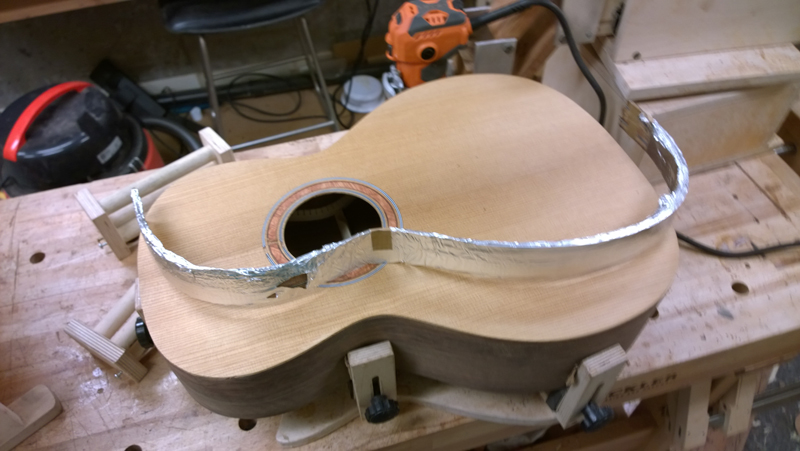
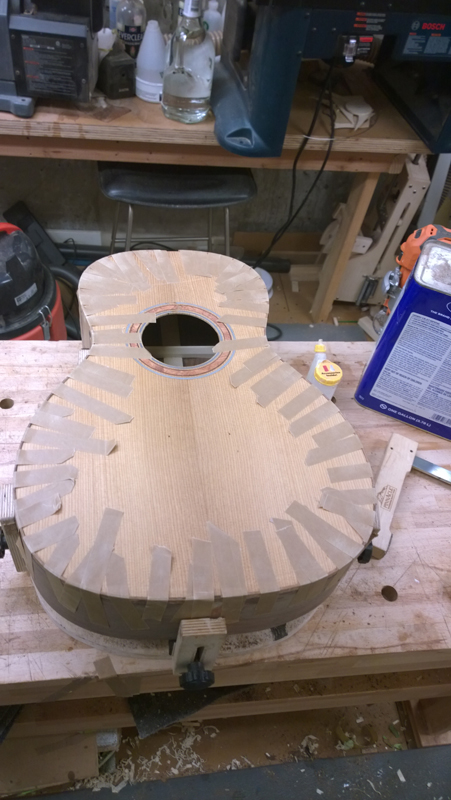
I managed to close the box this afternoon. I used a scalpel to mark out and a small die grinder to route for the braces in the linings. I used a bunch of clamps and glued on the back using the mould to keep the rims square. While waiting on the back glue-up I did a bit of prep on the top — clean-up sanding and gluing down a linen strip on the X-brace.
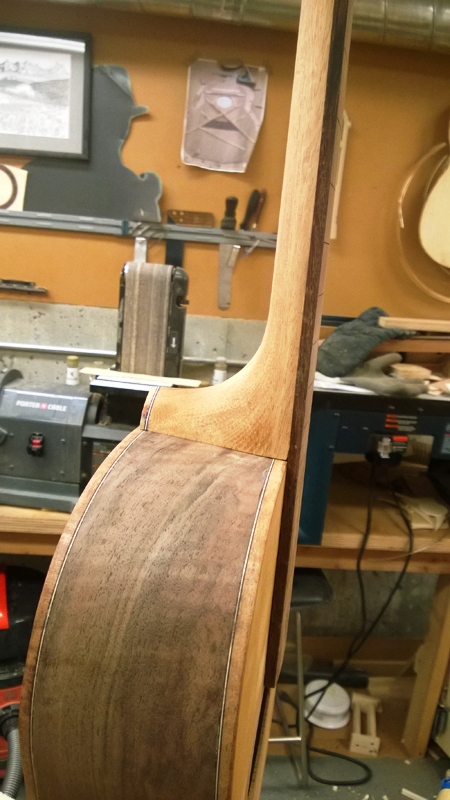
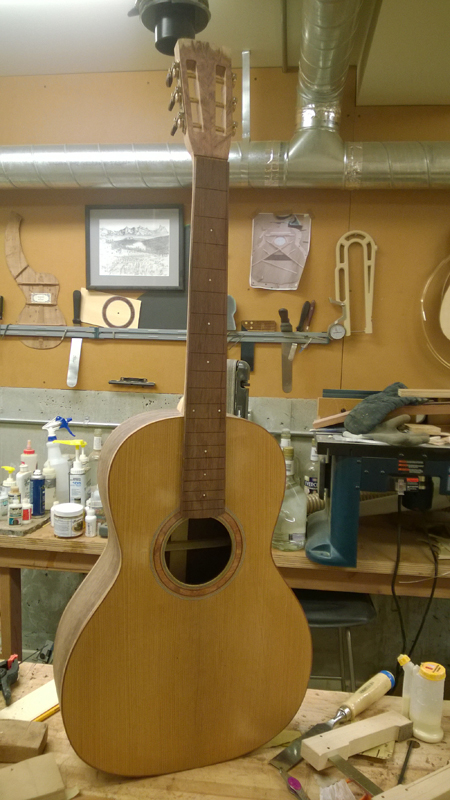
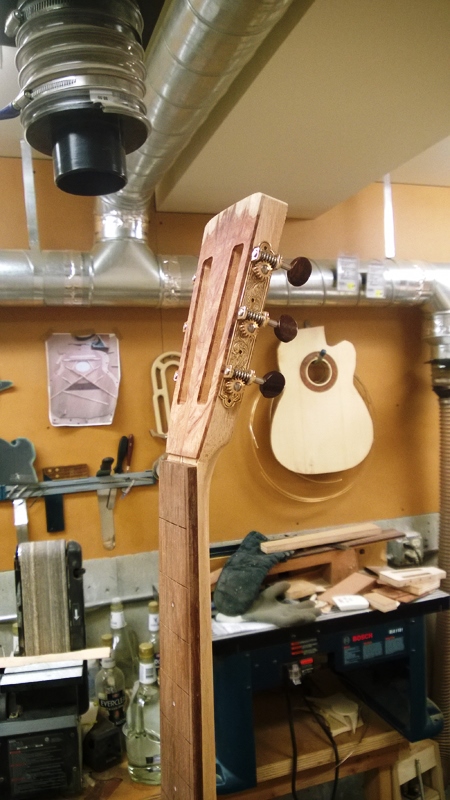
Well, by hook or by crook I got the guitar built and am ready to make and install my hawk-and-moon logo in the headstock and start finish-sanding. I bent four bindings at a time and fit them dry to the guitar — it went well on all sides as I took a bit of time making sure they fit before gluing them on.
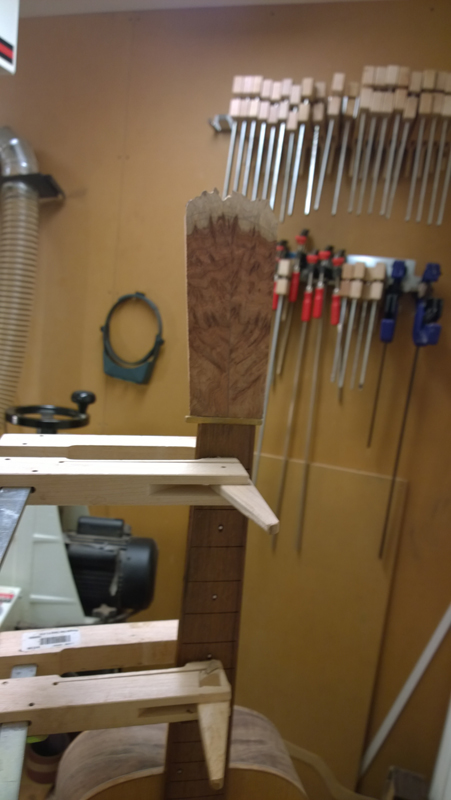
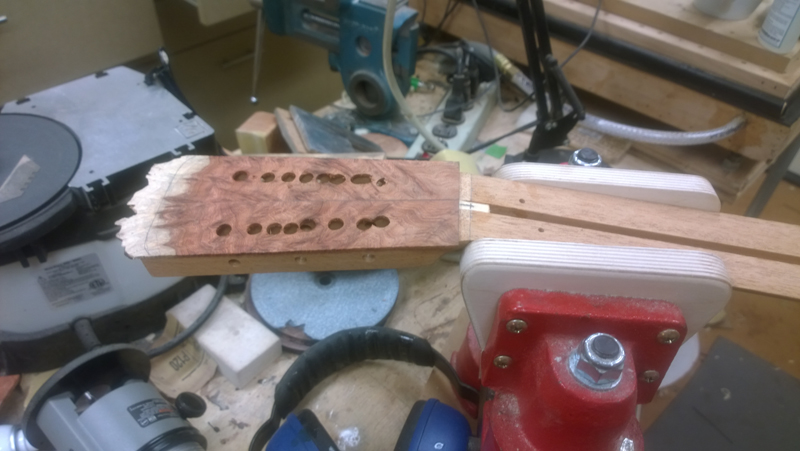
I used a pre-made neck on this guitar, so I just had to glue on the fretboard, shape the headstock, and fit the bolt-on joint.
Paul asked how many I’ve built — about 15 guitars and a few ukes at this point.
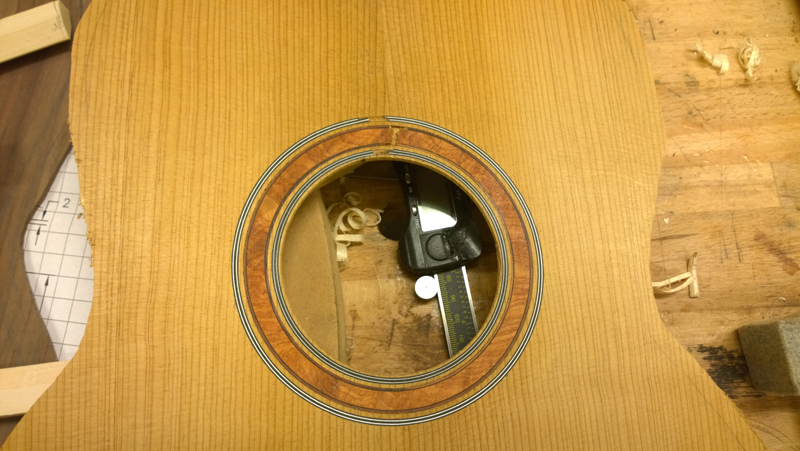
I have the body prepped. On my last guitar, well into a French polish of the top, I noticed a glue fingerprint flashing when I moved a light — absolutely invisible during finishing. I use a glue that fluoresces under black light, so this time before applying any finish I checked my surfaces with the black light and cleaned off any glue residue. Lesson learned.
Black Light Trick Using a UV-fluorescent glue and a black light to inspect for invisible glue residue before finishing. Any contamination will show up as bright spots under the UV light. Clean them off now or live with finish adhesion problems later.
While waiting for the Zpoxy to cure, I cut out my hawk-in-moon logo. I am getting faster at this — the parts fit as soon as I am done cutting now. Over time, keeping the blade perpendicular to the pearl becomes second nature and I just focus on following the line.
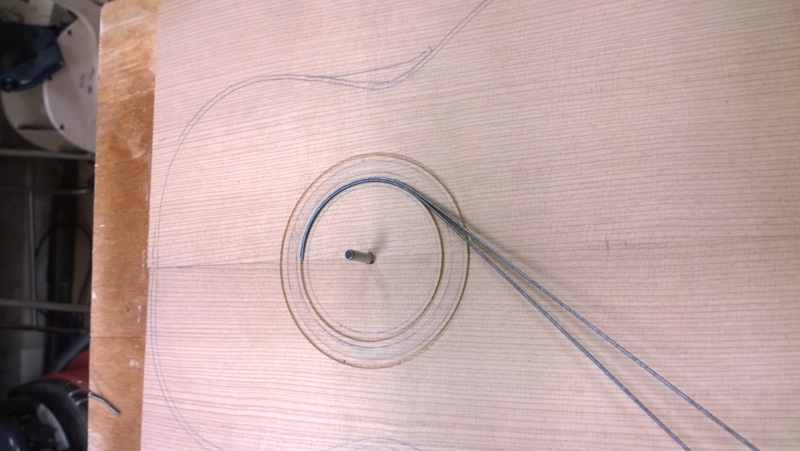
I finished my prep work and have sprayed my first coat of EM6000, a water-based lacquer. My prep was Zpoxy pore fill followed by a wash coat of blond shellac. In between, I spent time looking for gaps — filling binding gaps with shellac and sawdust, and rosette gaps with thick CA glue. All of these gaps were very thin, but I have learned that thin gaps show up under a glossy finish.
I finished spraying and let it rest for five days per manufacturer instructions. I placed the bridge and used a scalpel to mark out the bridge location and fretboard extension. I did this before any level-sanding, as I have learned I end up marring the finish during that process.
Dave asked if the bridge clamp mars the surface. It doesn’t — I use a vacuum clamp with a rubber pad, so there’s no point loading that could dent the finish.
Kevin asked about my level-sanding technique. I use 3M purple clean-sanding discs with my random orbital sander. I’m sanding EM6000, which after it cures sands dry and powdery — no clogging. I change the disc when the abrasive wears down and sand to P800 before buffing.
Dry vs Wet SandingI always wondered what wet sanding was all about as I always sanded dry. Kevin noted it doesn’t seem to matter how long he lets other finishes cure — they still gum up the paper. The difference is EM6000: once cured, it sands dry and clean. That makes all the difference.
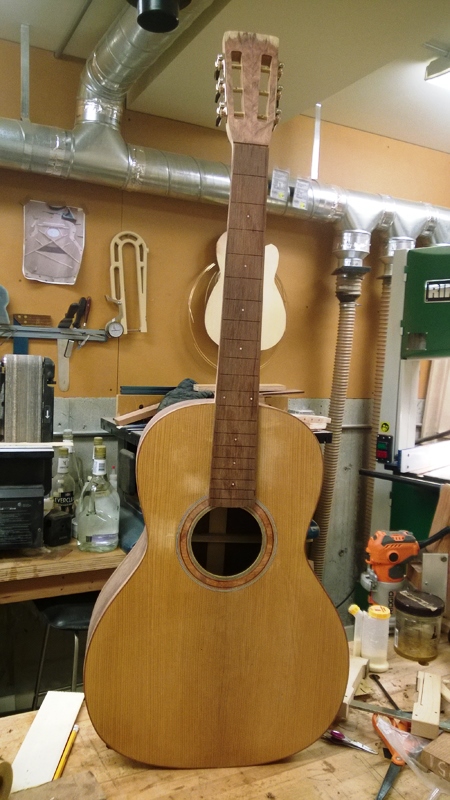
The guitar is all strung up. I have done no setup work yet as I like to wait a bit, but I made the nut and saddle so that they are close to final. The instrument sounds OK for the first ten minutes strung up — give it time.
Torrefied Top & Glue Dave followed up months later asking about bridge glue on the torrefied top. I used LMI instrument glue for the braces and the bridge. A nephew of mine has this guitar now and everything is still intact. The tip with torrefied wood: leave things clamped longer, as it takes longer for the moisture in the glue to penetrate the thermally treated wood.
Specifications
Style12 Fret 00
BracingX-Brace — Non-Scalloped
TopTorrefied Adirondack Spruce
Back & SidesClaro Walnut
BindingsEbony
RosetteAmboyna Burl
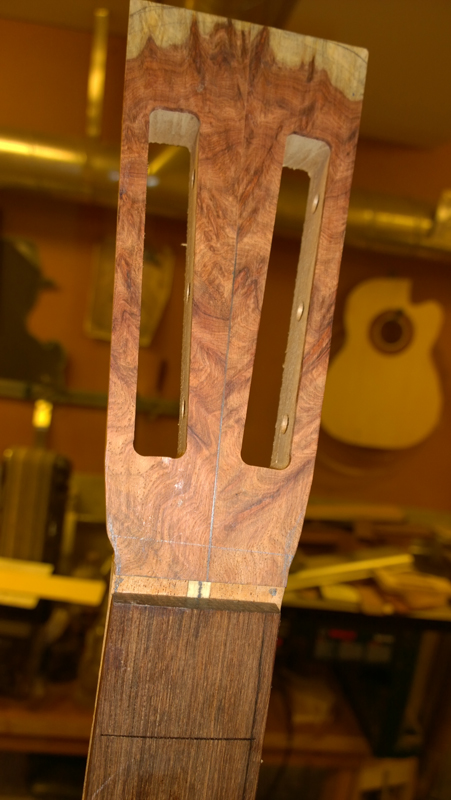
Headstock VeneerAmboyna Burl
LogoMOP Hawk in Moon
FinishEM6000 Lacquer over Zpoxy Pore Fill
Built AsSurprise Gift (Commission)
Build PeriodJuly – August 2015