African Blackwood Classical Guitar
July 19th 2013 ---- Making a Classical Bridge
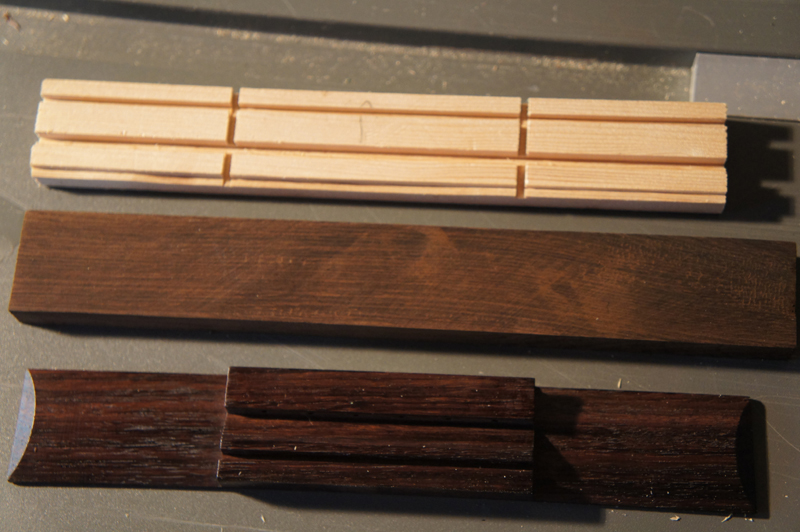
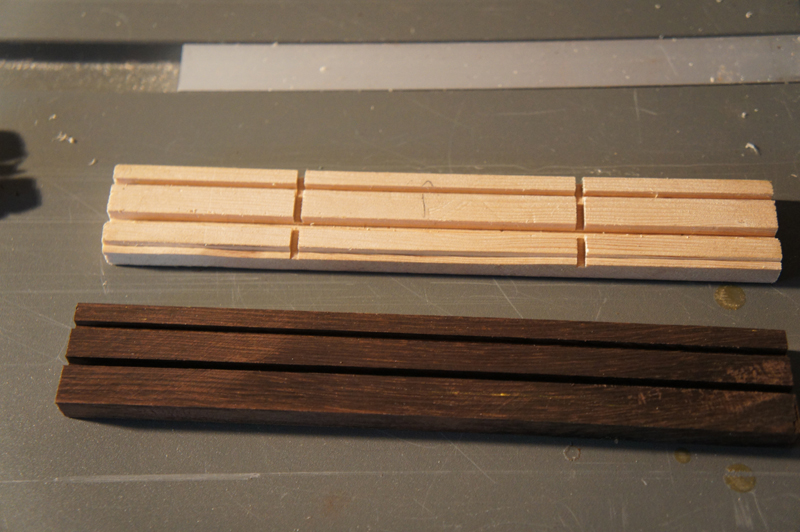
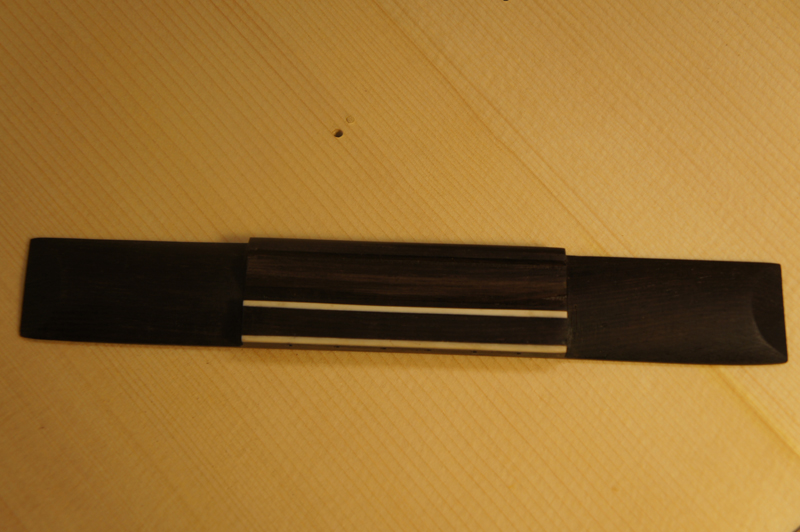
I have never carved a classical bridge before and I had a nice block of Brazilian Rosewood so I thought I would give it a try. You can see in the picture below I also had a back up from LMI made out of East Indian Rosewood. I asked LMI to give me there darkest EIR bridge. Before trying to carve the bridge I watched Robbie O?Brien?s lesson on it.
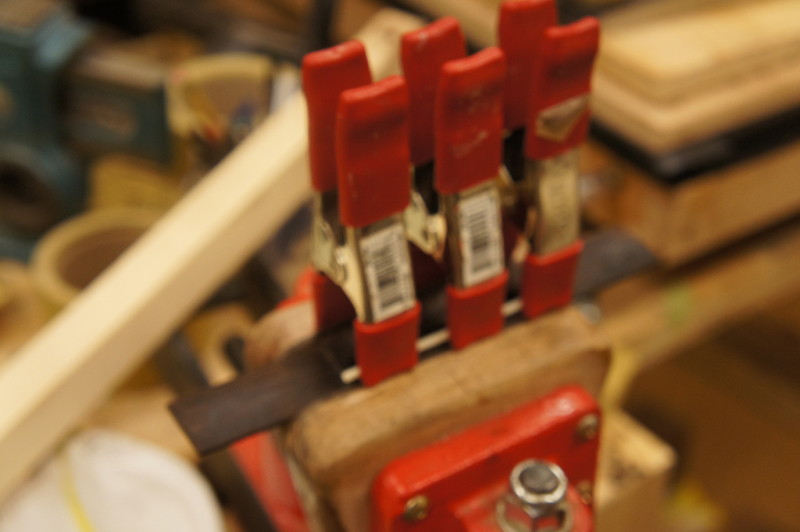
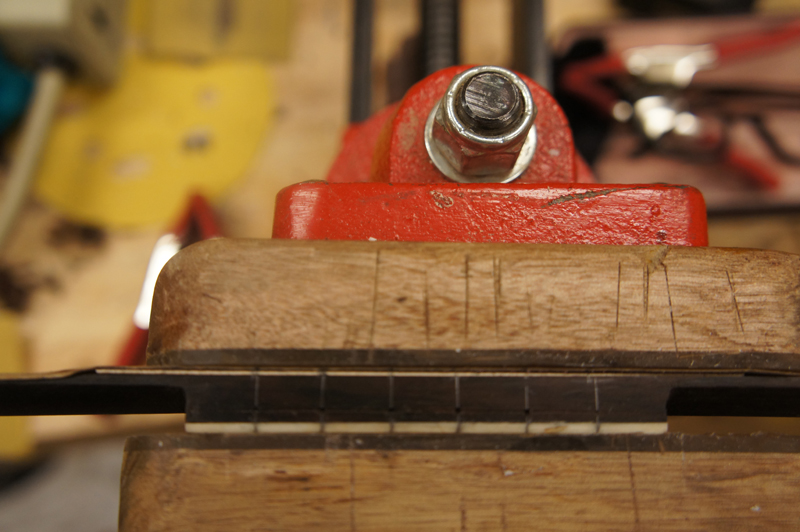
The first step was to take the time to build a cutting jig. This jig served a couple of purposes, it forced me to setup my circular saw and practice a bit before I hit the BRW. I used the LMI bridge as a guide for the placement of the cuts. The blade is just a bit wider than 2mm. It is a good kerf for the saddle. It is a high quality blade. From top to bottom a 3mm cut for the saddle, a 4 mm and a bit cut for the valley between the saddle block and the tie block and two 2mm deep by 2 mm wide cuts on the tie block for a bone strip. I also have 2 horizontal cuts the same depth as my valley cut to mark the wings.
The jig is handy as I can use it to set the fence and the depth of cut on my table saw.
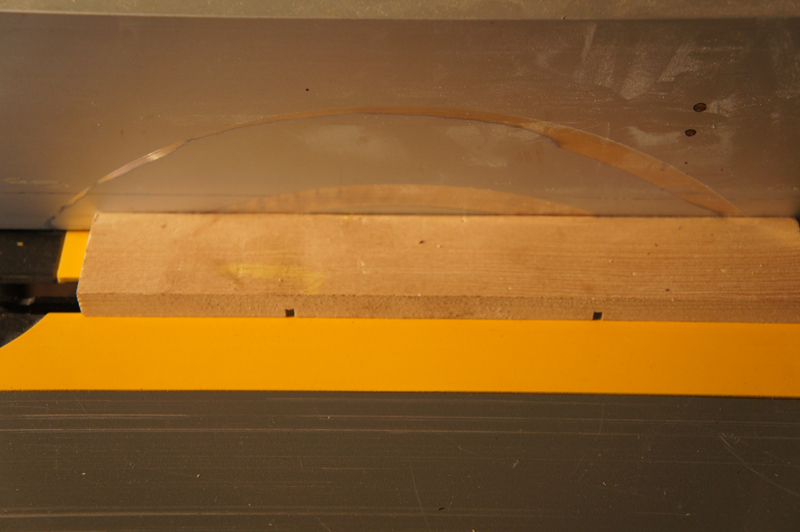
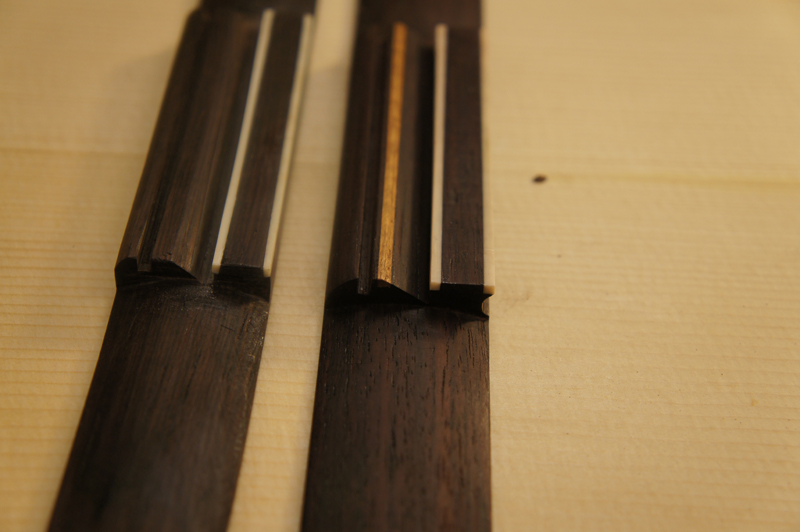
Once set it is an easy cut on the bridge blank, you can see going from using the original to set the fence and then using that location to cut my cutting template, I got pretty close to the original.
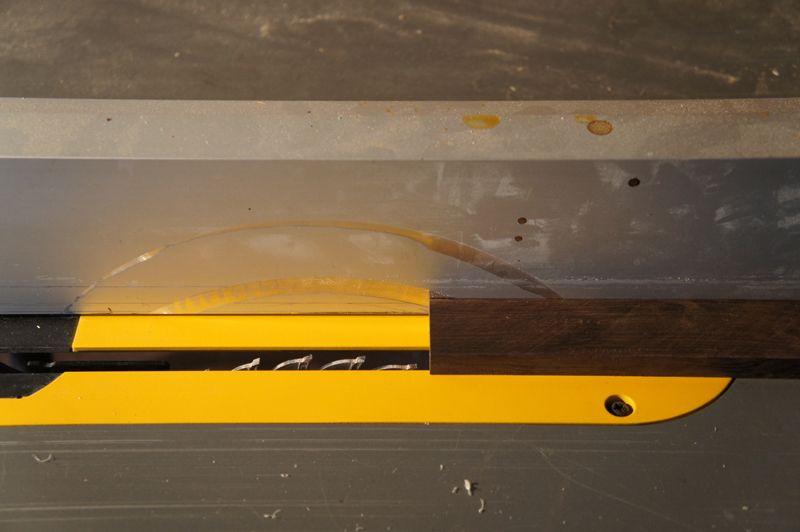
I cut the saddle first at 3 mm and reset the height of the blade for the valley cut and followed with the same height for the wing cuts.

I actually just eyeballed the two cuts for the bone strip.
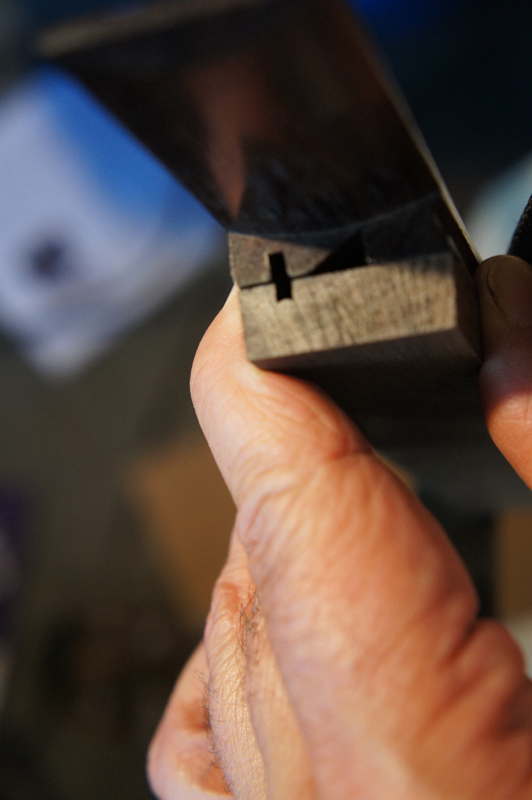
To make my life a little easier I used the band saw to take off a bunch of the wood. I also found a cheap Nickelson two sided rasp with a safe edge that I never liked for carving necks but was a dream for this job. I thought I was going to have to go at it with a mill file like Robbie did.
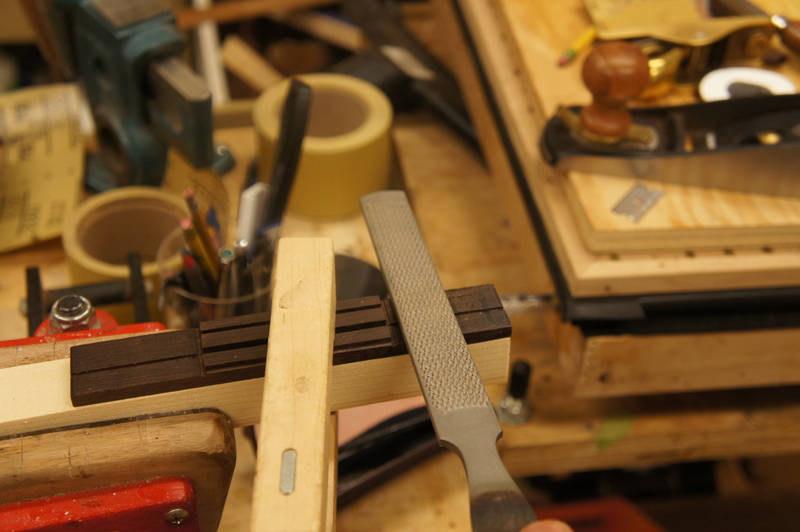
I basically just carved a curve until I went past my cut depth.

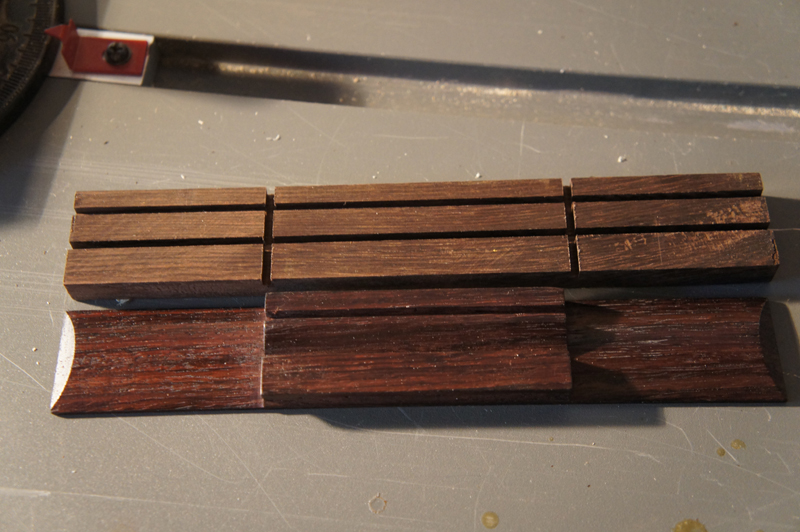
Here are the two rough carved wings/
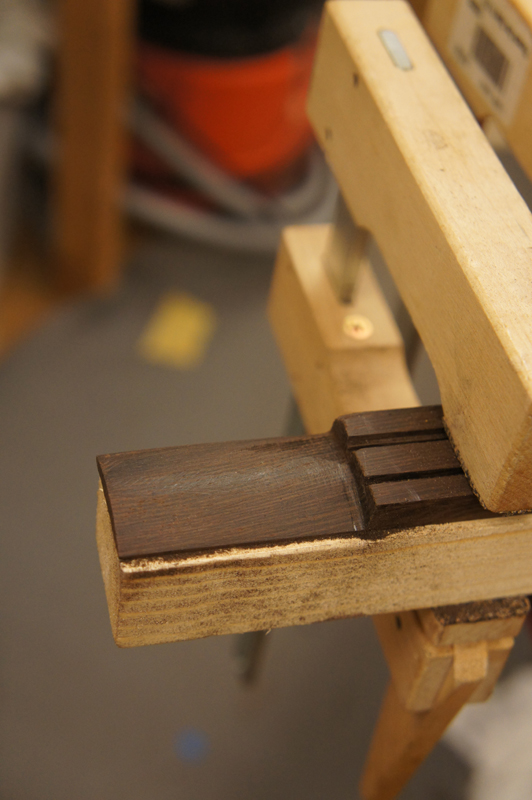
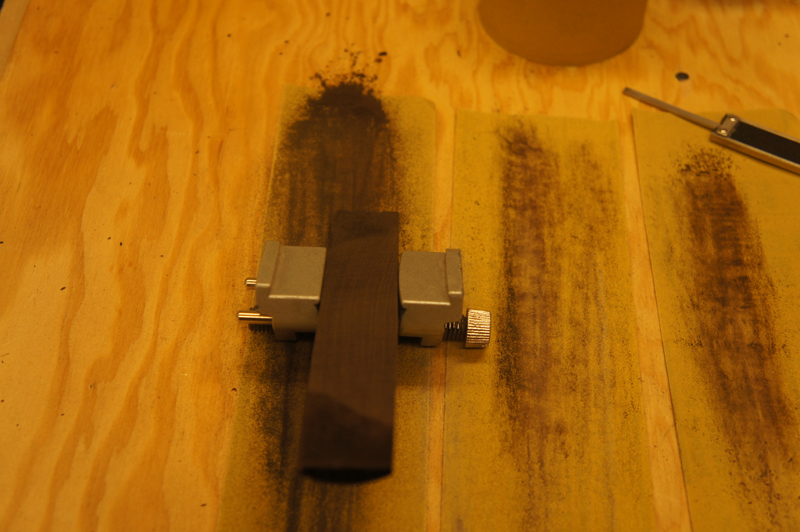
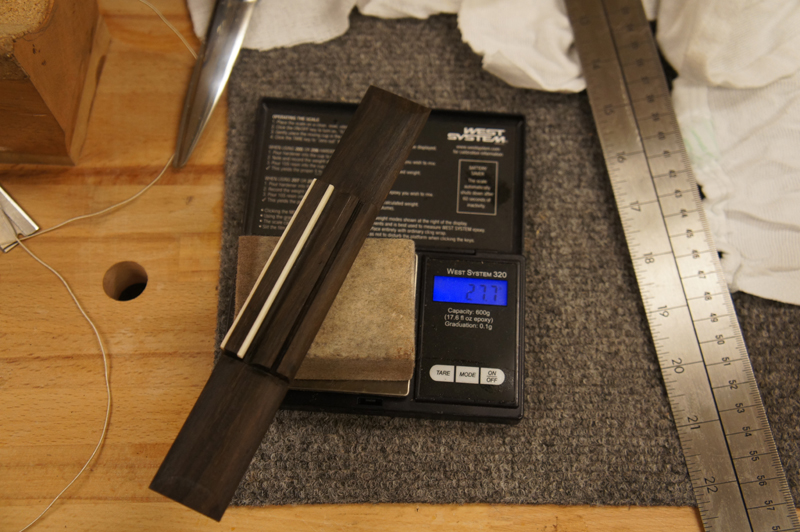
I wish I had better pictures but I carved the valley with a sharp chisel, I was afraid of this step but it was easy, the BRW (in the right direction) cut like butter. I also rounded the top side of the saddle block and glued on the bone strip. Gluing the bone strip ended up being the hardest operation.
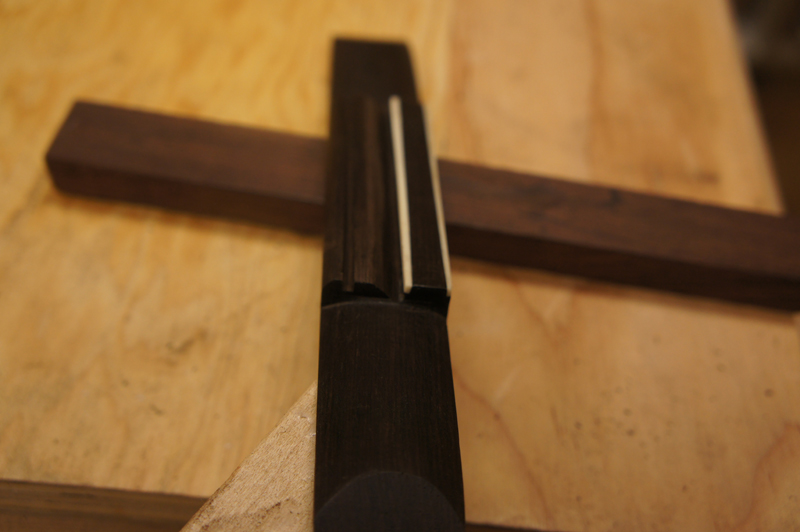
On the left is my still rough carved bridge; on the right is the modified LMI bridge. Don?t ask about the nice strip of Tasmanian Blackwood, lets just say look twice to see what side of the bridge is on the fence when cutting for the bone strips.
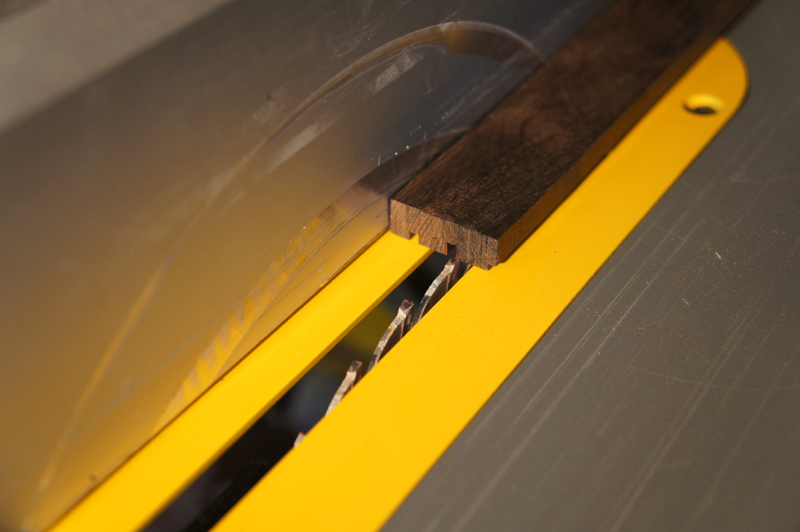
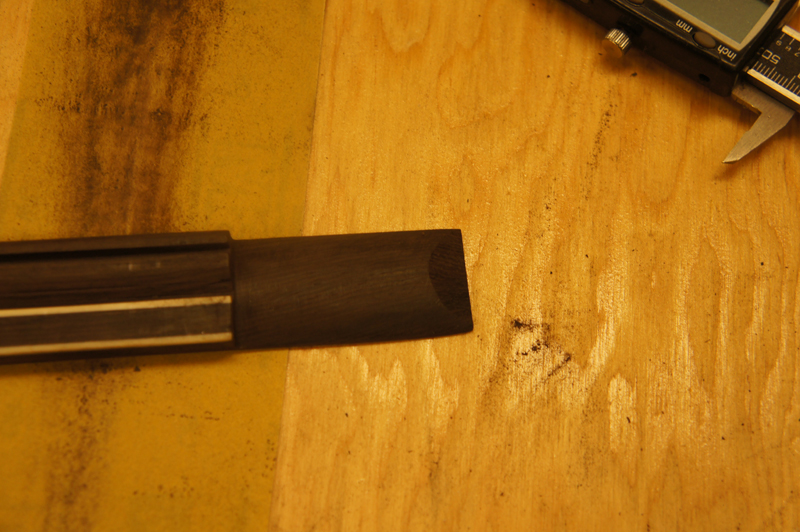
This beveling trick came from Robbie O?Brien?s course. I had used a chisel on my harp bridge.
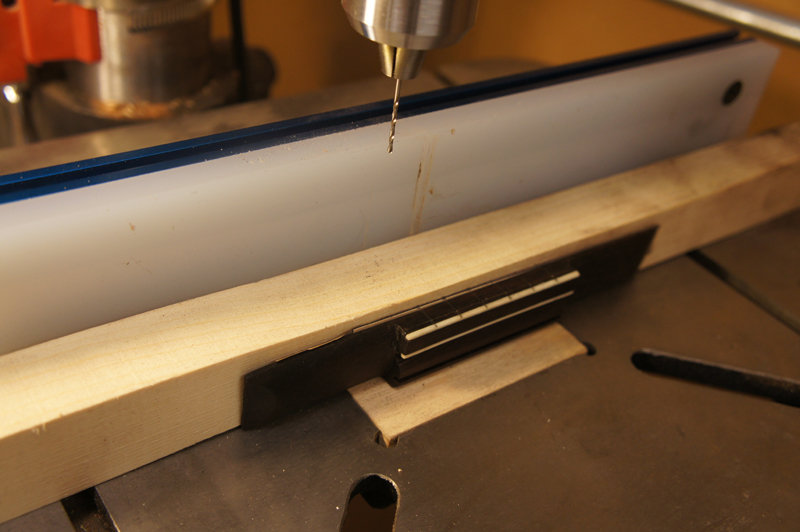
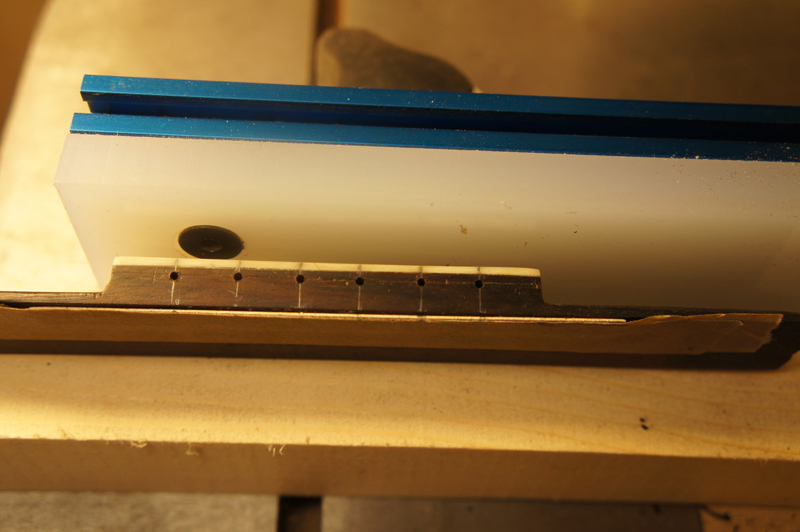
I took the hole pattern from the Hauser?s 1943 plan that Jeffrey Elliot drew for the GAL. I have not drilled yet but I did center punch each to the holes as thin bits wonder even in a drill press.
Looking at my setup on the drill press note the taped on purfling strip. It is there to run the hole at an angle so that I can drill in the center of the tie block but miss the bone on the other side. Not shown is when drilling the bridge was on the brace stock pushed against the fence.
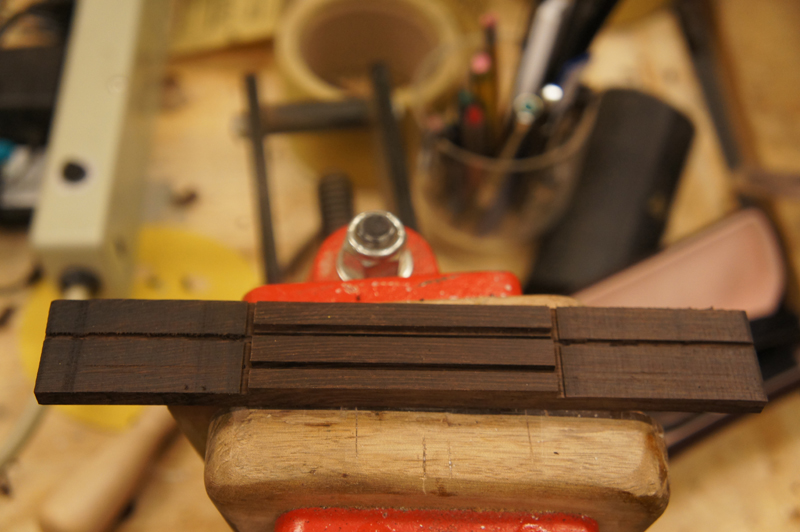
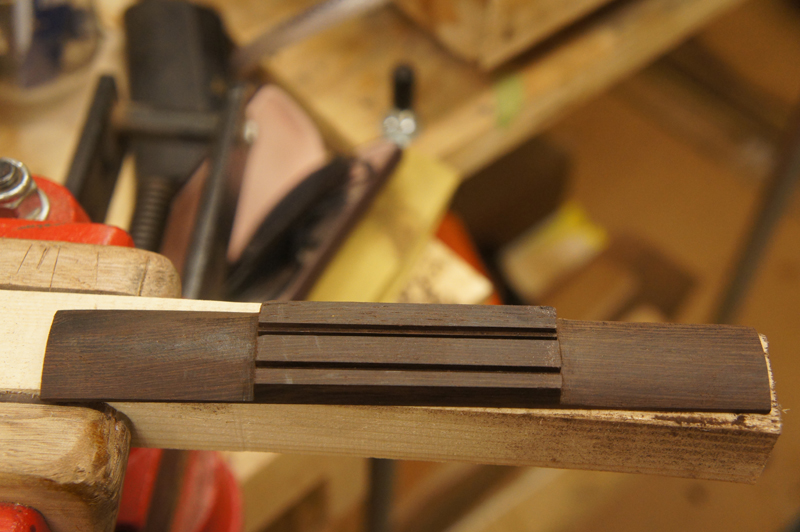
I still have some sanding but over all I am happy with the result
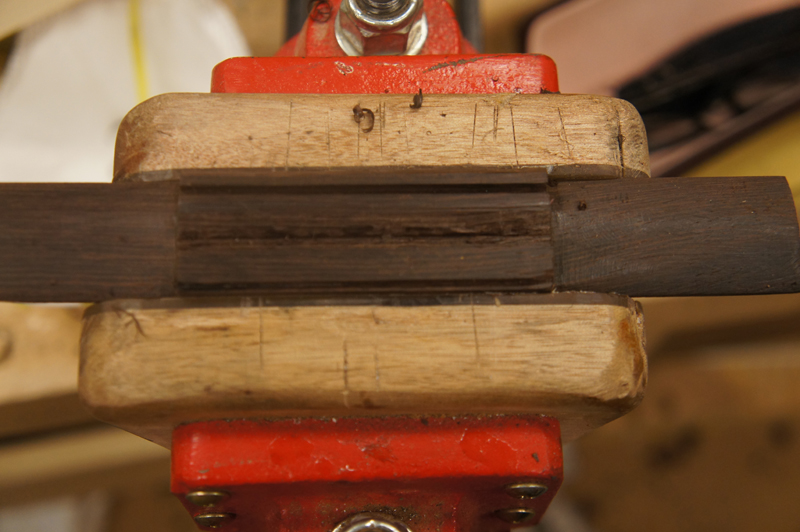
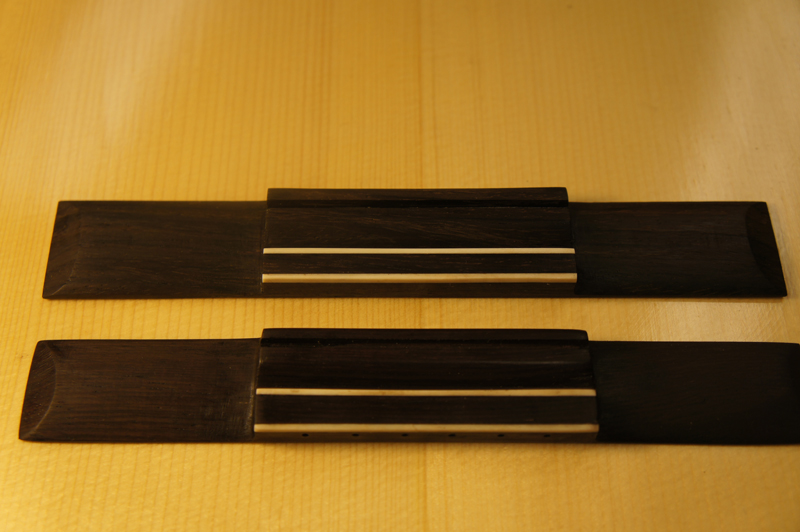
I went through the process a second time; if you look closely at my "old bridge, you can see a slight taper on the wings. I had nicked a courner and had fixed it with the taper and made the bridge symmetrical. but I could not really let it go so I pulled a new blank and carved my second bridge without the compromised wings. You can see the comparison below.
Next Page
| 