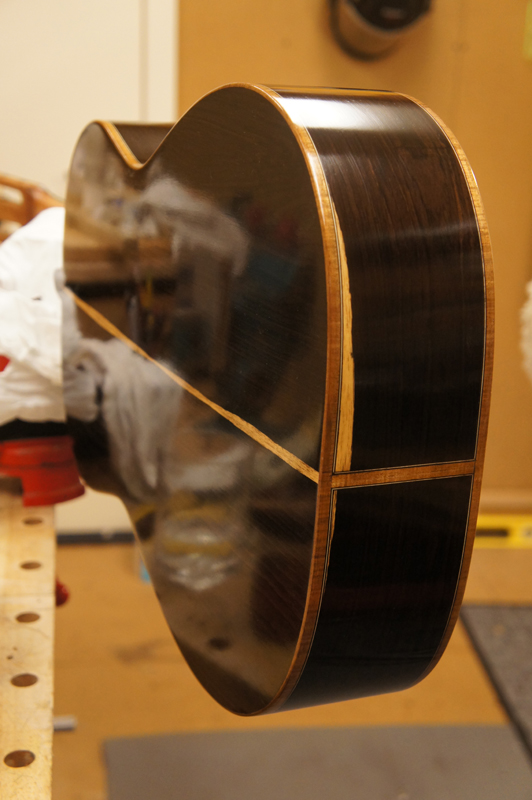
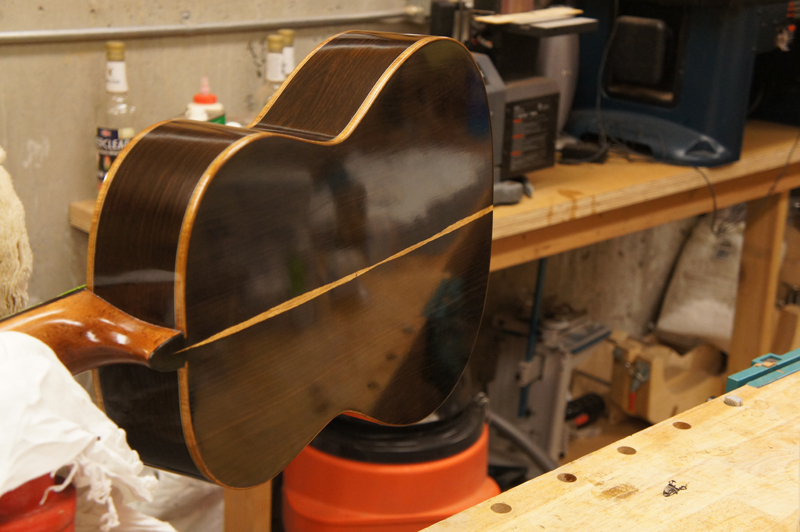
African Blackwood Classical Guitar
July 20th 2013
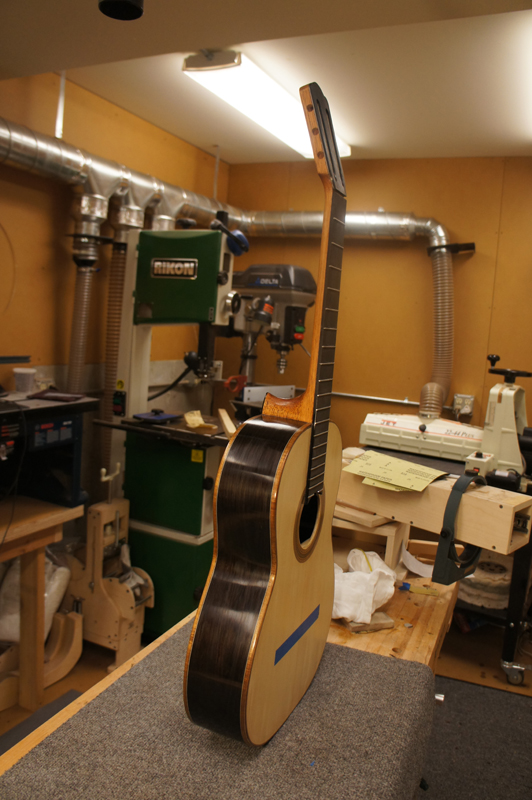
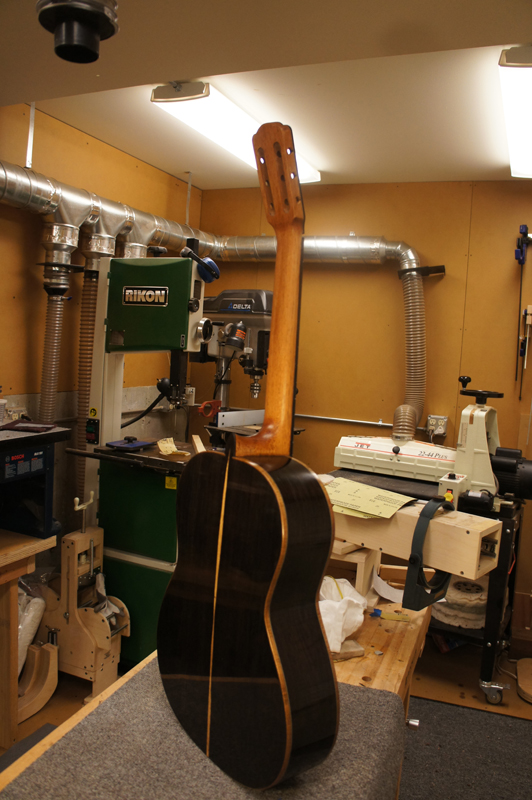
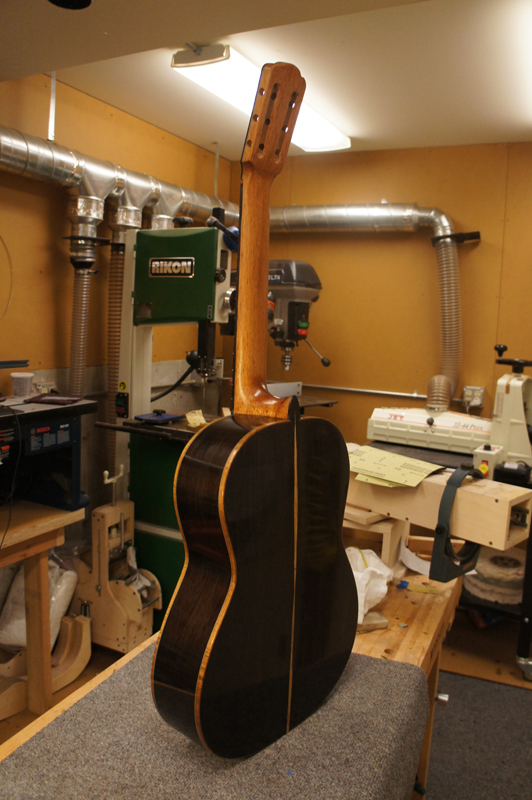
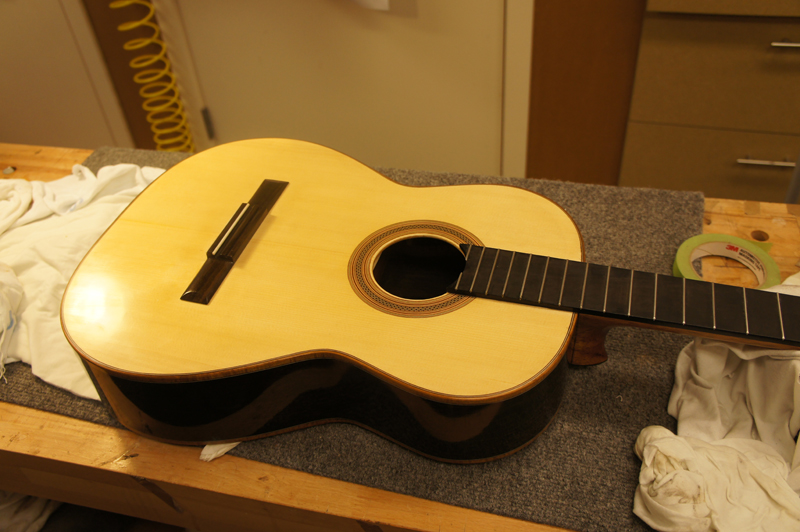
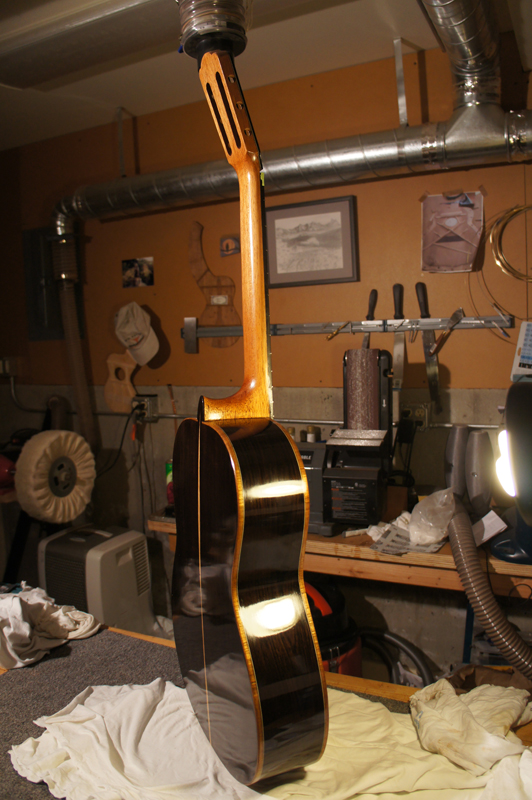
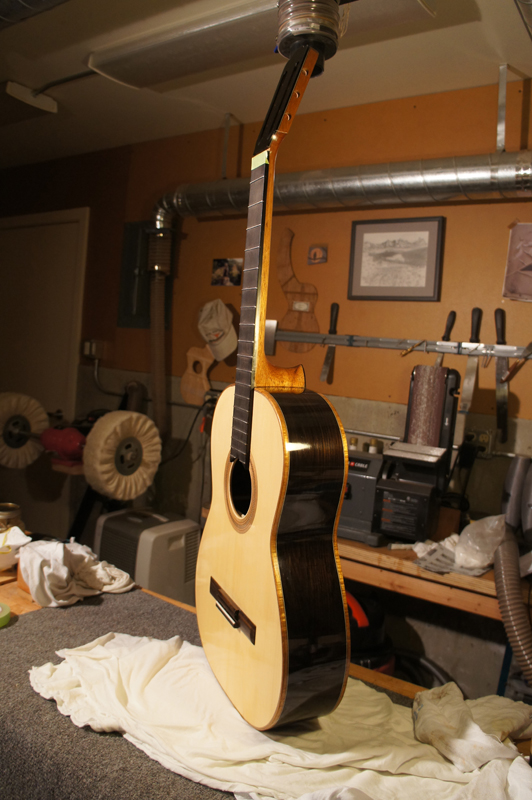
I still have a bit of FP to do on the back and sides but I thought I would place the bridge, fret the guitar and prep the top for FP before I went back to finishing.
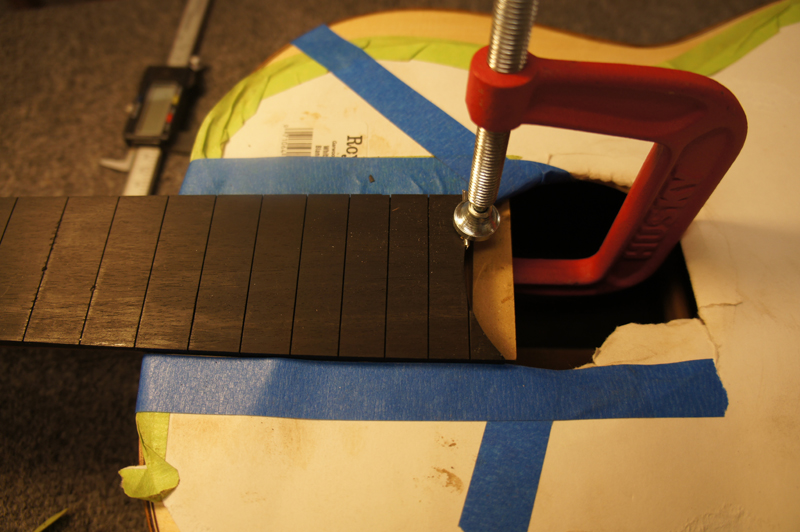
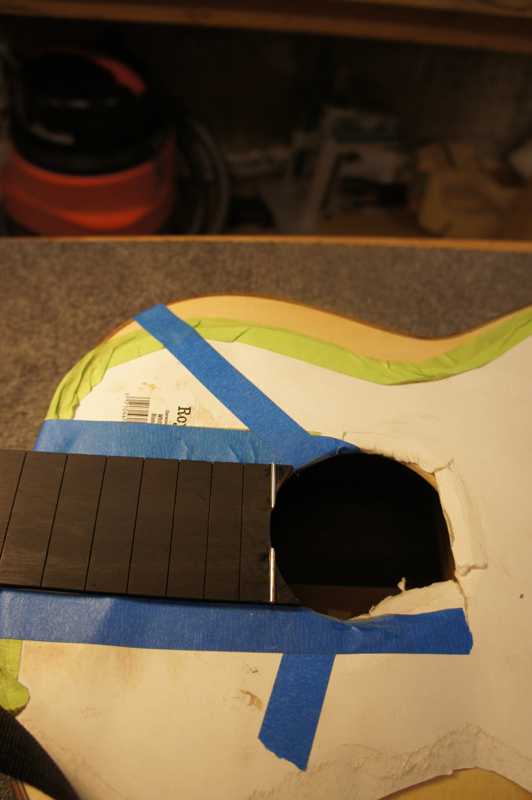
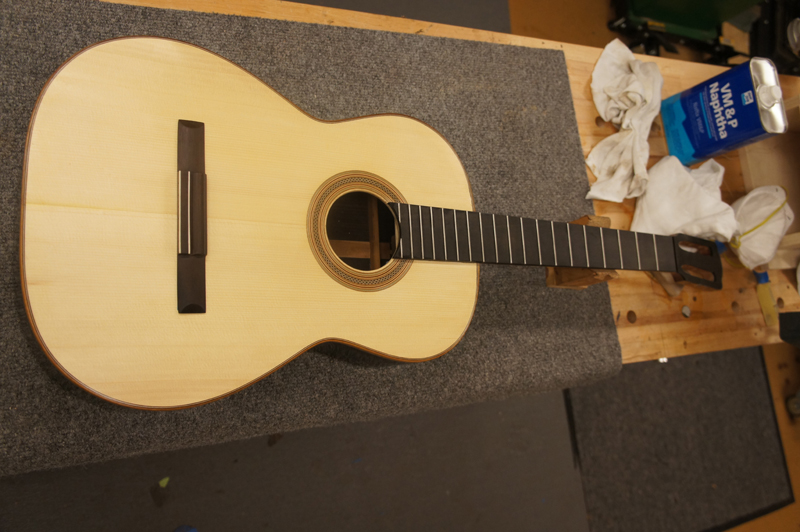
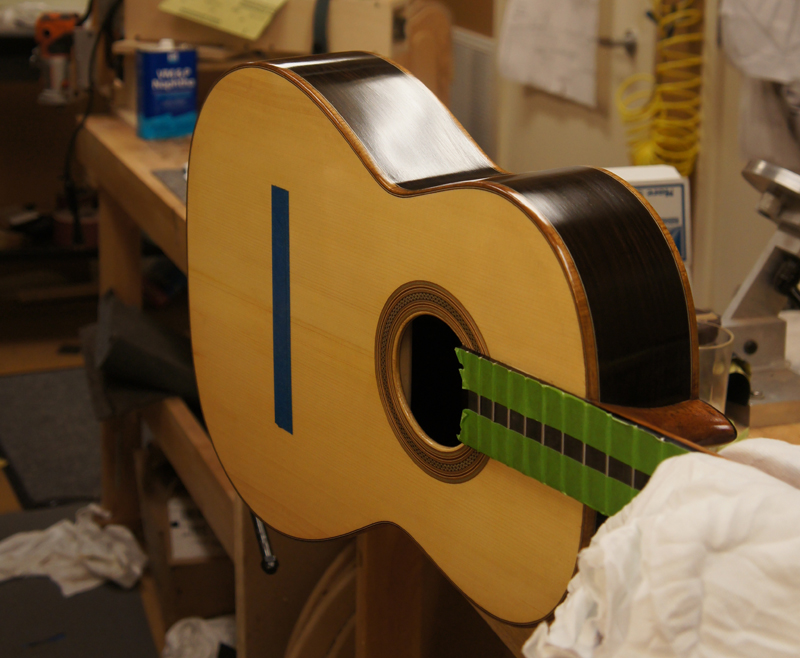
I used my luthier suppliers center line tool to place and square the bridge to the neck. I use a 1/4 brass bar to set my nut spacing, in this case I can use it to assure the tool is at the nut position. I have marks for the different sized fret boards I use. A note of caution to those who read this, double check fret measuring tool. I have an ibex fret ruler and its standard classical scale is not any standard I know. It would have placed the bridge about 4 mm long. (that is more than the 652 I was looking for.)
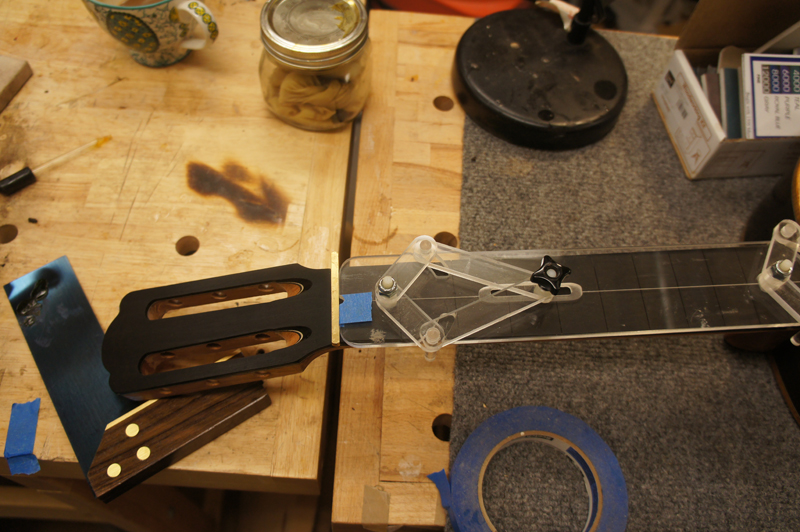
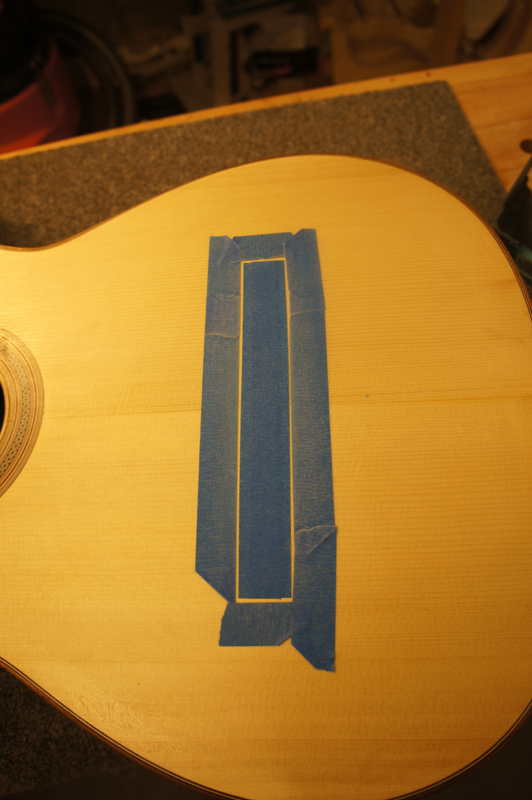
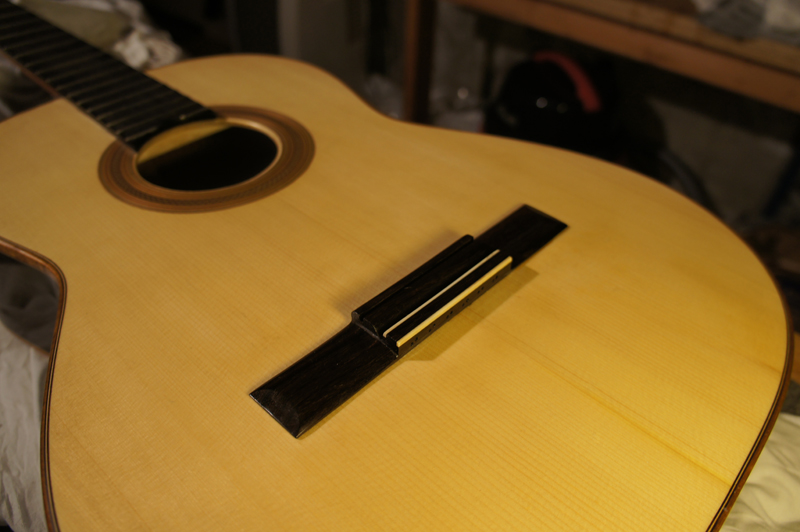
Once the bridge is placed I tape around it then use that tape to place a strip I will keep clean during the FP.
A TIP: Dog ear the tape to make it easy to get an end to peal off. I am trying to have a nail mark free top this time.
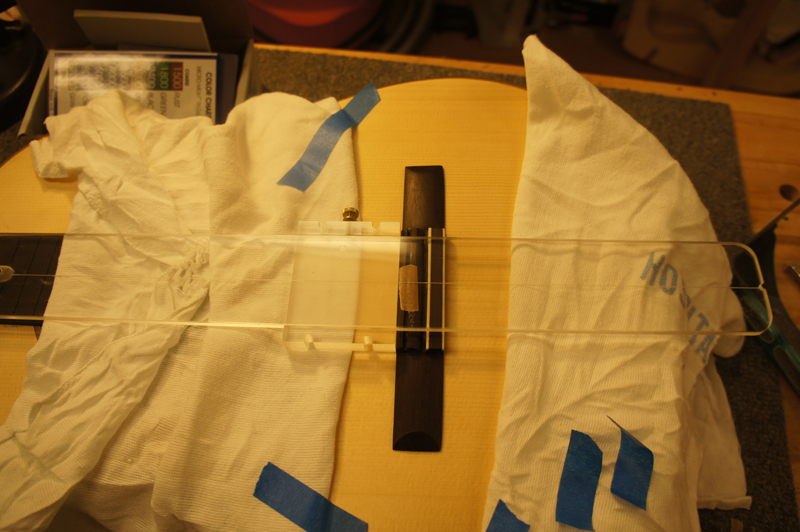
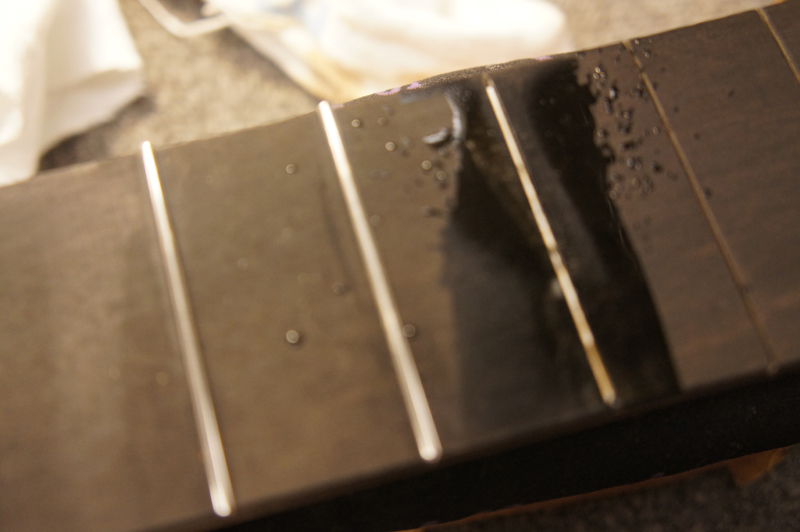
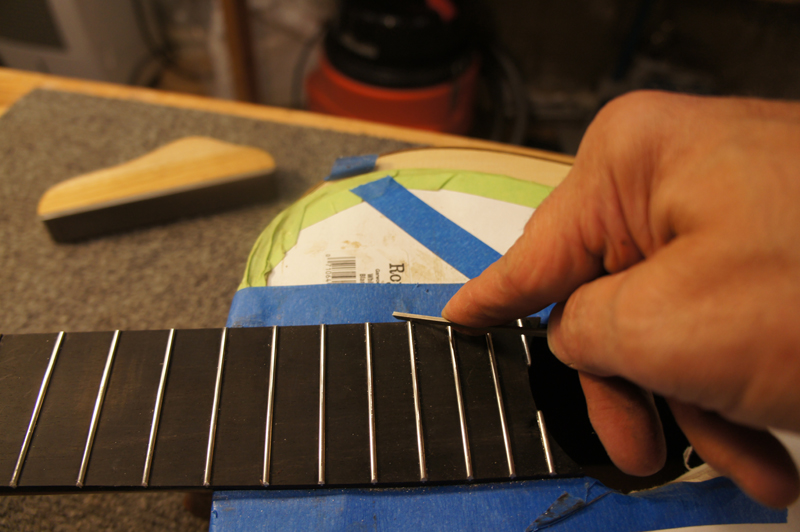
I was afraid I would chip off the point if I hammered in the two partial frets. I filed off the barbs, pressed them in and super glued them in.
I use a spray bottle and a bit of glue before I pound in the frets. I also use a triangle file to bevel the edges.
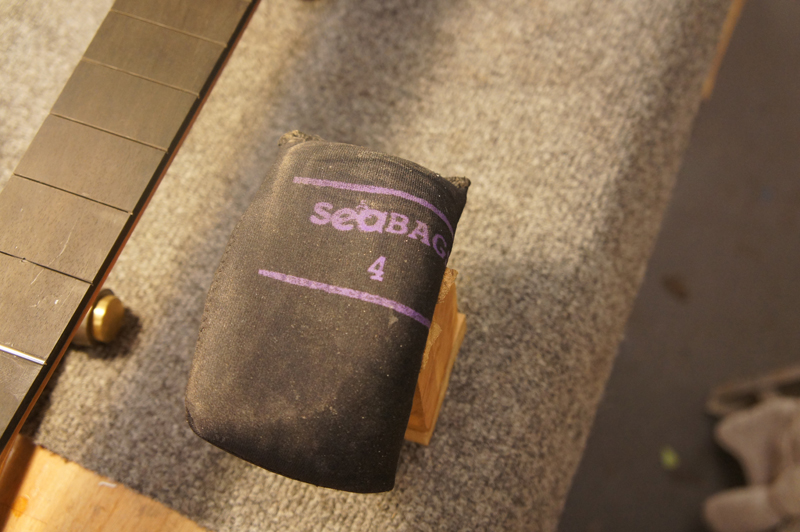
Tool Tip: The seabag is a soft diving weight filled with 4 pounds of lead shot.
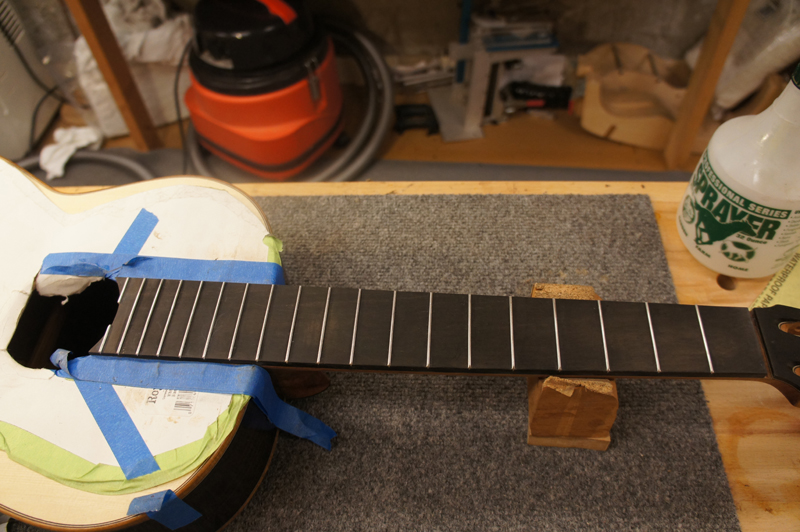
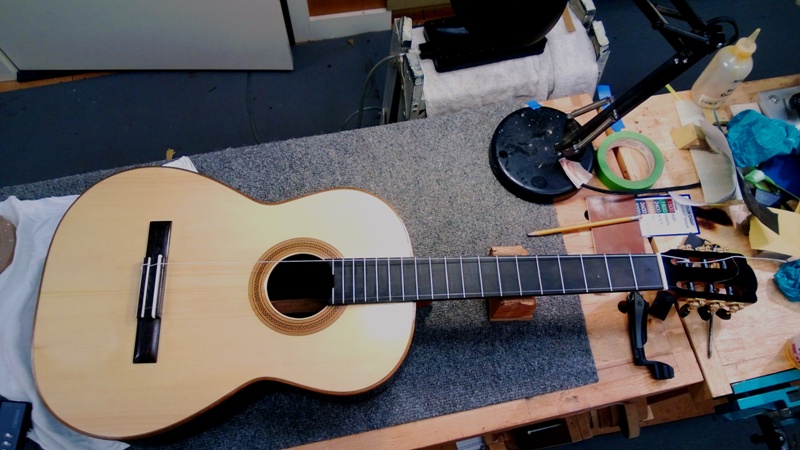
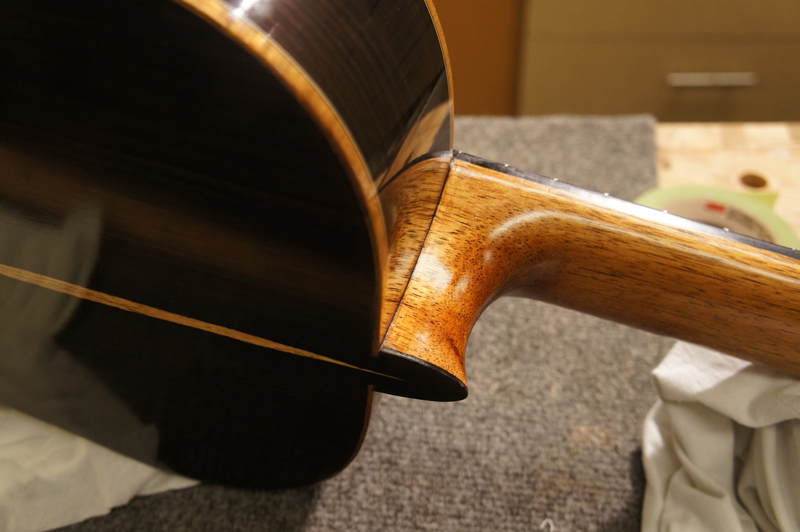
Part of the advantage of putting the frets on after gluing the fret board to the neck. I was able to level sand the fret board in location. Each and every fret is touching the straight edge. There was no need to level and redress the frets.
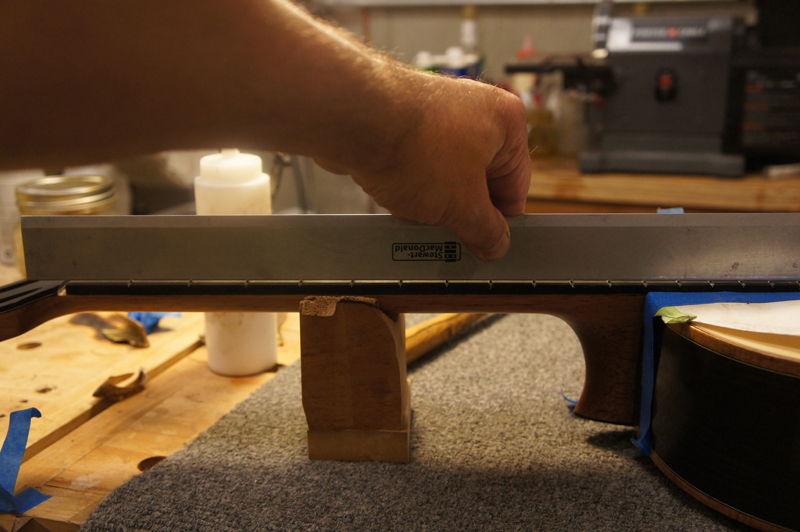
I use a stewmac fret file (seen in the back ground) To clean the fret to the edge of the fret board and then put a slight bevel on the frets. I use the pictured fret file to round the edges. I like this file as it has a rounded save edge (totally safe on the wood) and a flat safe edge. Need to be carefull with the edge.
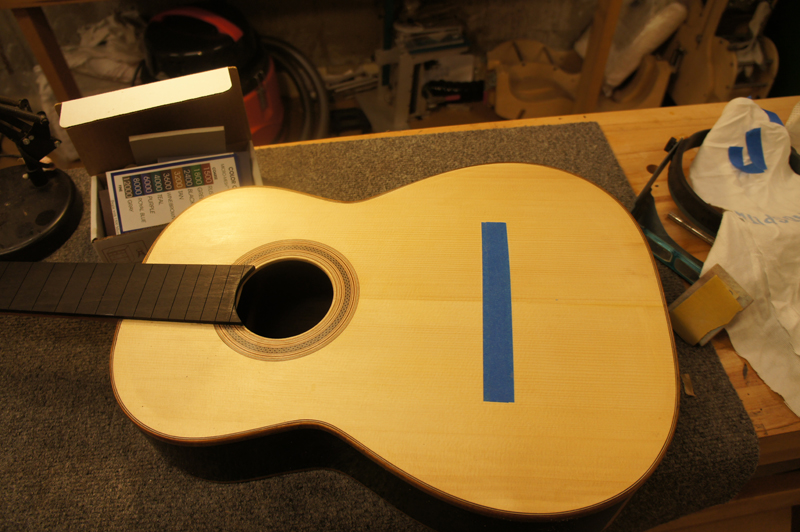
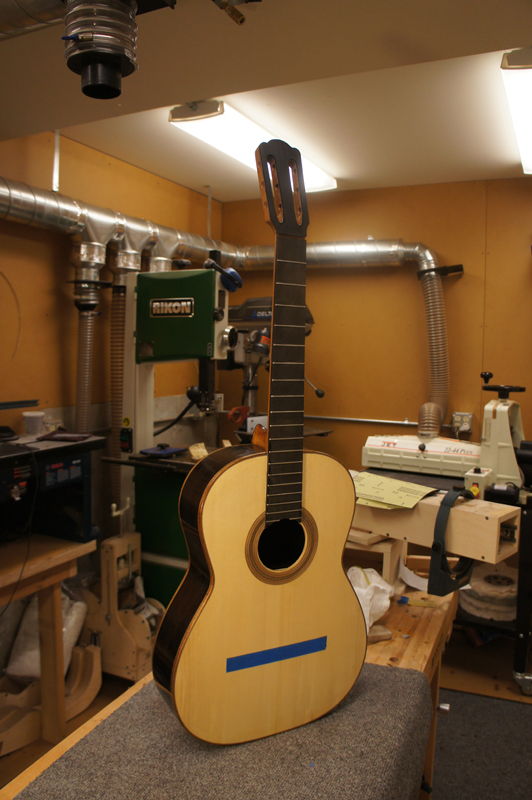
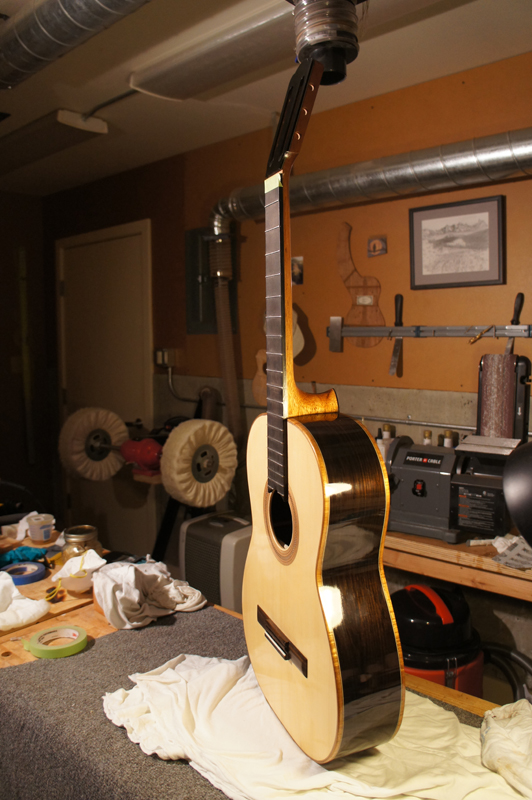
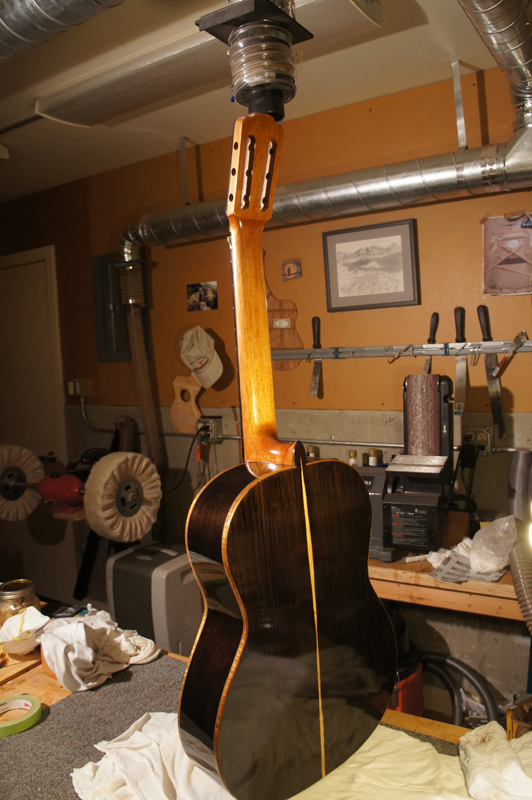
So now the top is prepped with anew was coat of shellac. Here is where I am.
July 22nd 2013
Getting a bit farther on the French Polish
July27th 2013
I still really need to do a bit more work finishing the guitar.
I used a vacuum clamp to glue on the bridge; I probably should have waited another day or two as the gasket
really marred to FP in in one area. I ended up having to sand that area. I now have the finish built back up
but where I sanded it is slightly lighter than the surrounding wood. At this point I will leave it for a week.
I am wondering as the finish cures the color will start to match better. We shall see.
I am not above taking the whole top finish down and starting all over.
In any case I made a rough cut nut and saddle, stung the E strings and got to hear the guitar.
It sounds like it will be OK. All of my geometry is spot on so the guitar will set up nicely.
p align="left"> July28 th 2013
I finished the FP today on the body. I still have just a bit of work to do on the neck and head plate veneer and after the finish cures for a day or two I will hand buff the finish. Here are a few pictures on how it turned out. The next post will be in show it off.
Next Page
| 