African Blackwood Classical Guitar
July 13th 2013
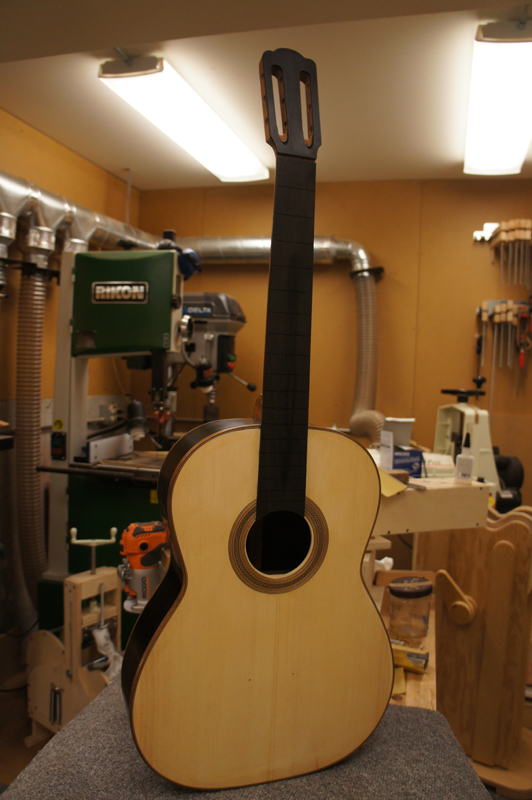
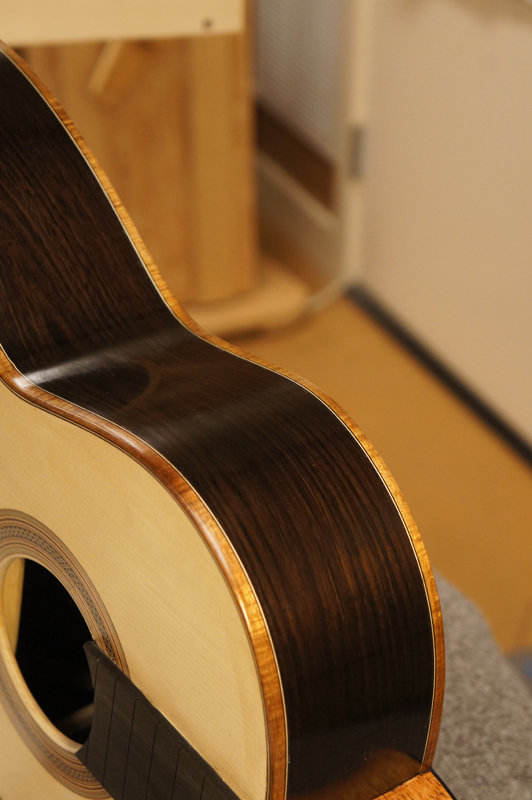
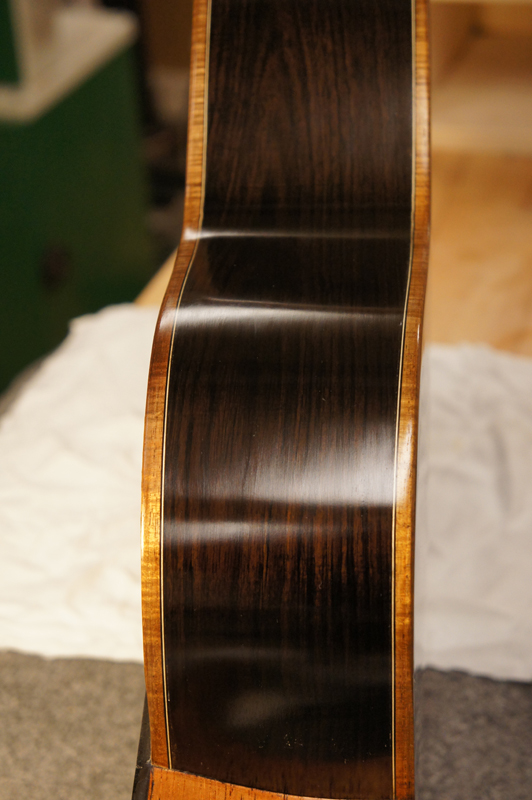
I think I have this guitar ready for French polishing. I have completed my pore fill, found any gaps and spot filled with CA and finally sprayed on a couple of thin coat of blond shellac to act as a sealer. I sprayed the sealer as I sanded the Z-poxy pore fill back to wood and the African blackwood really releases a lot of color. Also since the last post I planed and sanded the fret board both to level and to assure the correct string height at the bridge. I was pretty close from my prep work before I glued on the fret board.
The other interesting note is that I cut the fret slots using an LMI template. The nut was cut as if it was a zero slot, and then cut through. Looking at an LMI serviced fret board, I noticed they had a note that said nut slot compensated for kerf width. Measuring I found that there nut position was .4 mm longer than mine. I had some black veneer that was .5 mm so I glued it to the end of the fret board with CA and lightly sanded it smooth. Now I can not measure a difference between my fret board and LMIs serviced fret board.
Here are some pictures.

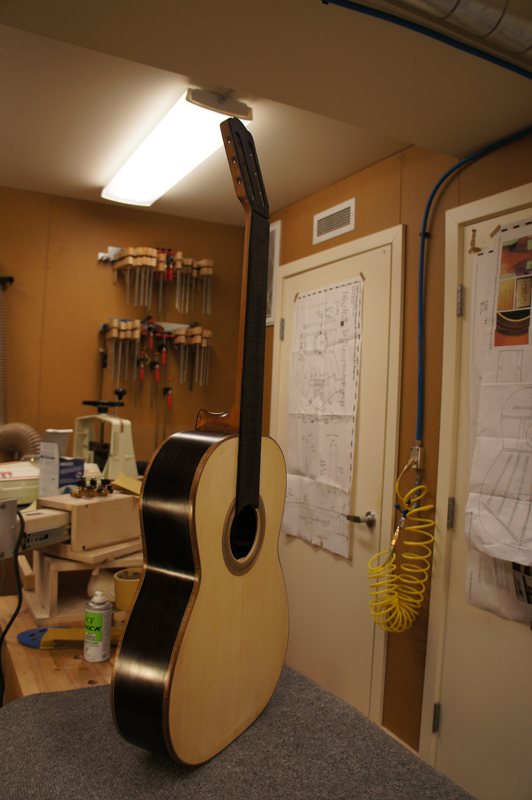
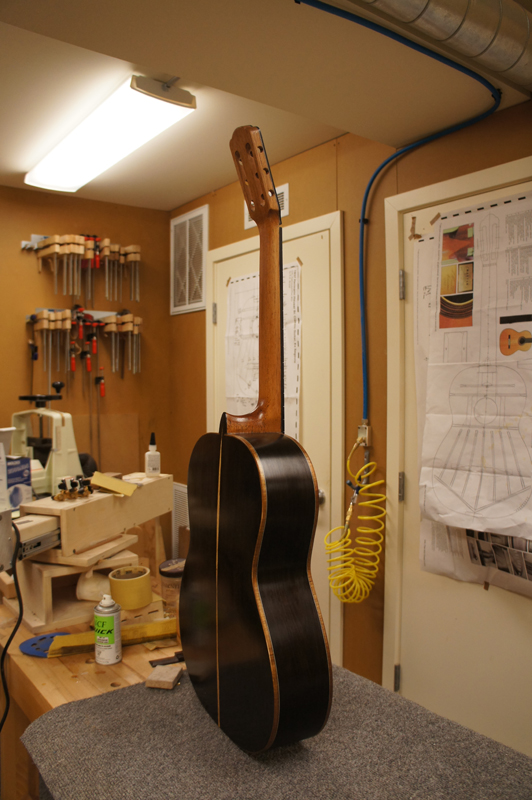
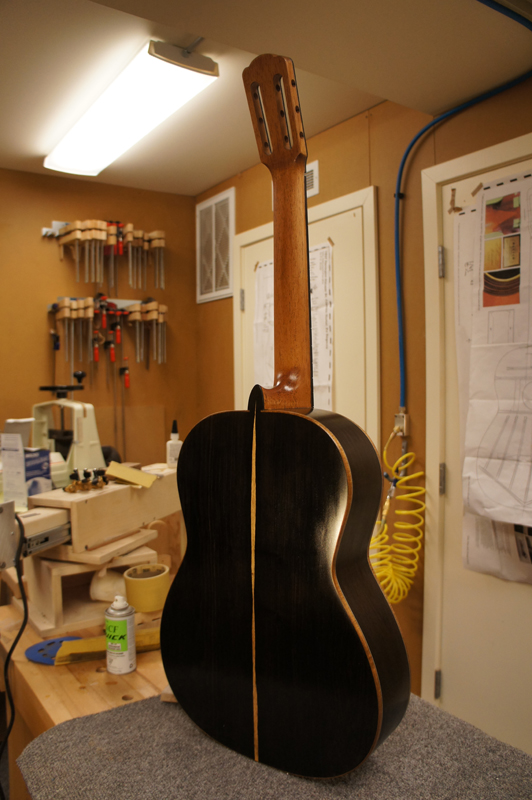
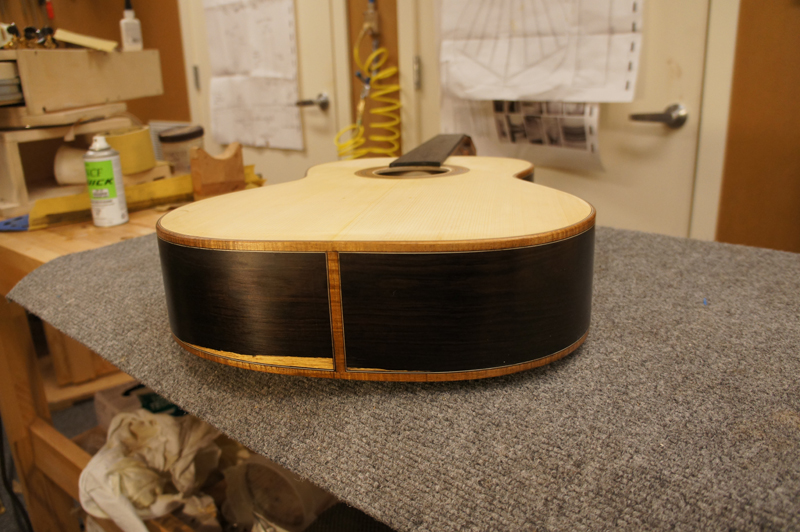
Sorry you have to indulge me, here are a few pictures after one session of FP on the back and sides. I have not started the top.
I can not say enough about Robbie O'Brien French polishing technique and his on line class. I have successfully learned a few different methods including Milbure's. Robbie's is the clearest most straight forward, and repeatable method I have tried. He takes the magic out of the process and puts it in the results.
In addition to Robbie's course I have followed Milburn's technique from their tutorial and Frenandez's DVD. I had also watched and tried the technique shown in the above video and had a class with Cindy Burton. They all have different techniques that work very well for them. For example Cindy does the entire guitar without oil. I think the universal part is shellac applied to the guitar with a cloth applicator.
What you get from Robbie that I did not find in the above youtube tutorial is complete information like when to recharge the pad, what is it suppose to feel like, what happens when things go wrong and how to correct it, do you work several days continuously or what. Robbie has been a luthier instructor by trade. As an instructor he knows how to demonstrate and describe an action highlighting the important attributes, anticipating and addressing a students problem and filling in the missing details that most luthiers giving demonstrations forget. As his videos are very long (near real time) he also has time to discuss the why's of his process and alternatives.
Robbie lays out a very repeatable process. After watching it you know how and when to recharge your pad, and to add oil (a lot less oil than Michael), you know when to switch from a circular motion to straight strokes. His method breaks down each charge of the pad with shellac into a discrete and repeatable set of actions.
As I mentioned above Robbie is a true instructor. His video course is an in depth course not a demonstration of technique. His experience as an instructor of luthery allows him to make his on line course nearly as good as a live course. I think there is true value in the instructional content that Robbie produces and I am happy to pay for it.

Next Page
| 