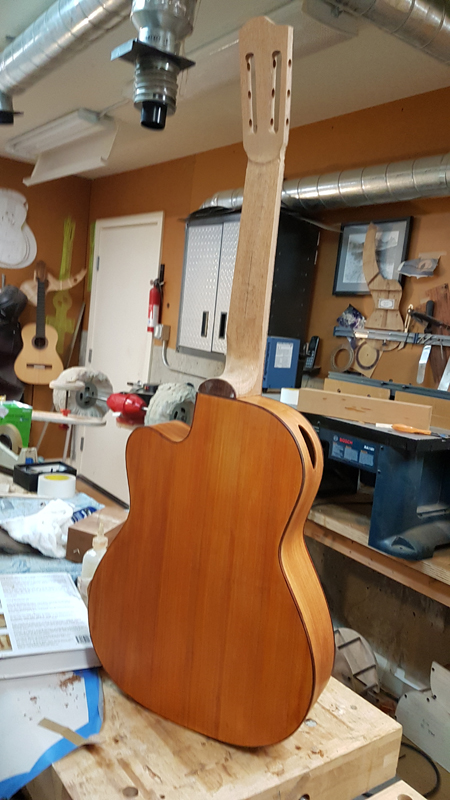
I have started a classical guitar on commission using some customer-supplied Pernambuco. I have never built with Pernambuco, and the wood is stunning. The customer wants a contemporary classical with a cutaway, bolt-on/bolt-off neck, and falcate braces — essentially the Gore/Gilet approach applied to a classical platform.
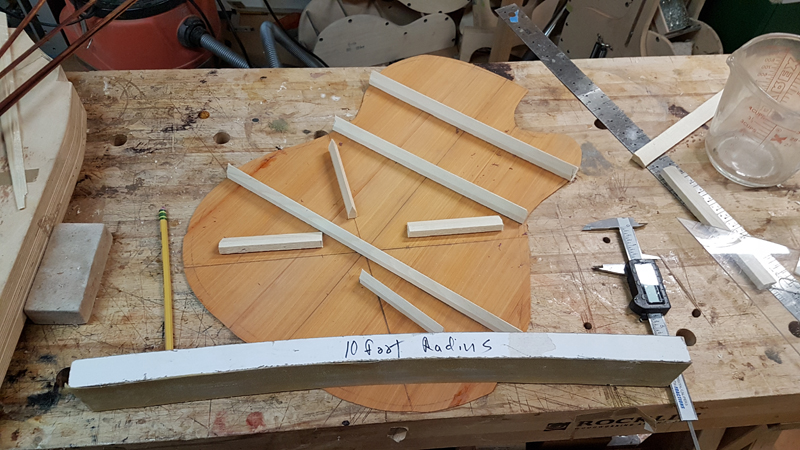
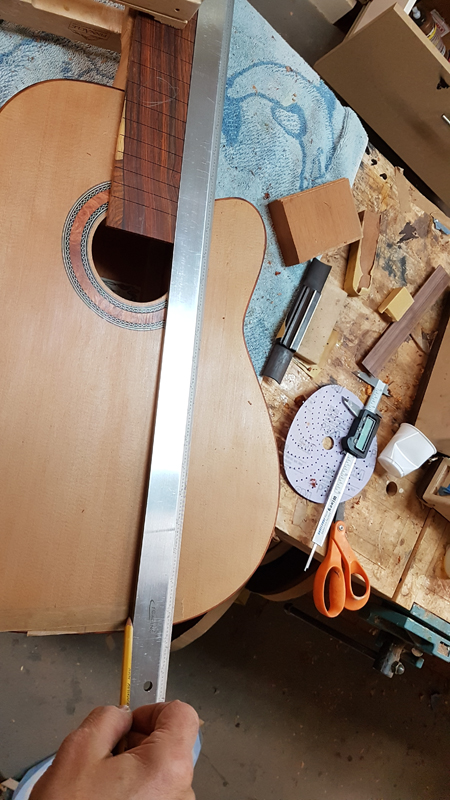
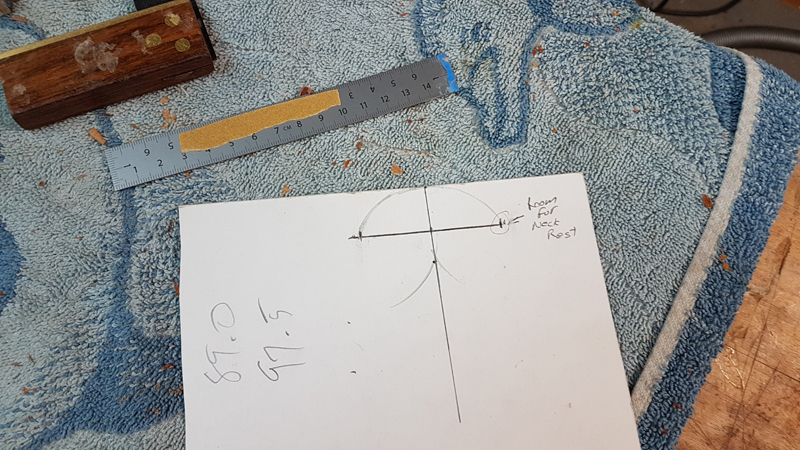
The basic body shape is a Hauser 37 with the cutaway added. Contemporary features include a compensated nut, 30-foot radiused top, 10-foot radiused back, 24-inch radius fretboard, 49mm nut width, sound port, and carbon fiber reinforced falcate braces.
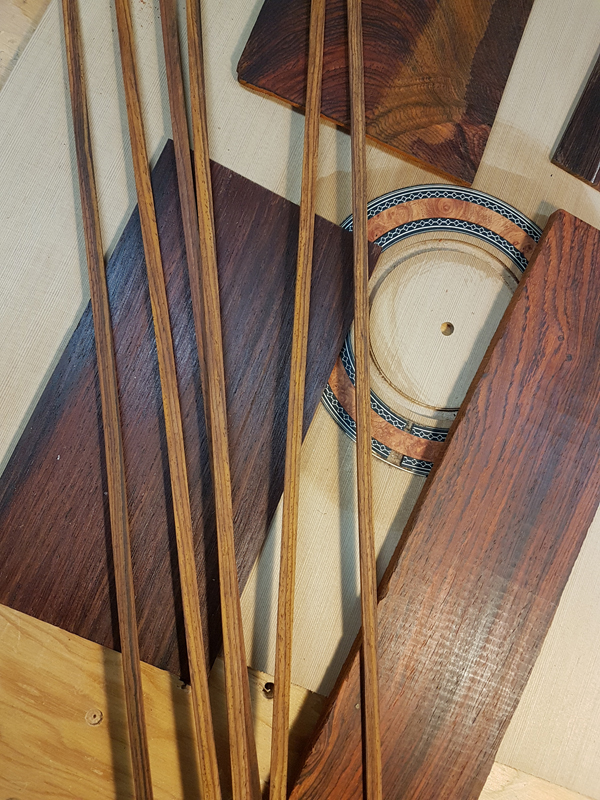
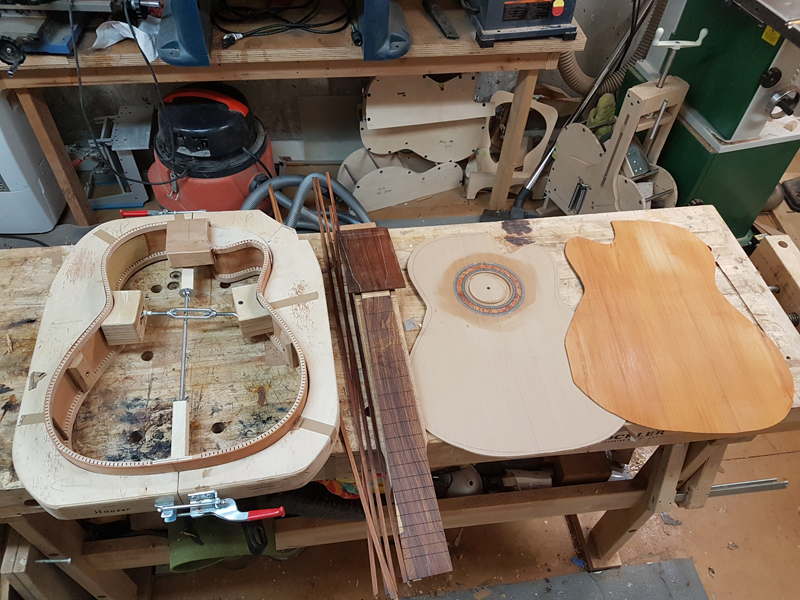
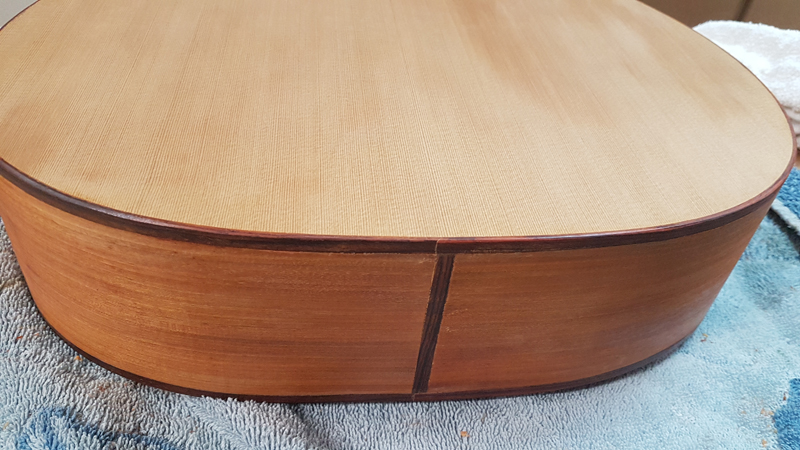
The top is Western Red Cedar. I chose Cocobolo for bindings and fretboard, Brazilian Rosewood for the headstock veneer, and an Amboyna Burl rosette. The tuners are bright gold Schertler classical keys with ebony buttons.
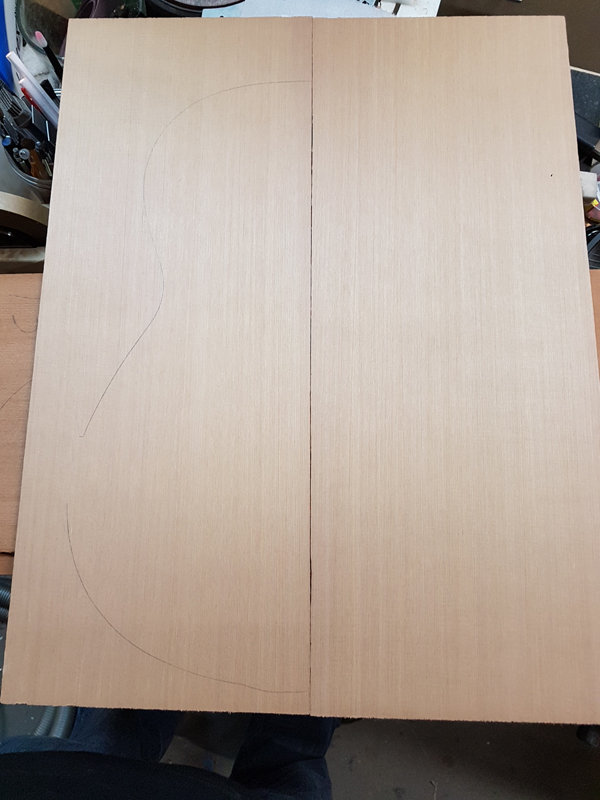
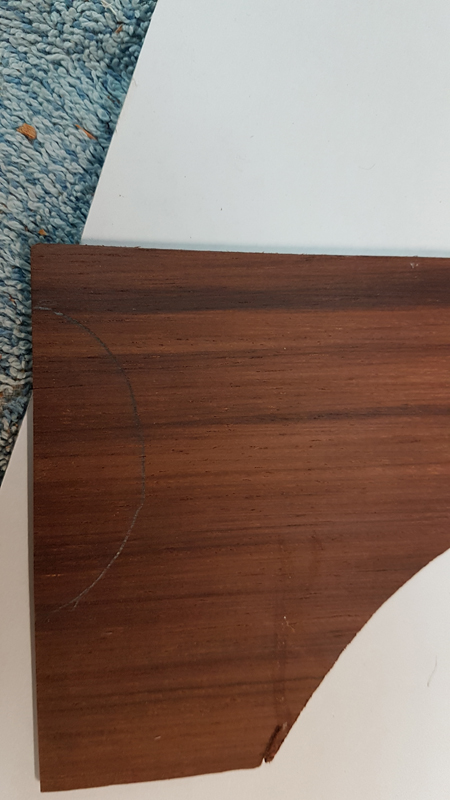
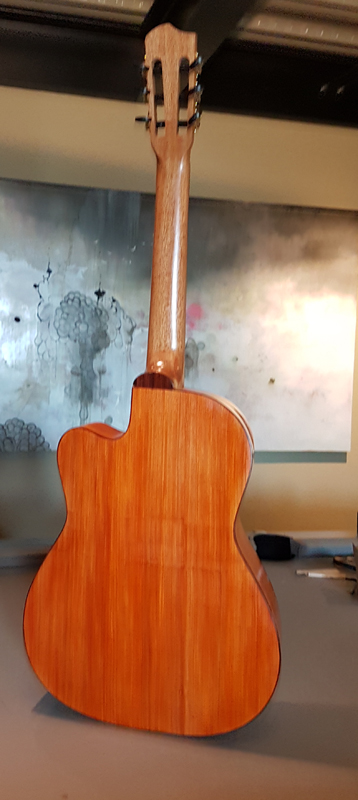
The Pernambuco is a three-piece back. It’s a gorgeous wood — dense, resonant, and visually dramatic with that deep orange-red colour.
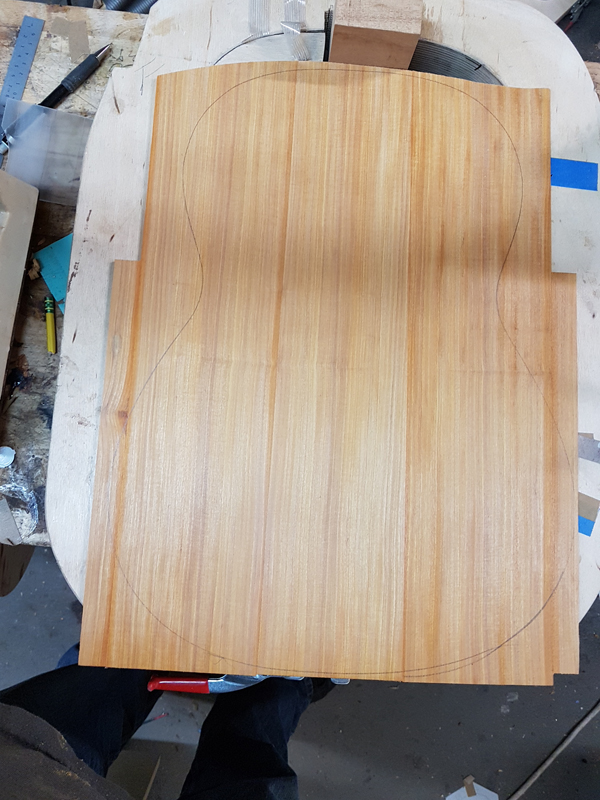
The WRC top joined and ready. Cedar is my preference for classicals — warm, immediate, and forgiving of the player’s touch.
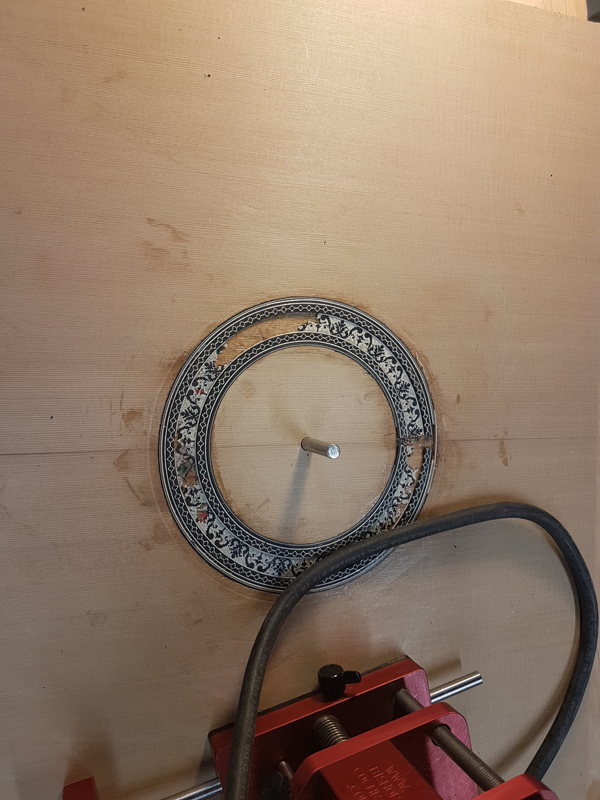
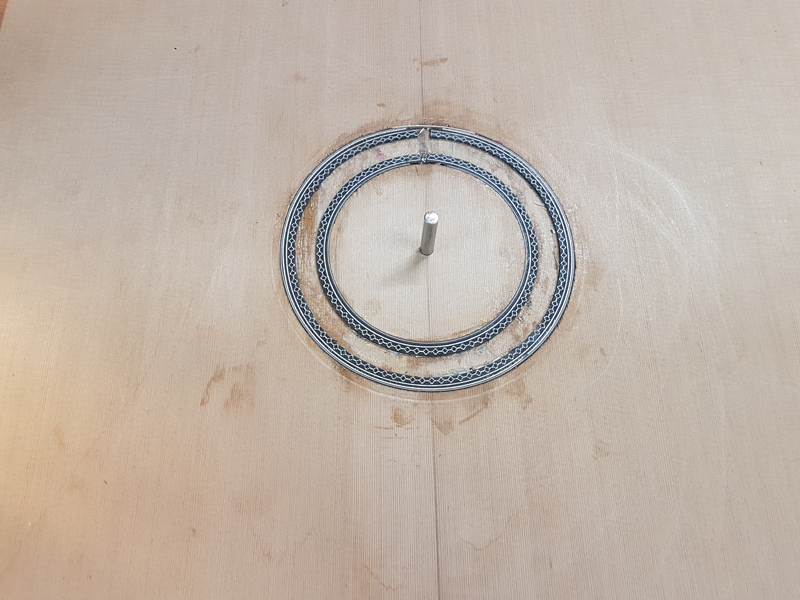
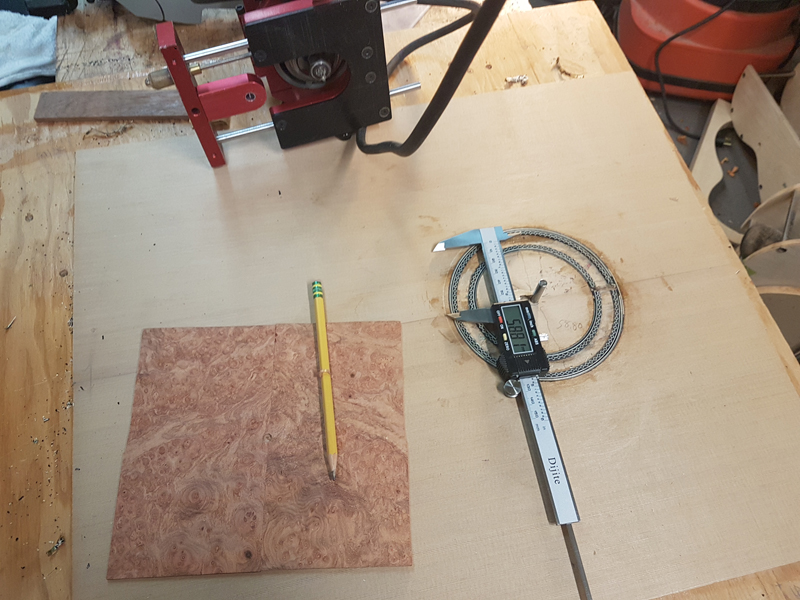
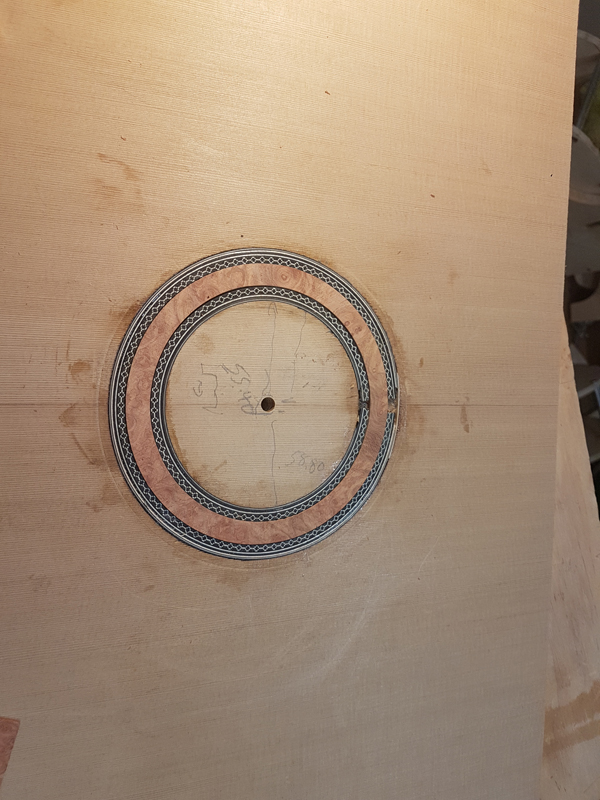
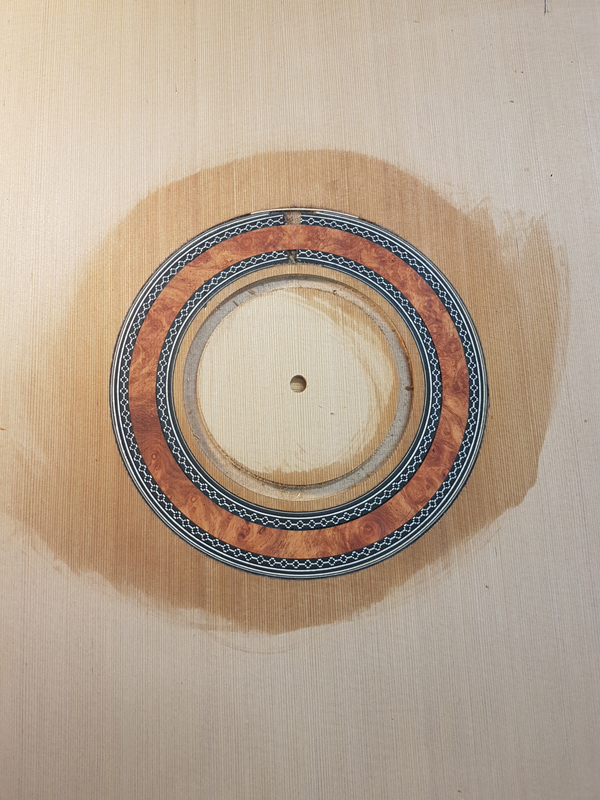
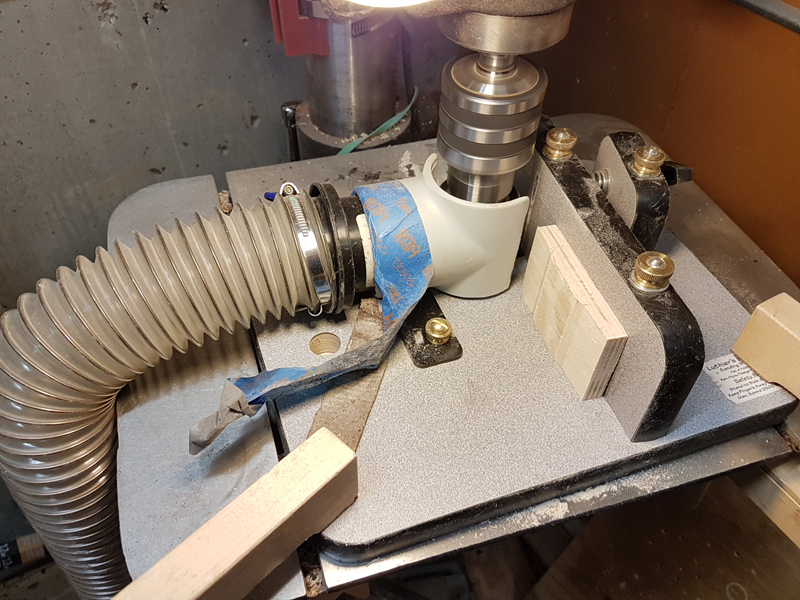
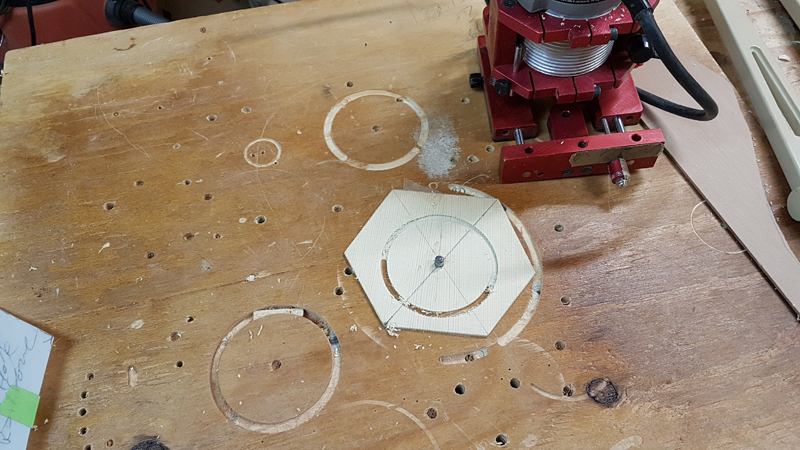
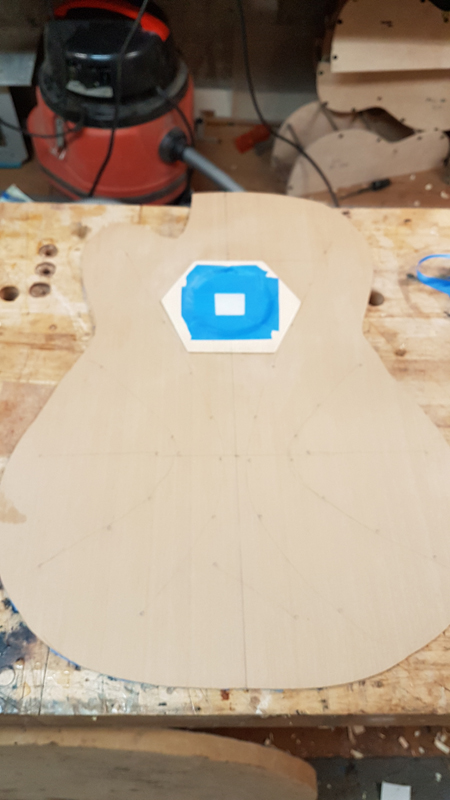
I had a nice piece of Amboyna Burl for the rosette. Rather than cutting a traditional multi-ring rosette, I retrofitted this as a single decorative ring. I cut the channel with my Bishop Cochran router base and inlaid the burl strip.
Wood Selection Pernambuco (Paubrasilia echinata) is the same wood prized for violin bows — extremely dense and resonant. It’s increasingly rare and CITES-listed. Having customer-supplied wood made this build possible.
♦
January 11th, 2019
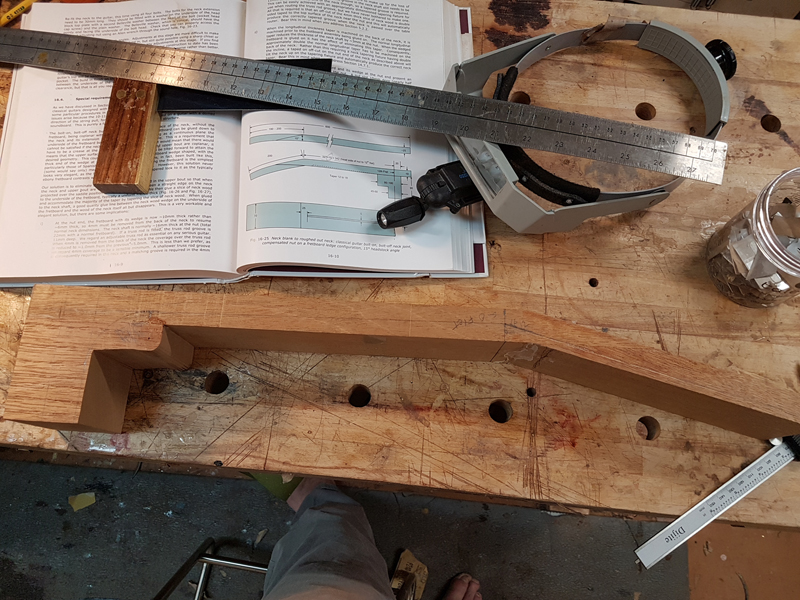
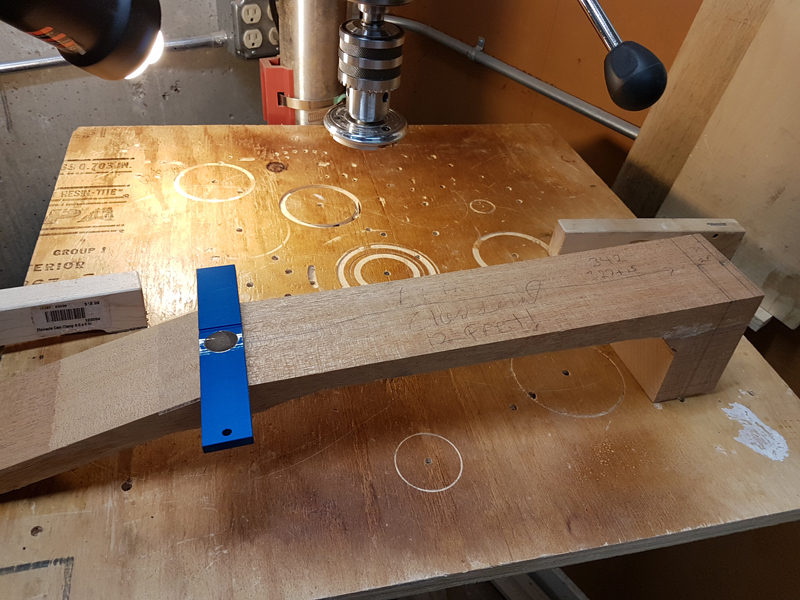
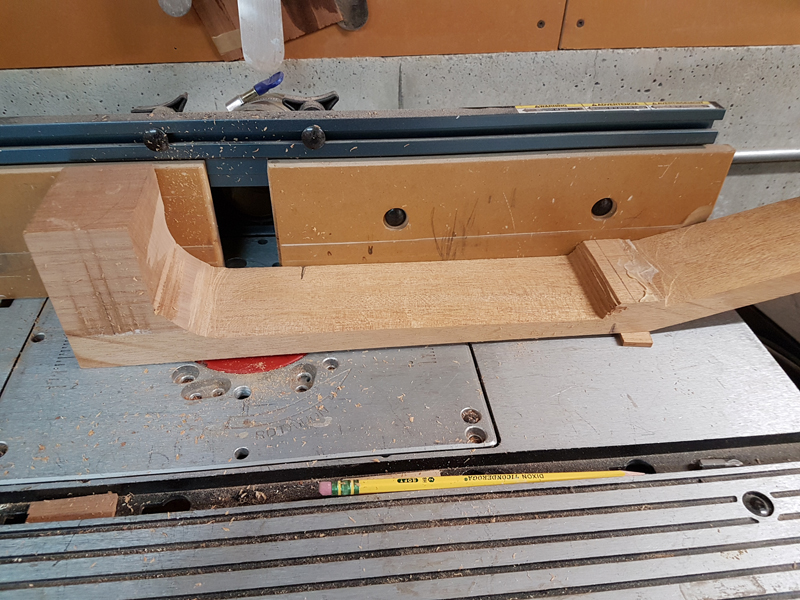
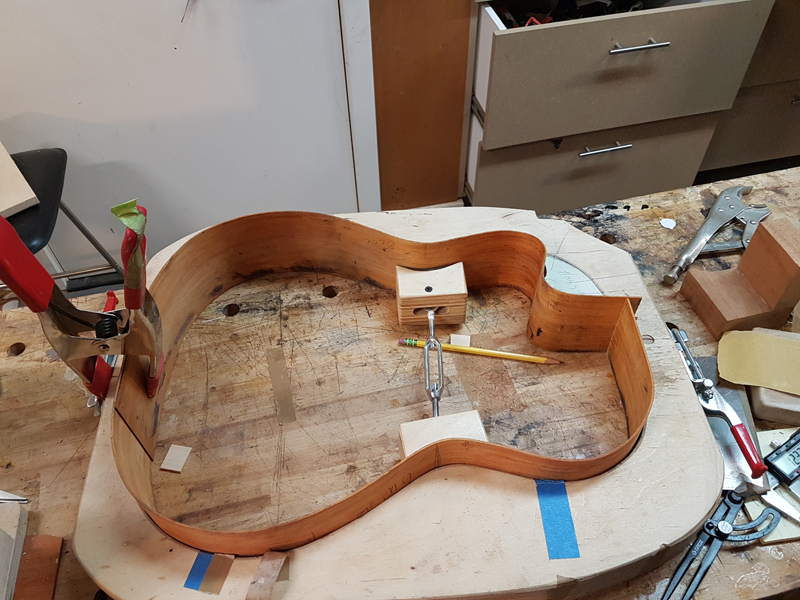
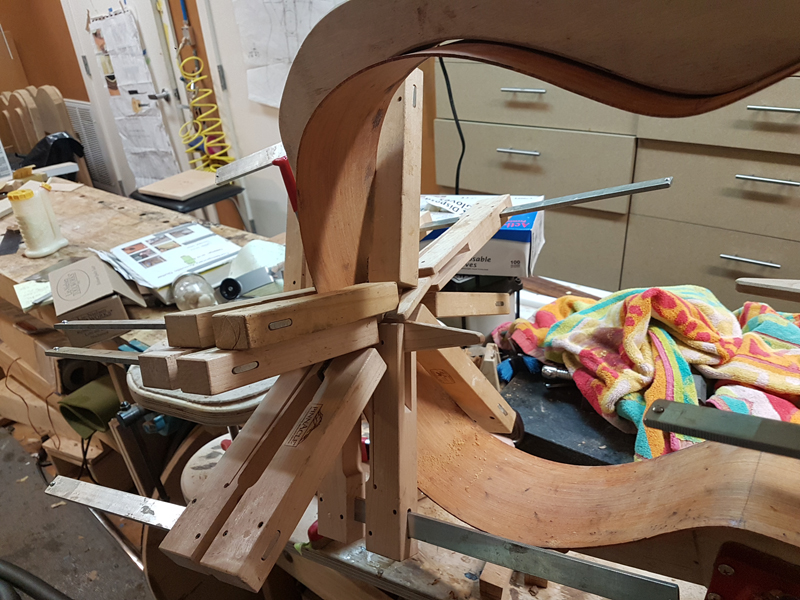
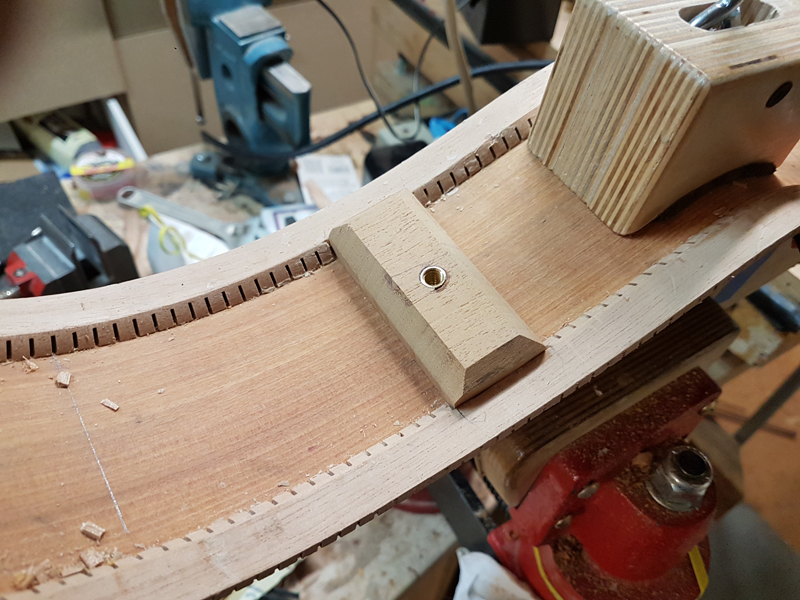
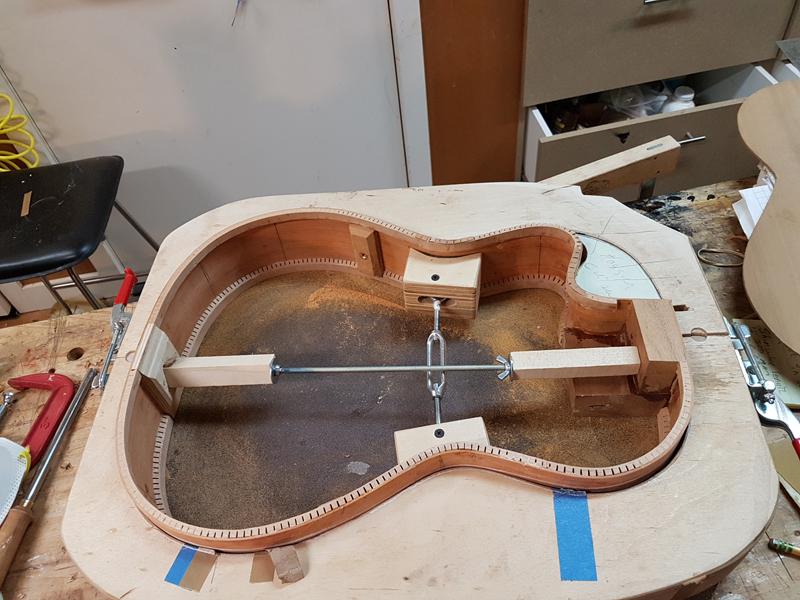
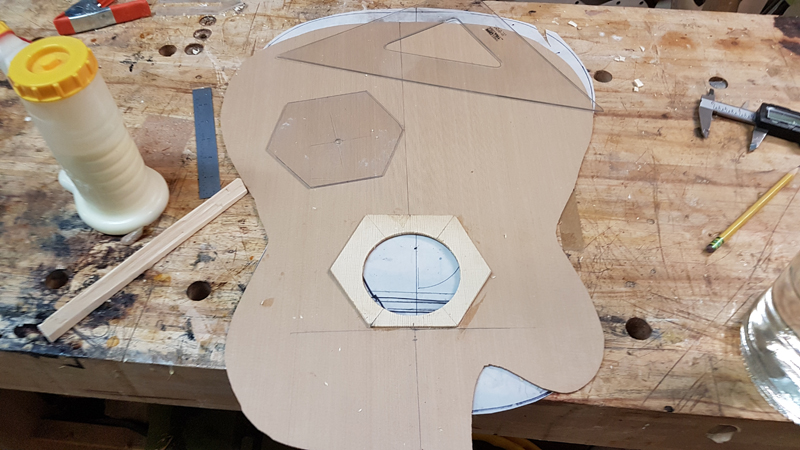
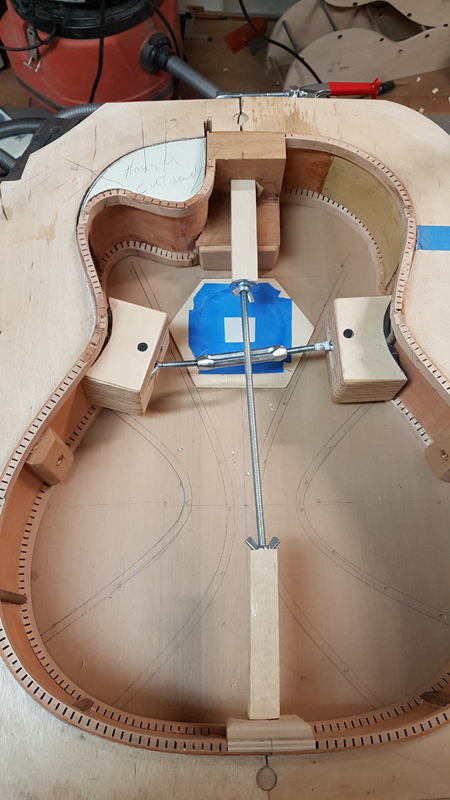
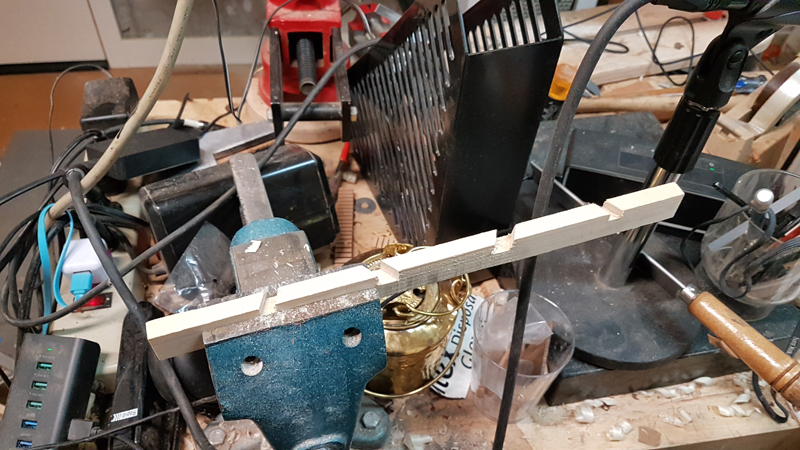
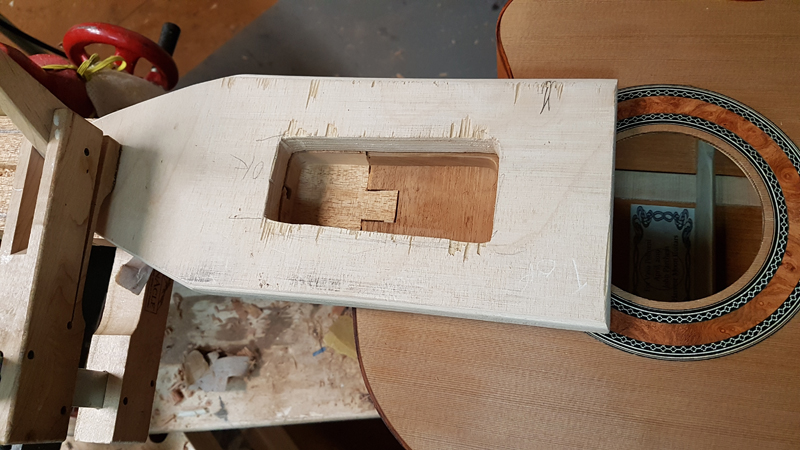
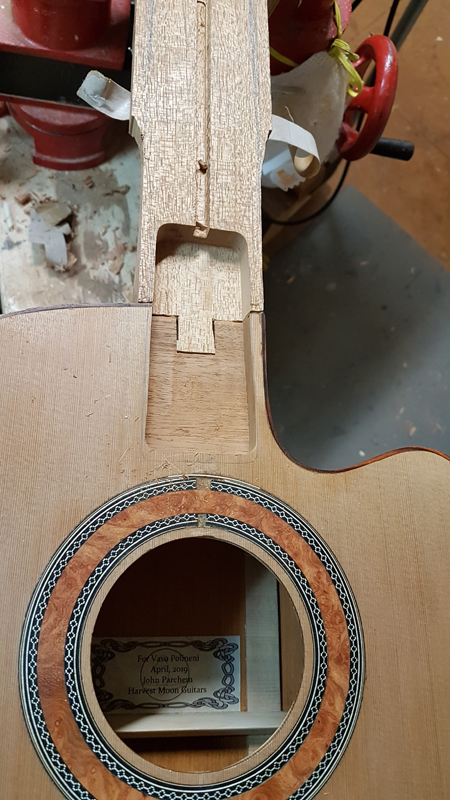
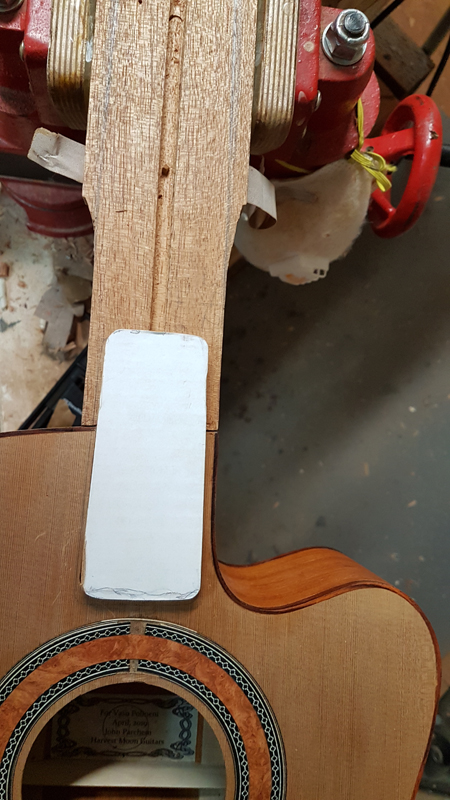
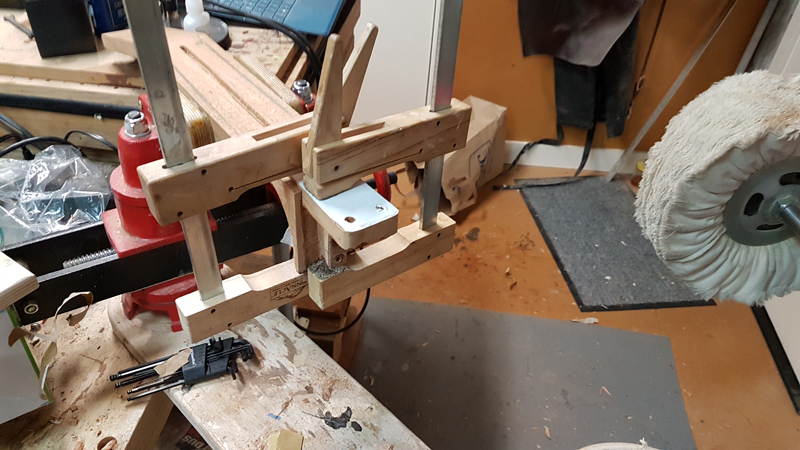
The next steps were to get the blocks ready for the body. This guitar will be a cutaway with a bolt-on/bolt-off neck, so the neck block needs a mortise for the bolt-on system. I use Trevor Gore’s method for this — the neck block is designed to accept the neck heel with machine bolts.
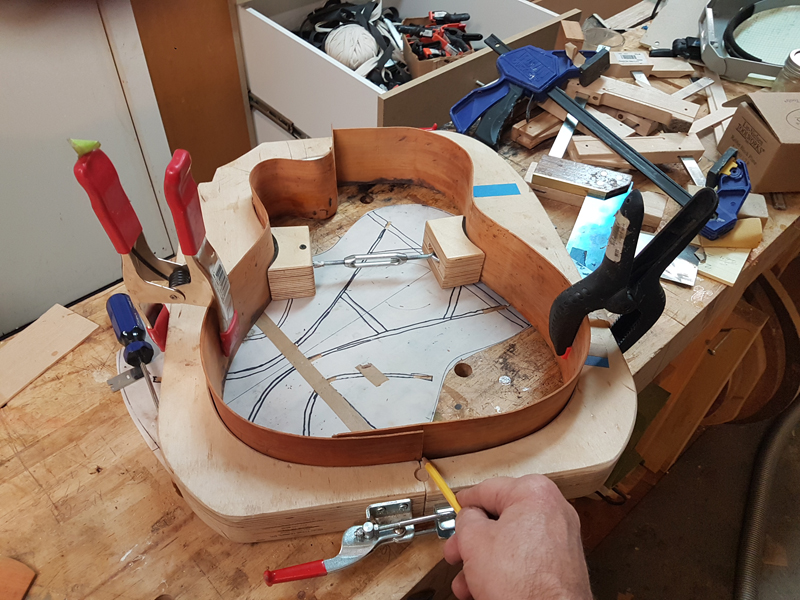
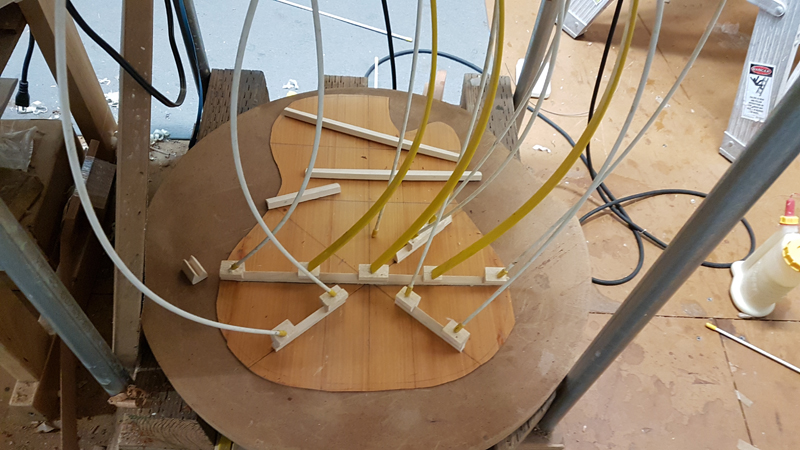
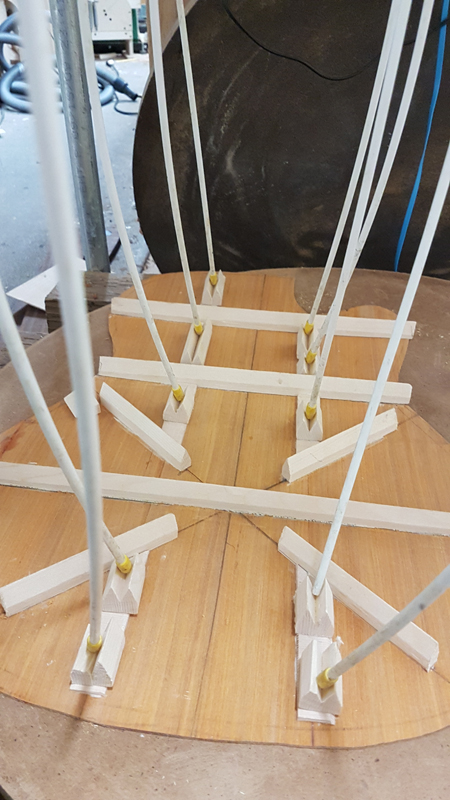
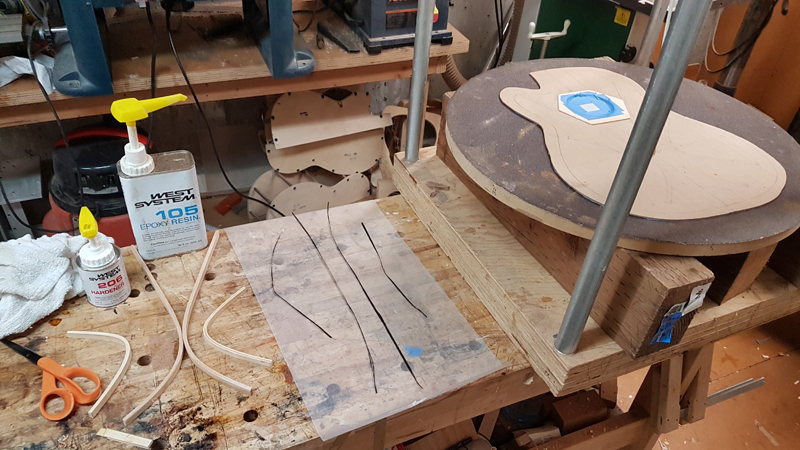
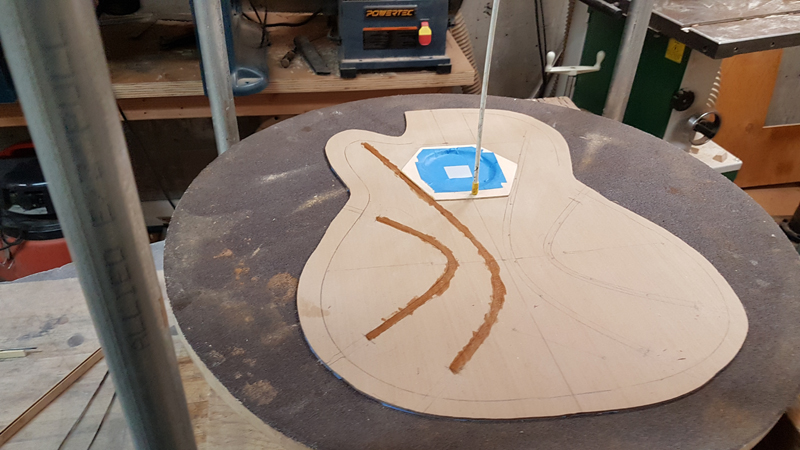
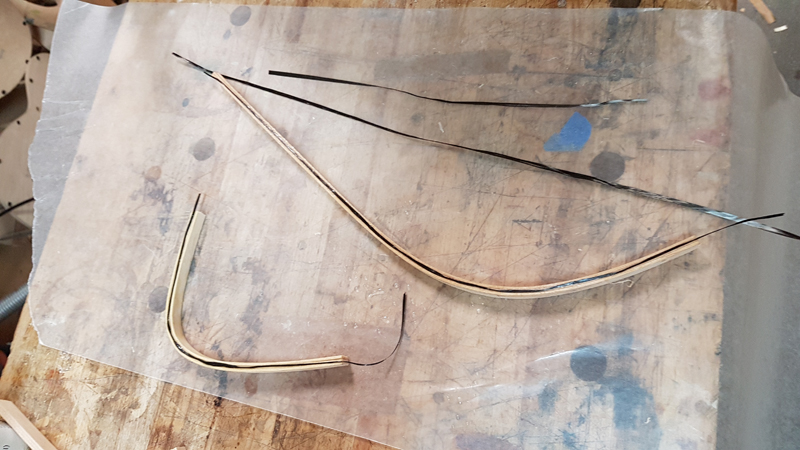
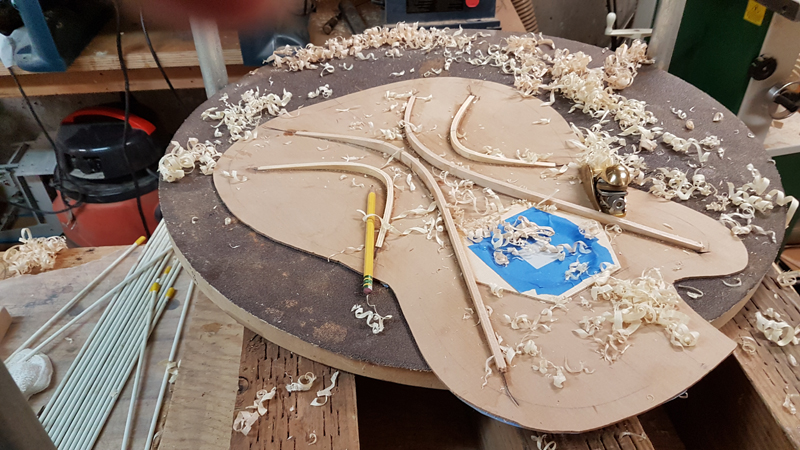
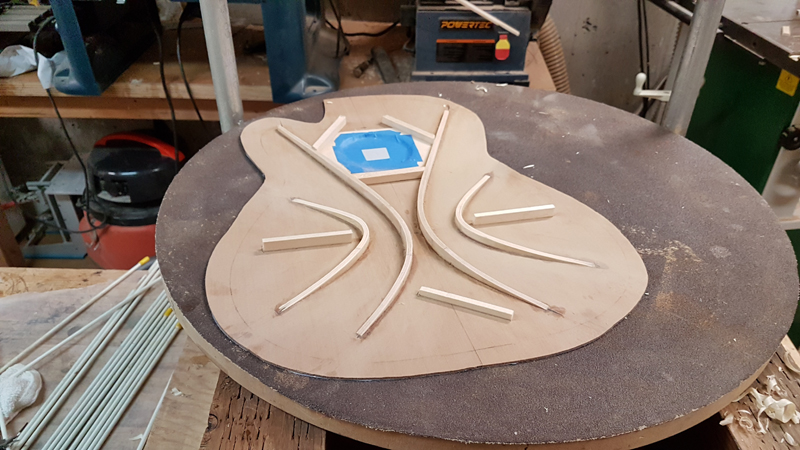
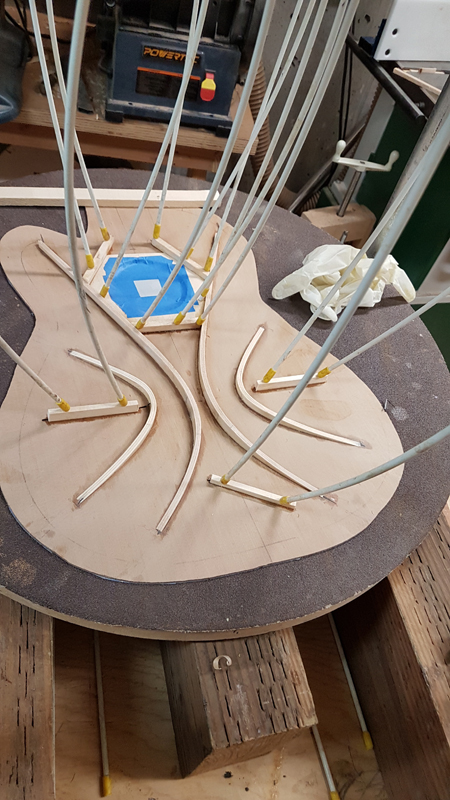
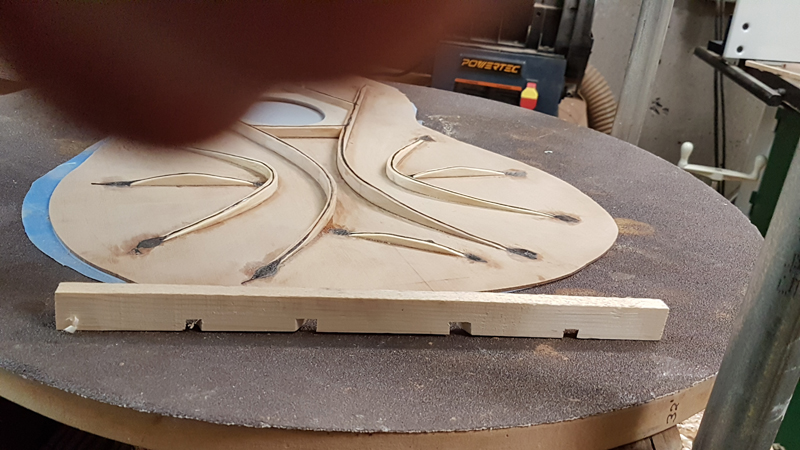
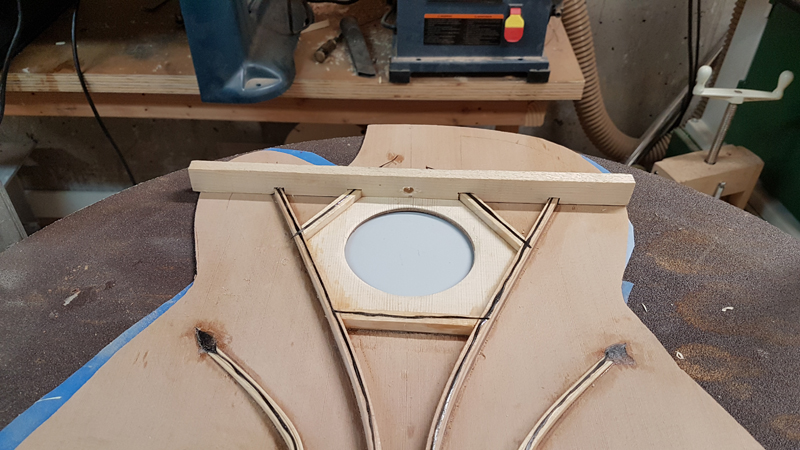
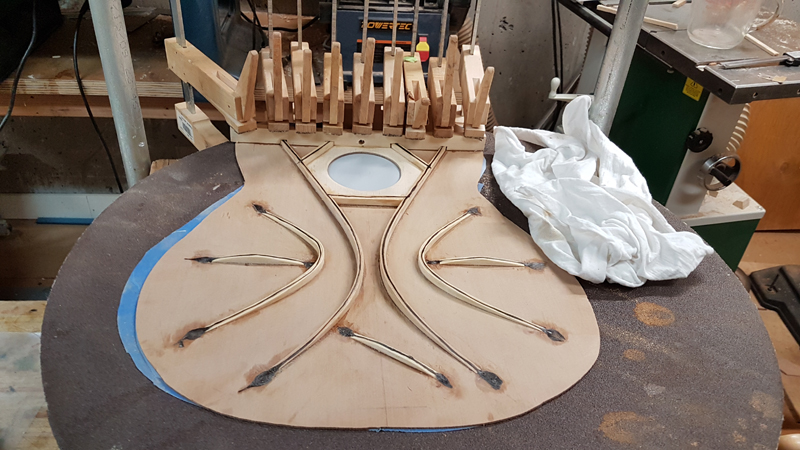
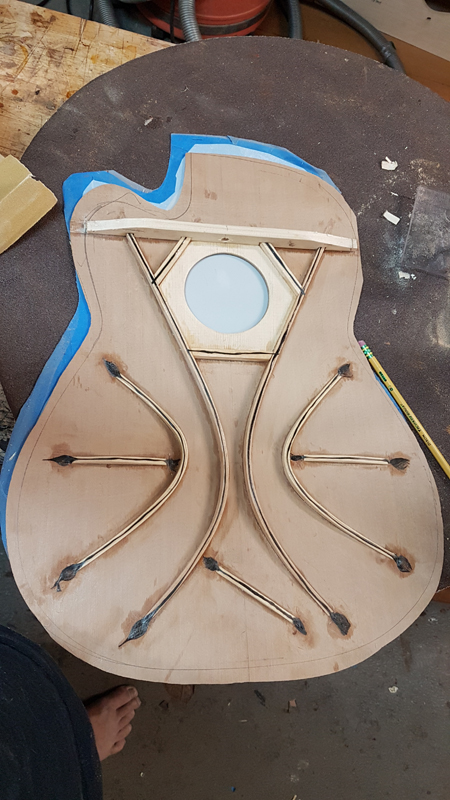
I laid out the falcate bracing pattern on the top. This is the Gore/Gilet approach — curved braces that follow lines of force rather than the traditional fan or X-brace patterns. Each brace is individually shaped and tuned.
The back bracing uses Gore’s active back pattern — four braces radiating from near the center of the lower bout rather than running perpendicular to the center line. This is designed to make the back acoustically active rather than just a reflector.
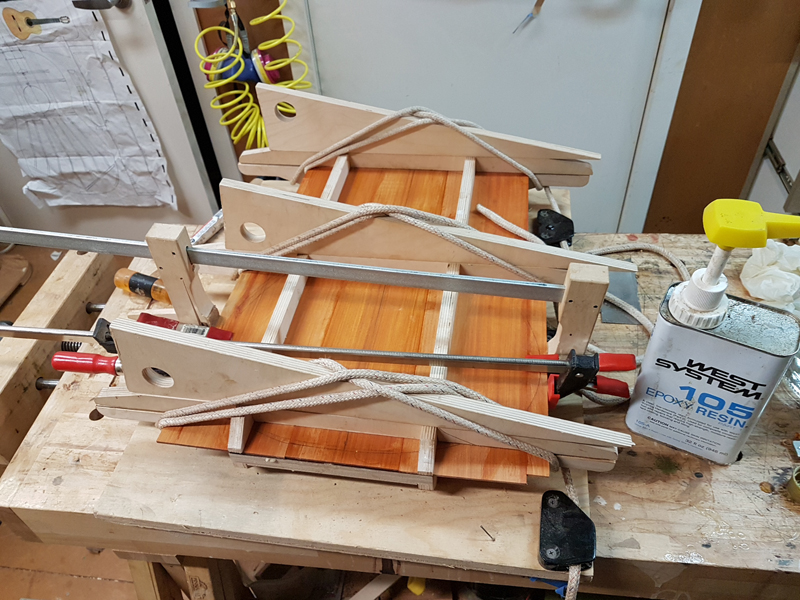
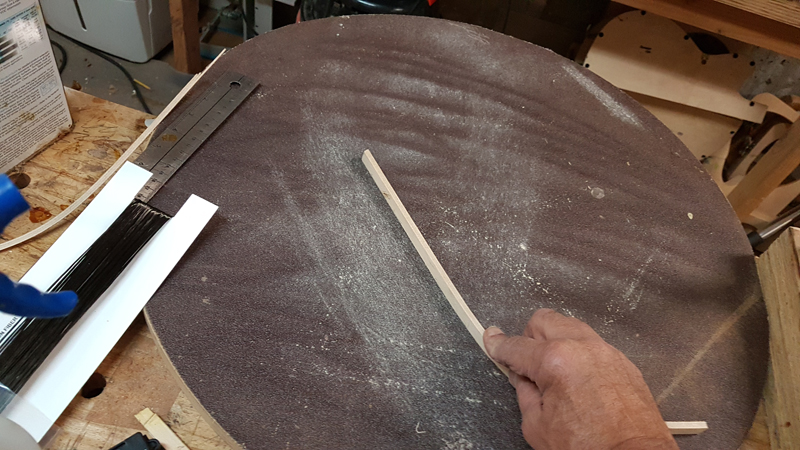
Gluing the braces with go-bars on the dished workboard. Each brace is pre-shaped and has carbon fiber reinforcement on the tension side.
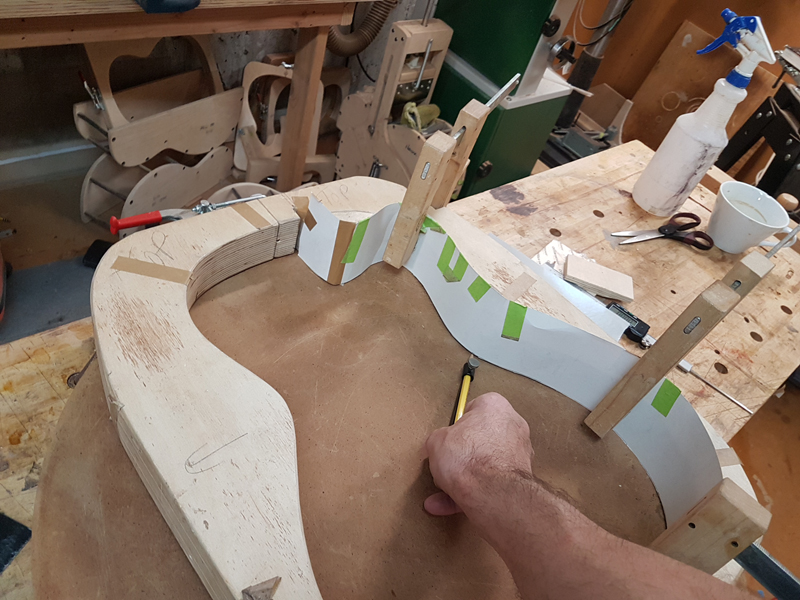
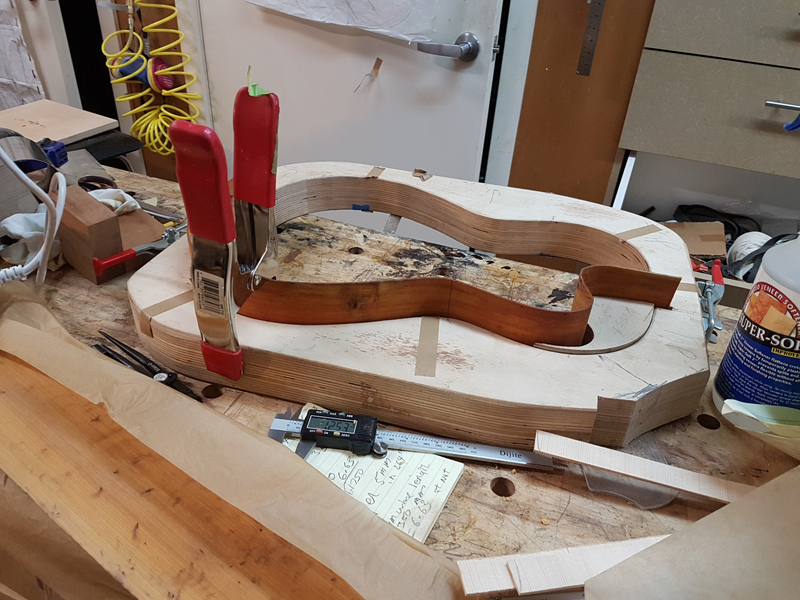
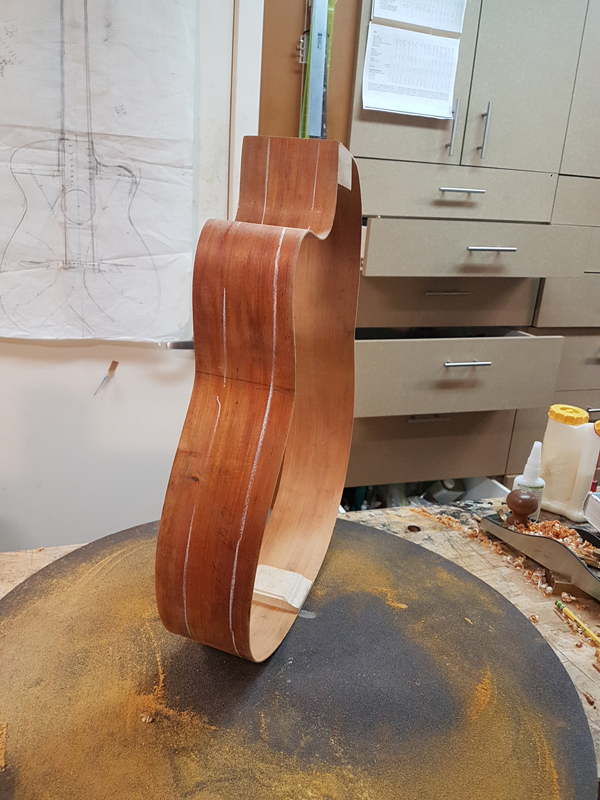
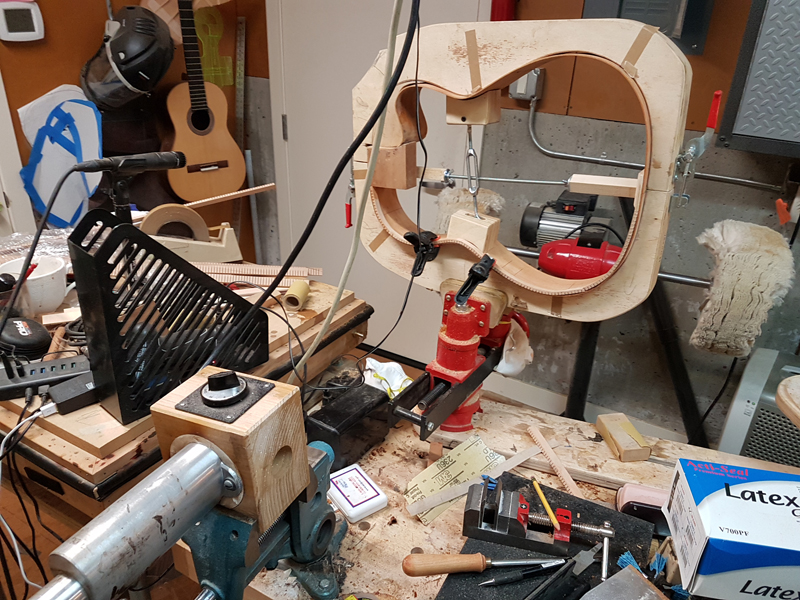
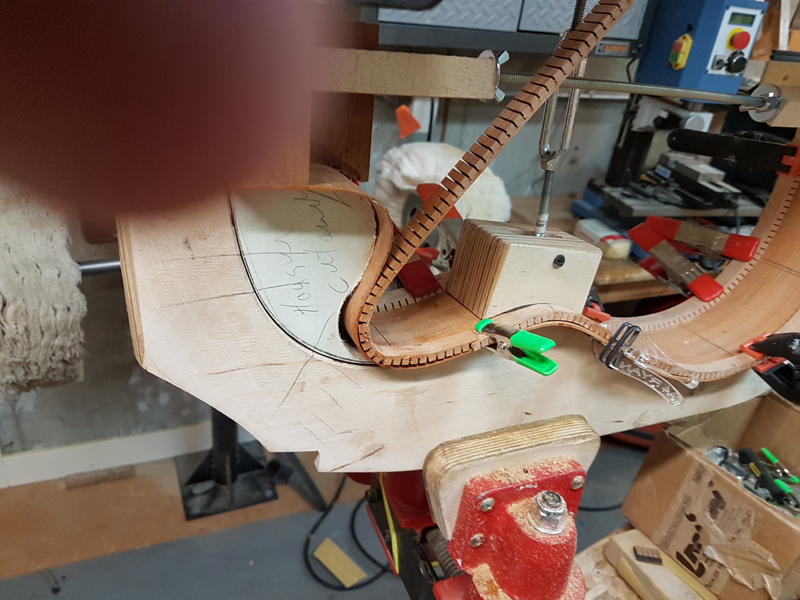
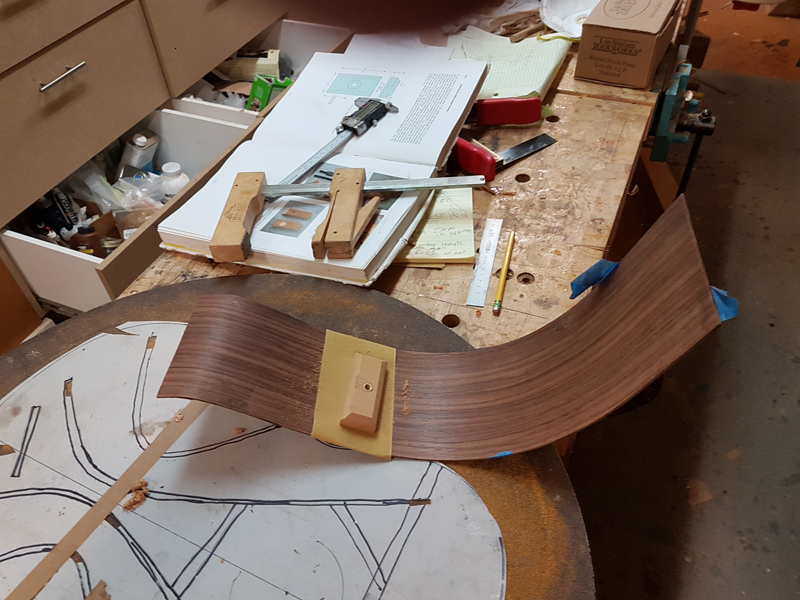
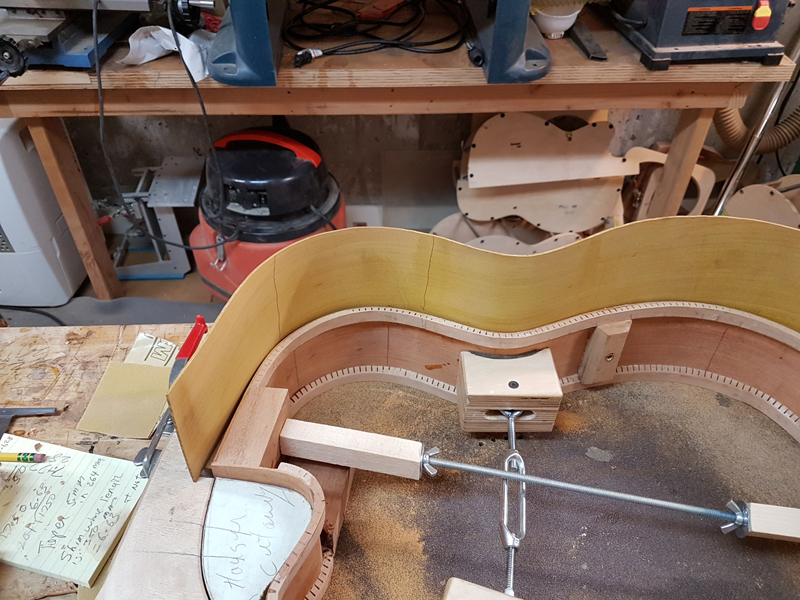
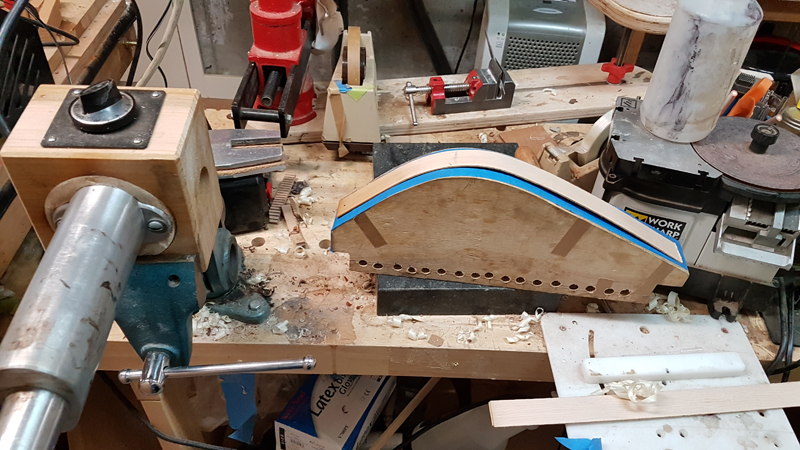
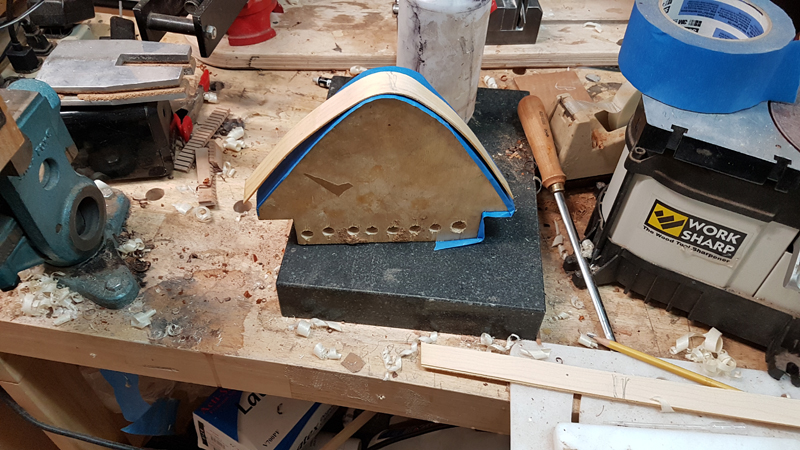
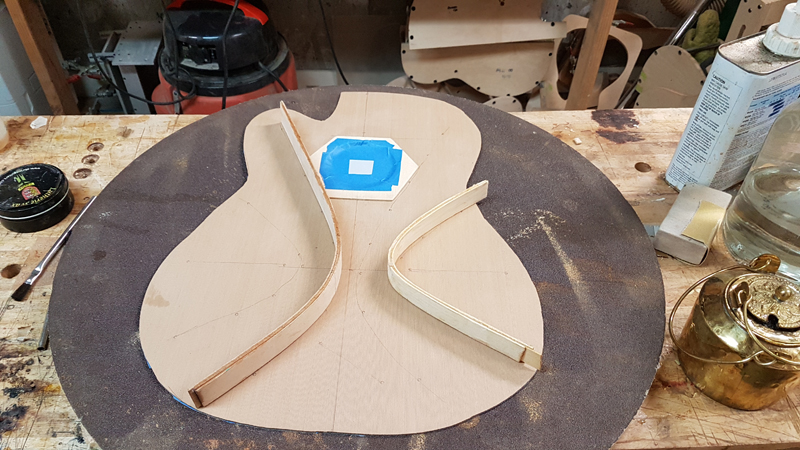
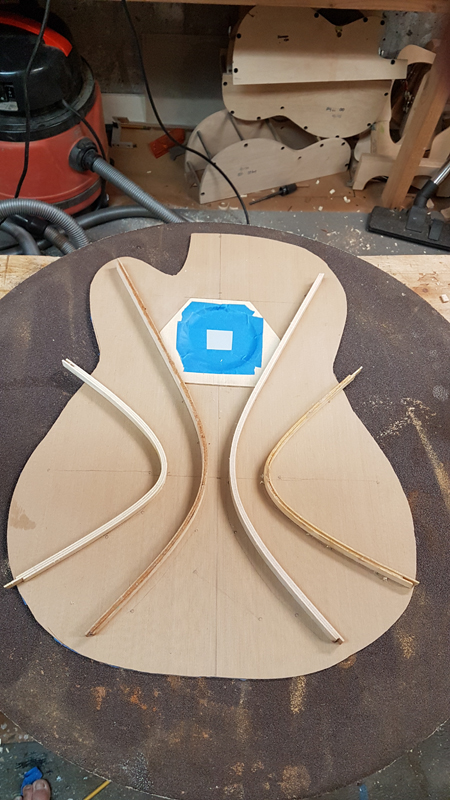
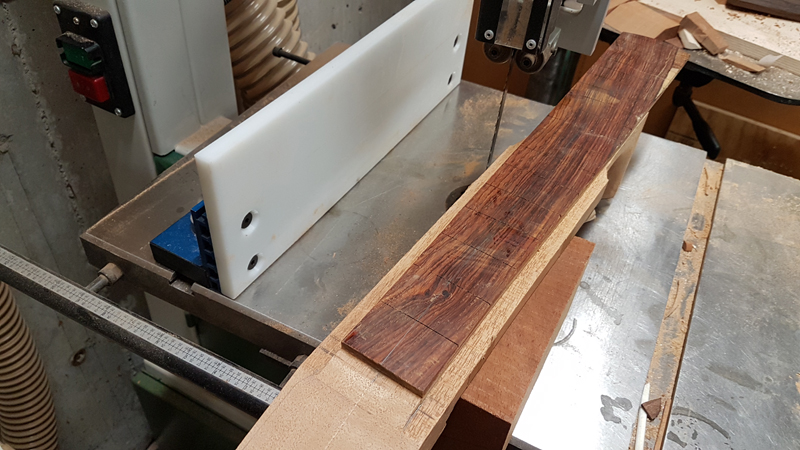
The cutaway template and rim shaping. The cutaway is the trickiest part of the bending — a very tight radius that needs to be precise.
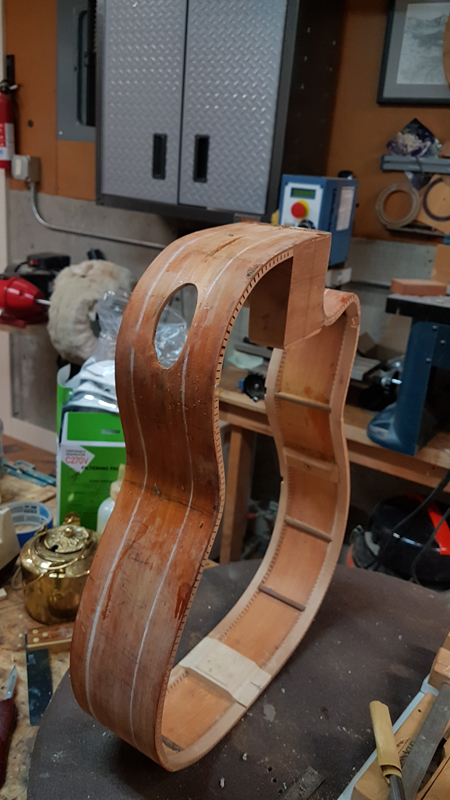
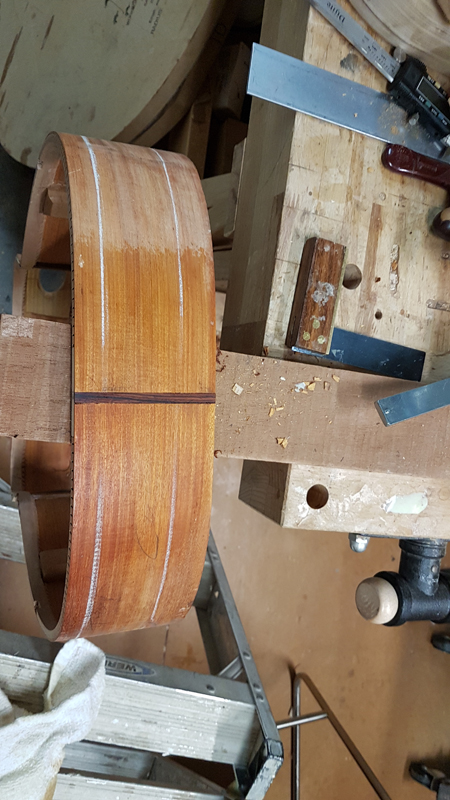
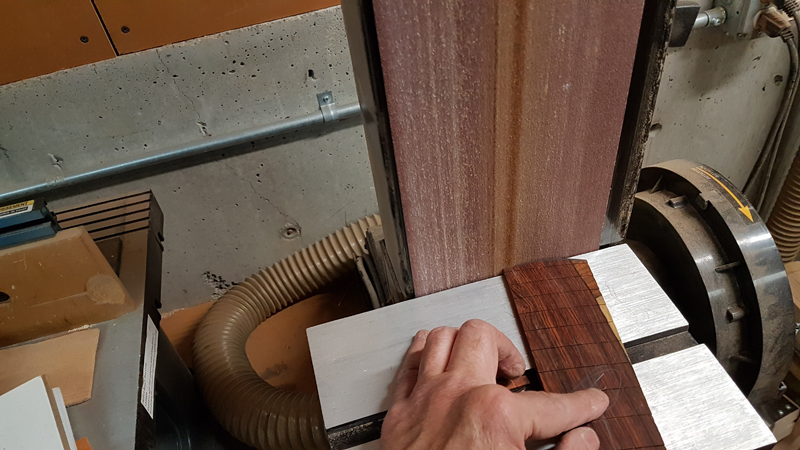
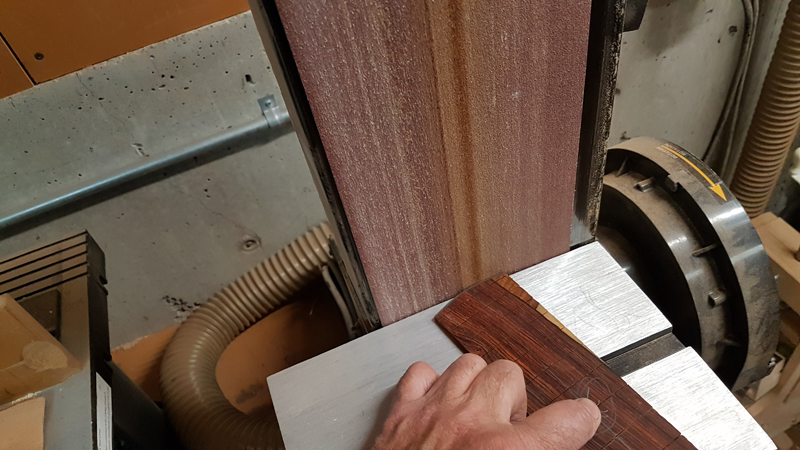
Side bending complete. I use a Fox bender for the main bouts and handle the cutaway section carefully — Pernambuco is dense and doesn’t like tight bends.
♦
January 13th, 2019
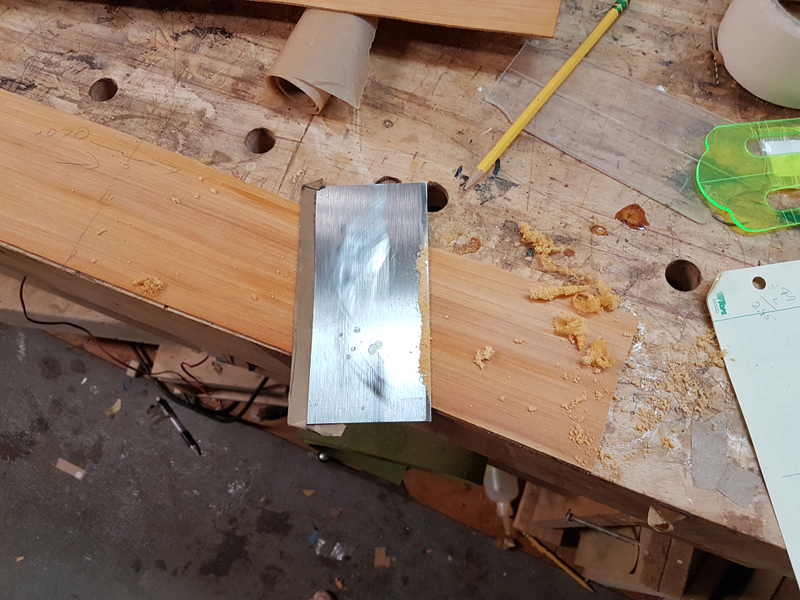
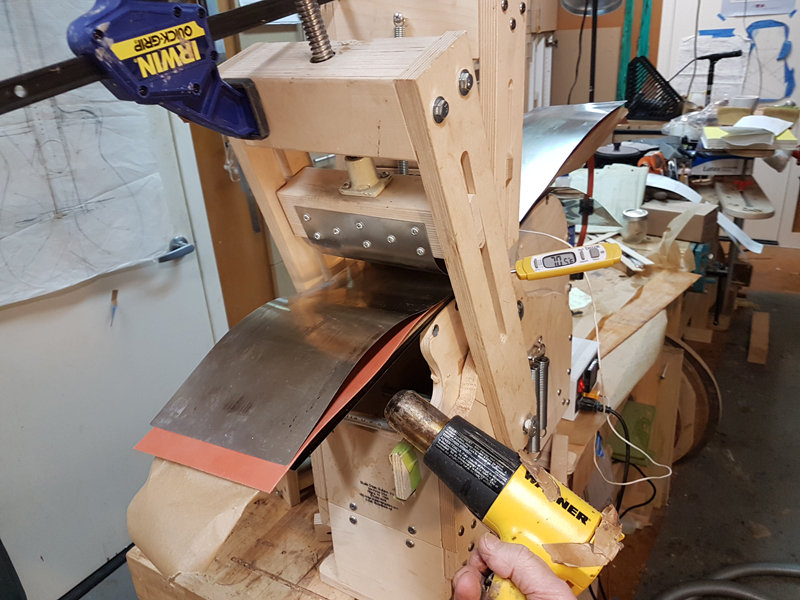
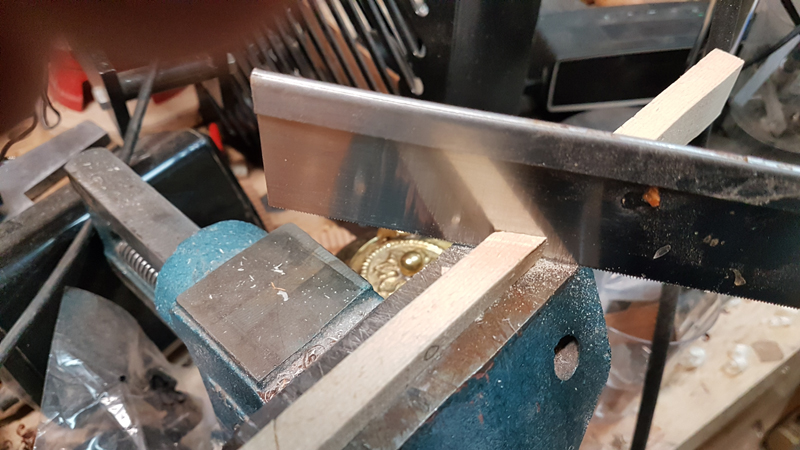
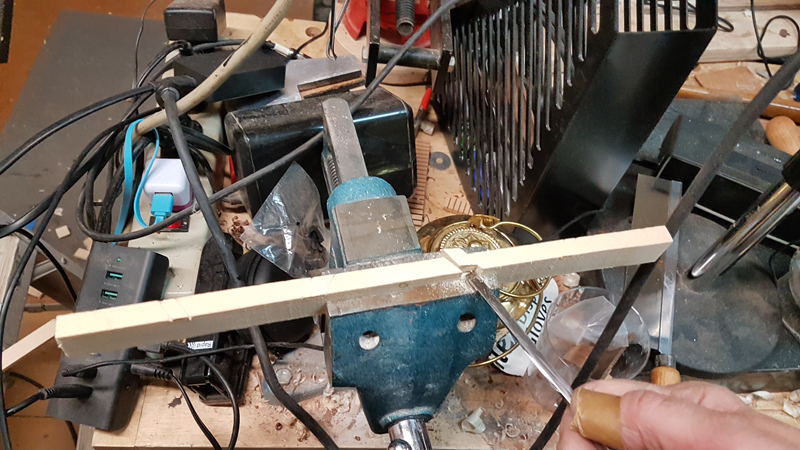
Herman asked how the Cocobolo bindings would bend — he’d used it once and called it a battle. Fair warning received. I have six binding strips to bend rather than the usual four because of the cutaway. I’ll try the side bender first; if that fails, I’ll bend by hand. I’ve bent ebony bindings to this pattern by hand before (it took ten strips), so I think I can get these done.
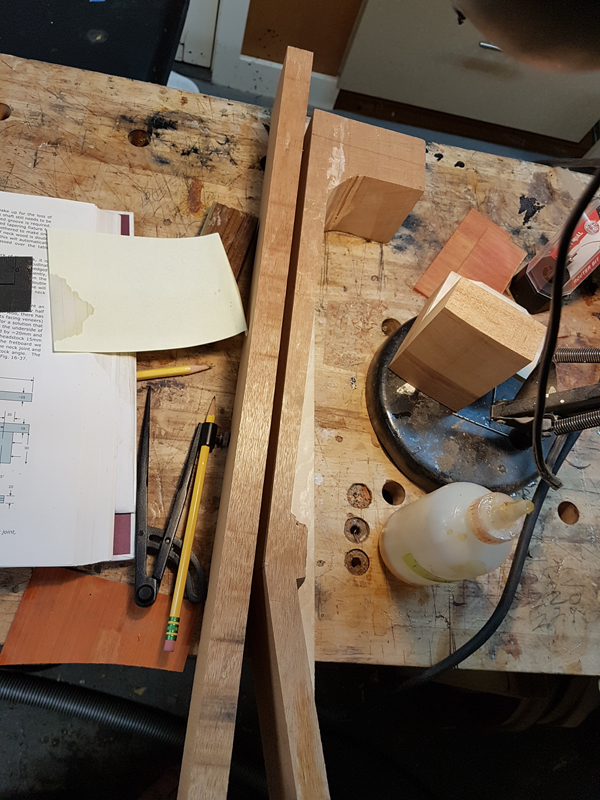
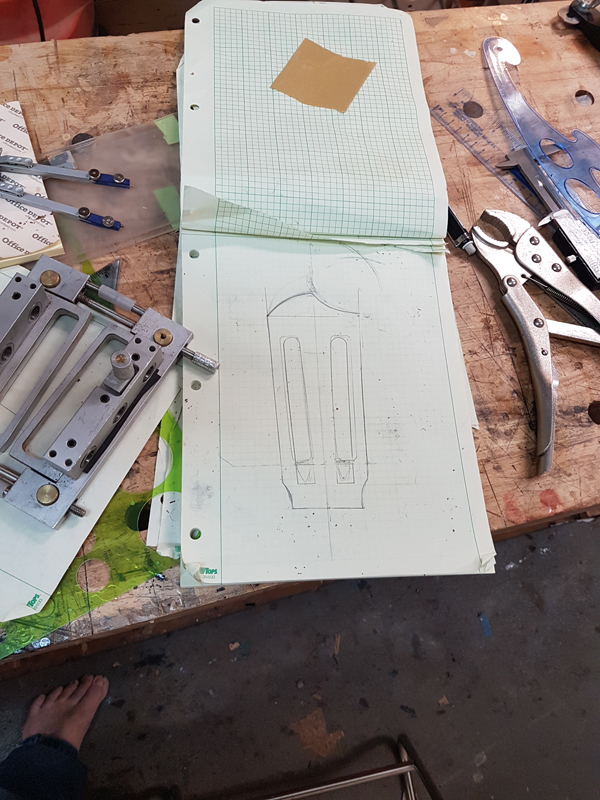
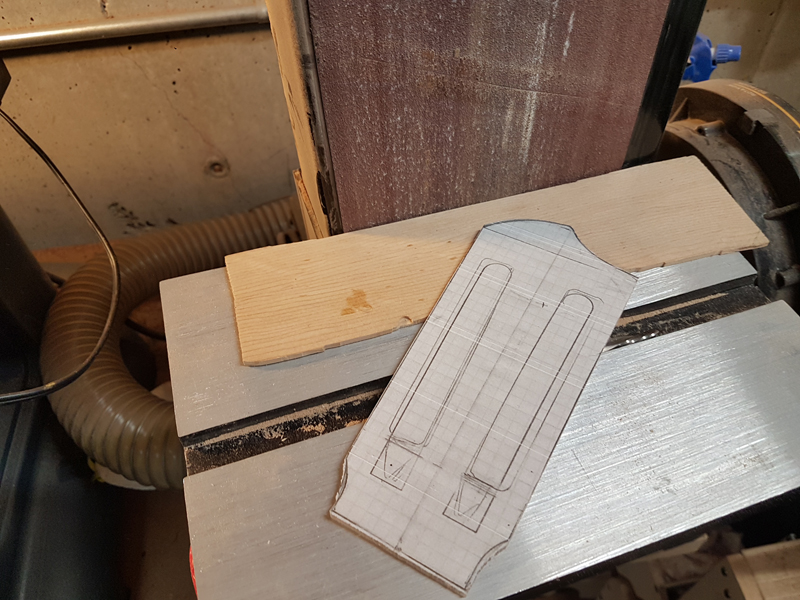
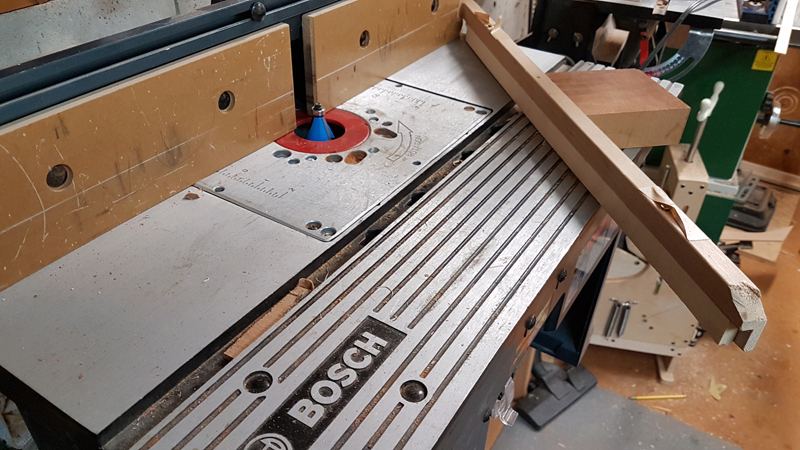
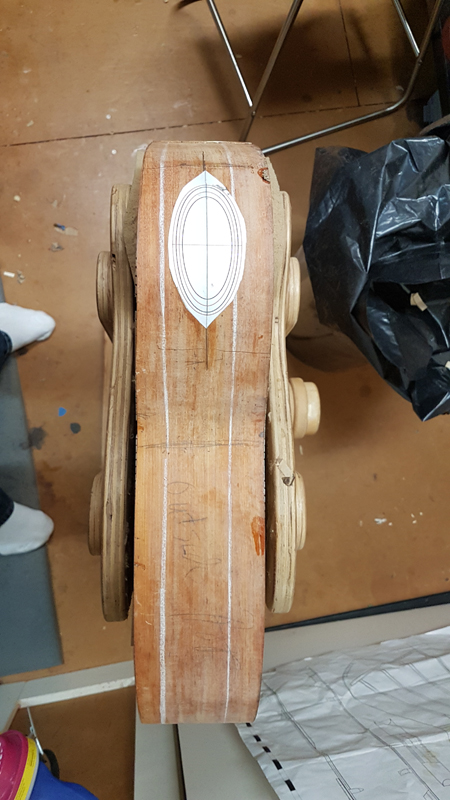
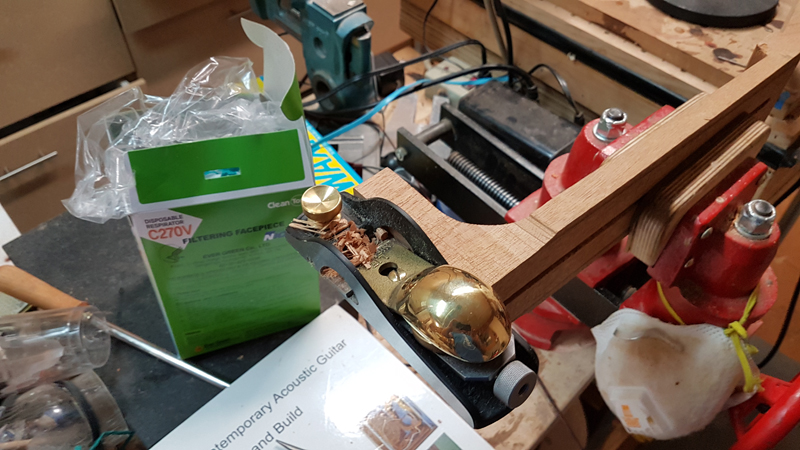
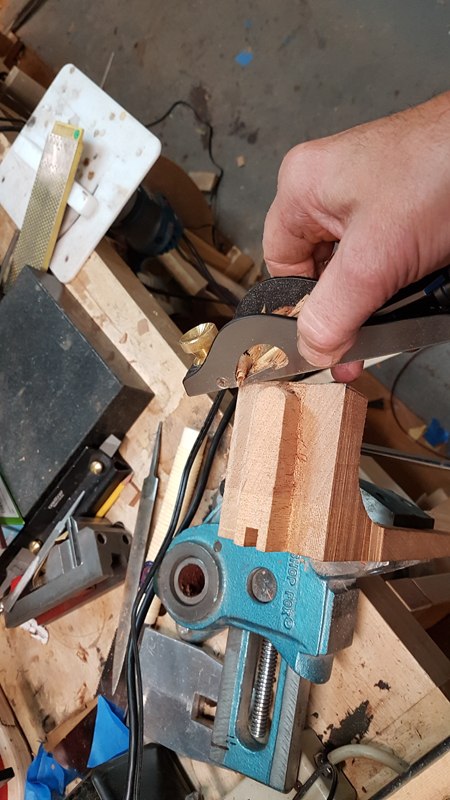
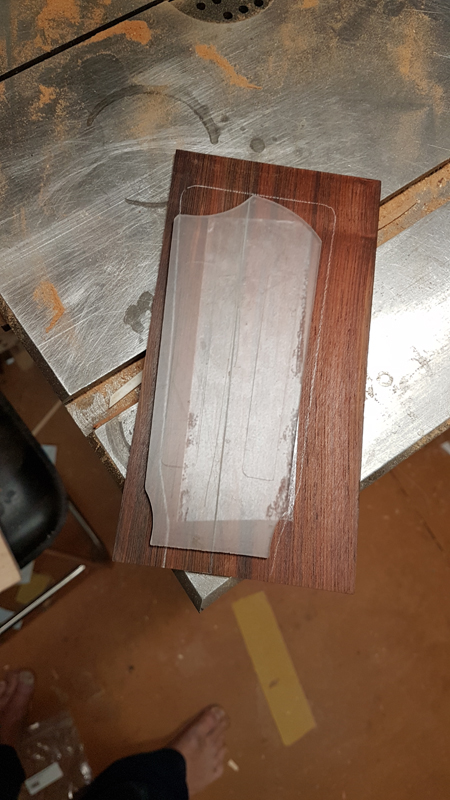
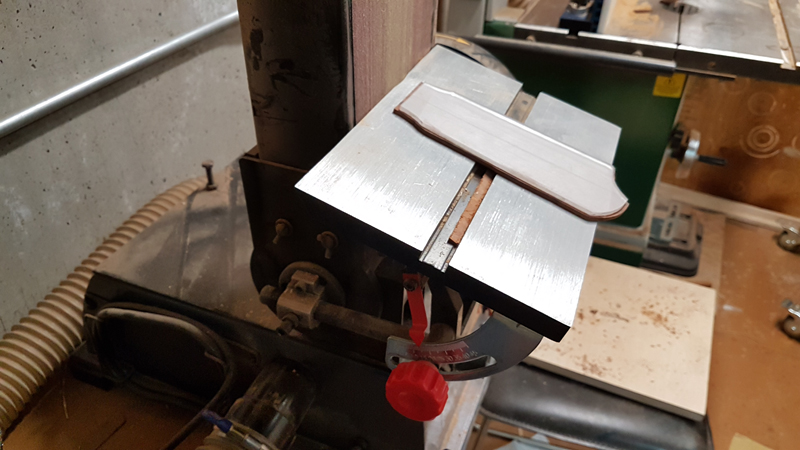
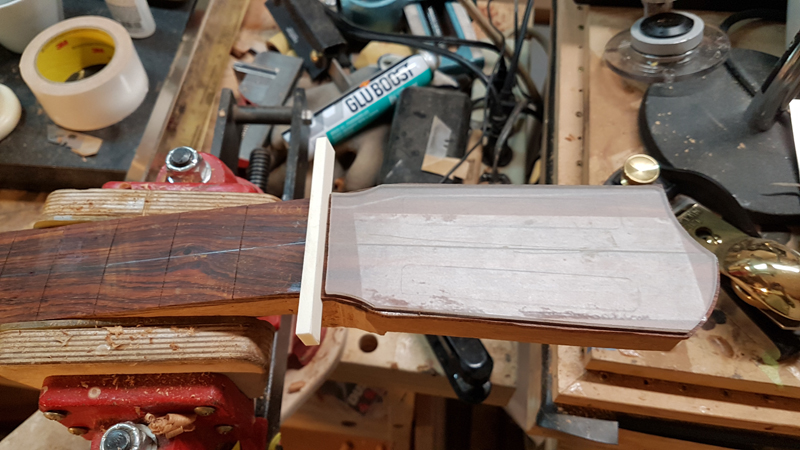
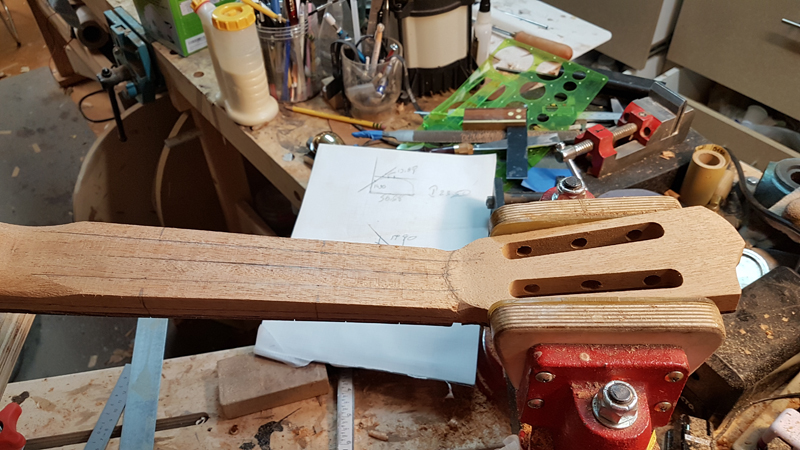
I finished the headstock template. I copied and cut the template on my bandsaw, cleaned it up on the belt sander, then refined with a small drum. I won’t profile the head until the fretboard is glued on.
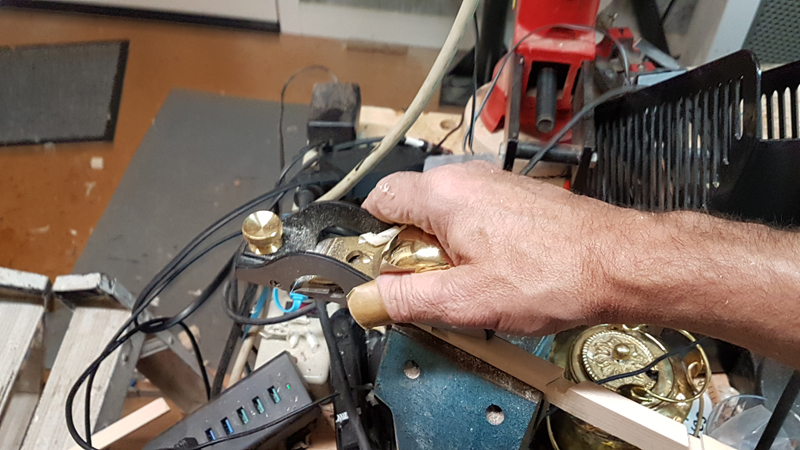
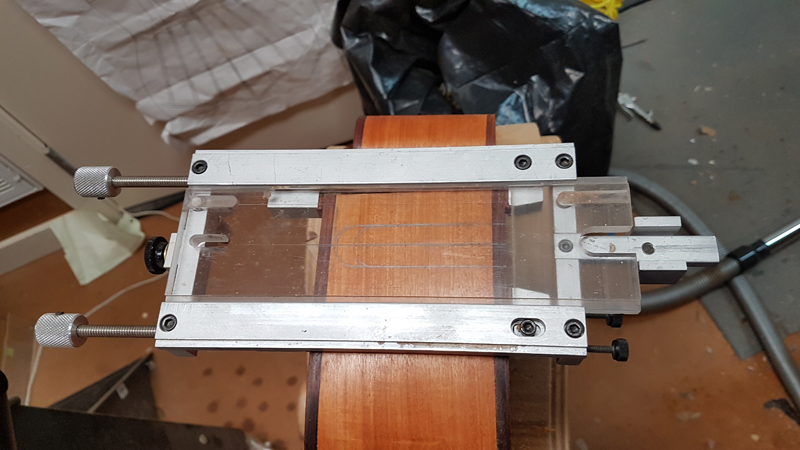
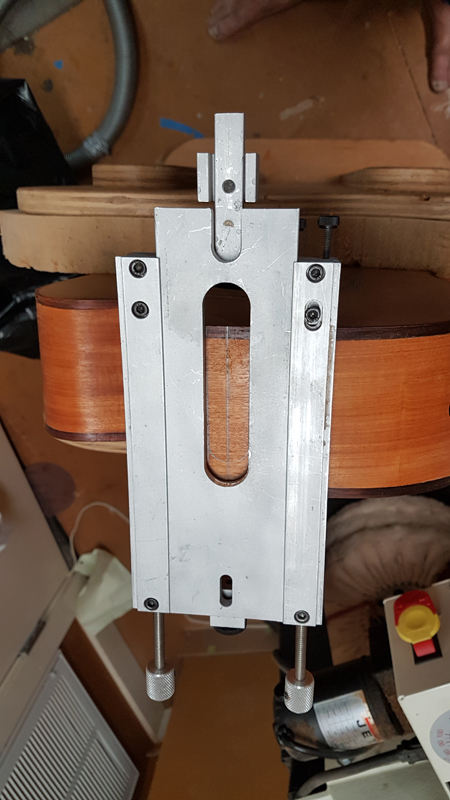
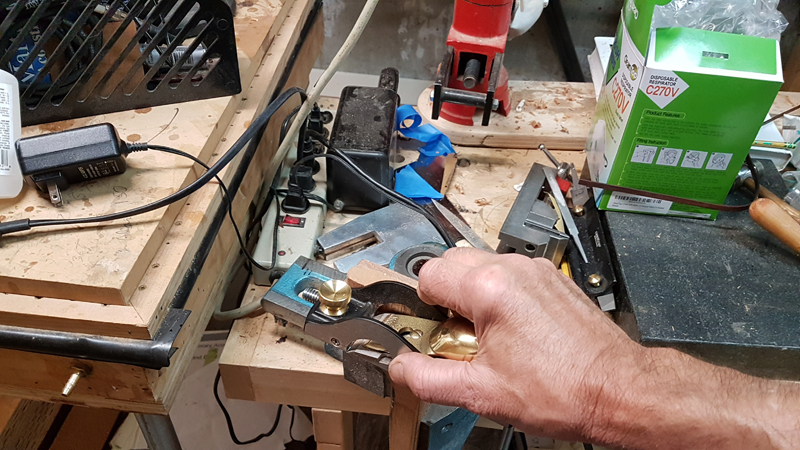
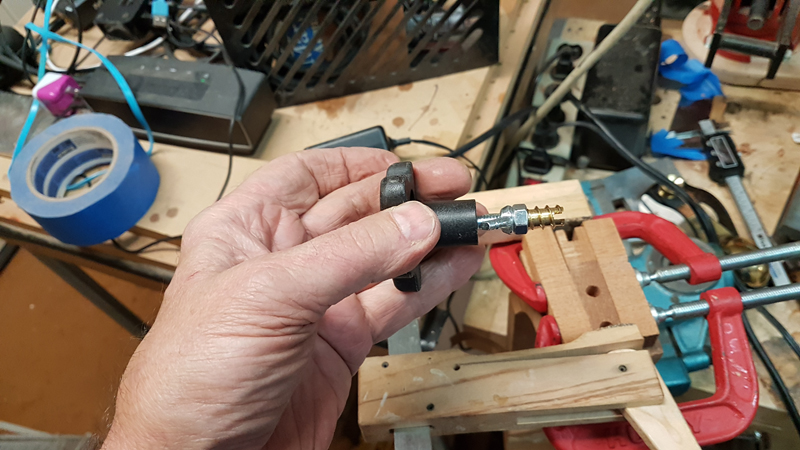
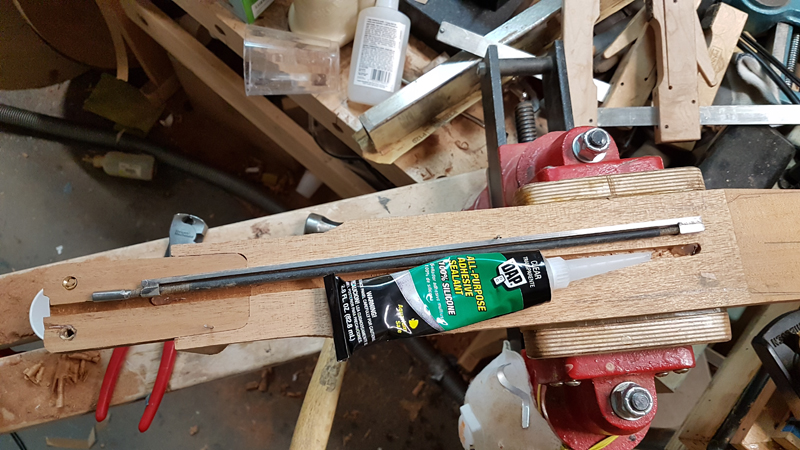
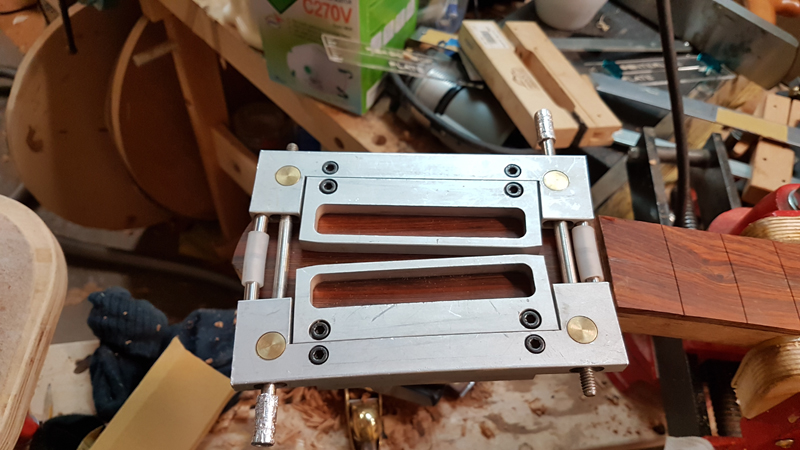
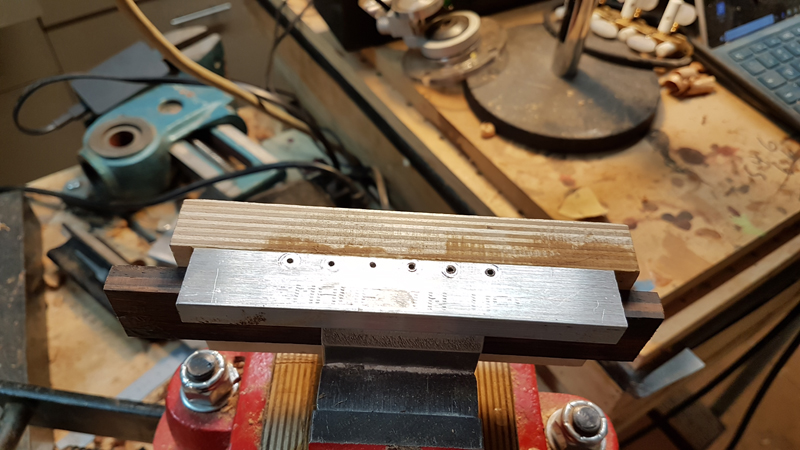
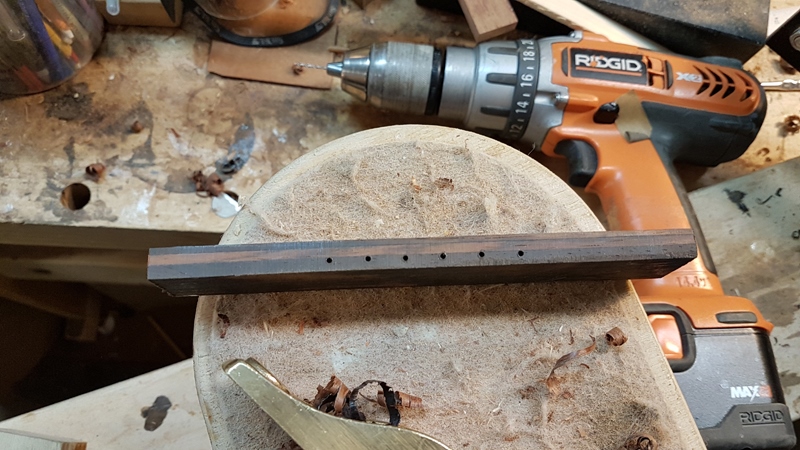
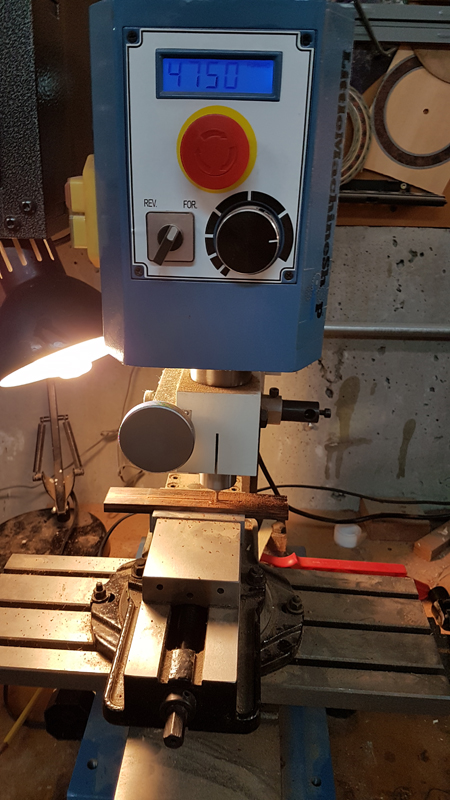
The bolt-on neck system needs precise alignment. I use a jig to drill the bolt holes in the neck heel and a matching jig for the body. The neck can be removed for maintenance or adjustment without disturbing the finish.
Cocobolo BindingsCocobolo is beautiful but notoriously difficult to bend. It’s oily, dense, and prone to cracking on tight radii. Having spare strips is essential. The oil content also means you need to wipe the gluing surfaces with acetone before any adhesive will hold.
♦
January 16th, 2019
Early next week I’m heading off on a long vacation in Indonesia. Before going, my goal is to get as much done as possible so I can hit the ground running when I return. I want the rims assembled and the linings installed.
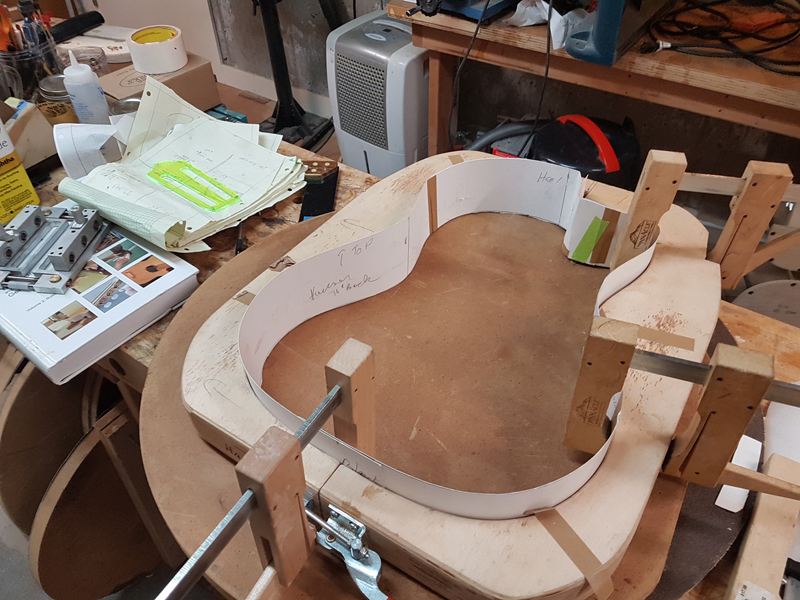
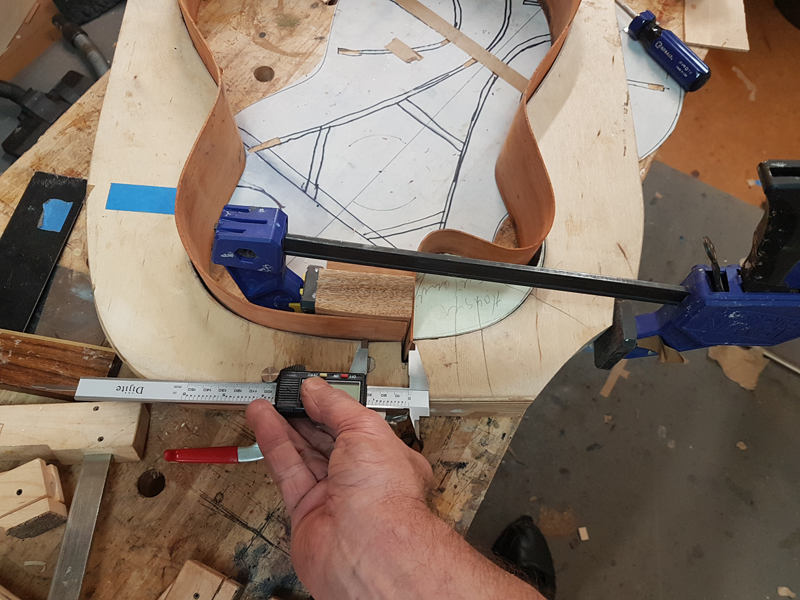
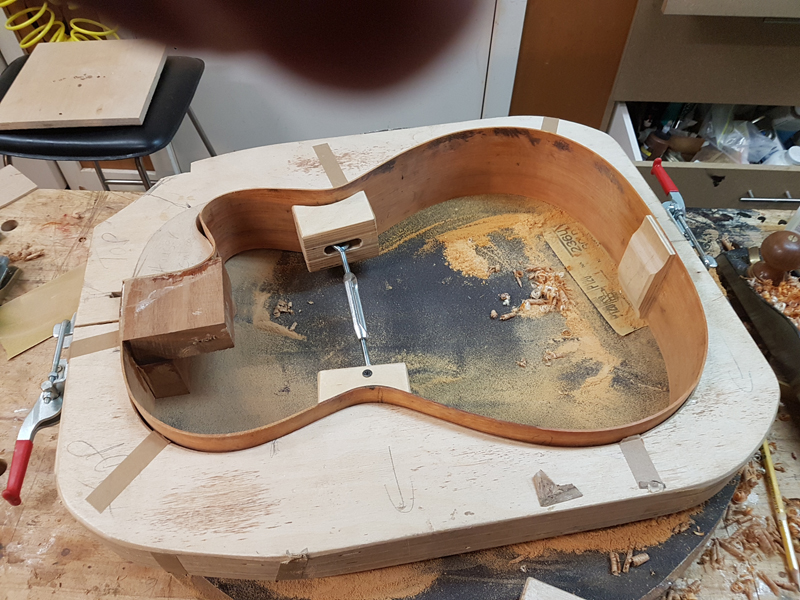
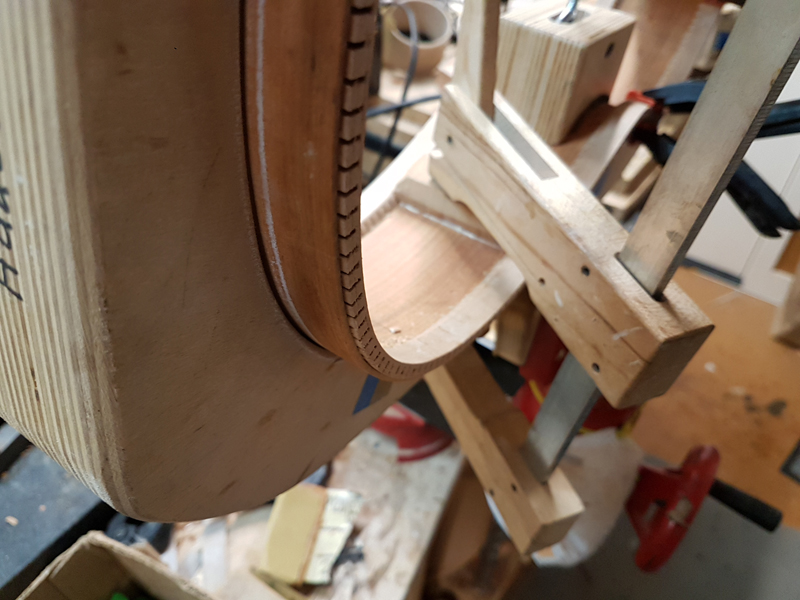
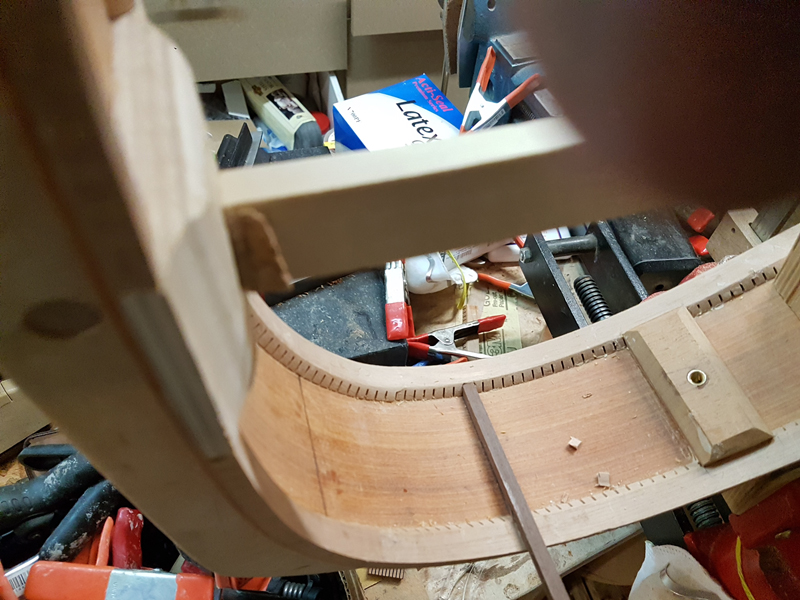
The cutaway joint is critical. I use a very precise mould to keep everything aligned during glue-up. The Pernambuco rims are stiff and don’t want to move, which is actually helpful once they’re in the right position.
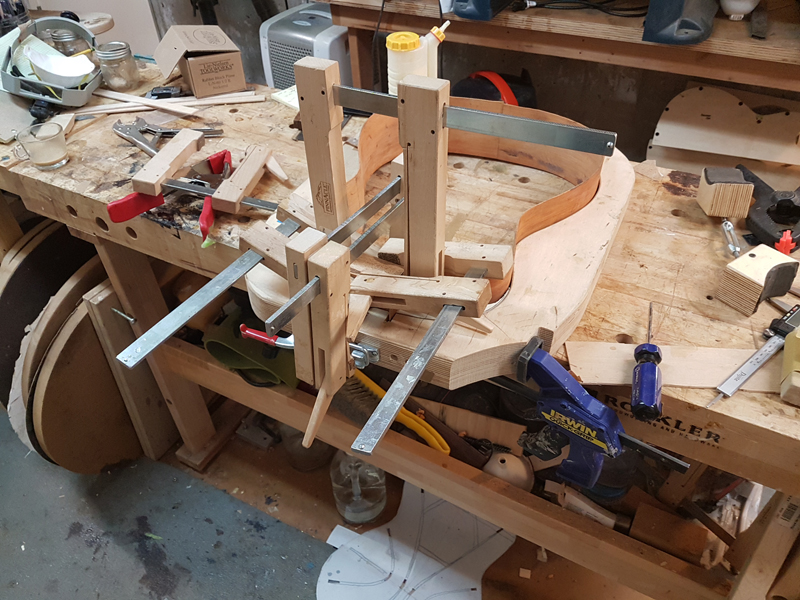
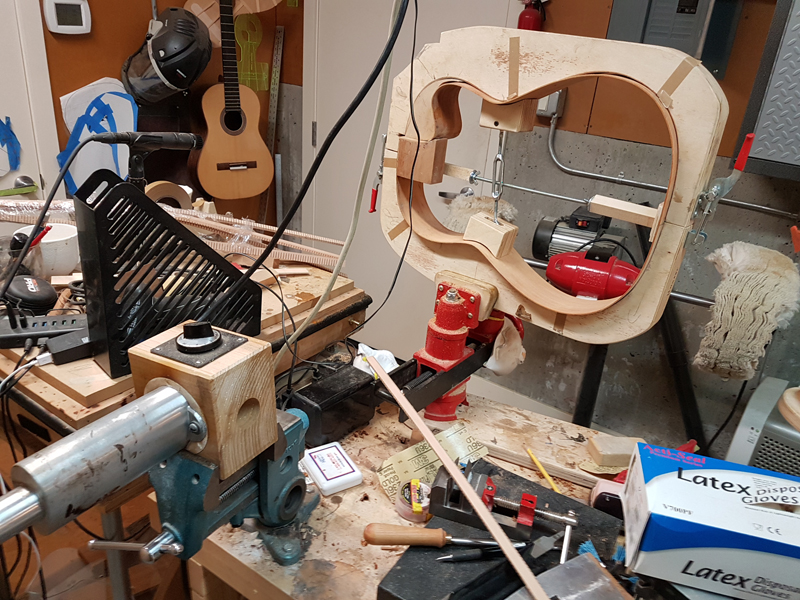
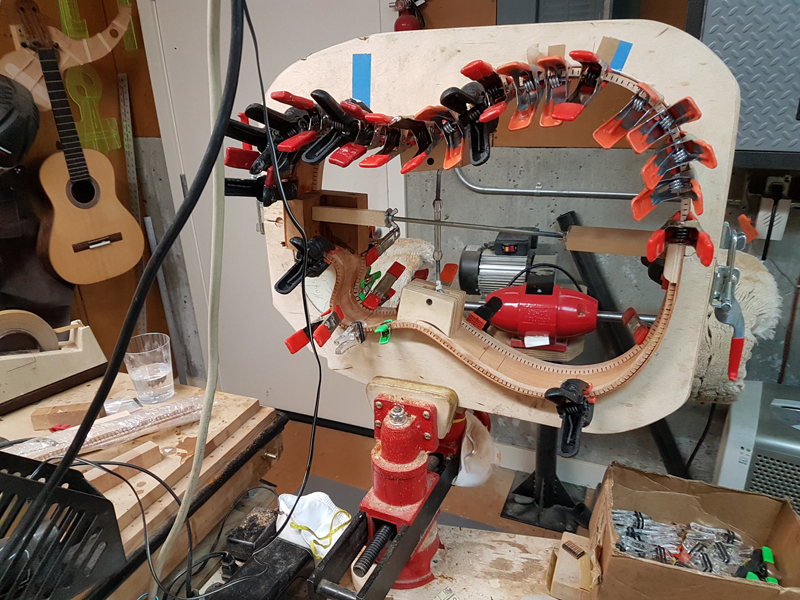
Installing kerfed linings on the rims. On a classical I want the rims really well supported to avoid bleeding energy into the sides.
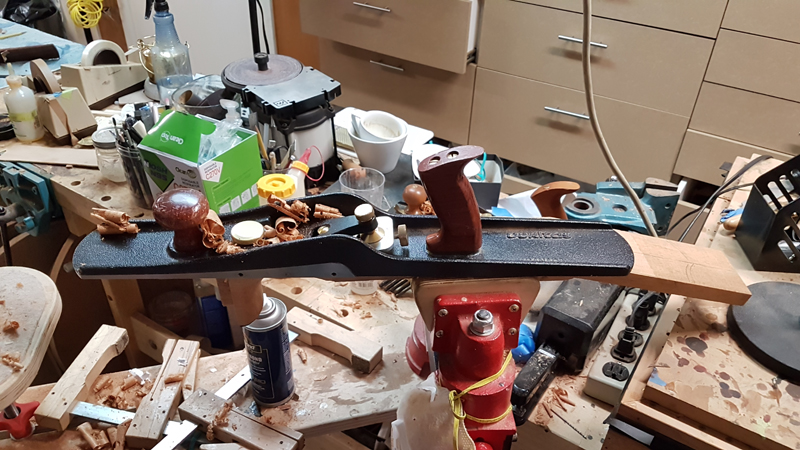
I like to get the linings trimmed and leveled before moving on. A sharp block plane and good light.
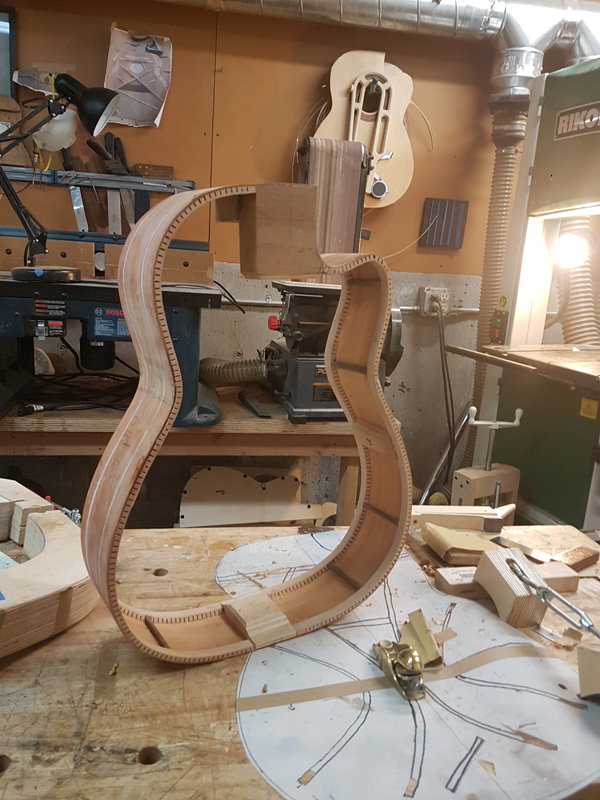
I was able to get in one more day before vacation and have the rims in pretty good shape. The linings are installed, trimmed, and leveled. The body is ready for plates when I get back.
Build Pause Off to Indonesia for six weeks. The guitar will wait patiently in the shop.
♦
March 5th, 2019
I got back from Indonesia last week and started back up on this guitar. I went through the process of plate testing and tuning — this is the Gore/Gilet methodology for determining target thicknesses based on measured wood properties rather than just following a recipe.
The top and back plates are measured for density, stiffness, and deflection. From these measurements I calculate the target thickness for each plate. Every piece of wood is different, so every guitar gets individually tuned plates.
Plate Tuning Method The Gore/Gilet approach uses measured wood properties — density, cross-grain stiffness, and along-grain stiffness — to calculate a target thickness for each plate. This replaces the traditional “tap and flex” method with something repeatable and predictable. The result is a plate optimised for the specific piece of wood you’re working with.
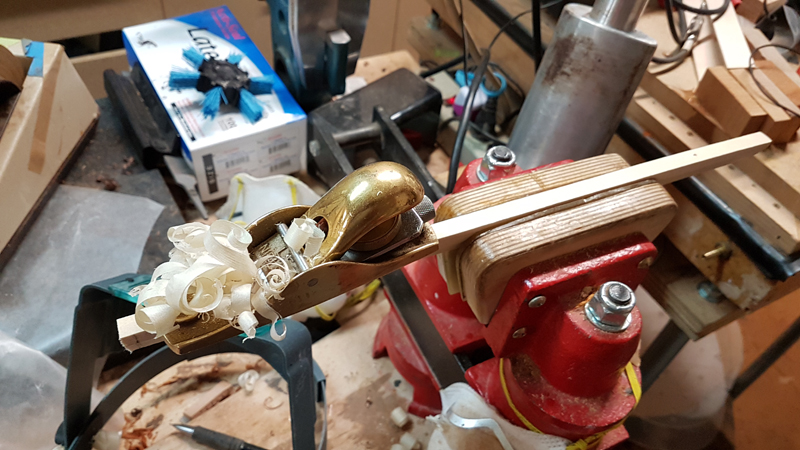
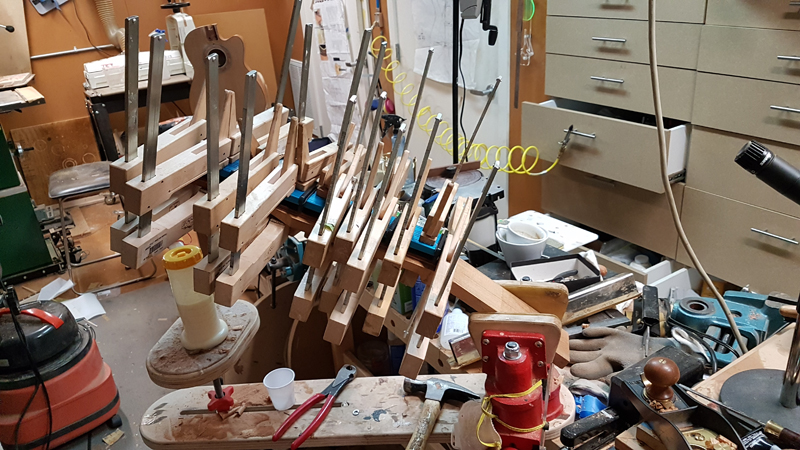
Thicknessing the plates to their targets. I use a drum sander for rough work and finish by hand with a scraper, checking constantly with a caliper.
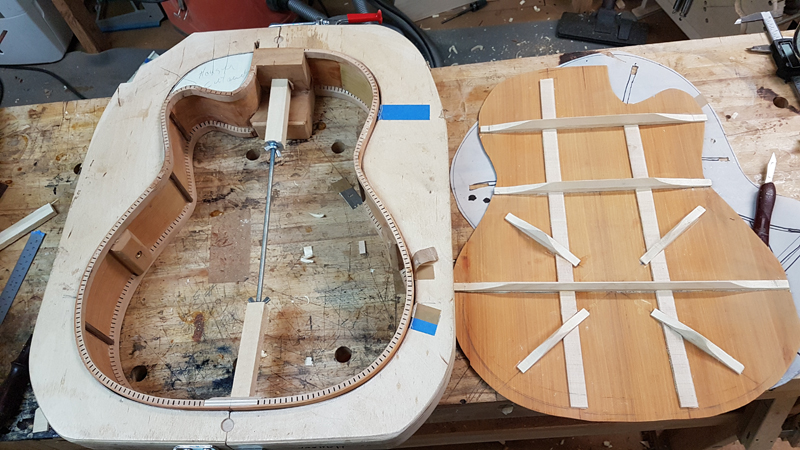
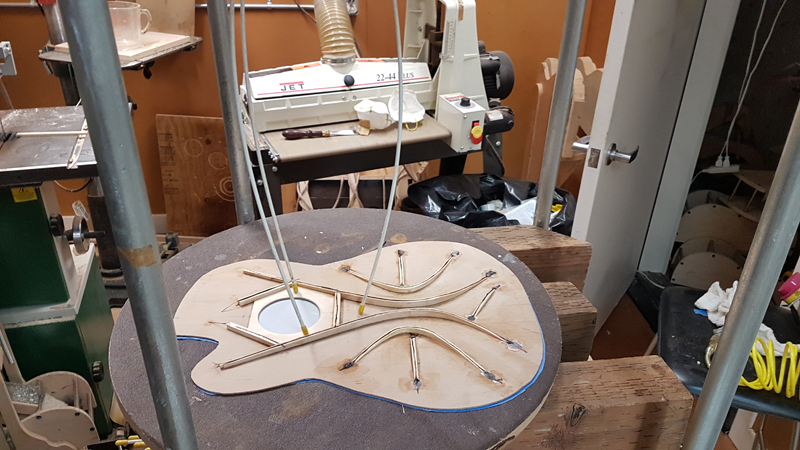
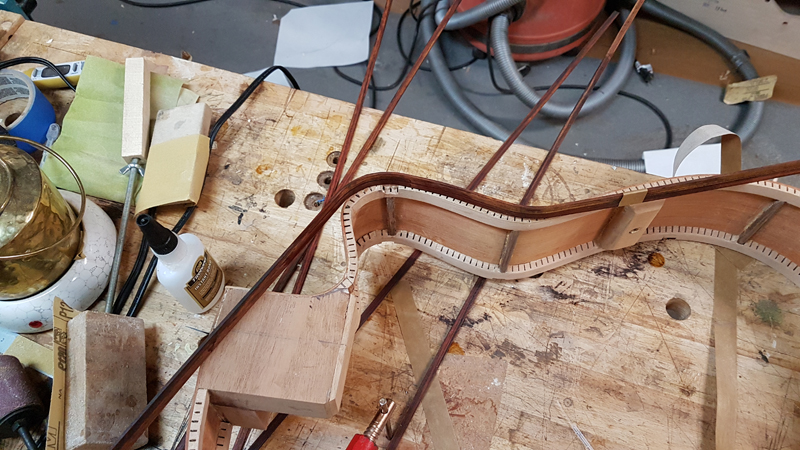
With the plates at their target thickness, I can now glue the top and back braces. The falcate braces on the top follow the curved pattern designed to handle string load while letting the top vibrate freely.
The back braces go on next. These are the active back braces — radiating from the lower bout center.
With all bracing complete, the plates are ready for final shaping and fitting to the rim assembly.
♦
March 8th, 2019
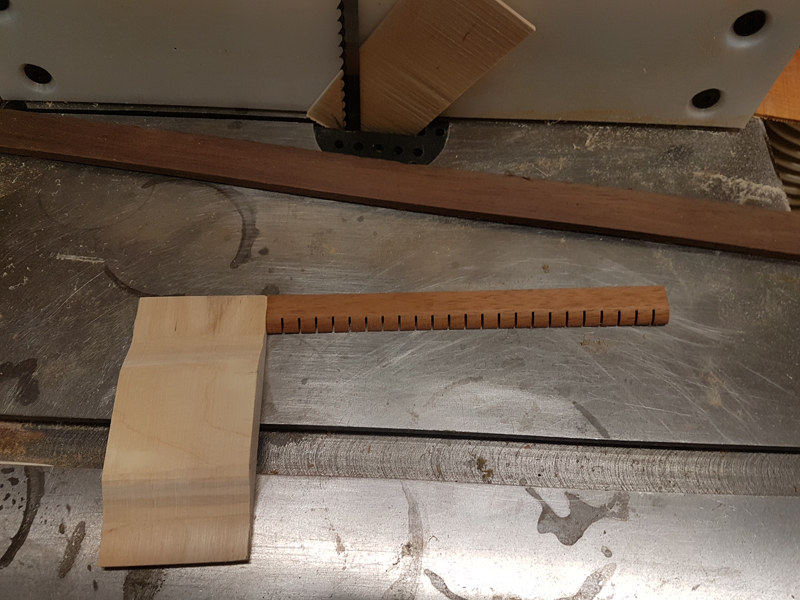
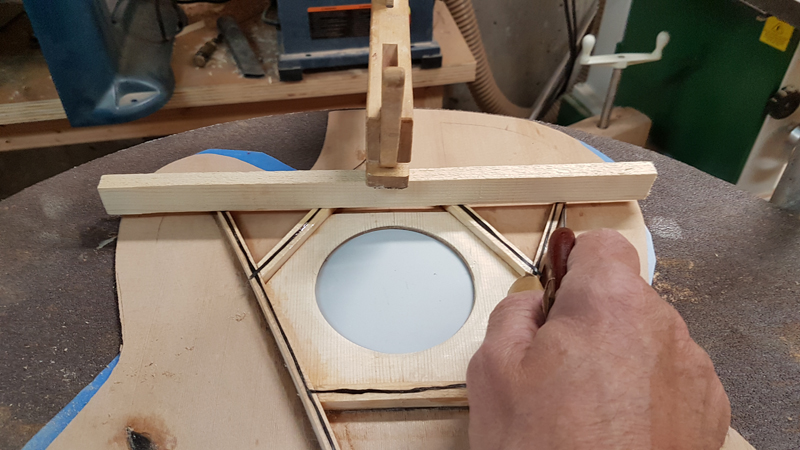
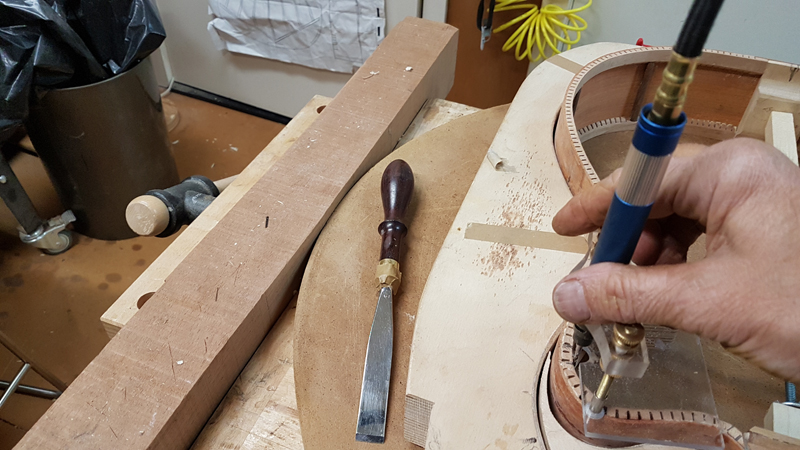
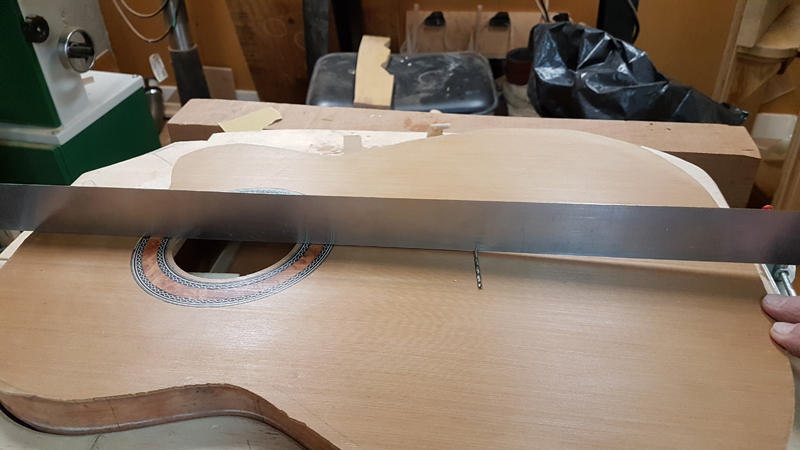
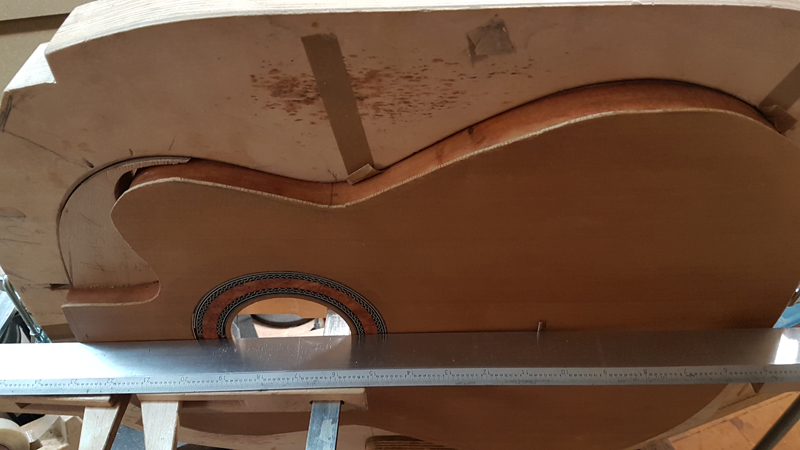
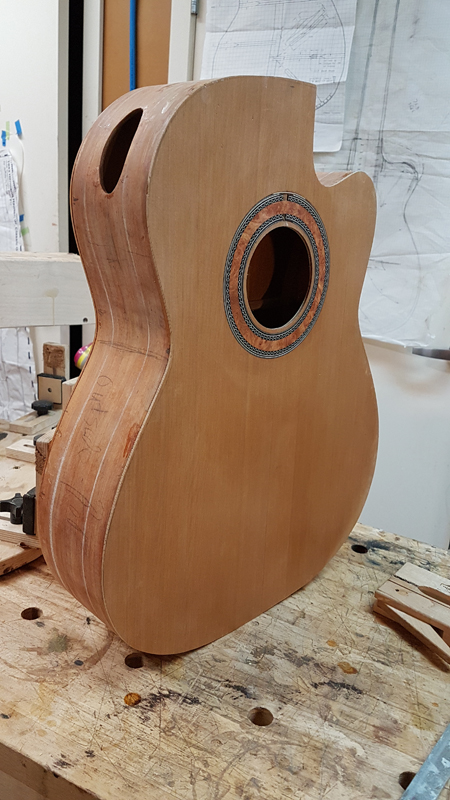
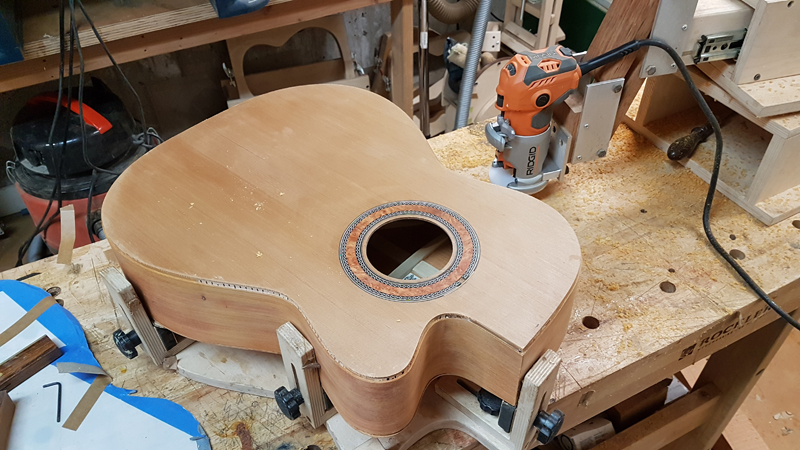
I finished up the plates and used my pencil mill grinder to notch the linings for the top. Every brace end needs a matching notch in the lining so the plate sits down flush.
Test-fitting the top to the body. Getting a good fit all around is essential — any gaps between the plate and linings will show up as buzzes or dead spots later.
The back gets the same treatment. Notching, fitting, checking, adjusting.
♦
March 11th, 2019
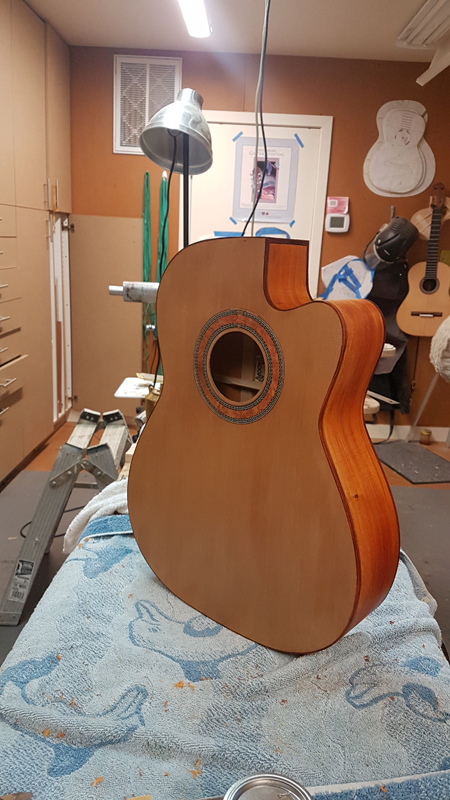
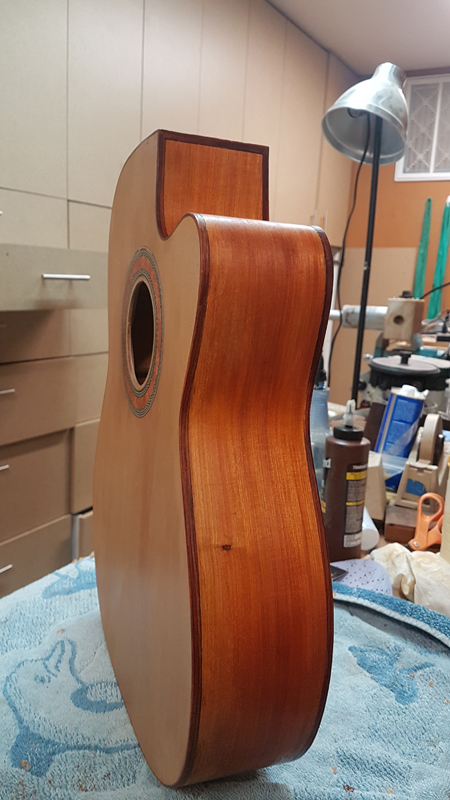
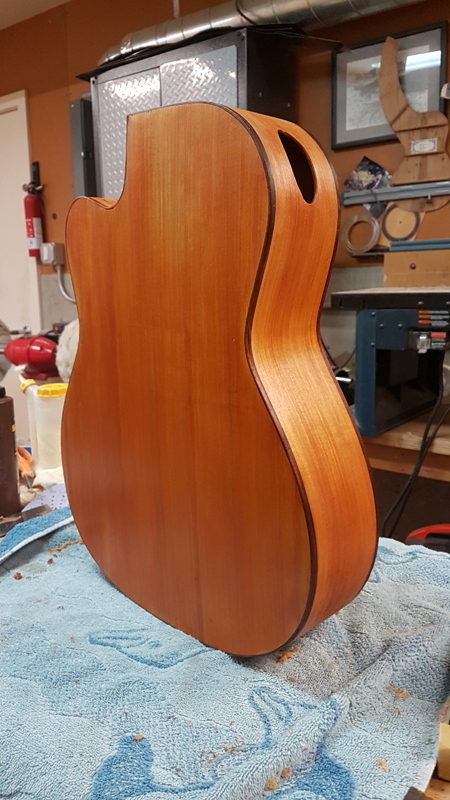
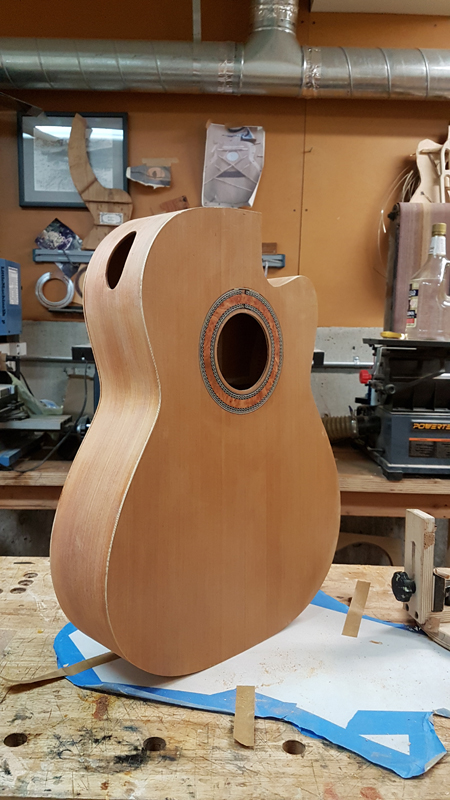
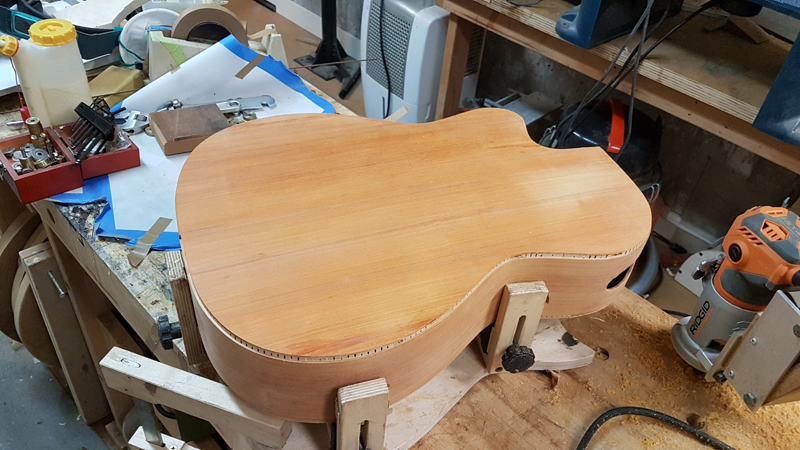
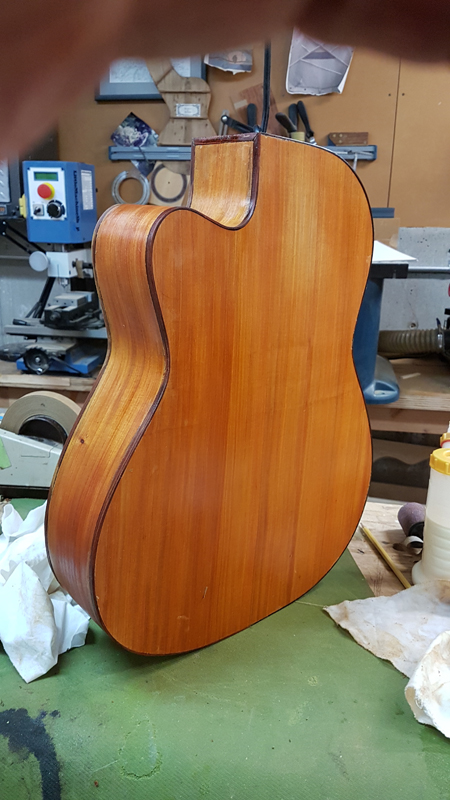
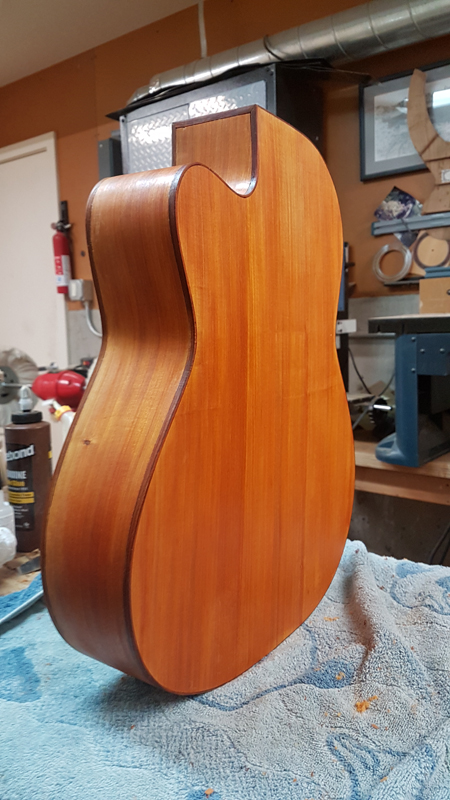
This weekend I got the box closed and bound. All in all I am happy with the results. Both the Pernambuco and the WRC are beautiful woods to work with, and the Cocobolo bindings pair beautifully with the Pernambuco.
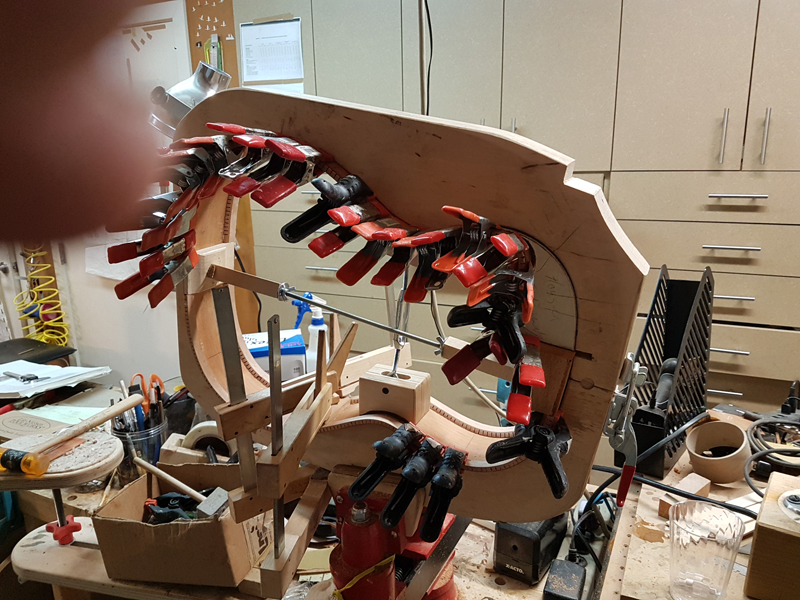
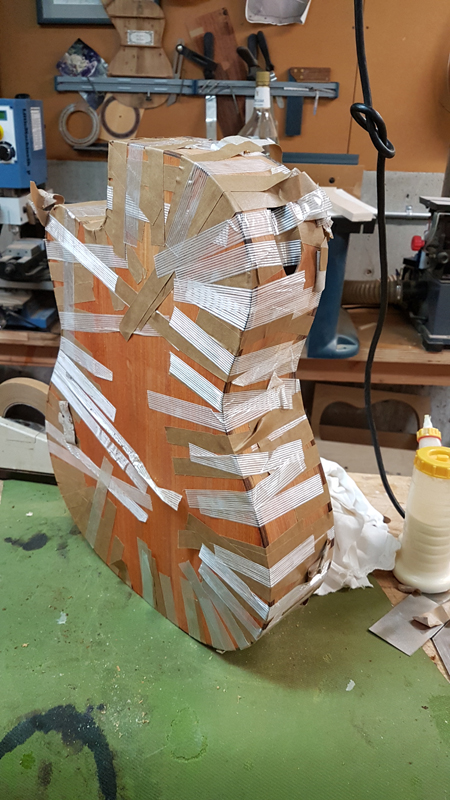
Gluing the top and back. This is always a tense moment — once the box is closed, any problems inside are much harder to fix.
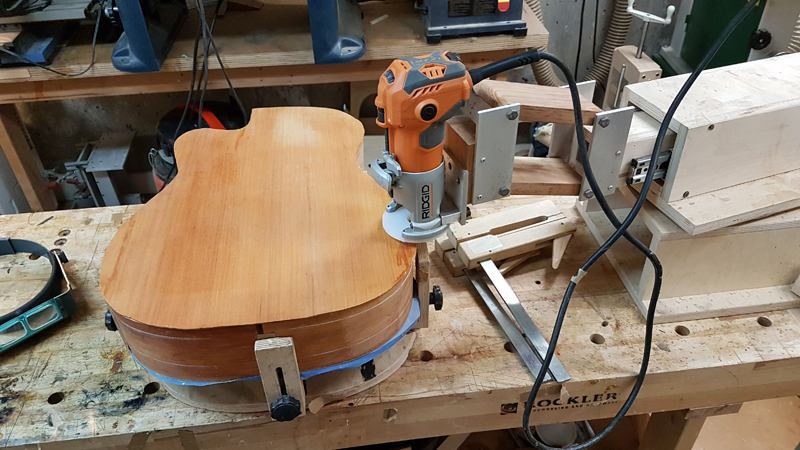
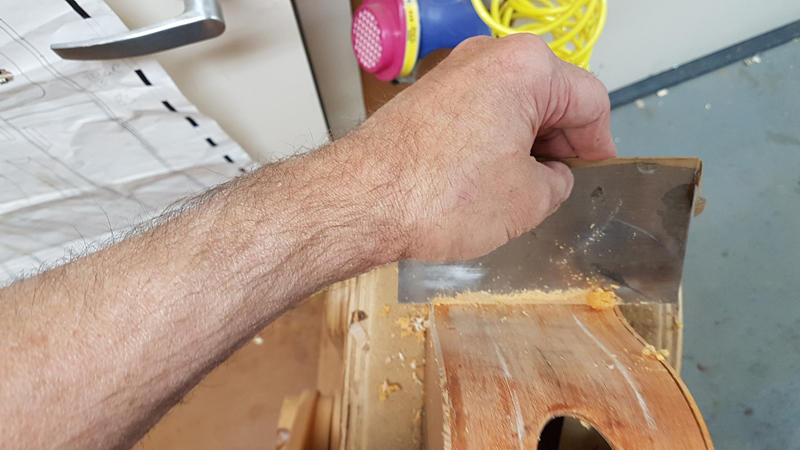
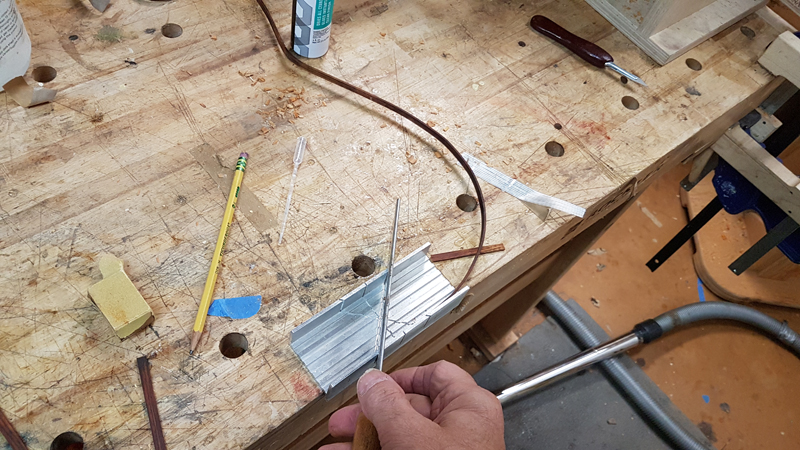
Routing the binding channels on the cutaway side requires extra care. The tight radius means the router wants to wander. Slow and steady.
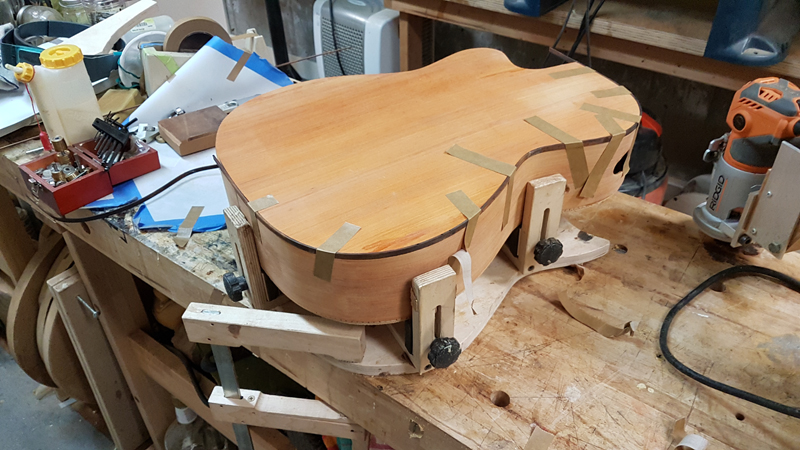
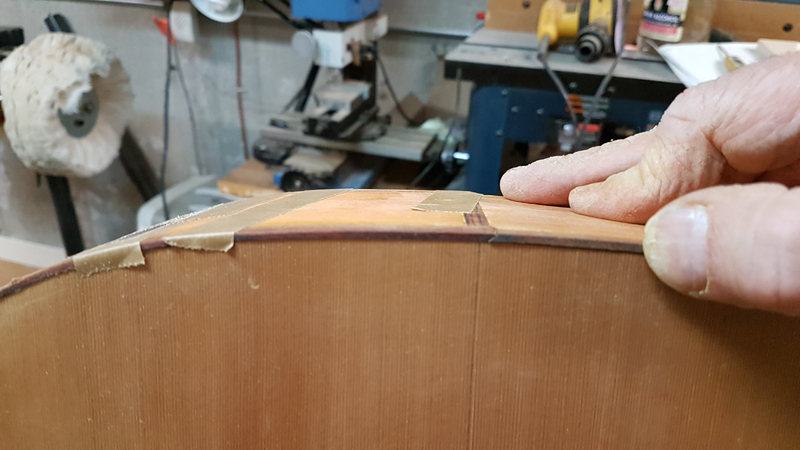
The Cocobolo bindings went on better than expected. Herman’s warning about bending was well taken, but the side bender handled it. Having spare strips on hand was good insurance.
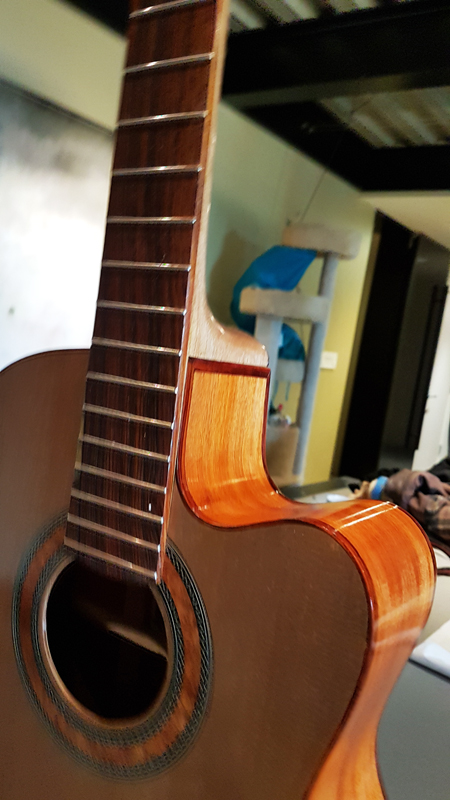
Scraping the bindings flush and cleaning up. The Cocobolo against the Pernambuco is a striking combination — the dark chocolate brown against the fiery orange-red.
♦
March 17th, 2019
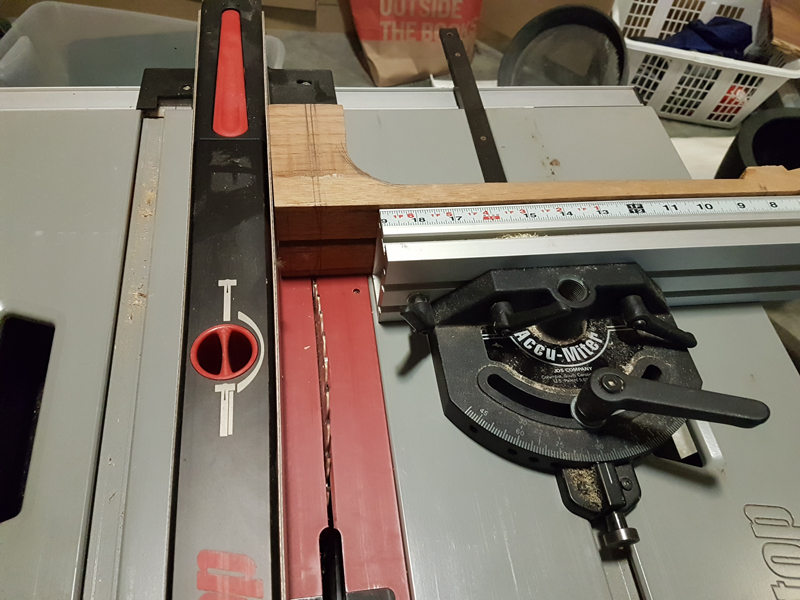
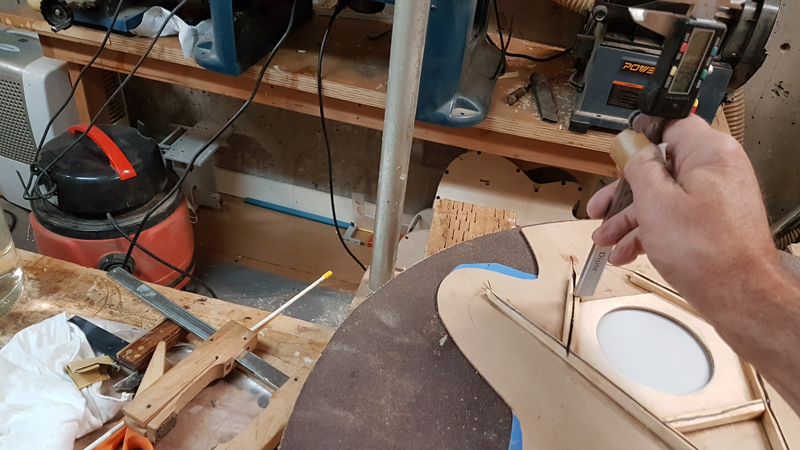
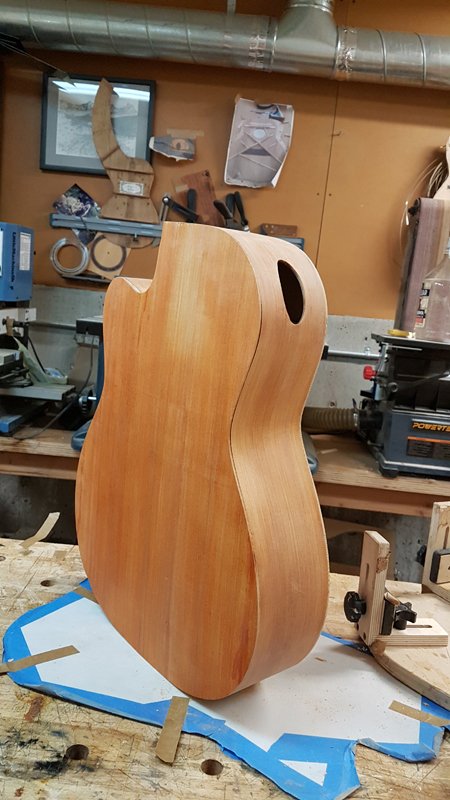
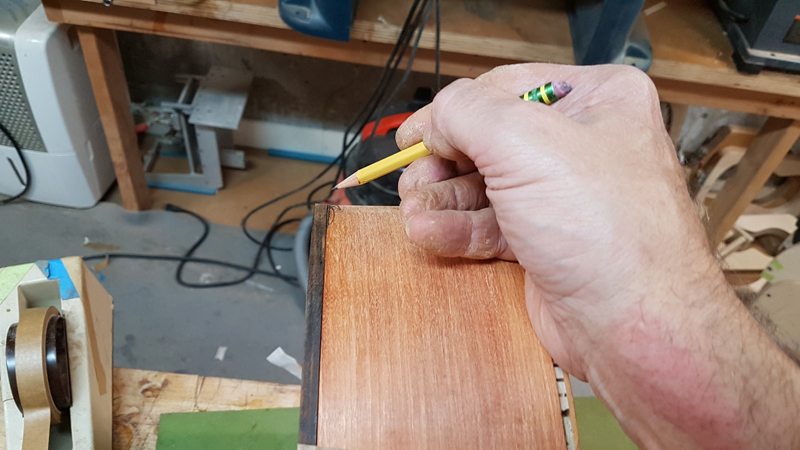
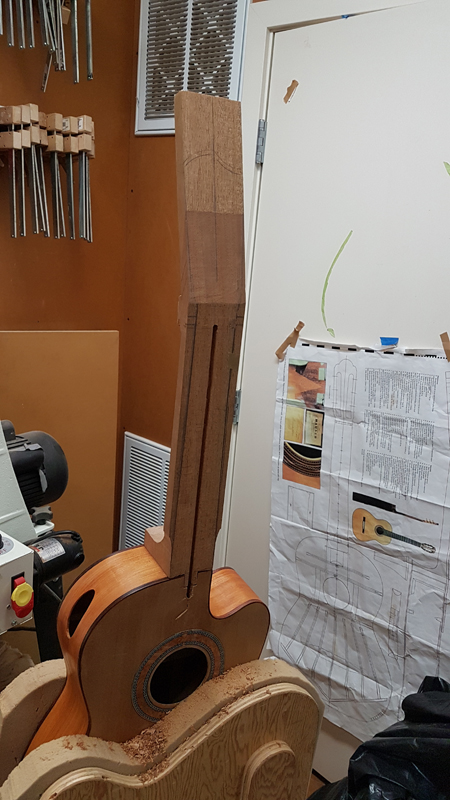
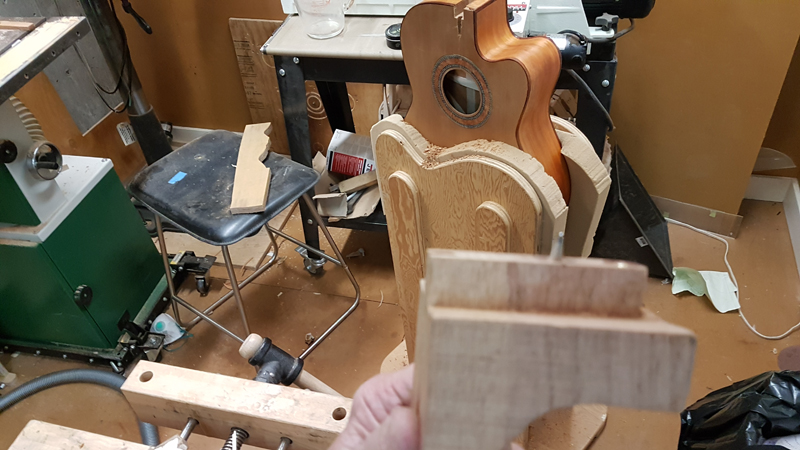
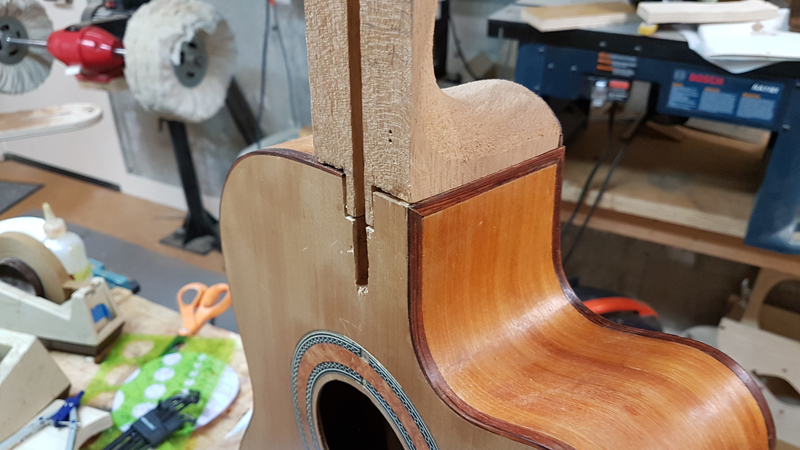
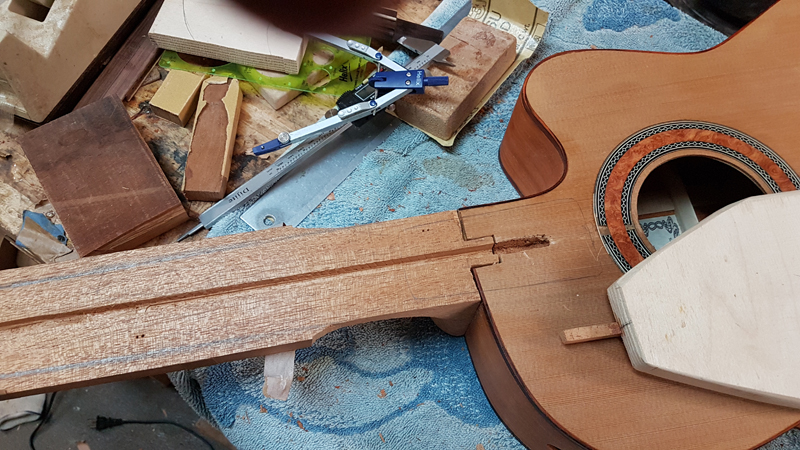
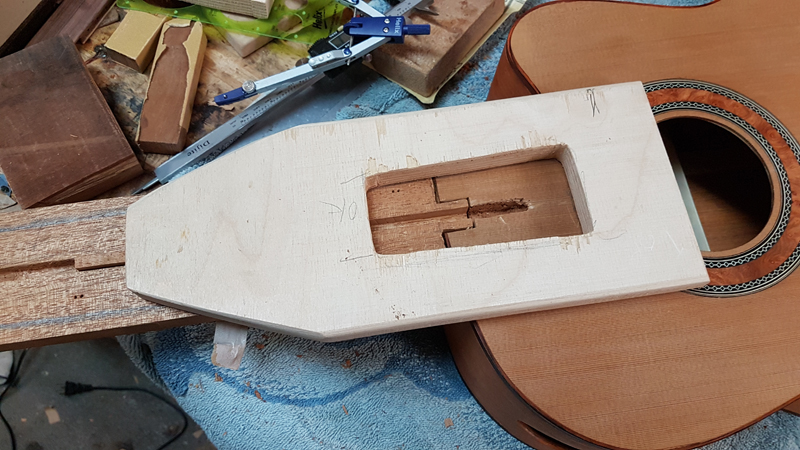
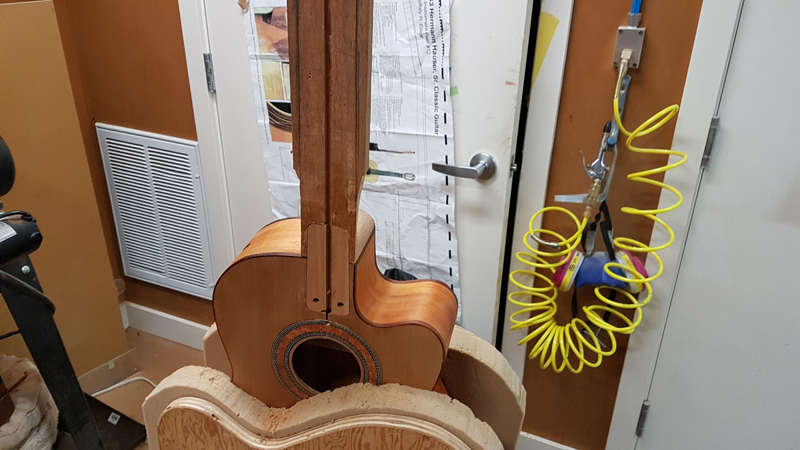
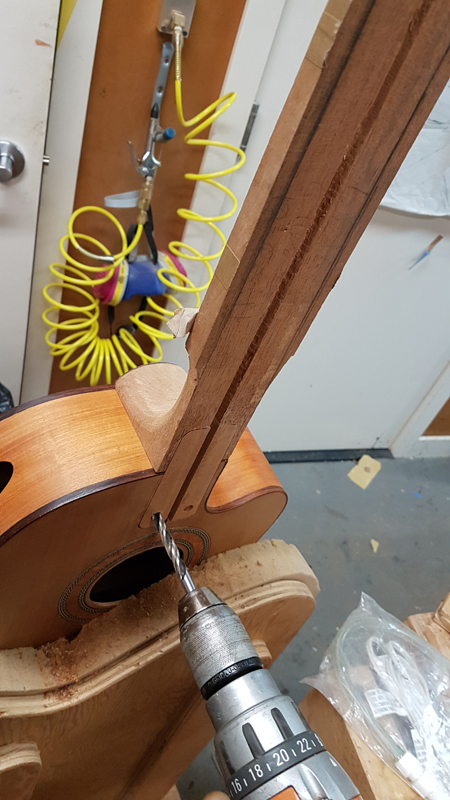
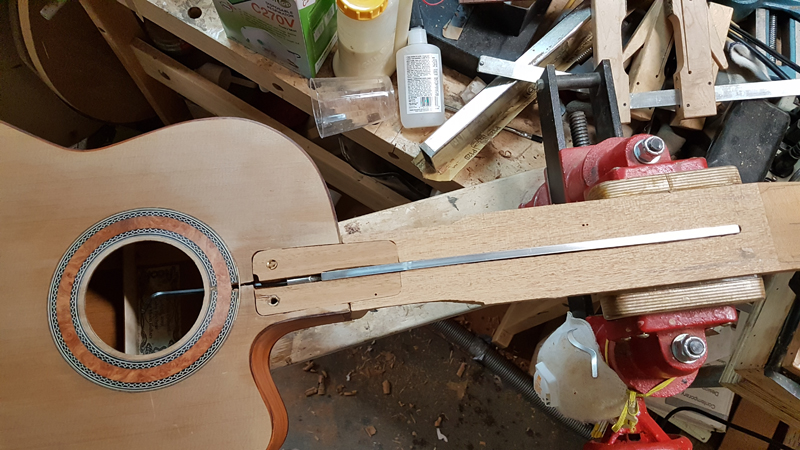
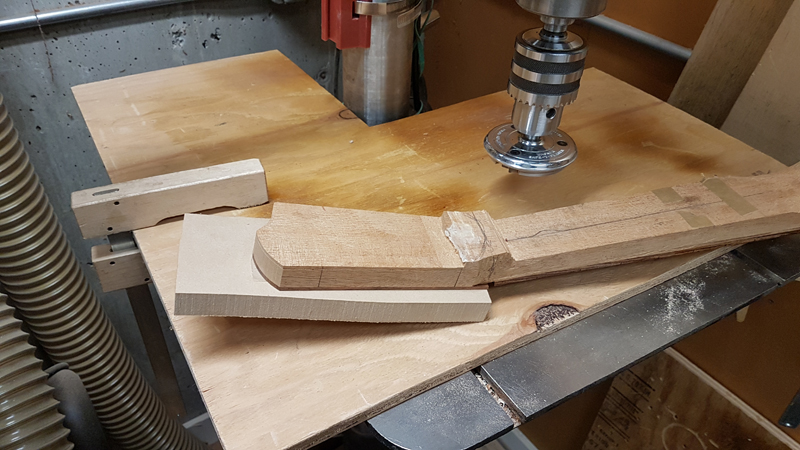
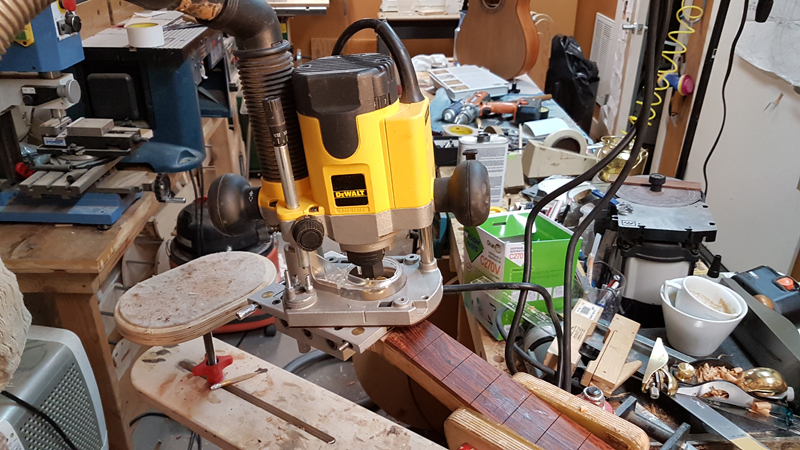
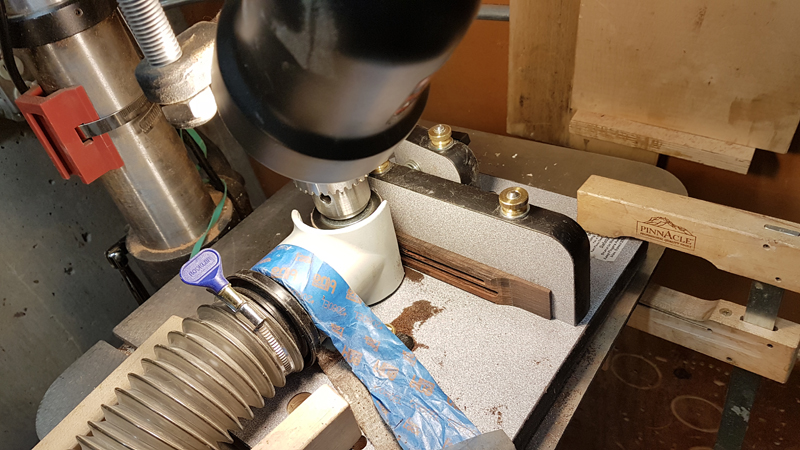
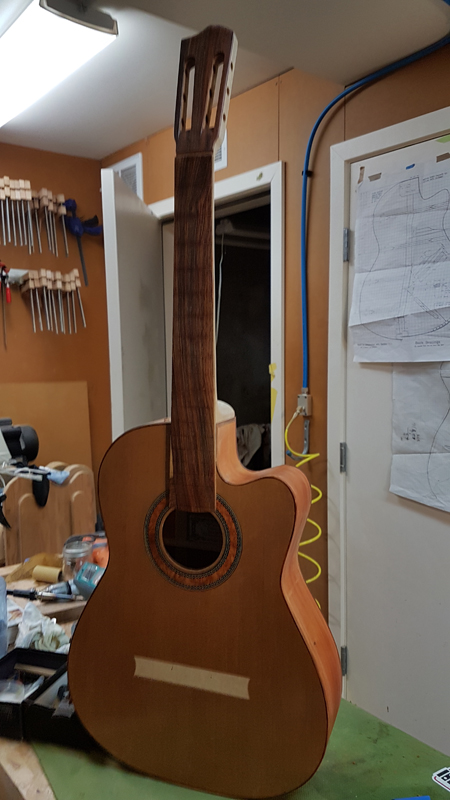
To finish the body I need to cut the mortise for the neck. With a flush cutaway, the neck joint is more complex than usual — the cutaway side of the mortise needs to blend seamlessly into the body contour.
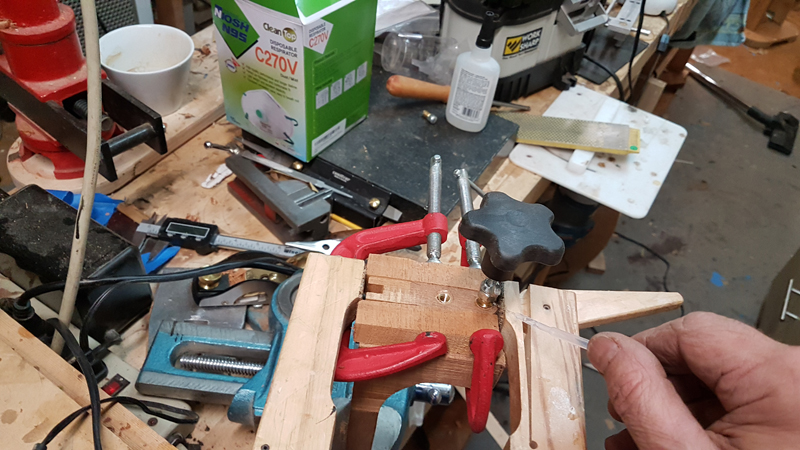
The bolt-on neck system uses a precisely machined mortise and tenon. I cut the mortise with a combination of router work and hand chiseling.
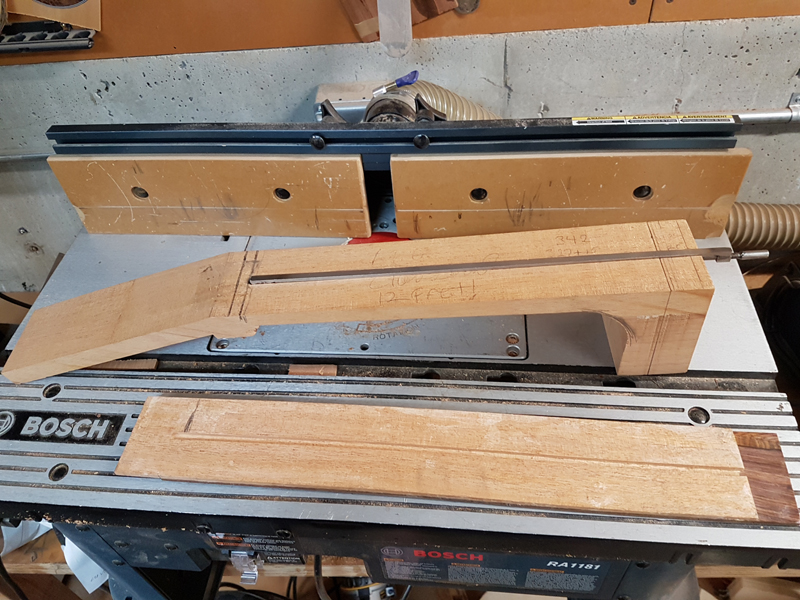
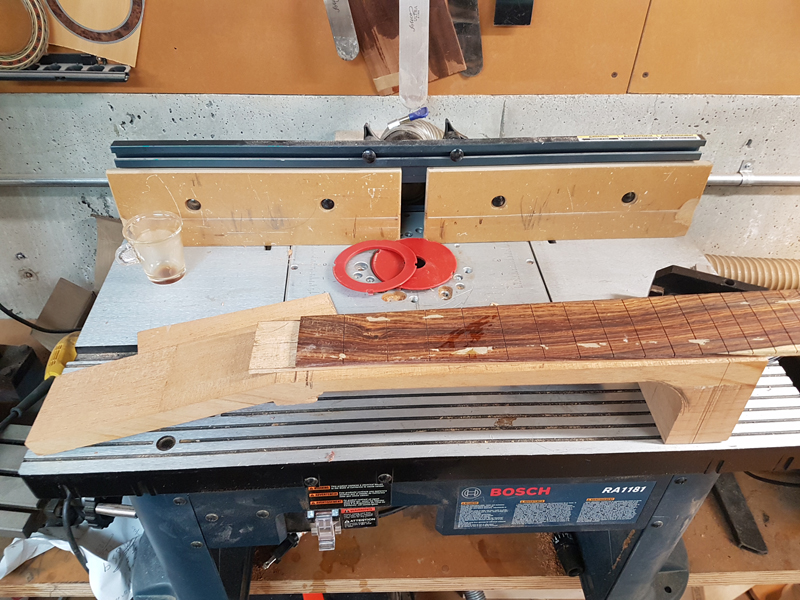
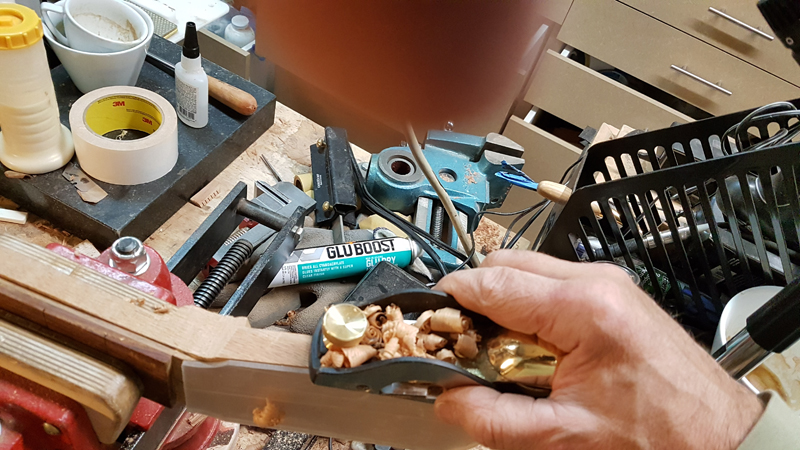
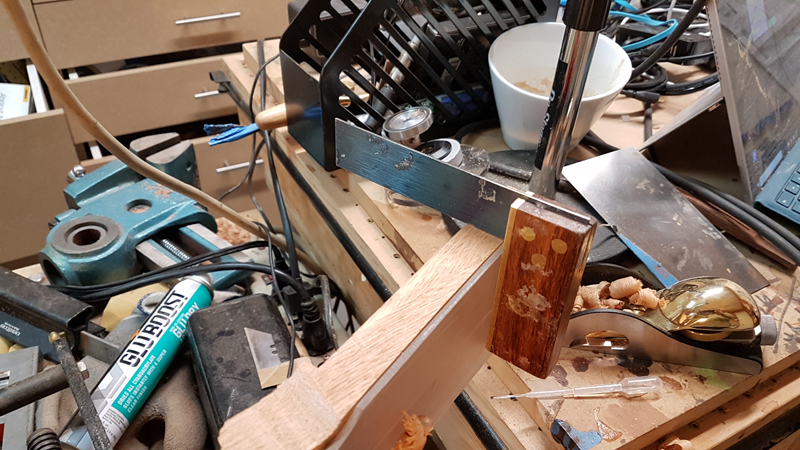
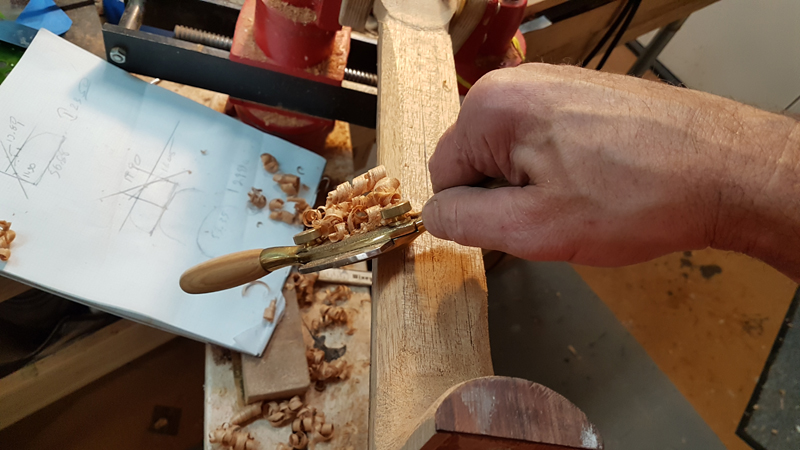
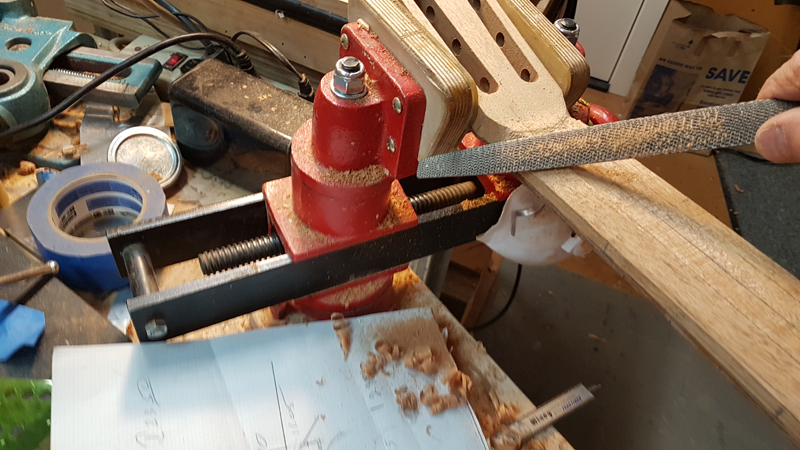
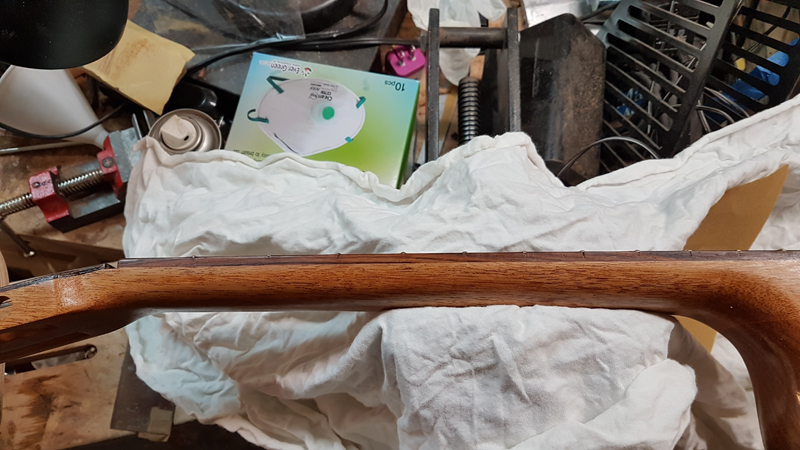
Shaping the neck. I use a combination of rasps, files, and sandpaper to get the profile right. The neck gets a Spanish Cedar core with an ebony layup.
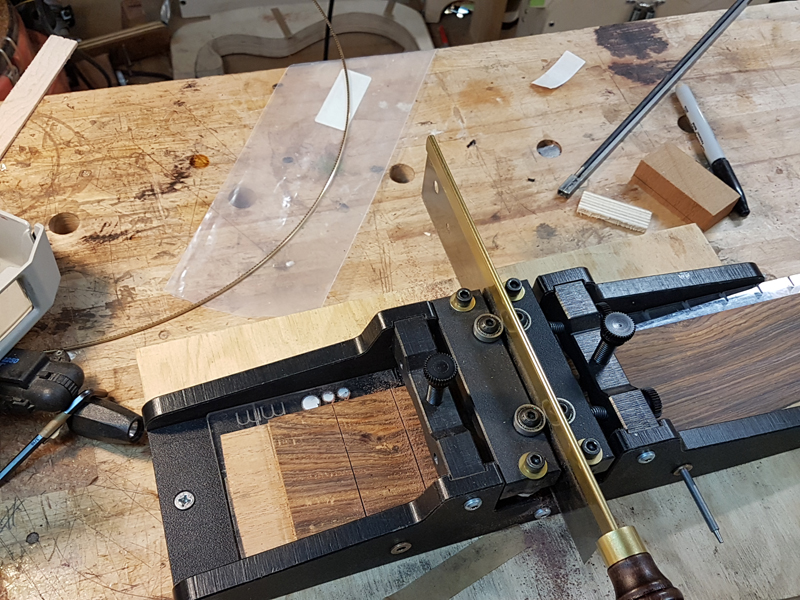
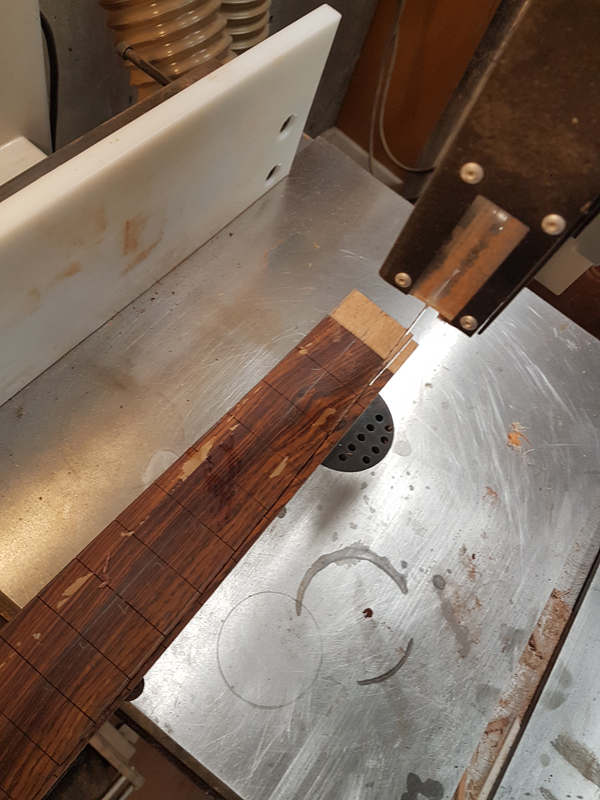
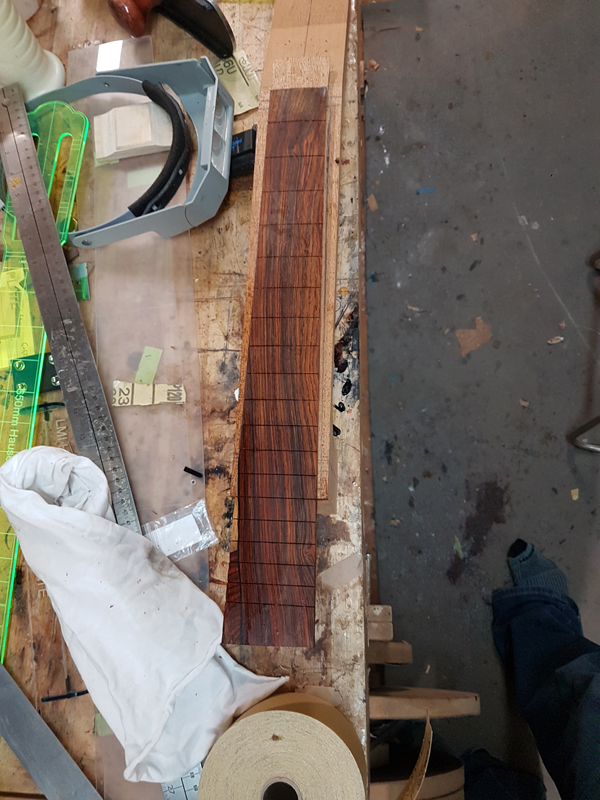
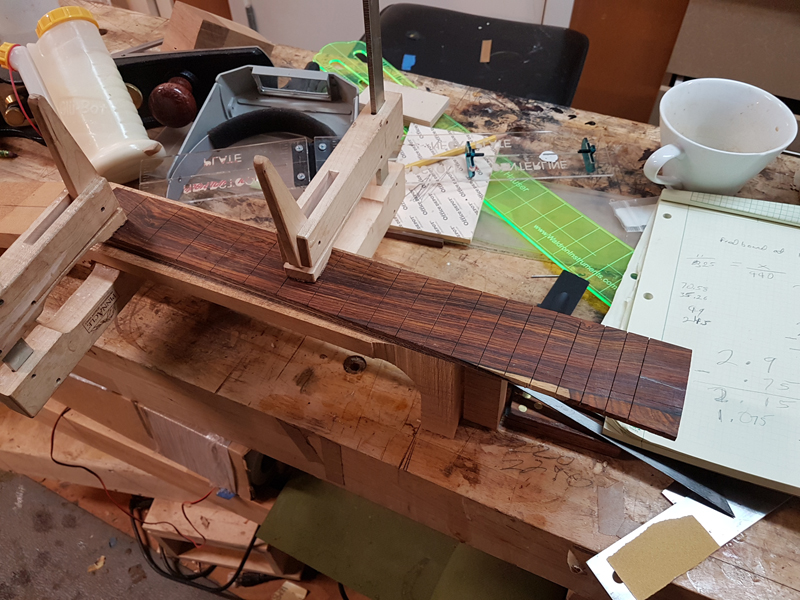
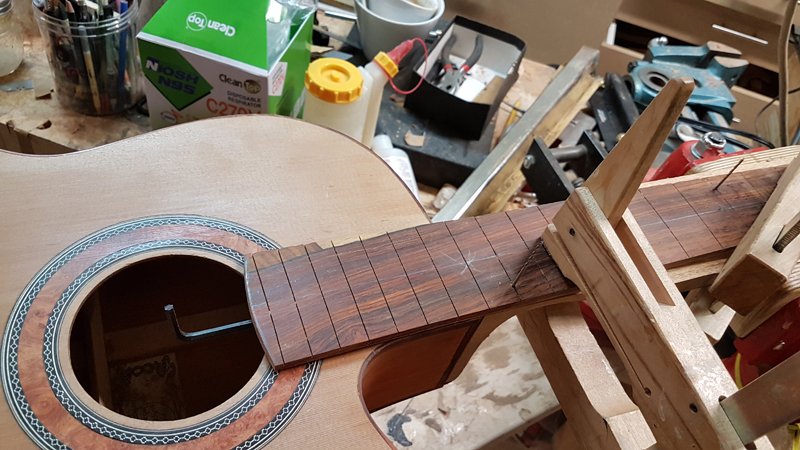
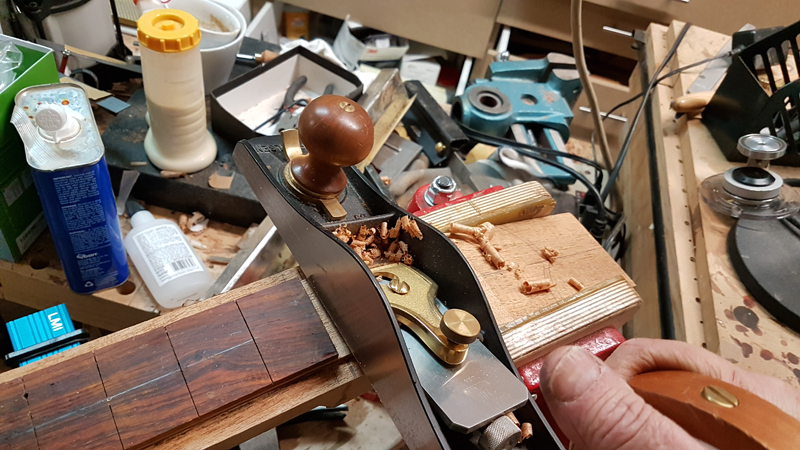
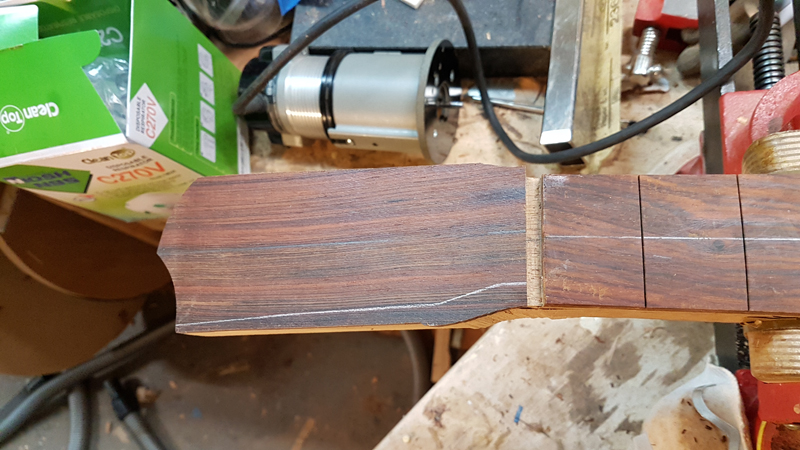
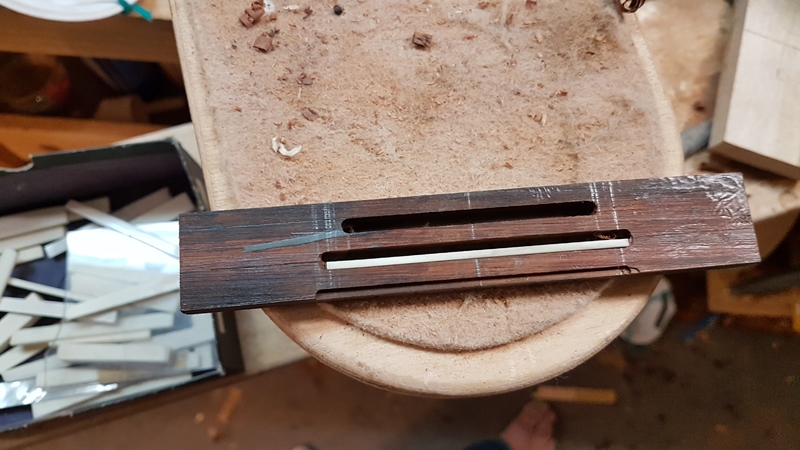
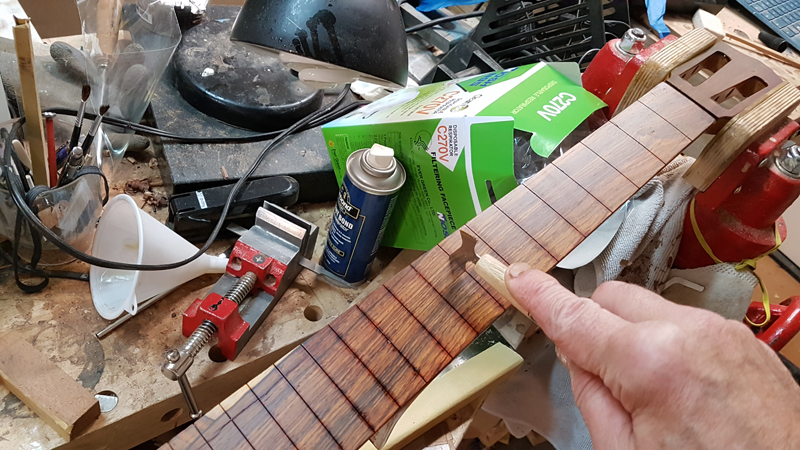
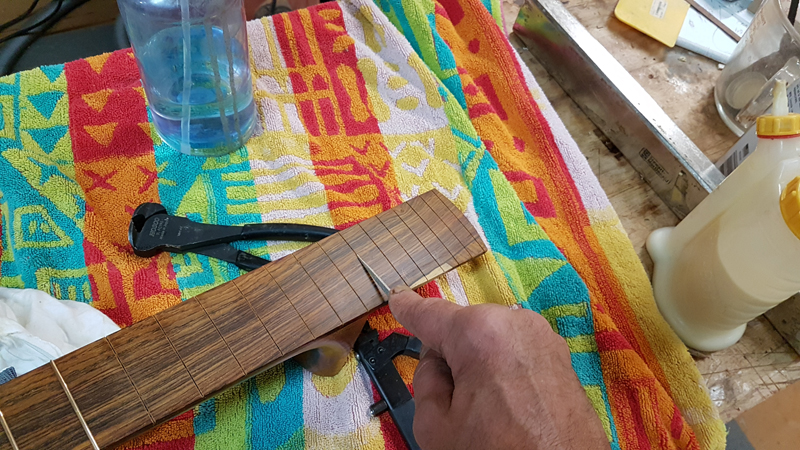
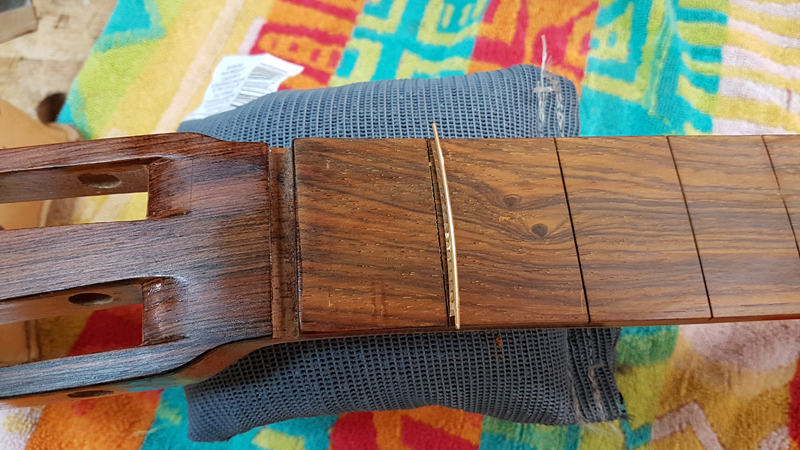
Fitting the fretboard. This is a Cocobolo fretboard with a 24-inch radius — a compromise between the flat classical fretboard and the more radiused steel string profile.
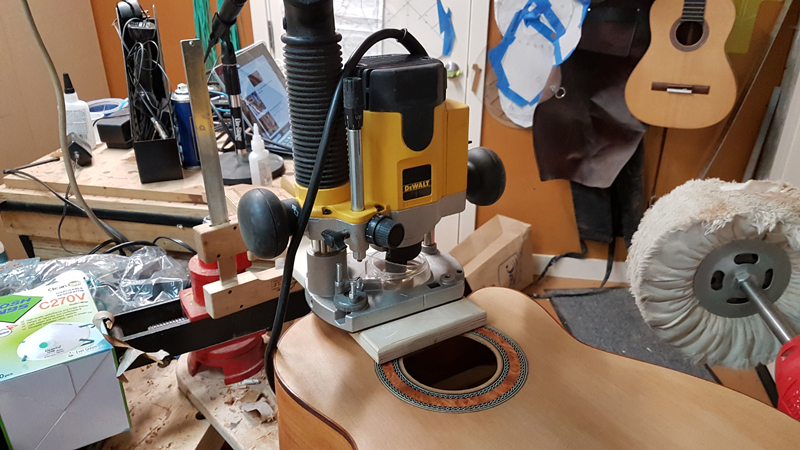
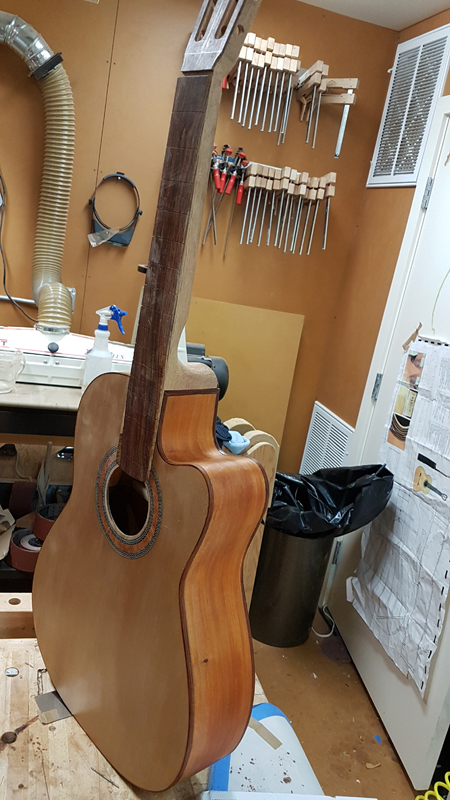
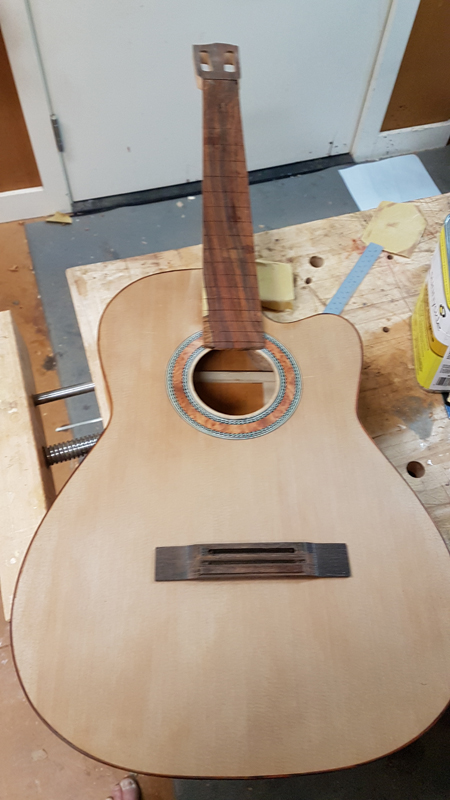
Cutting the sound port. This is one of the contemporary features — a port on the upper bout that lets the player hear the guitar more clearly. The audience hears the top projection; the player hears through the sound port.
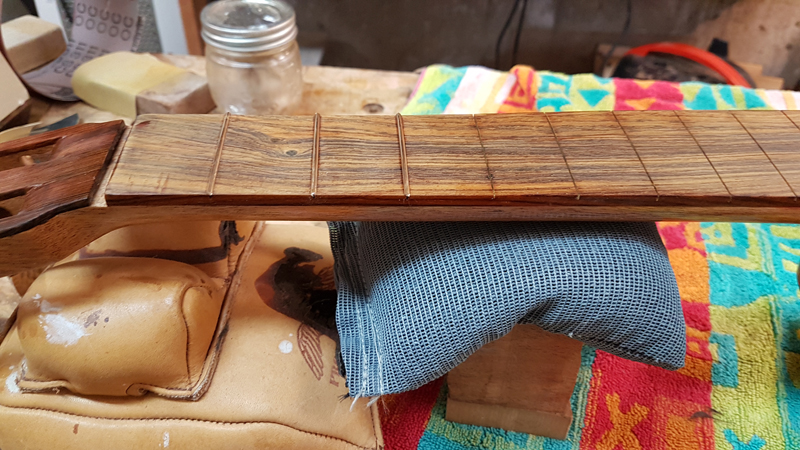
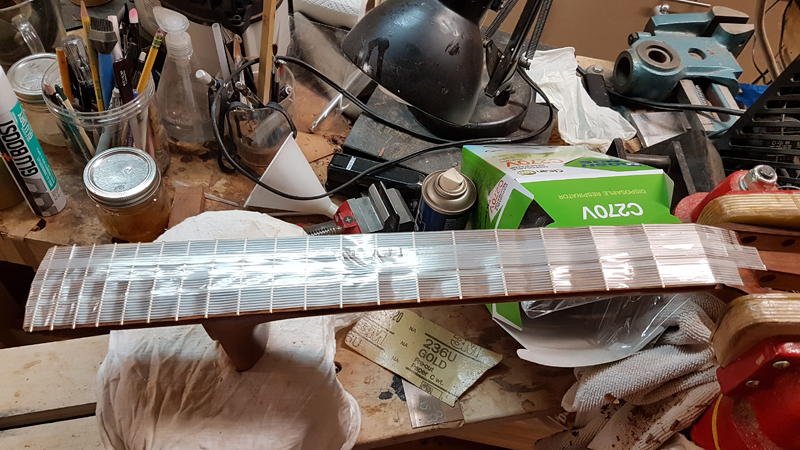
Fretting and fret leveling. I use a fret press and then level, crown, and polish the frets.
♦
March 19th, 2019
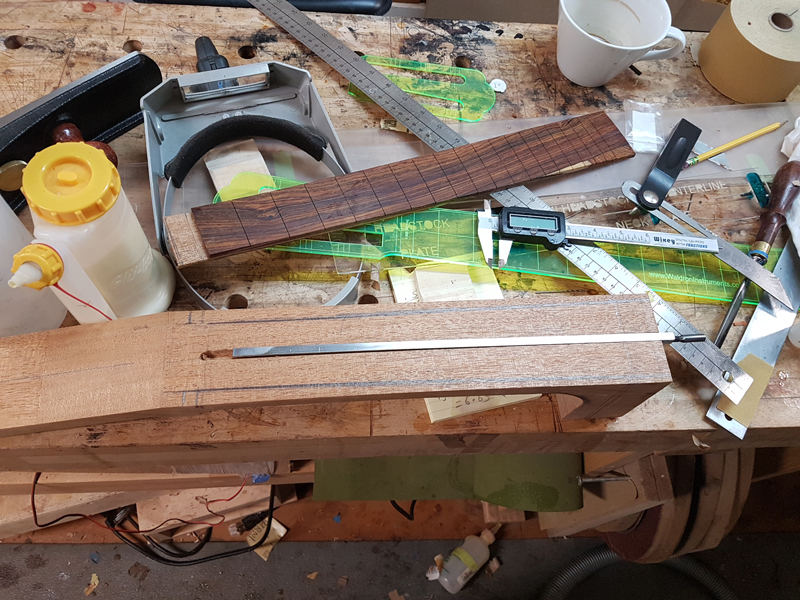
Onward toward completing the pre-finish construction. I managed to glue the fretboard on and get the neck fitting dialed in. The bolt-on system allows me to remove the neck, make adjustments, and refit — something you can’t do with a traditional dovetail or Spanish heel.
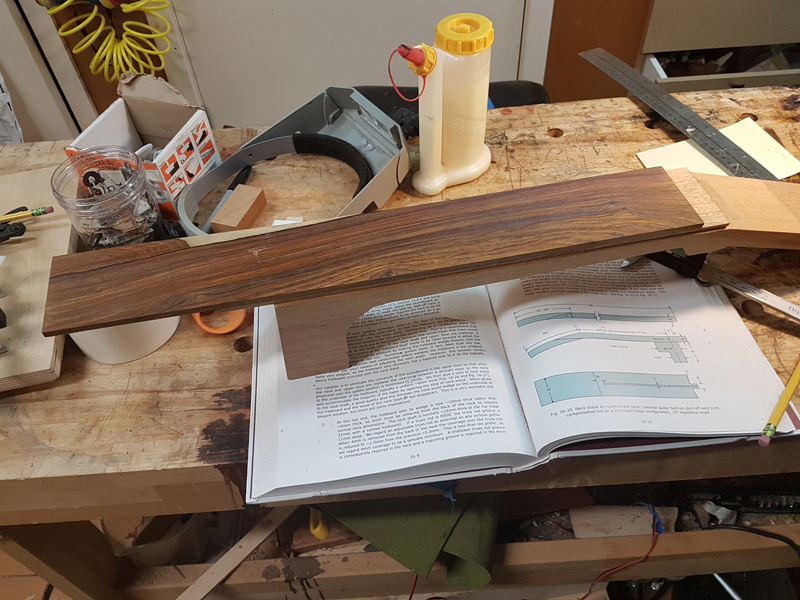
The bridge is Brazilian Rosewood with carbon fiber reinforcement. I shape the bridge from a blank, then laminate the CF plate to the underside before final shaping.
Daniel noted how thoroughly I document the process — I appreciate that. Every build teaches me something, and the documentation helps me remember what worked and what didn’t.
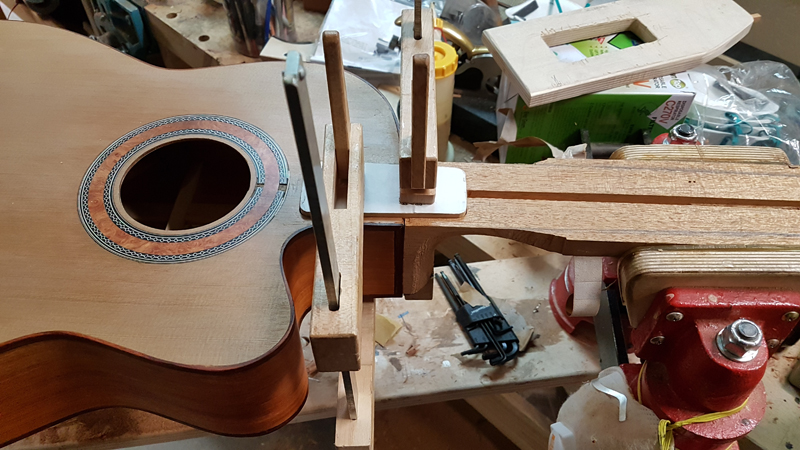
Test-fitting everything. The neck angle, action height, and string break angle all need to work together. With a bolt-on neck I can make fine adjustments by shimming the joint.
♦
March 23rd, 2019
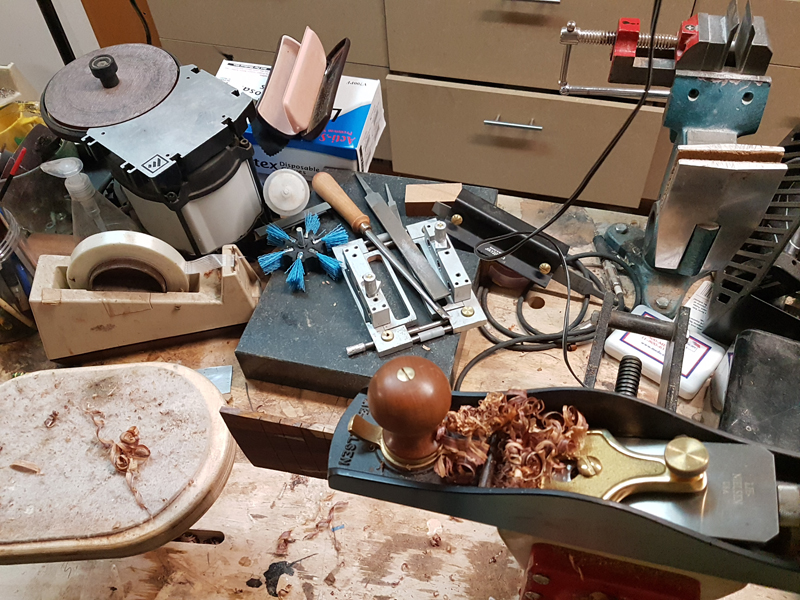
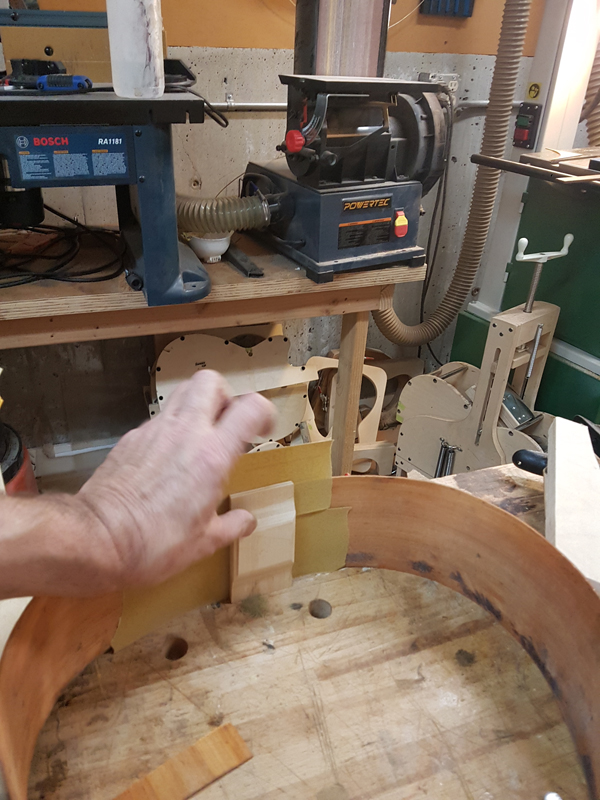
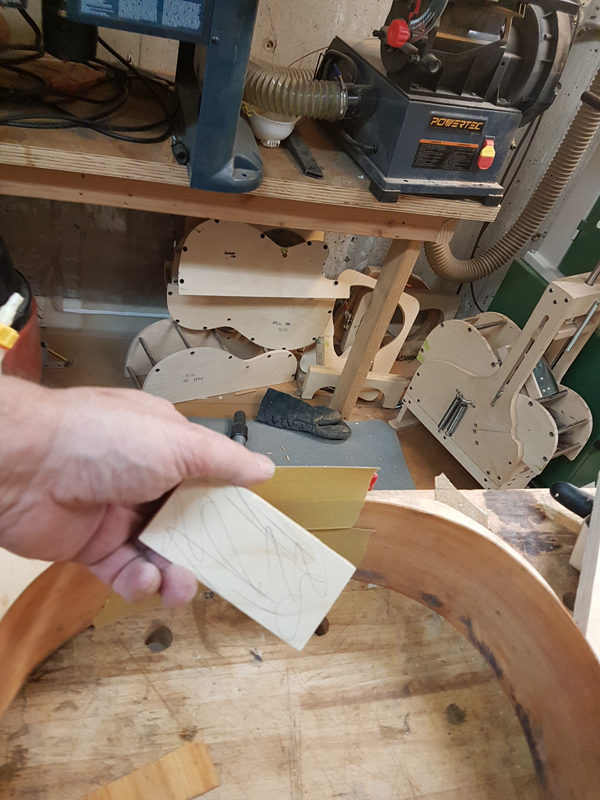
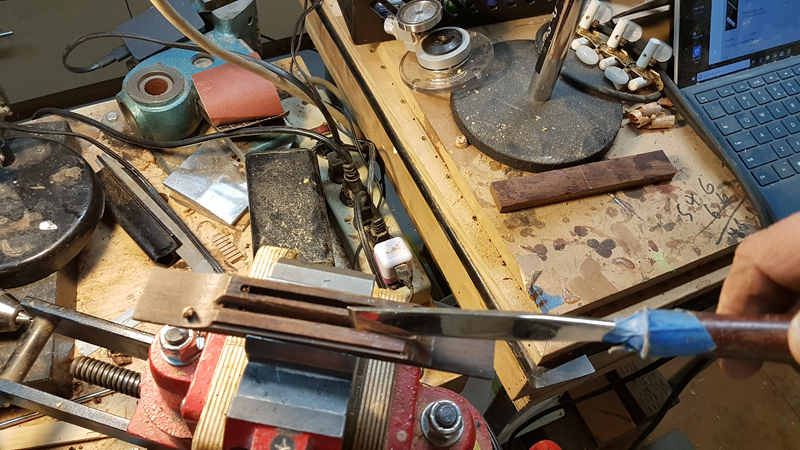
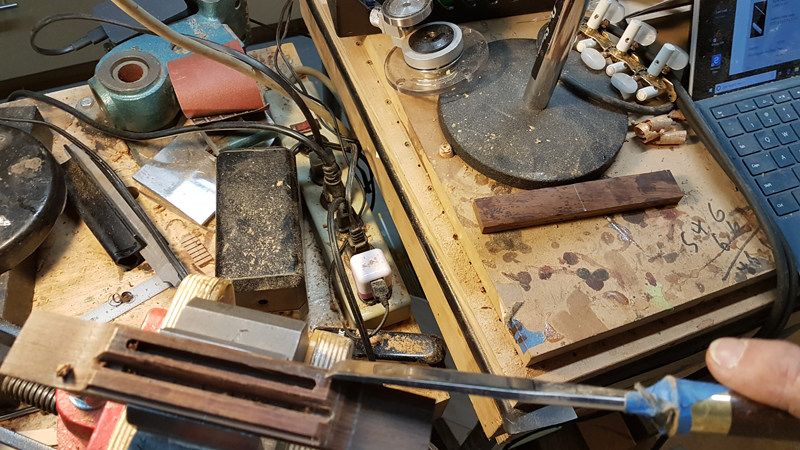
Bit by bit I am getting ready for the final pre-finish prep work. I made the nut and saddle blanks from bone, and I’m fitting all the hardware before finishing so I can verify everything works.
I need to do the final prep for finishing. I’m getting excited — it looks like a guitar. Getting close now.
Active Back BracingPeter asked about the back brace pattern — four braces radiating from the lower bout rather than running perpendicular to the centerline. This is Trevor Gore’s active back approach. The goal is to tune the back’s resonance to work with the top rather than against it. Once the guitar is strung up, I go through the sound hole and carefully lower the center of the bottom back brace until the back resonance sits ideally four semitones above the top’s resonance. As I lower the back, the coupled top resonance drops slightly too, so I watch both and stop carving when I reach the best balance.
♦
March 30th, 2019
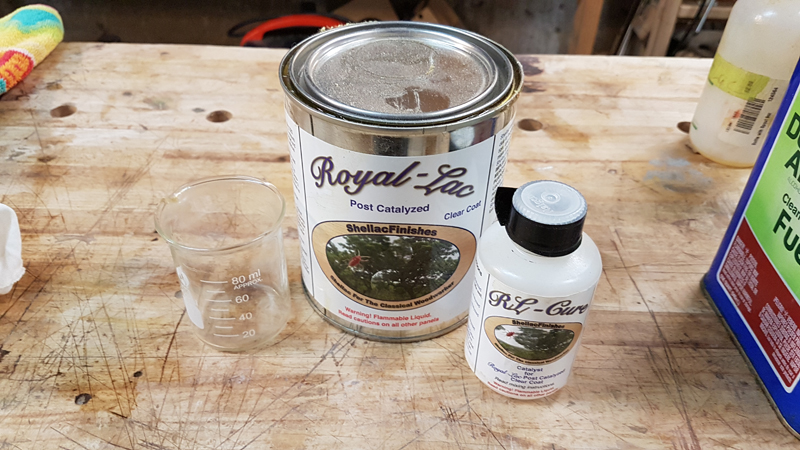
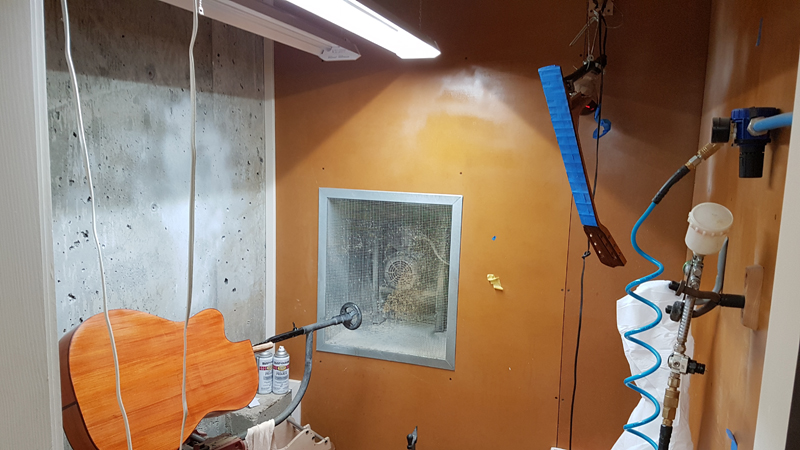
I am ready to start spraying this weekend. The body was pore filled and sealed with shellac over Silvertip Epoxy with slow hardener. The epoxy pore fill is something I adopted from the Gore approach — it fills the pores without adding any appreciable weight, and it gives a perfectly smooth base for the finish coats.
Finish System The top gets traditional French polish with shellac — the thinnest, most acoustically transparent finish possible. The back, sides, and neck get sprayed post-catalyzed Royal Lac over the epoxy pore fill. This gives a more durable finish on the parts that get handled while keeping the top free to vibrate.
Masking for the spray work. The top is already French polished, so it needs to be completely protected from overspray.
The French polish on the WRC top builds up beautifully. Cedar takes shellac differently from spruce — it warms up and glows.
♦
April 6th, 2019
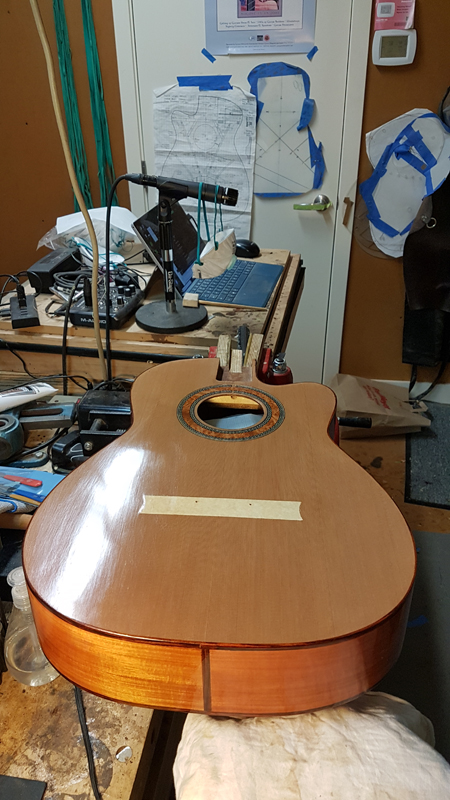
I sprayed the back, sides, and neck with post-catalyzed Royal Lac and French polished the top. Everything came together well. The Pernambuco under the lacquer has an incredible depth — like looking into the wood.
♦
April 18th, 2019
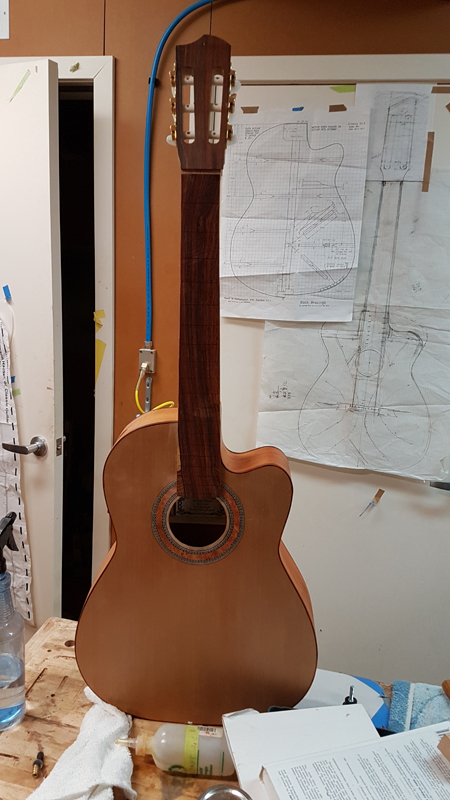
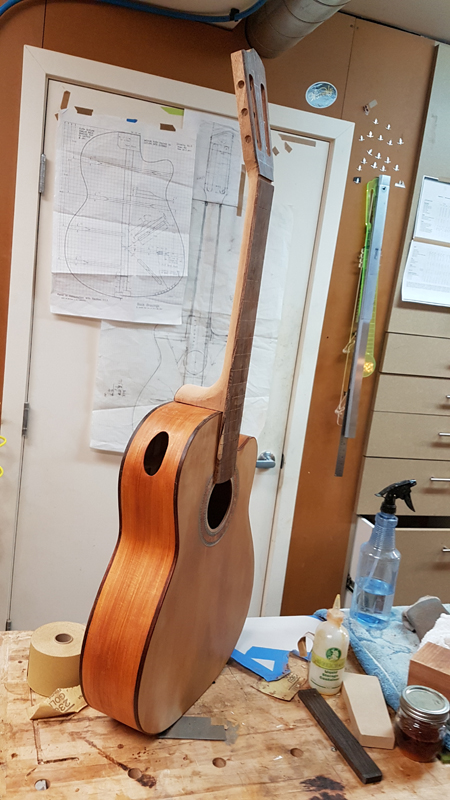
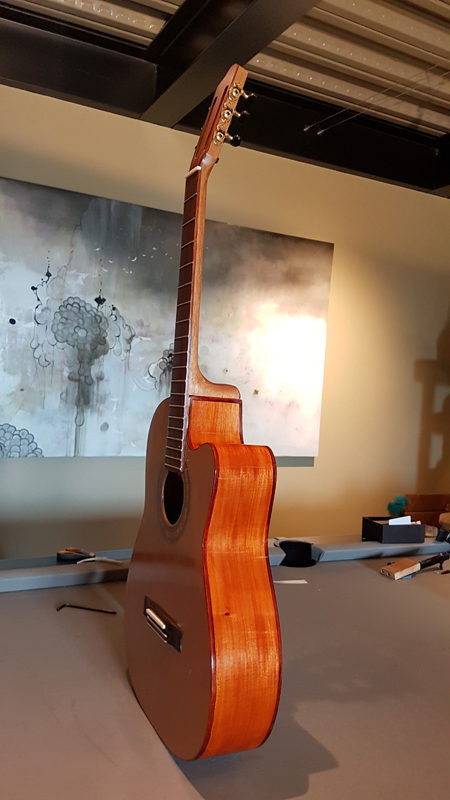
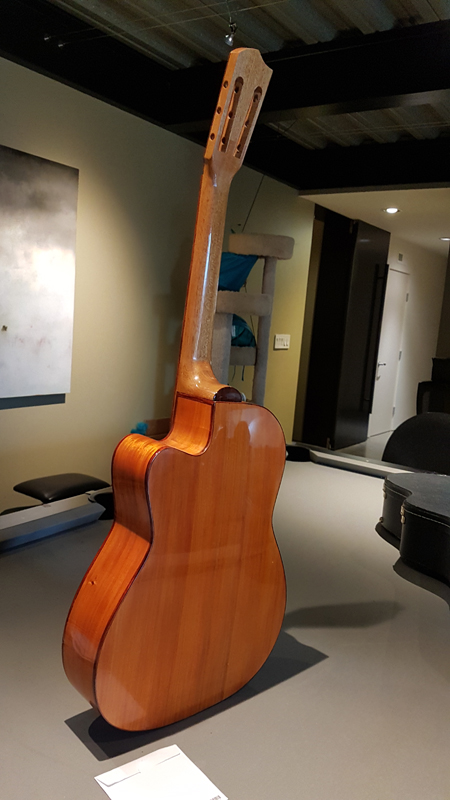
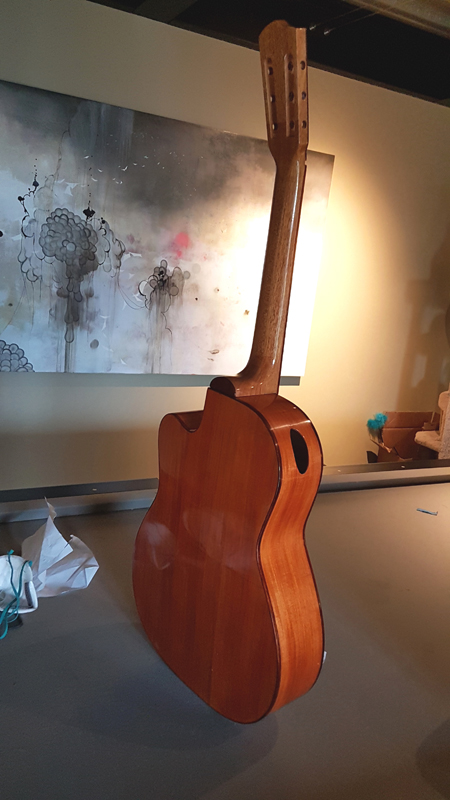
The guitar is complete. In any case this is a “Contemporary Classical” guitar — I get it, an oxymoron. The basic body shape is a Hauser 37 with the cutaway added. All the contemporary features came together: bolt-on/bolt-off neck, compensated nut, radiused top and back, sound port, and carbon fiber reinforced falcate braces.
Herman and Daniel both commented on the visual pairing — the Cocobolo bindings and fretboard against the Pernambuco. Herman loved the natural flaws in the Cocobolo fretboard. “It is wood!” as he put it. I agree — those character marks are what make each instrument unique.
My guitar instructor Doug Rice has been playing his flacate braced classical guitar as his main instrument. Here is his description of the sound from this falcate bracing pattern: the guitars exhibit superb basic tone colour and resonance, with high overtones that present a harp-like quality. They have a wide dynamic range and respond throughout the register, enabling a vastly broadened interpretive range. Sustain enables impressive legato lines, and the treble-bass balance enhances voice leading and rich harmonies.
Doug Rice — Classical
And from a non-classical player:
Fingerstyle Demo
Specifications
StyleContemporary Classical — Cutaway
BodyHauser 37 Pattern with Cutaway
TopWestern Red Cedar
Back & SidesPernambuco (Three-Piece Back)
NeckSpanish Cedar — Bolt-On / Bolt-Off
FretboardCocobolo — 24″ Radius
BindingsCocobolo
BridgeBrazilian Rosewood — CF Reinforced
Headstock VeneerBrazilian Rosewood
RosetteAmboyna Burl
BracingFalcate — CF Reinforced (Gore/Gilet)
Top Radius30 Feet
Back Radius10 Feet
Nut Width49mm — Compensated
TunersSchertler Classical — Bright Gold / Ebony
Top FinishFrench Polish — Shellac
Body FinishPost-Cat Royal Lac over Silvertip Epoxy Pore Fill