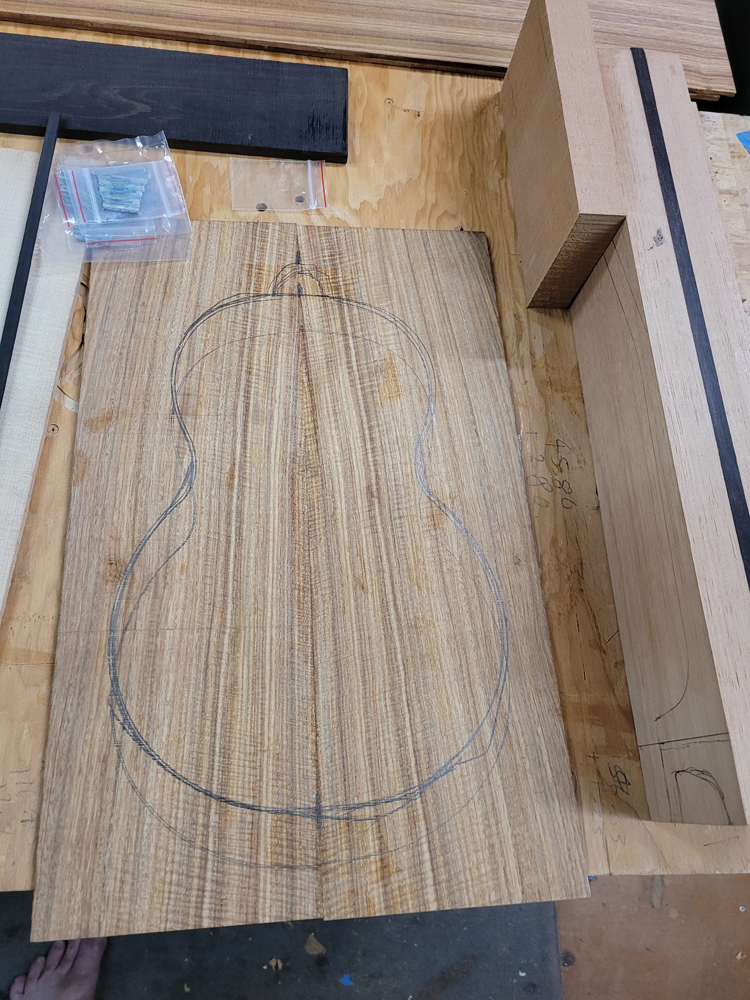
I am starting a Spruce and Tulipwood concert ukulele for a friend. It may be a little fancy for me, as she is really into having a shell rosette and purflings. I always thought tulipwood was poplar and rather plain — this wood is figured with good tonal properties. After helping someone online with some plans, I was sent the set.
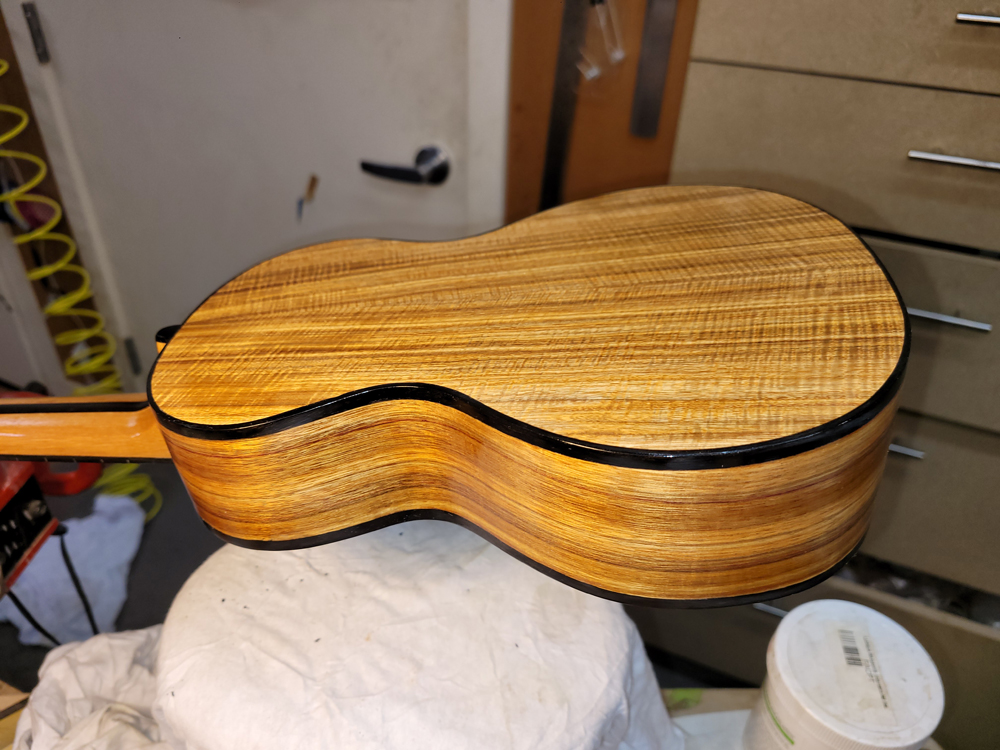
I have since learned that this is actually Canarywood, another South American hardwood — not Tulipwood at all. The colours are stunning either way.
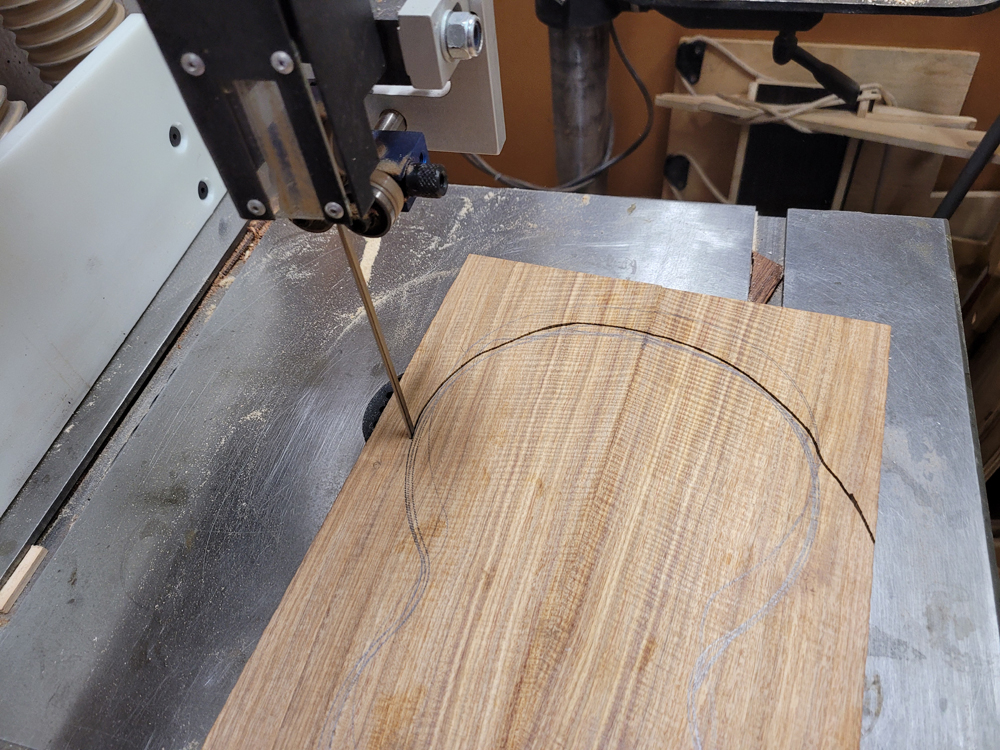
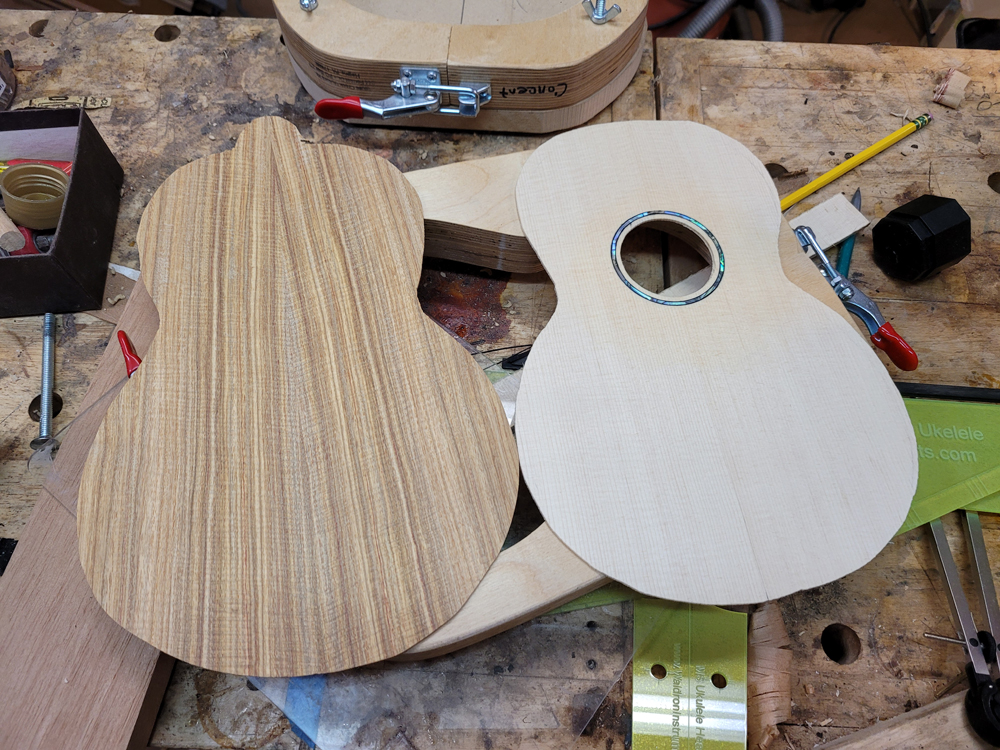
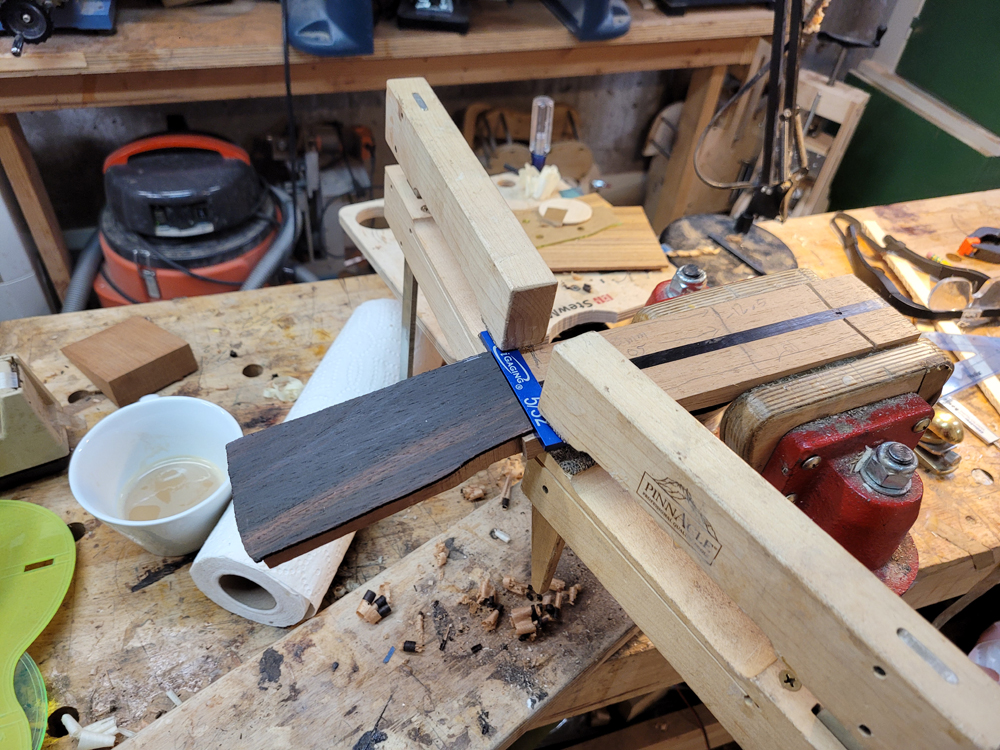
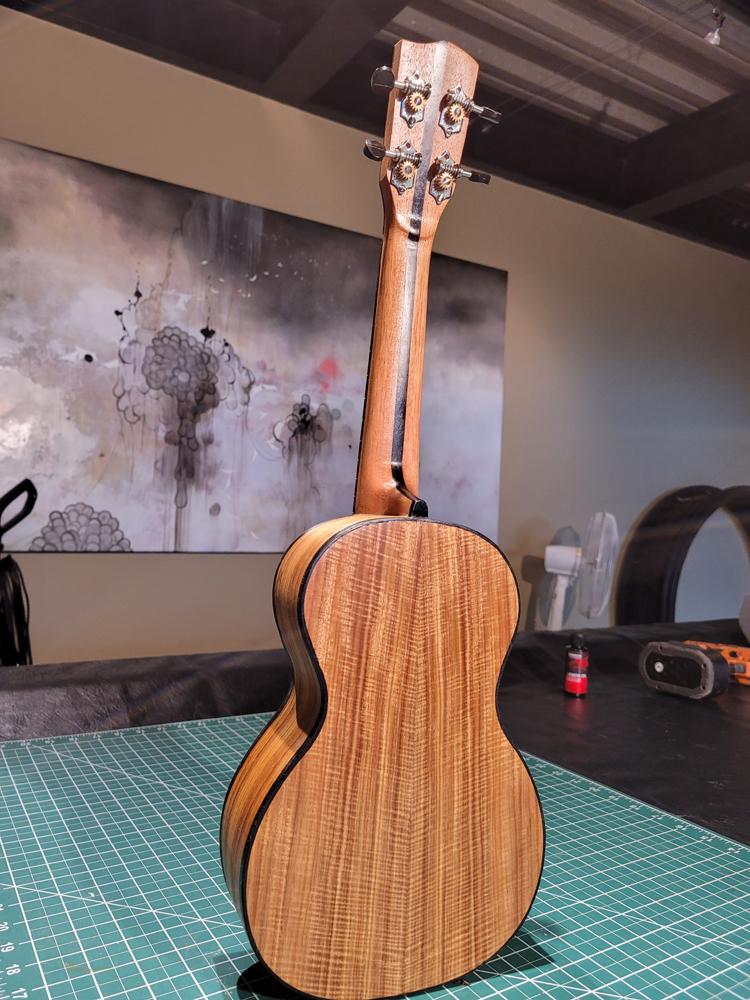
Wood Identity Herman thought the back looked like Ovankol or possibly Zebrawood. It turned out to be Canarywood, often mislabelled as Tulipwood. It has beautiful figure, good tonal properties, and bends well.
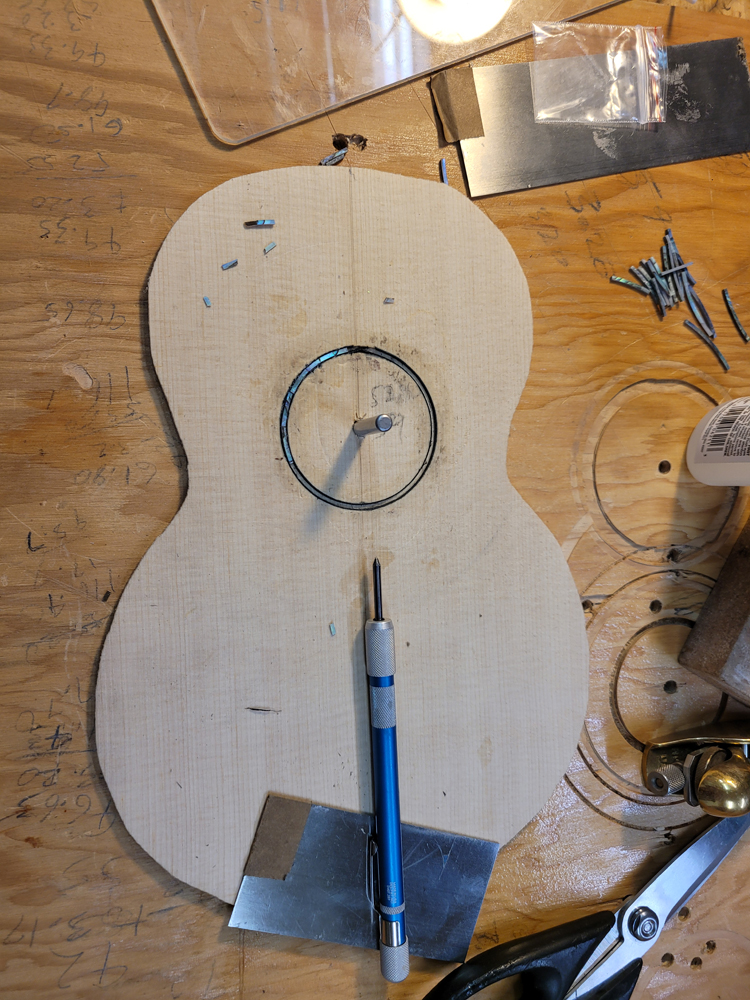
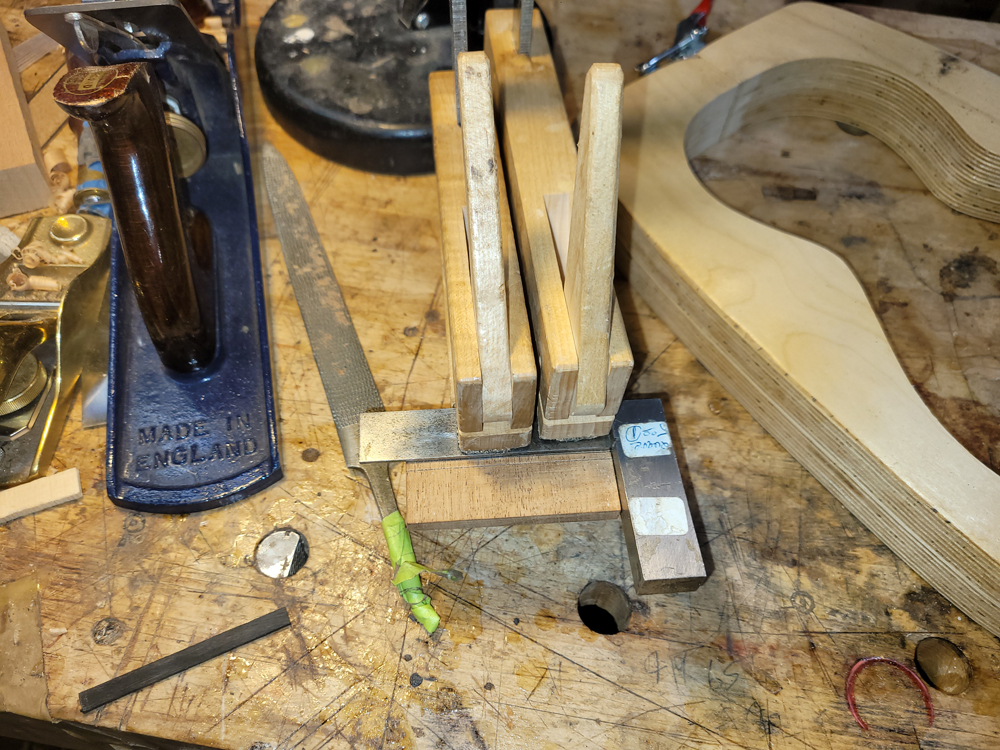
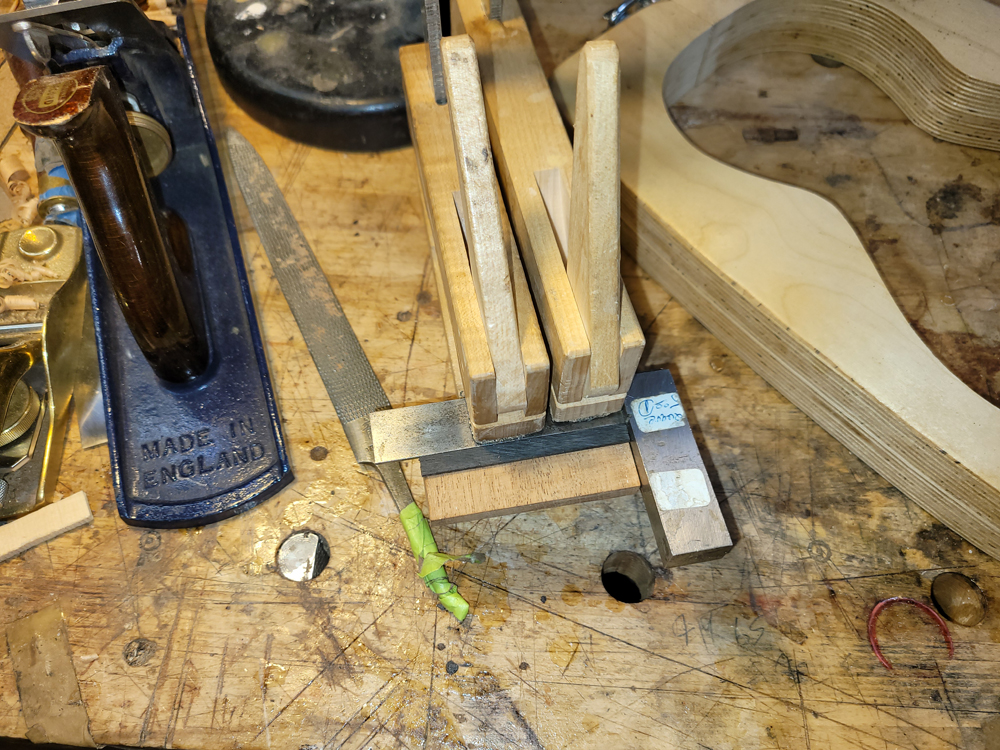
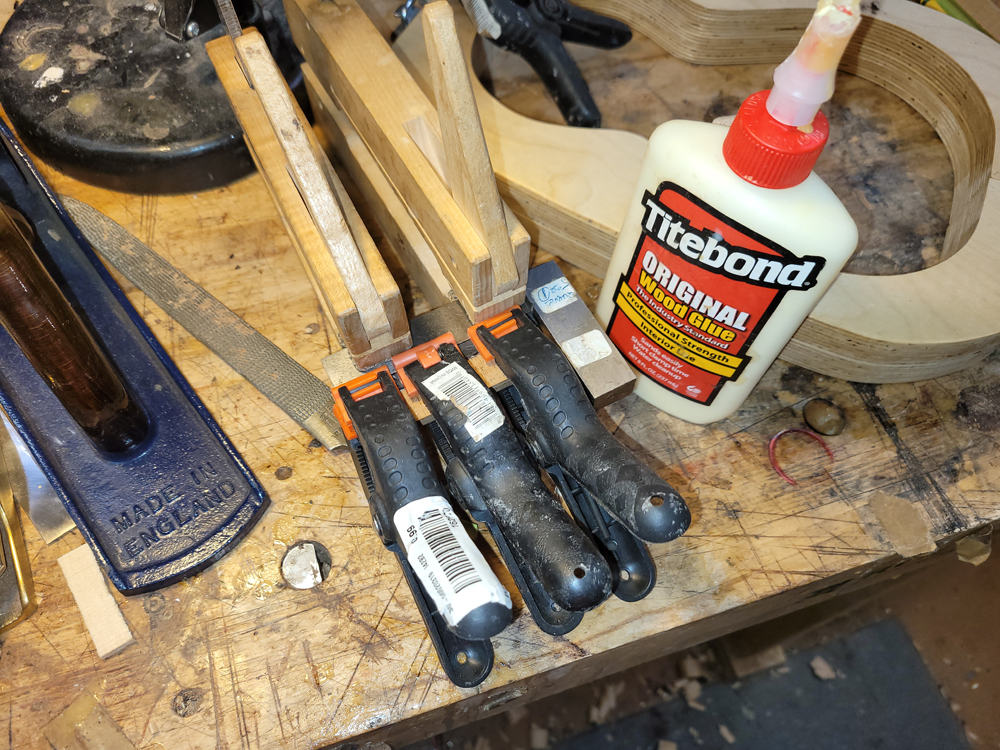
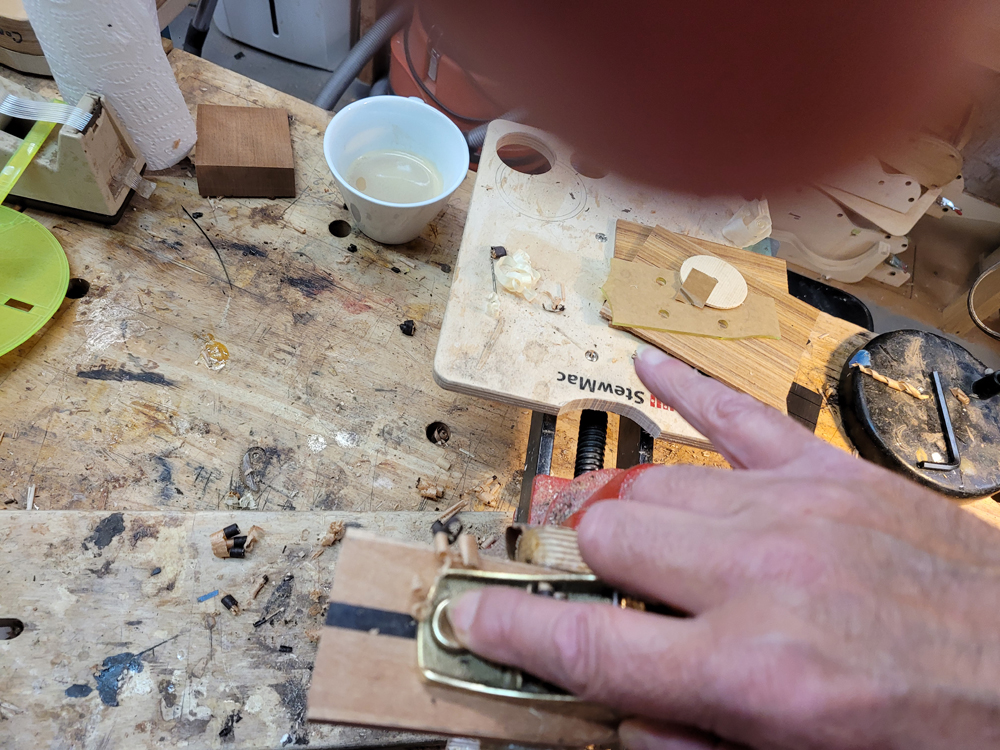
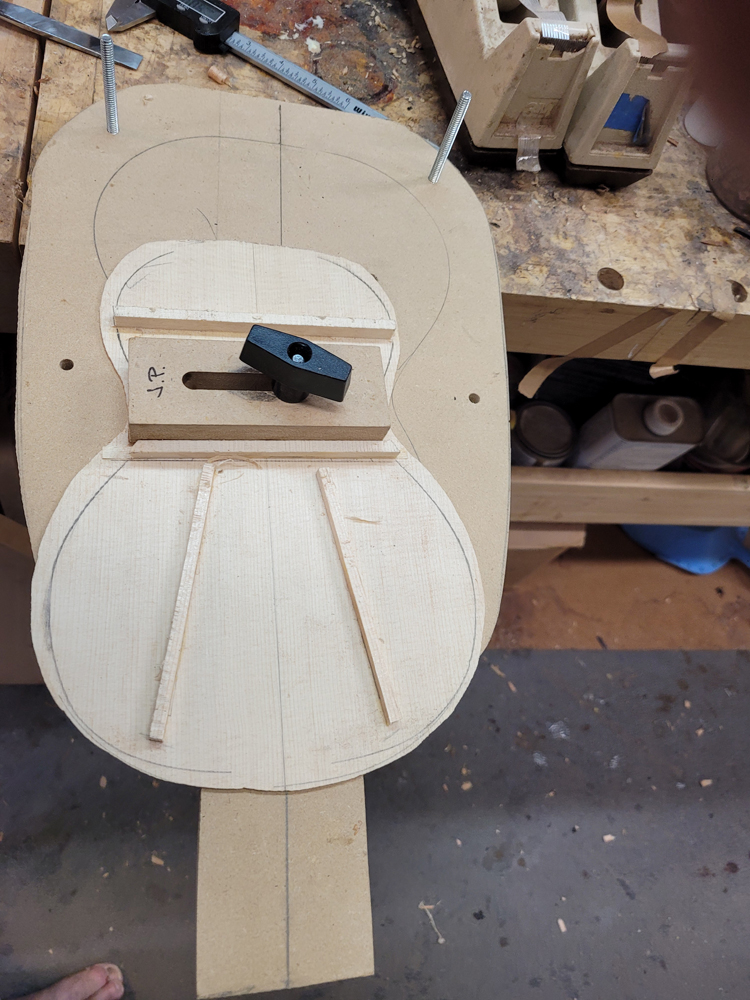
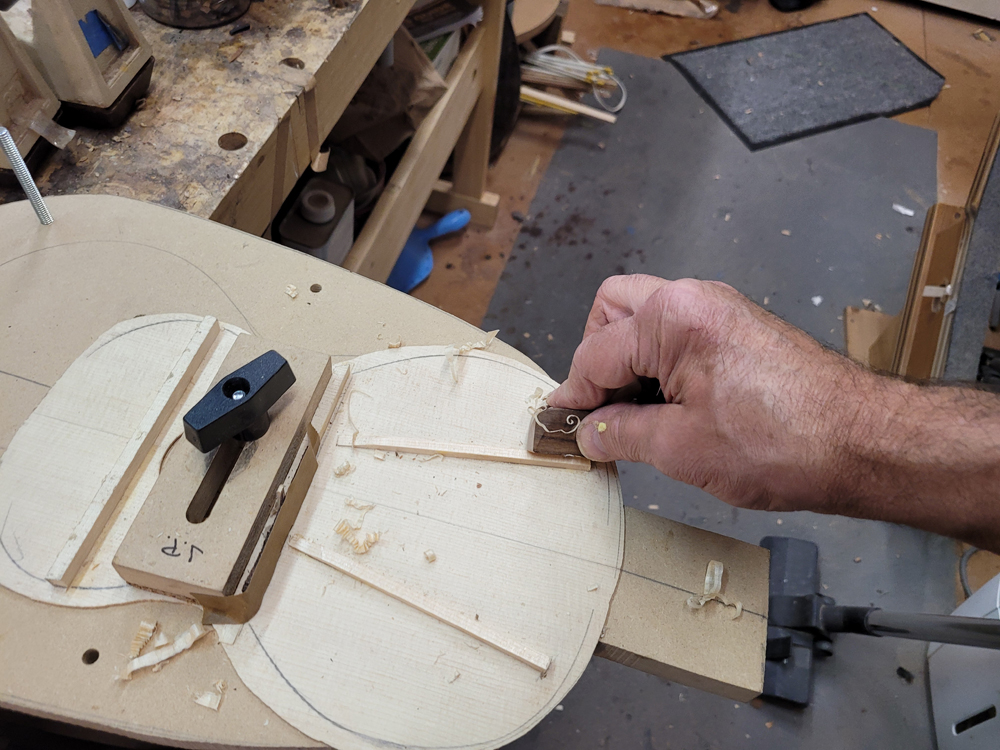
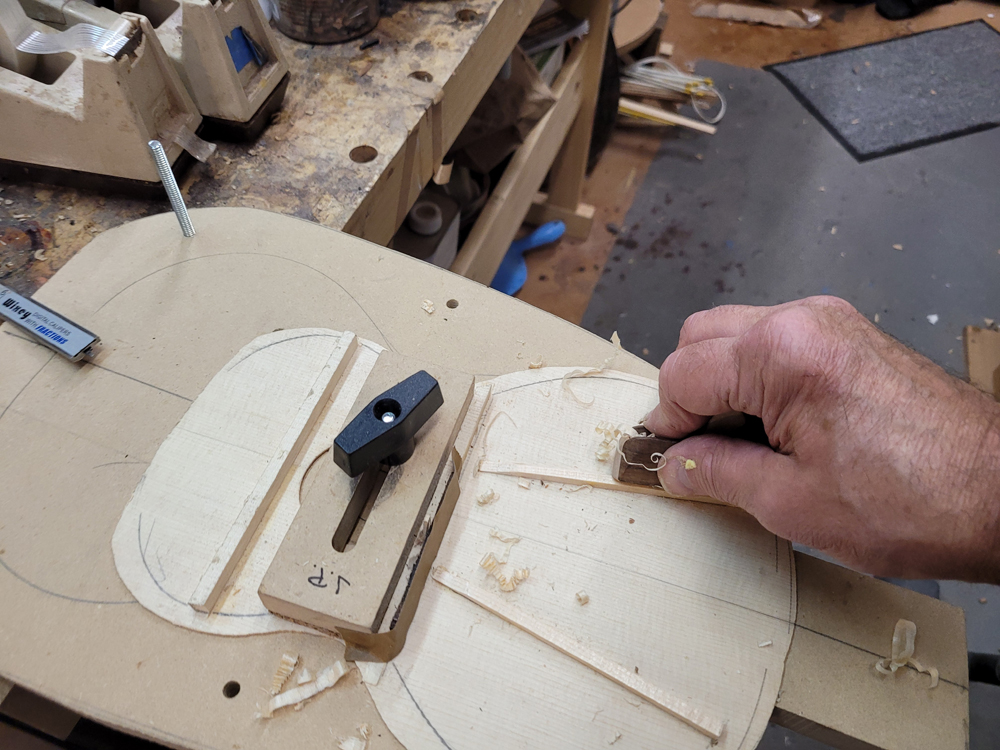
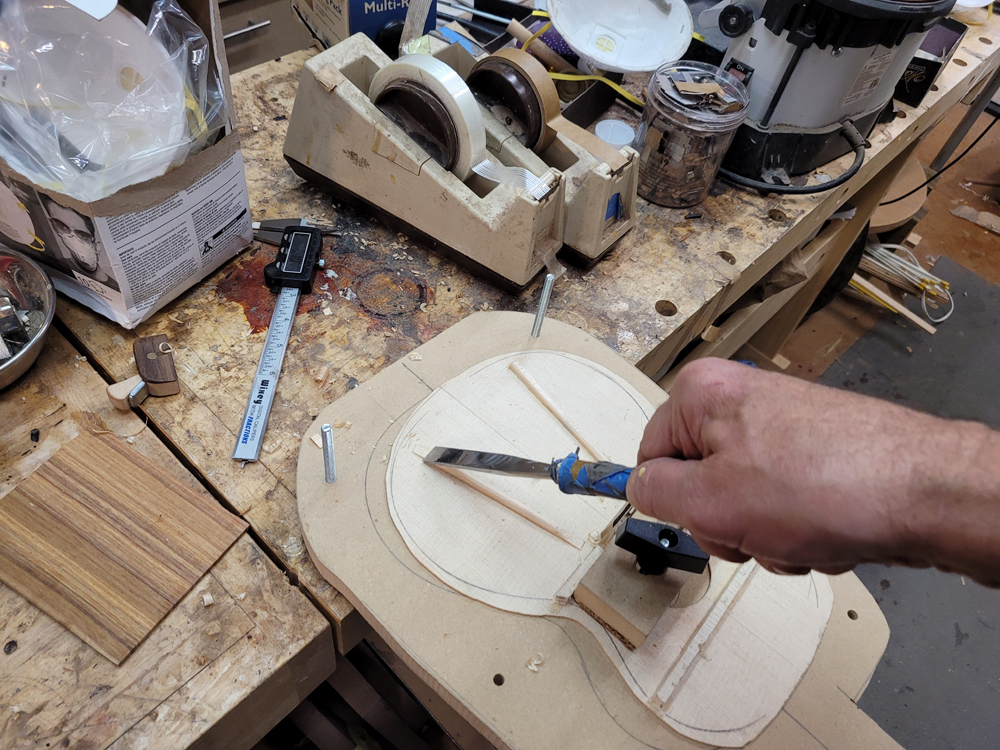
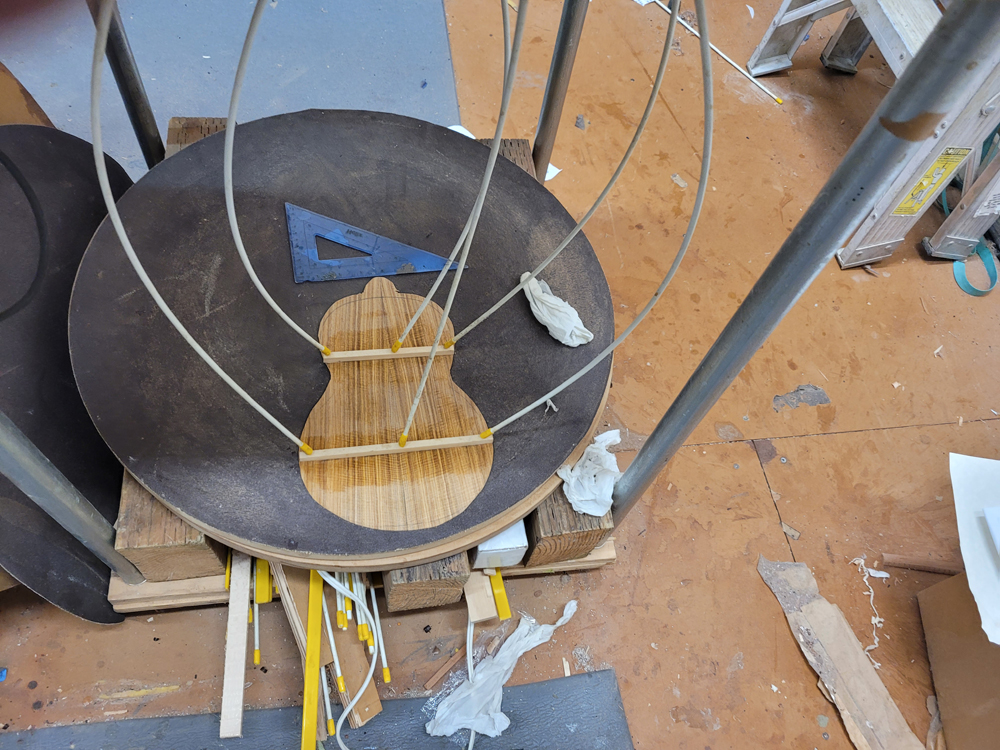
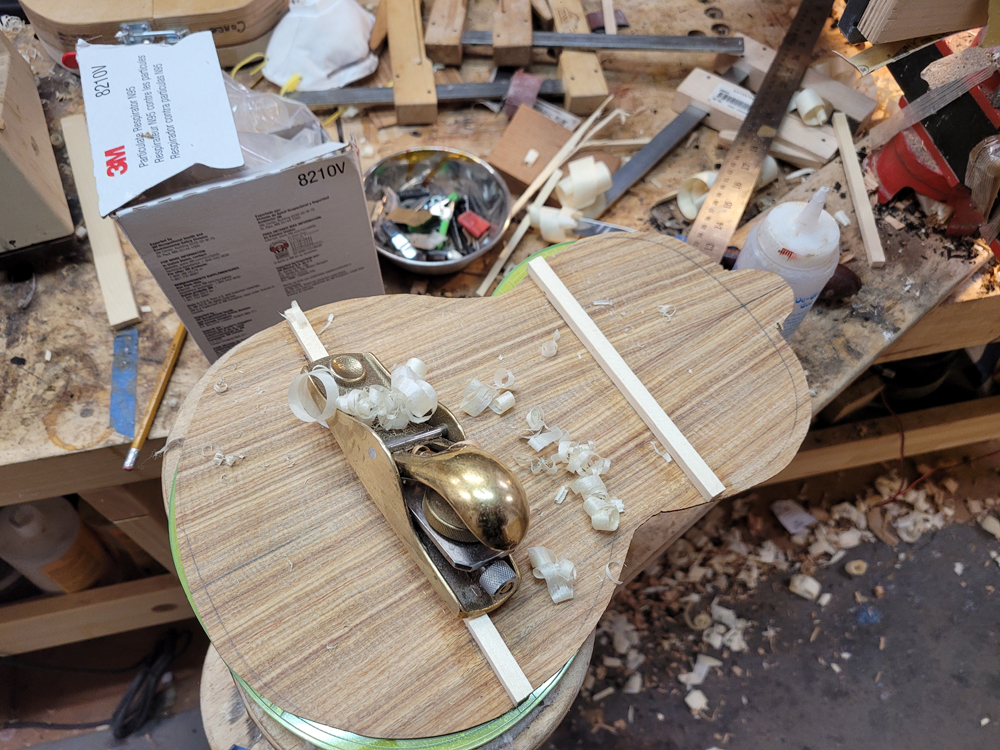
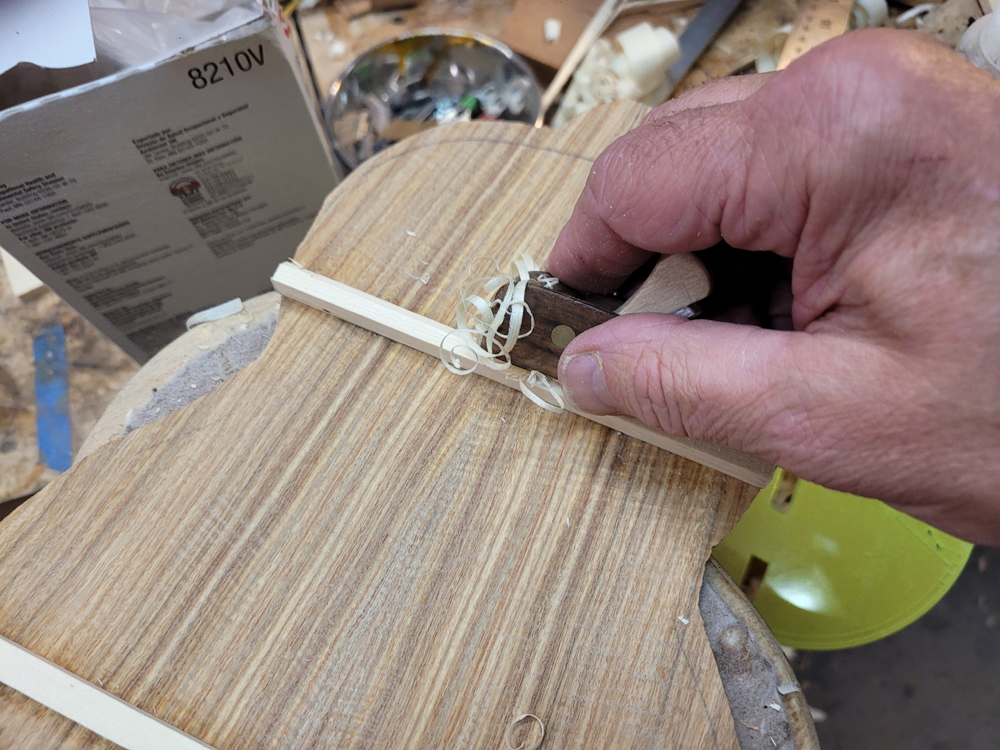
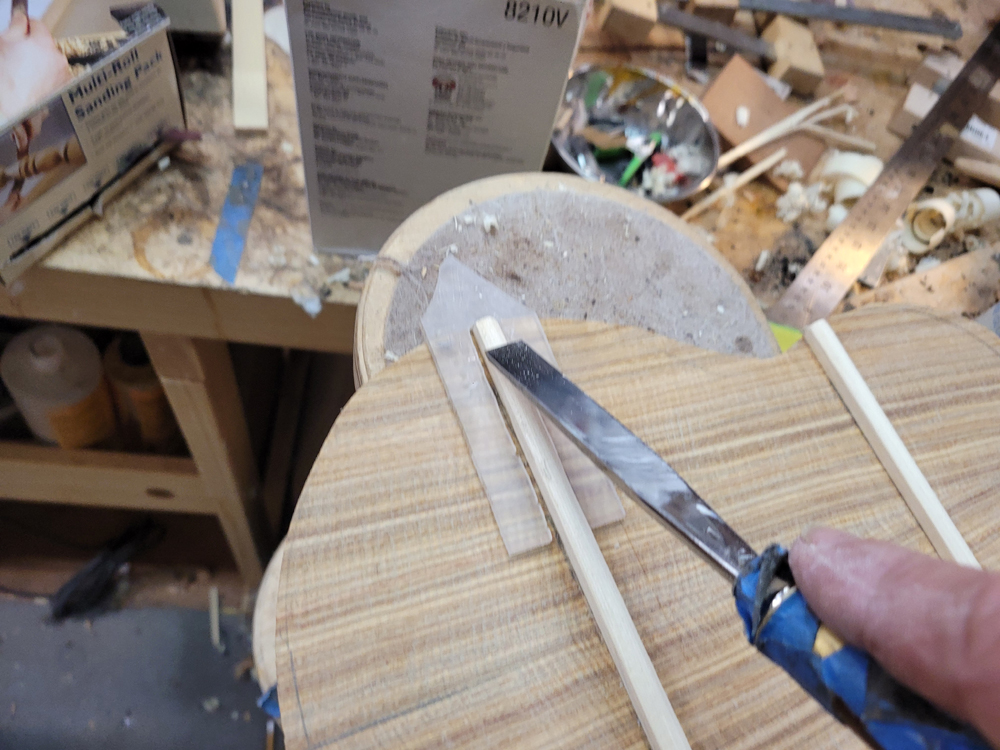
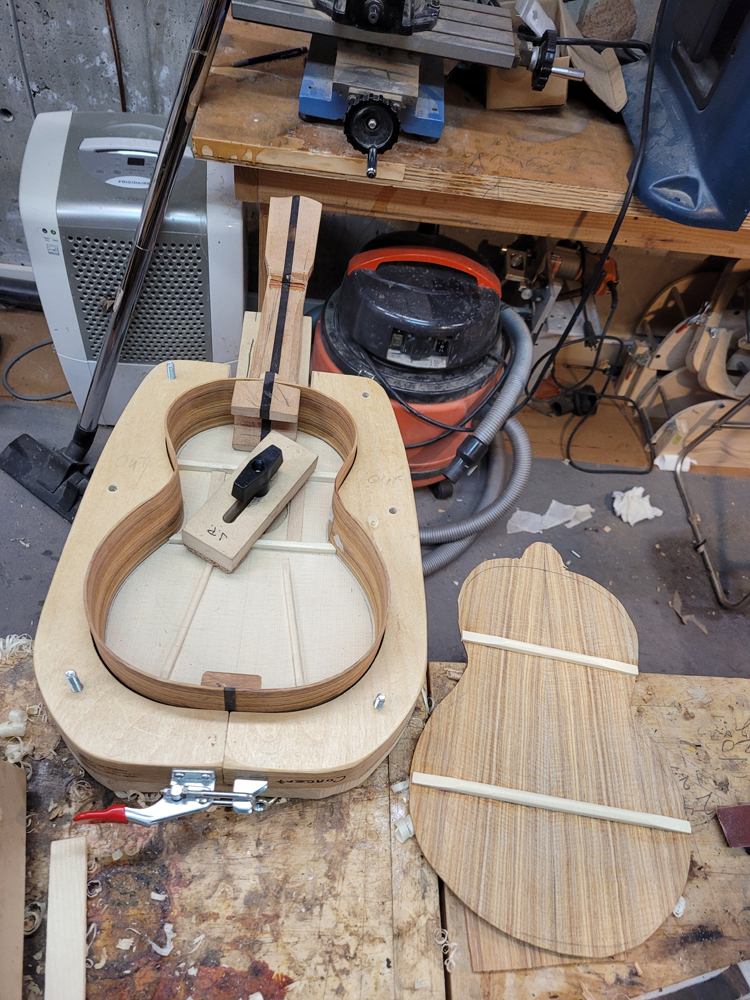
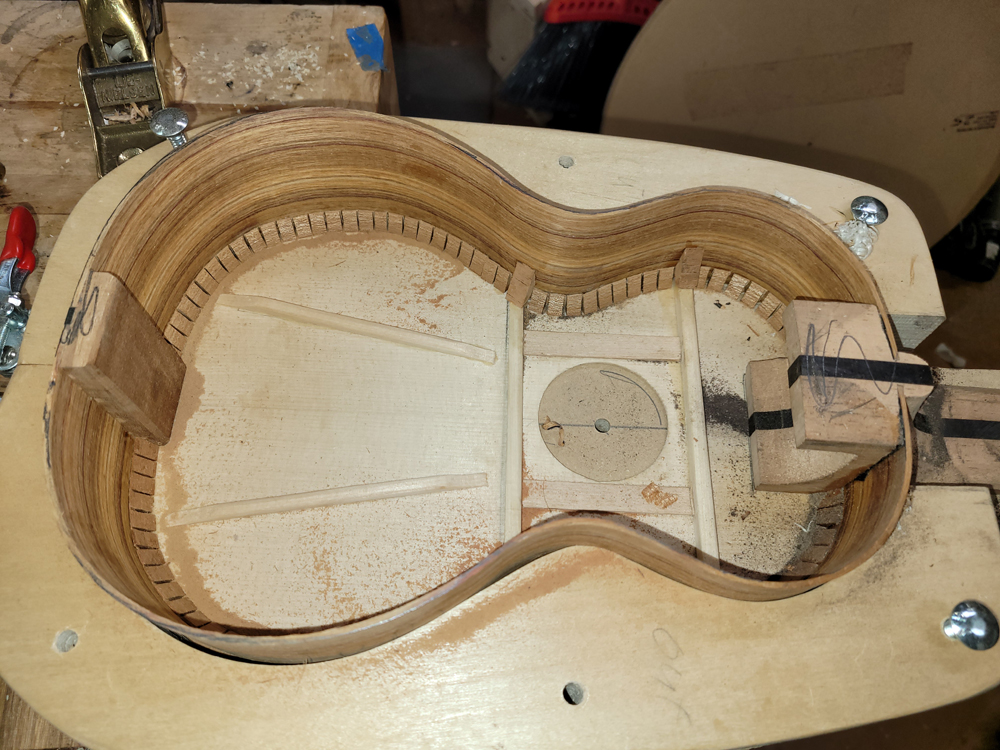
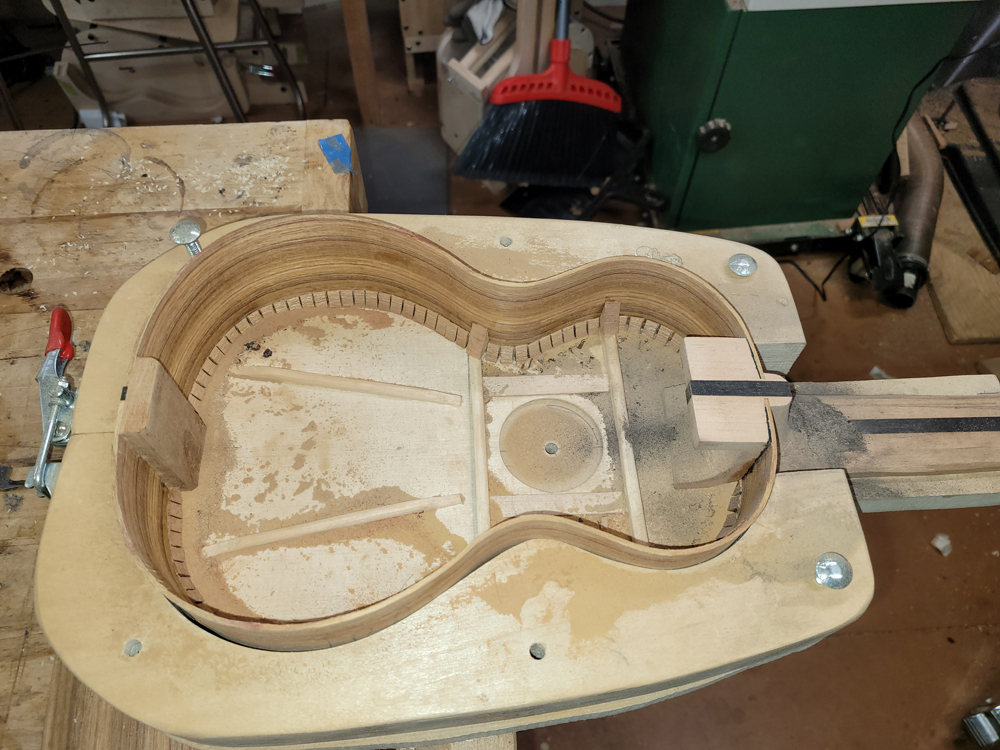
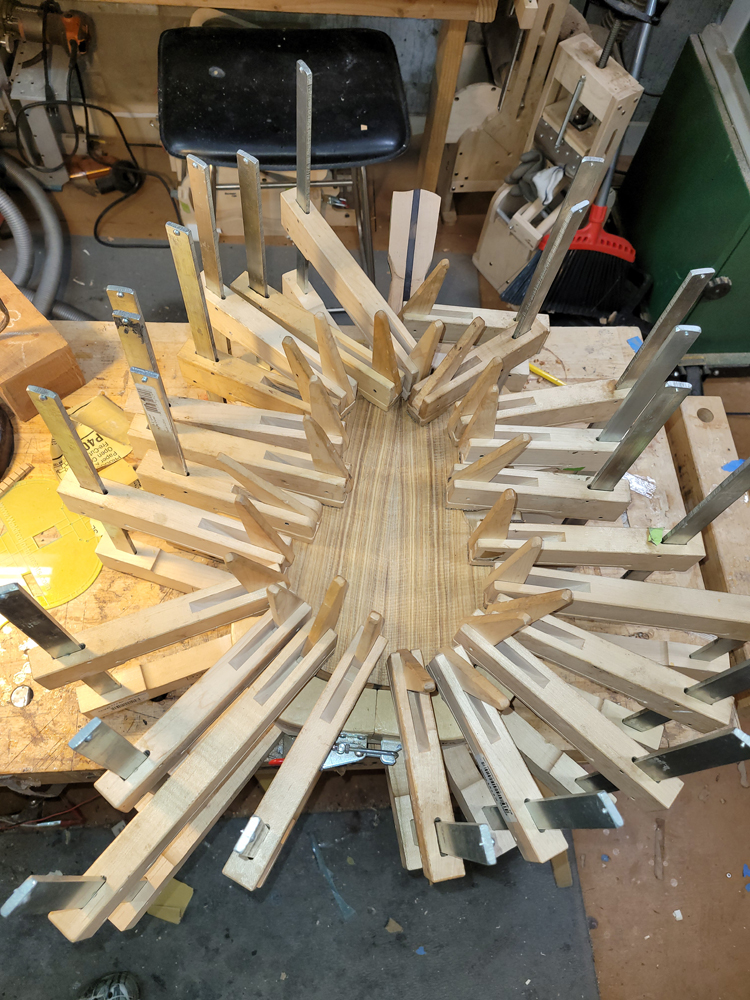
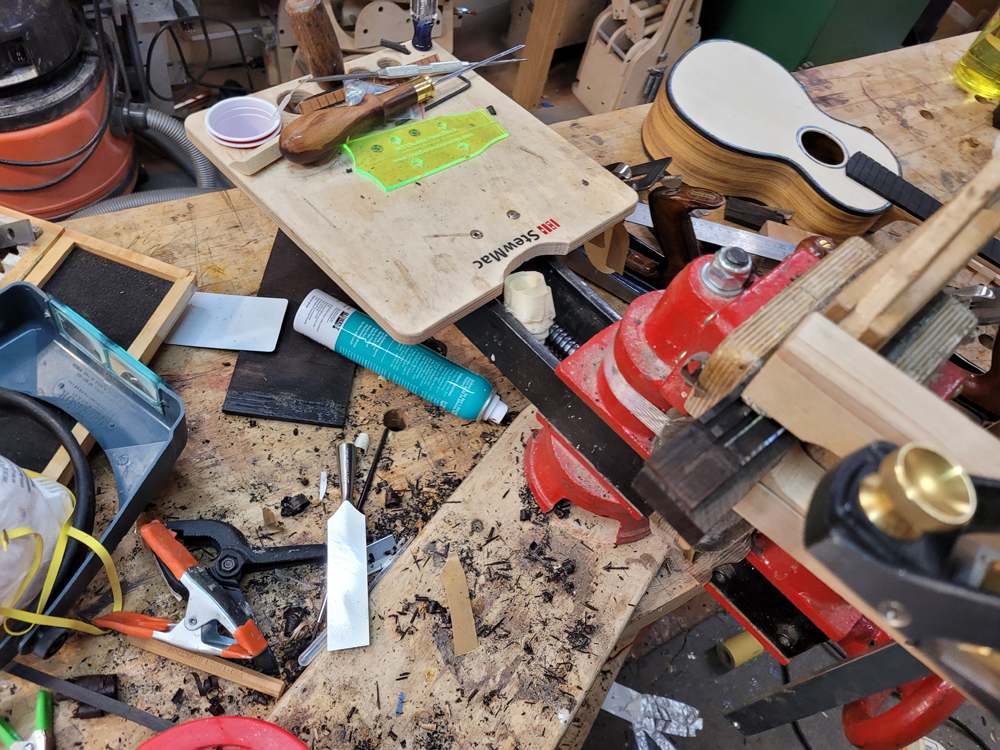
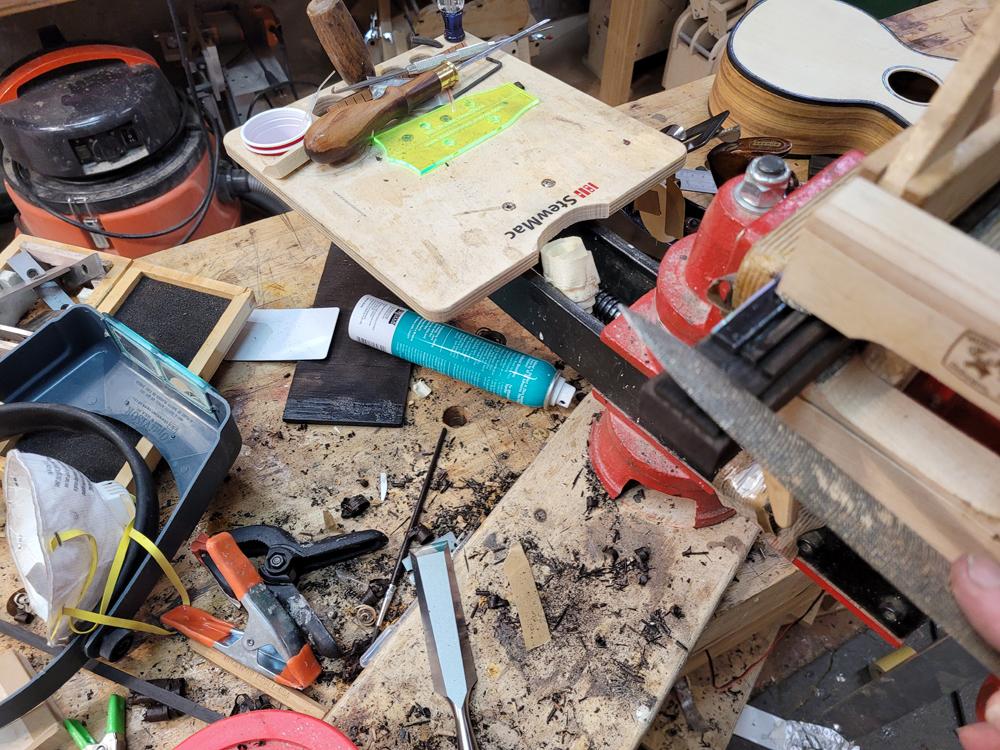
I braced the top with a traditional fan pattern and started shaping the braces.
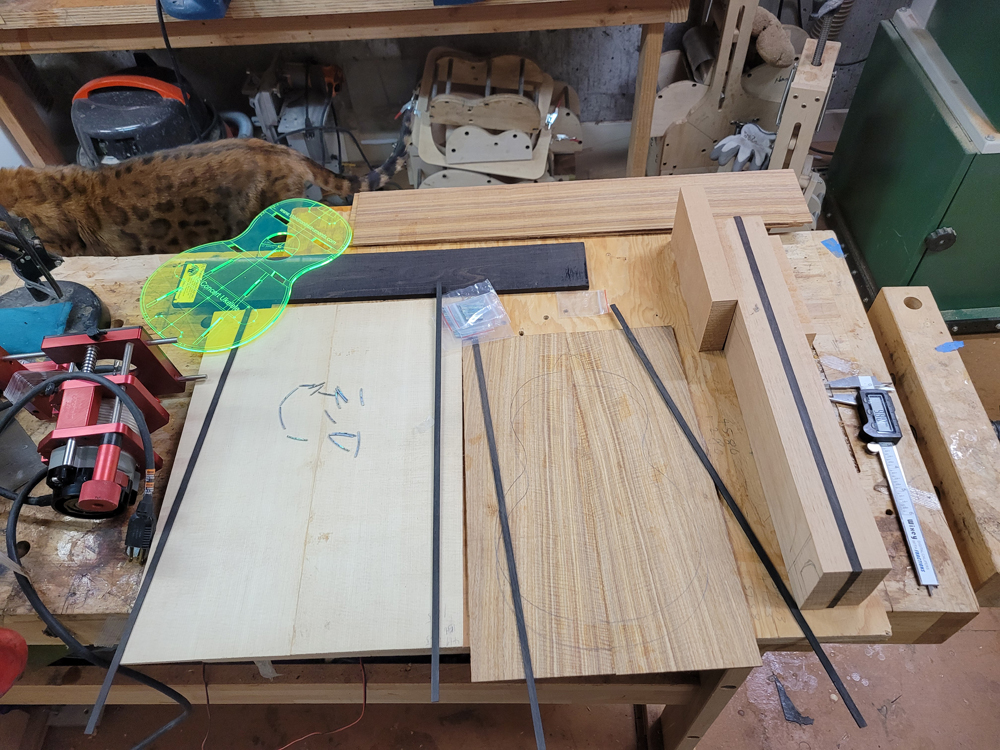
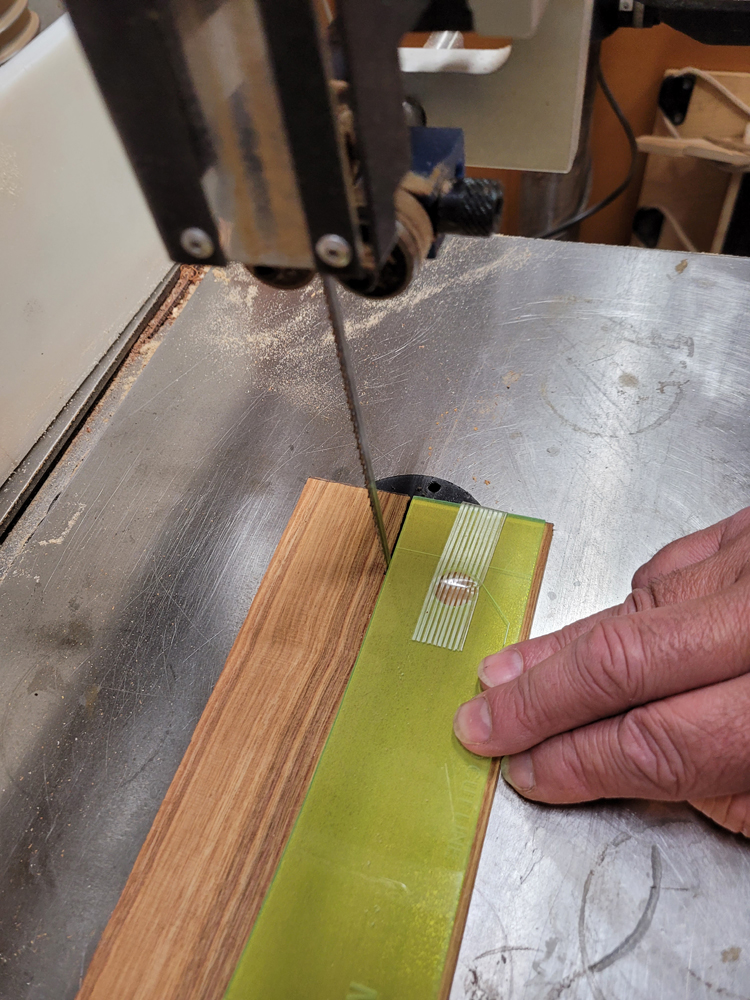
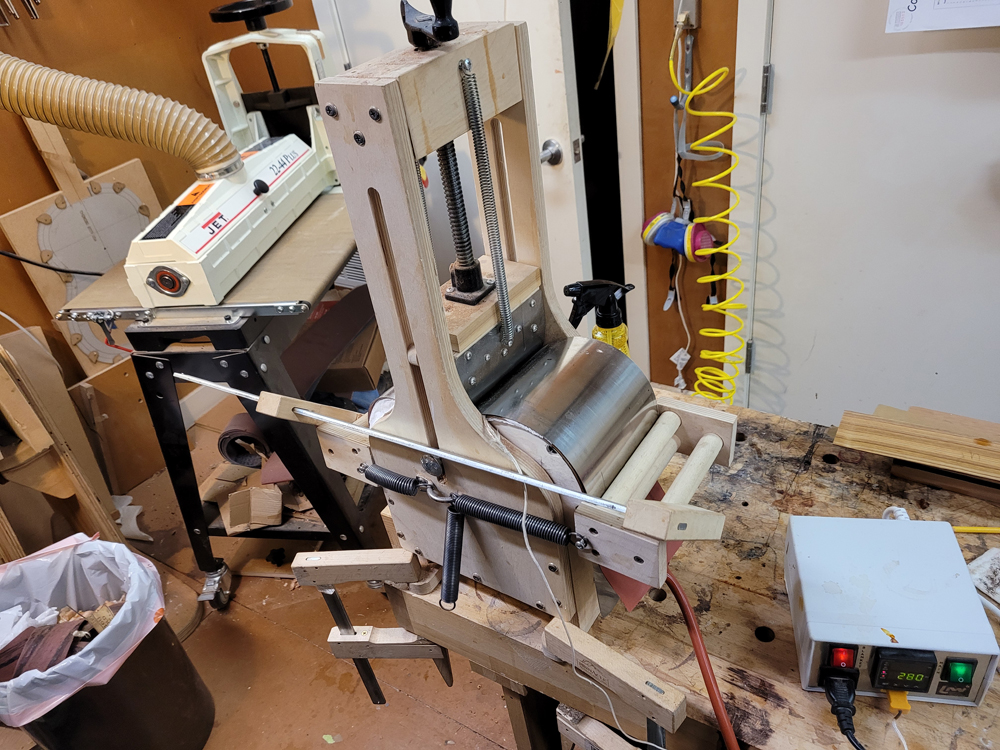
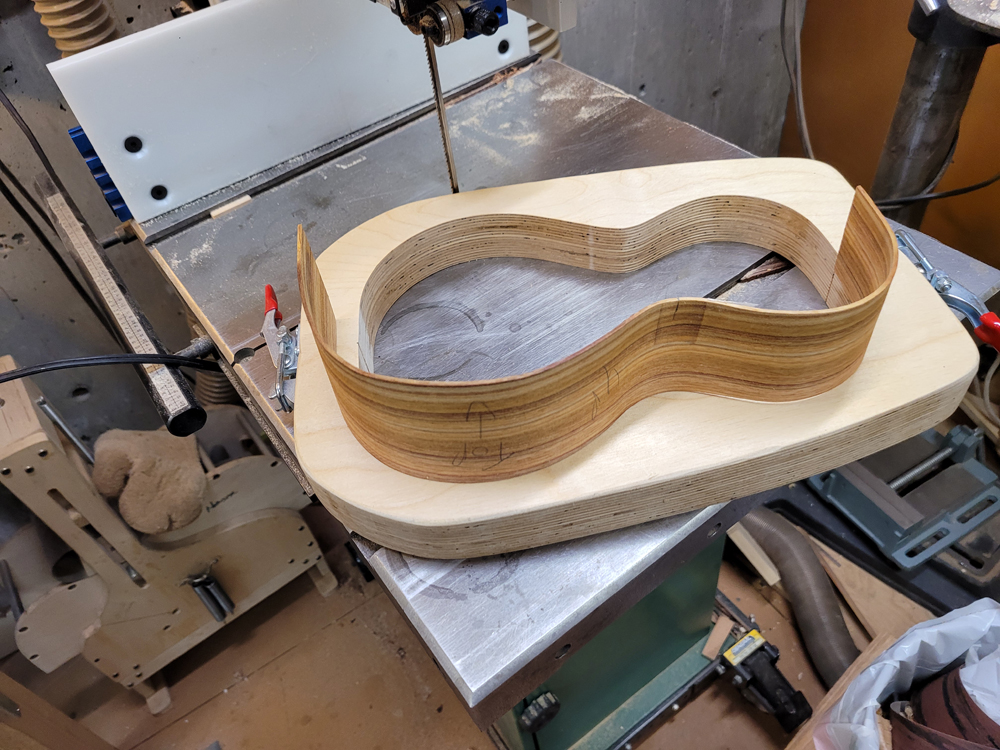
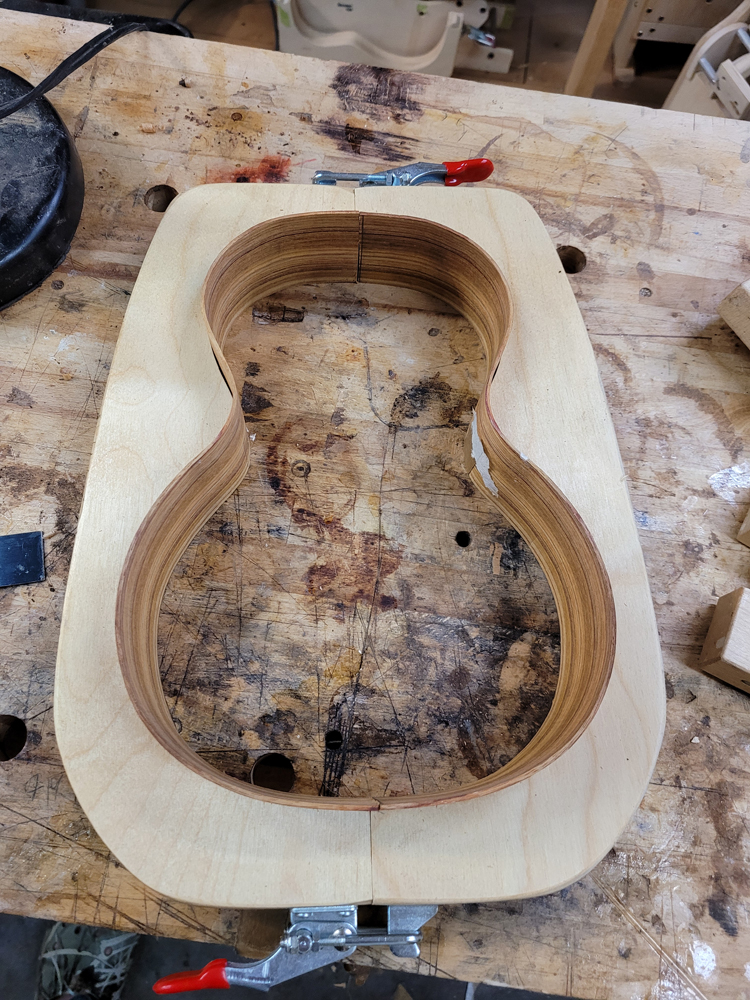
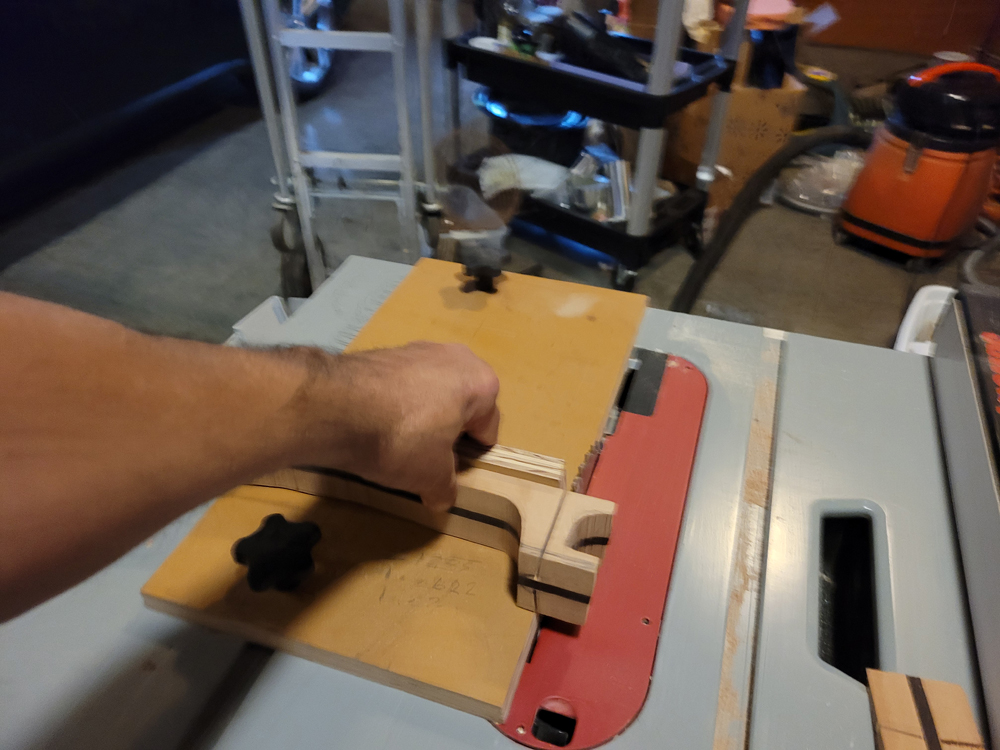
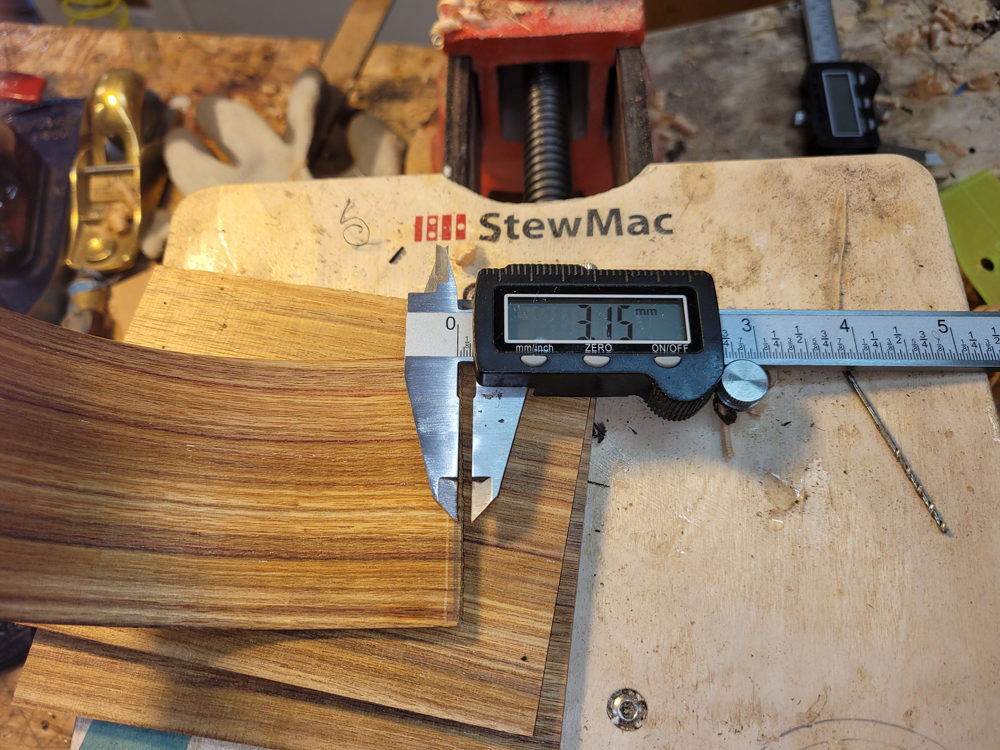
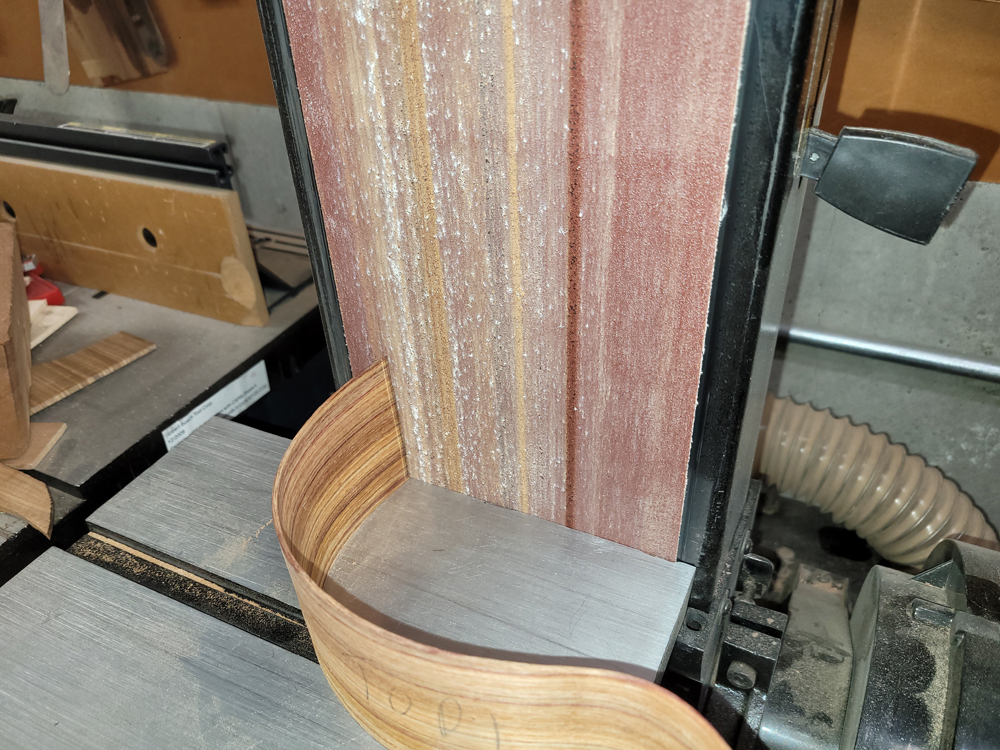
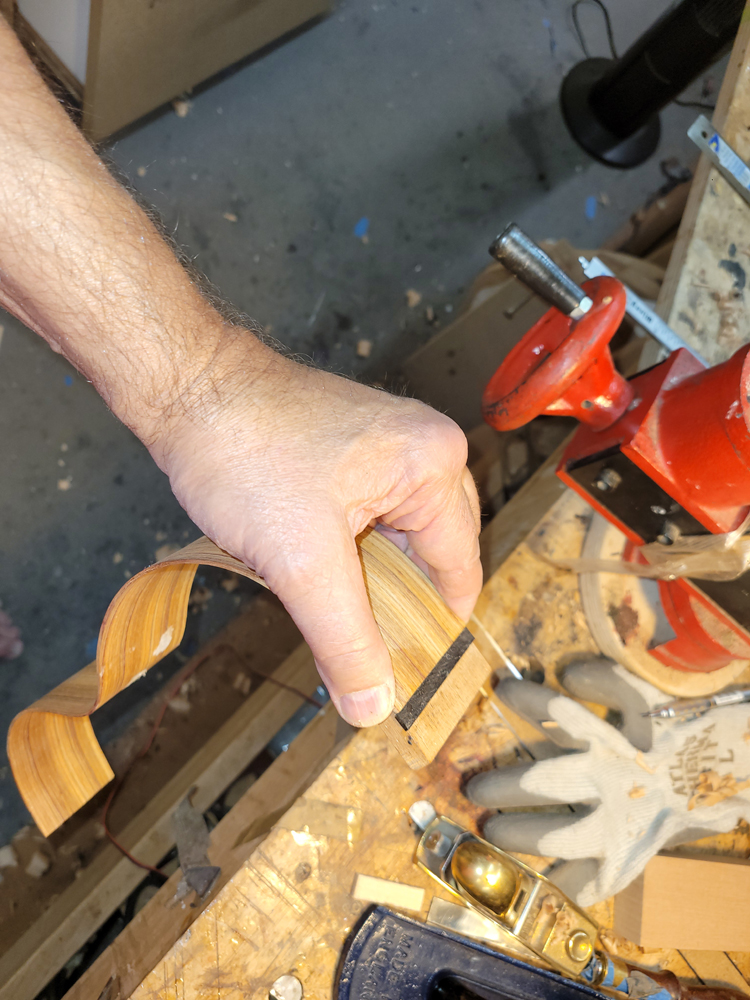
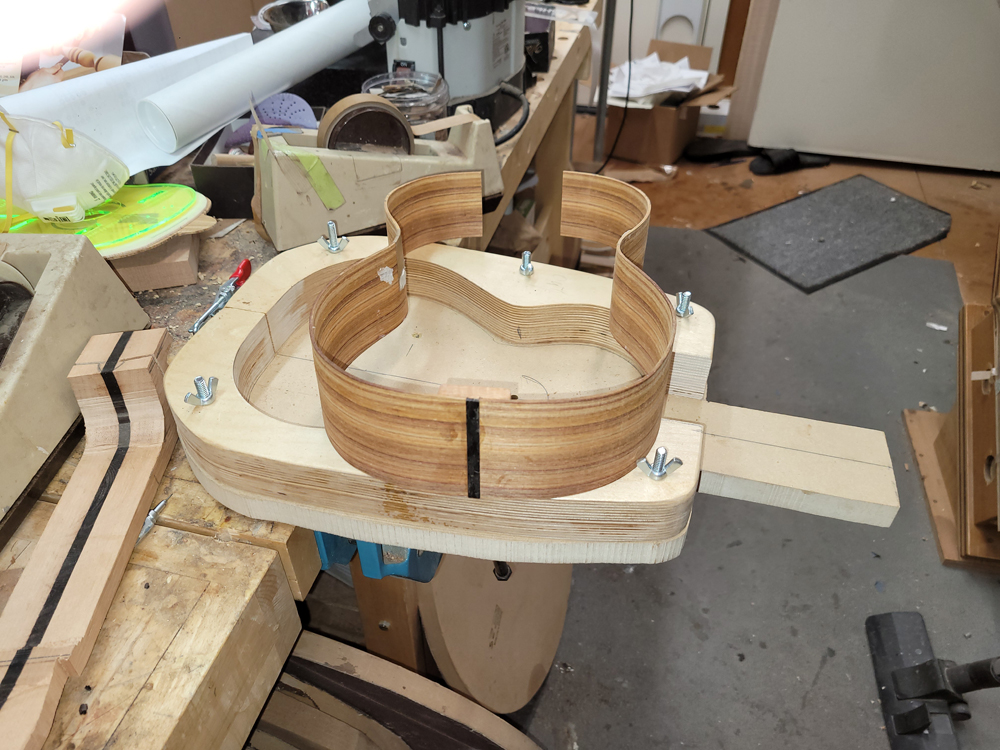
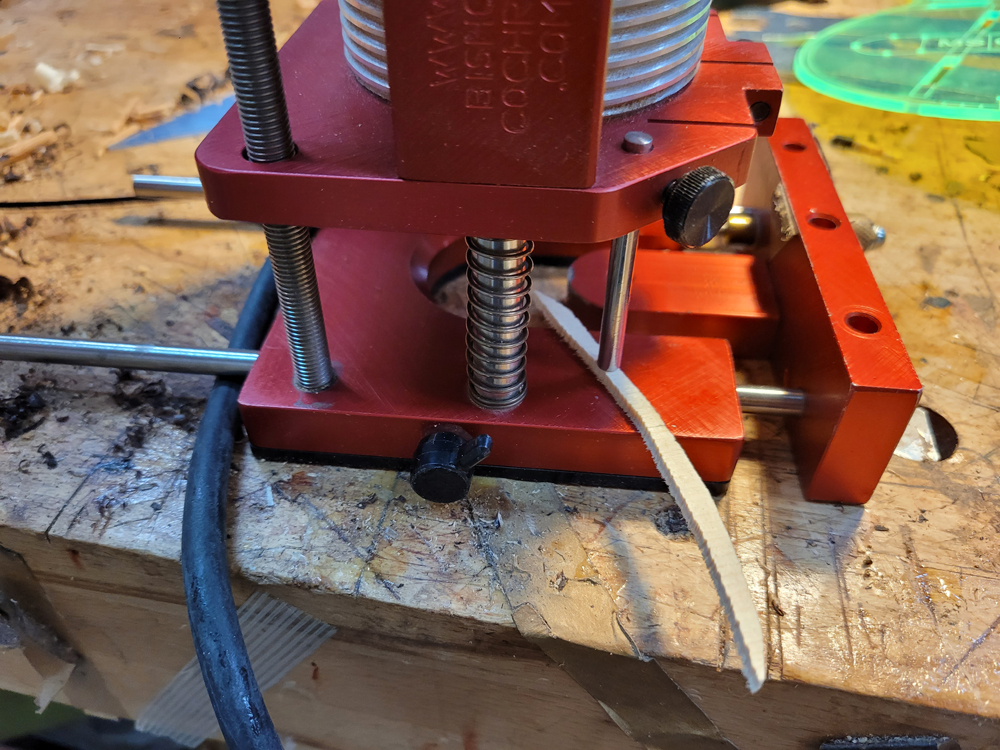
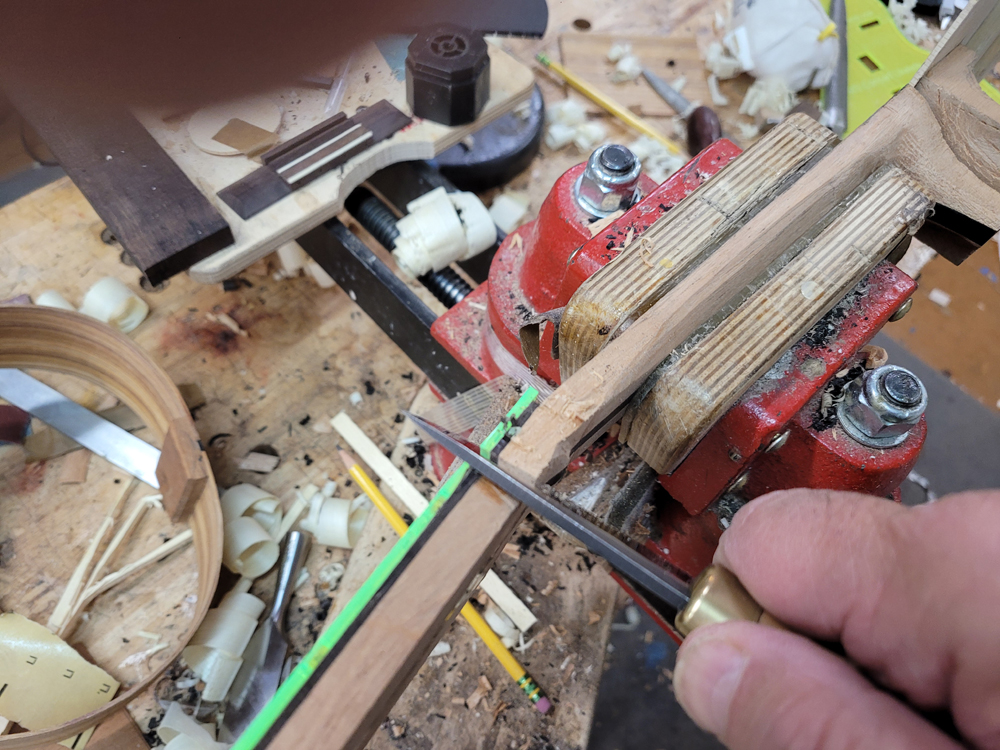
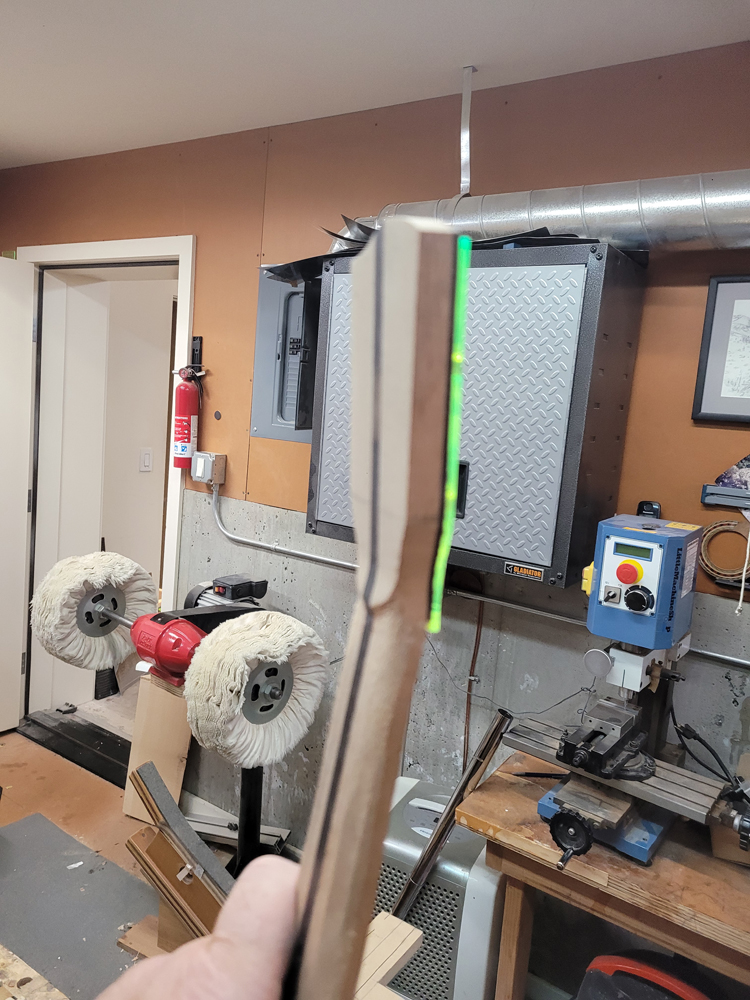
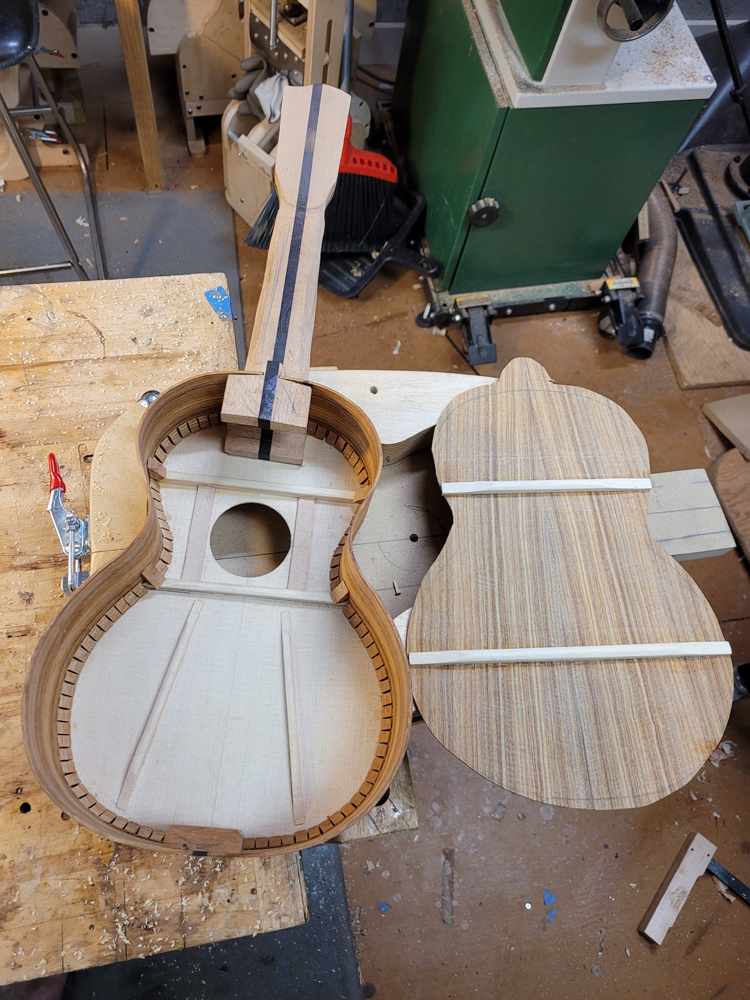
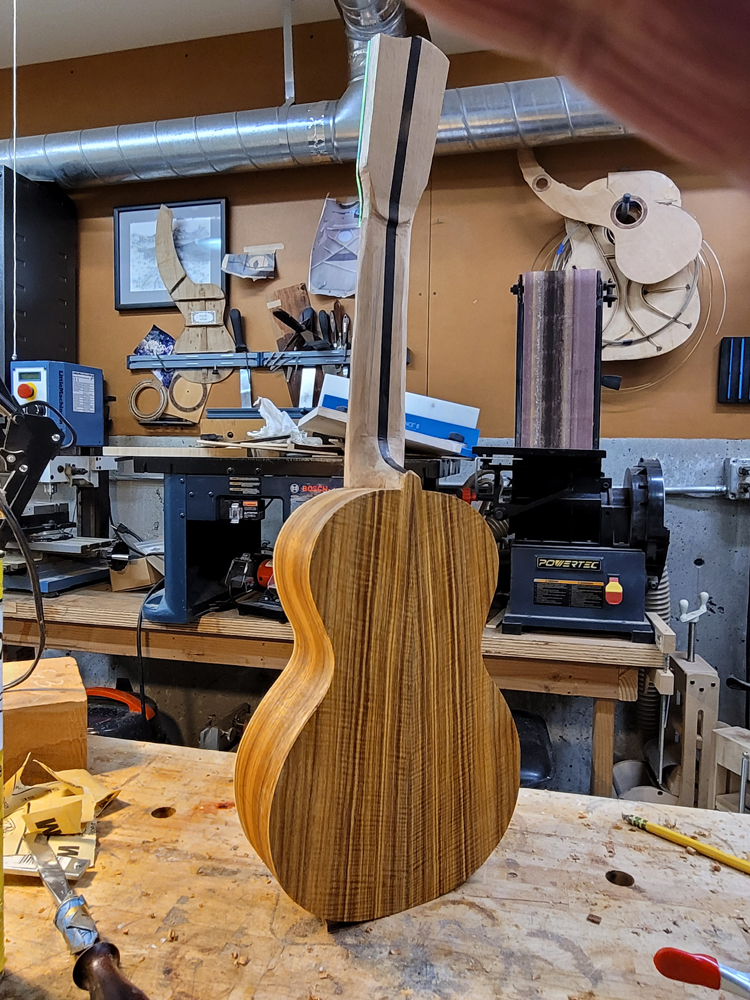
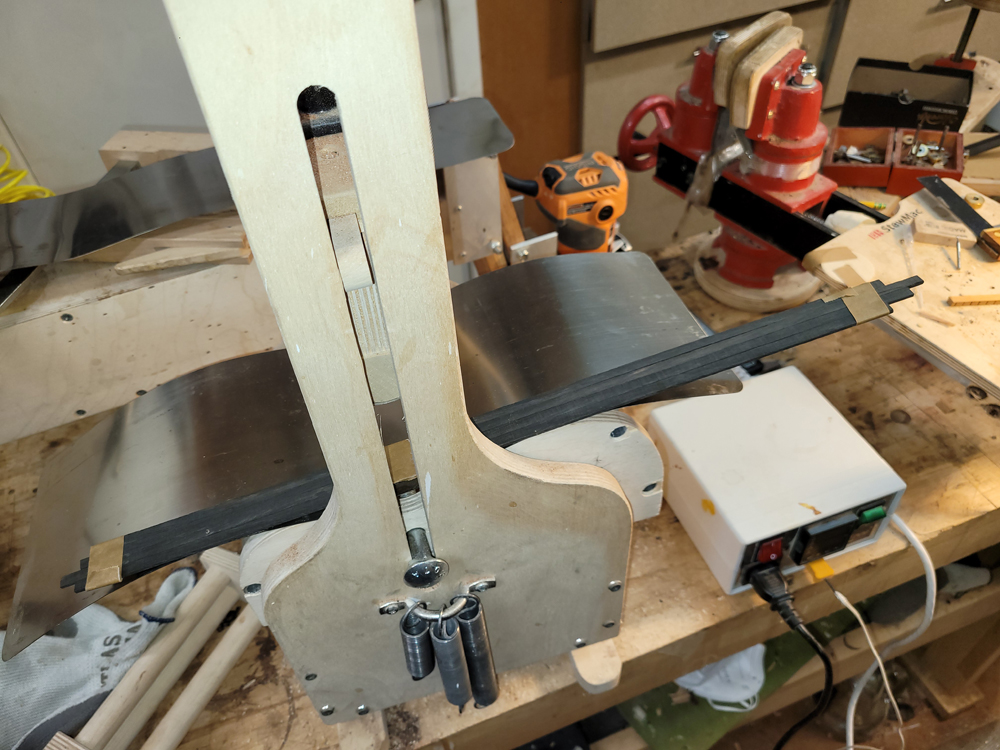
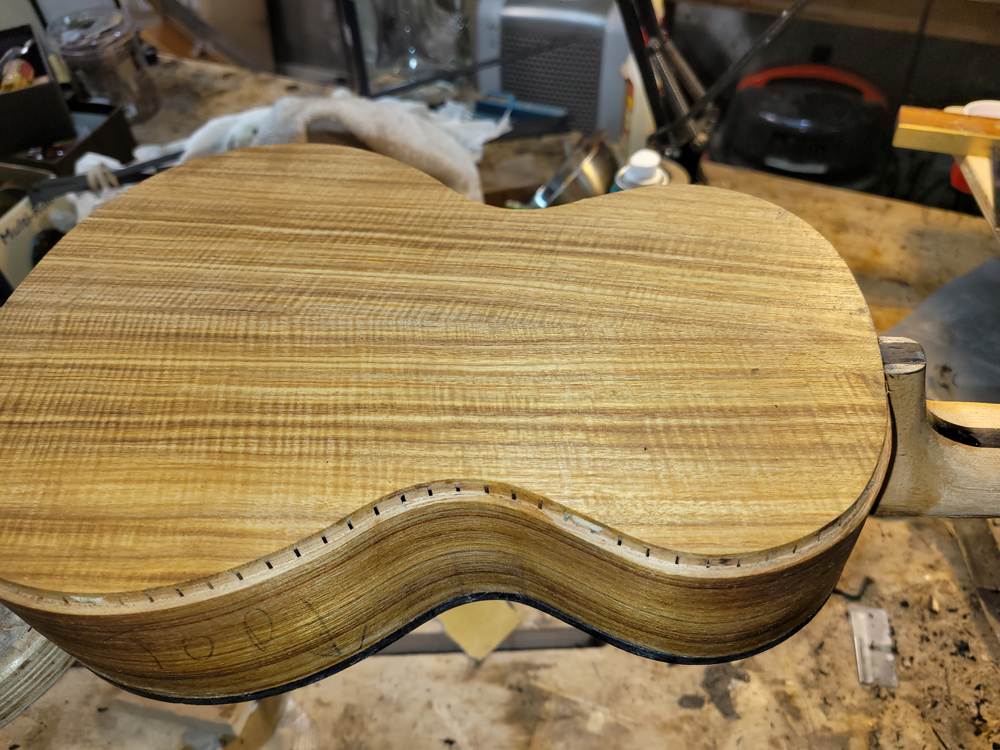
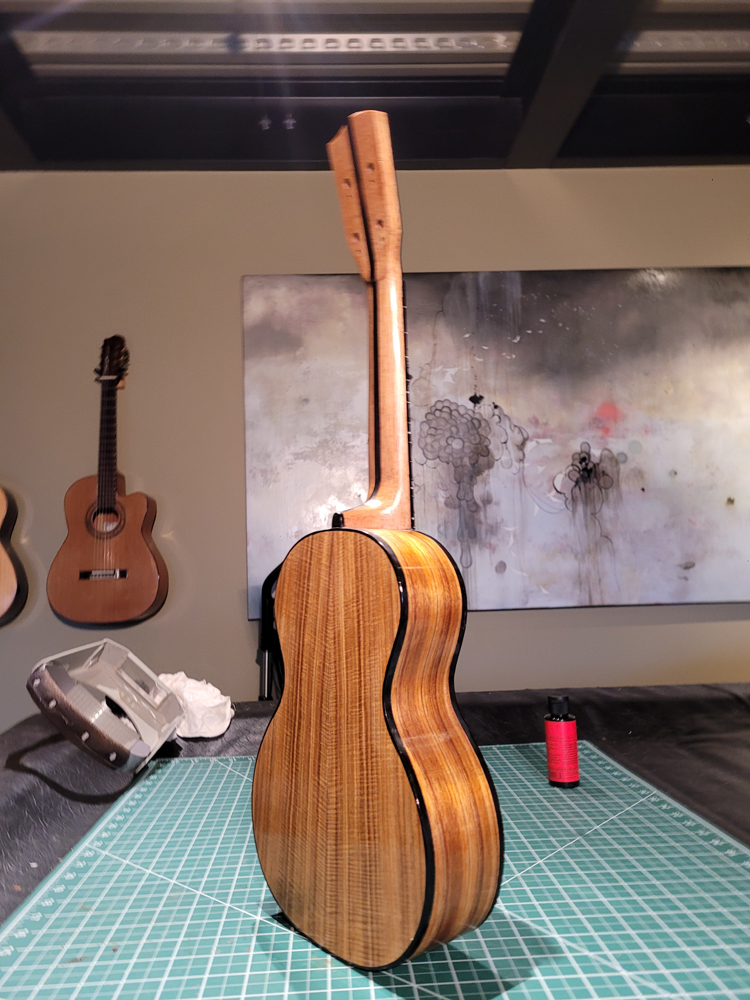
I profiled, thicknessed, and bent the sides for the rims. My eyes are not what they once were, so instead of pencilling in the profile lines I just taped on the template. Really easy to follow — with careful placement of the waist, I ended up with perfectly book-matched and profiled sides.
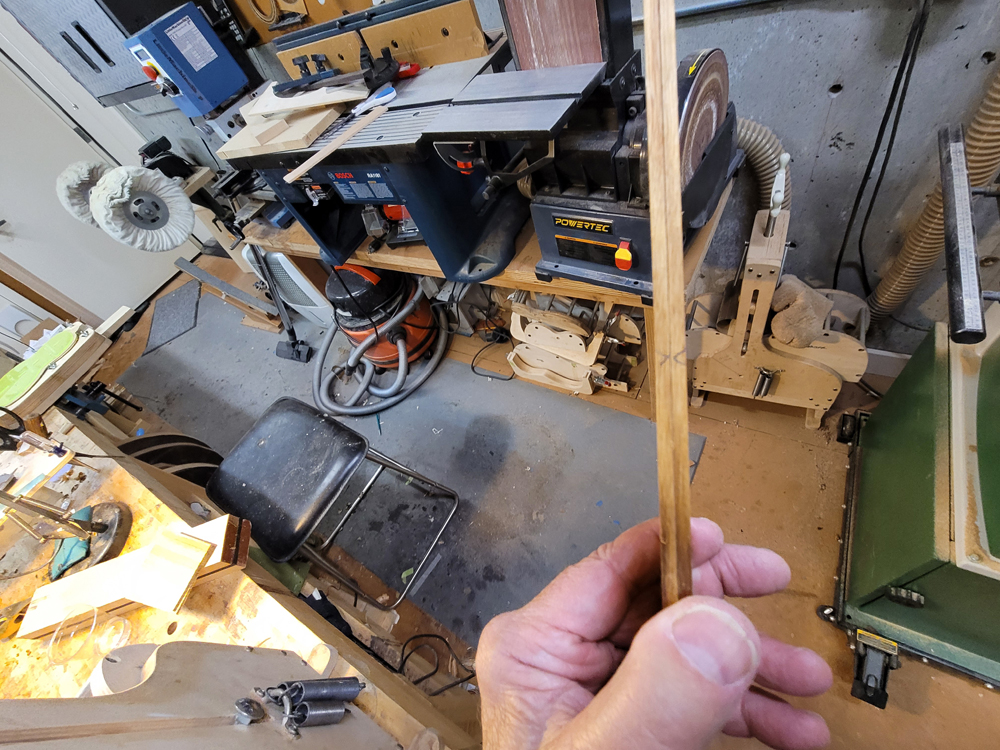
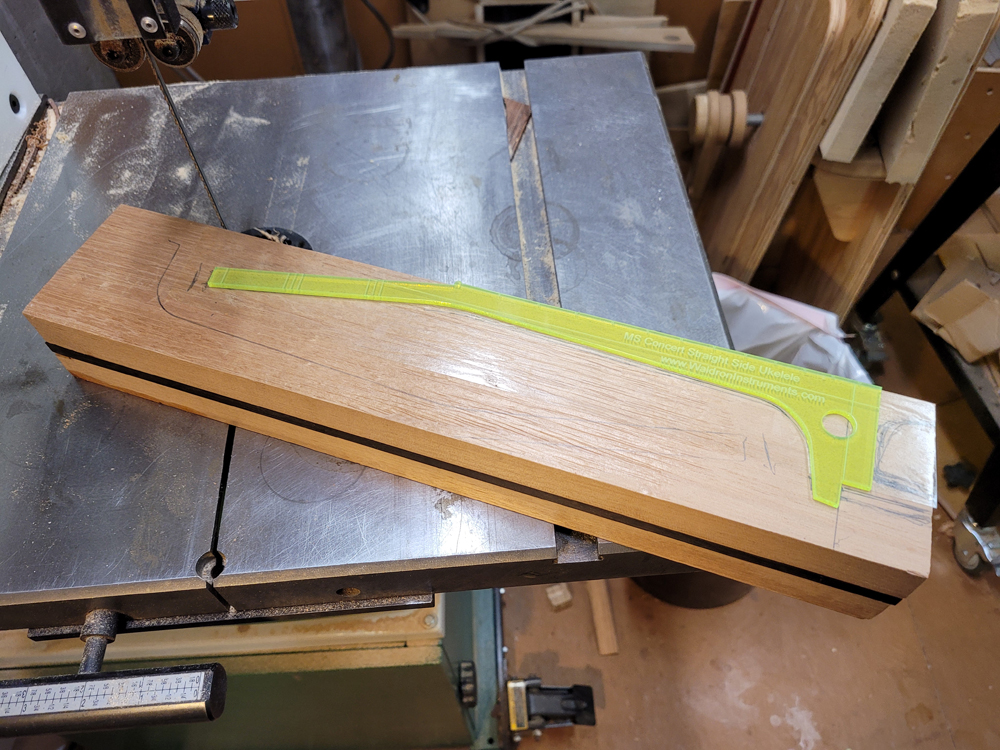
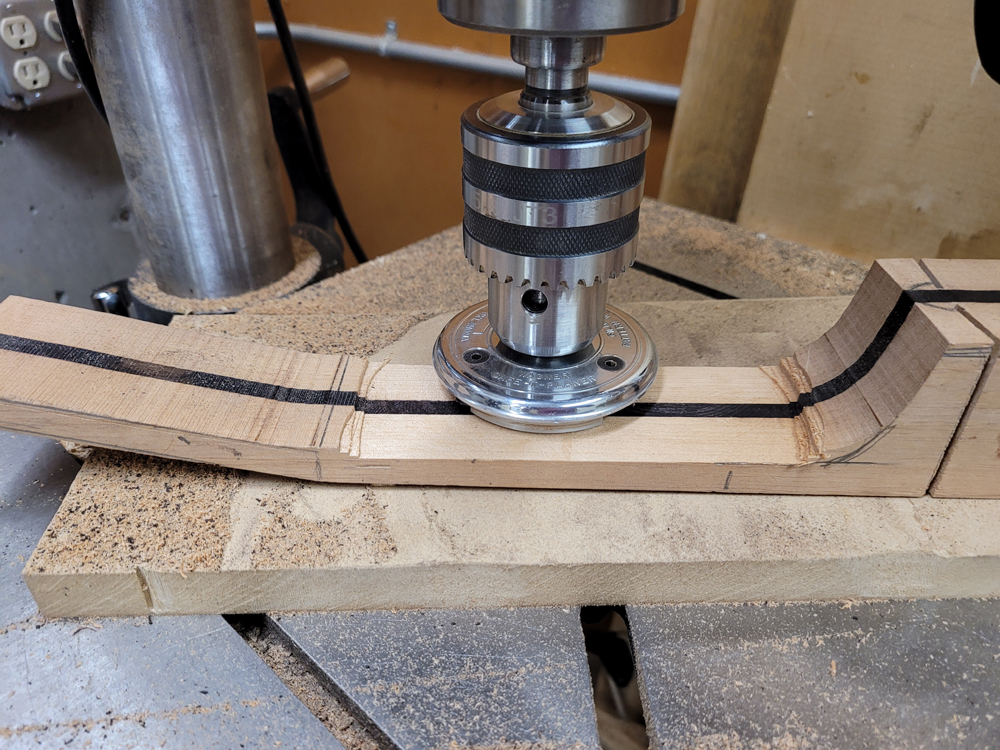
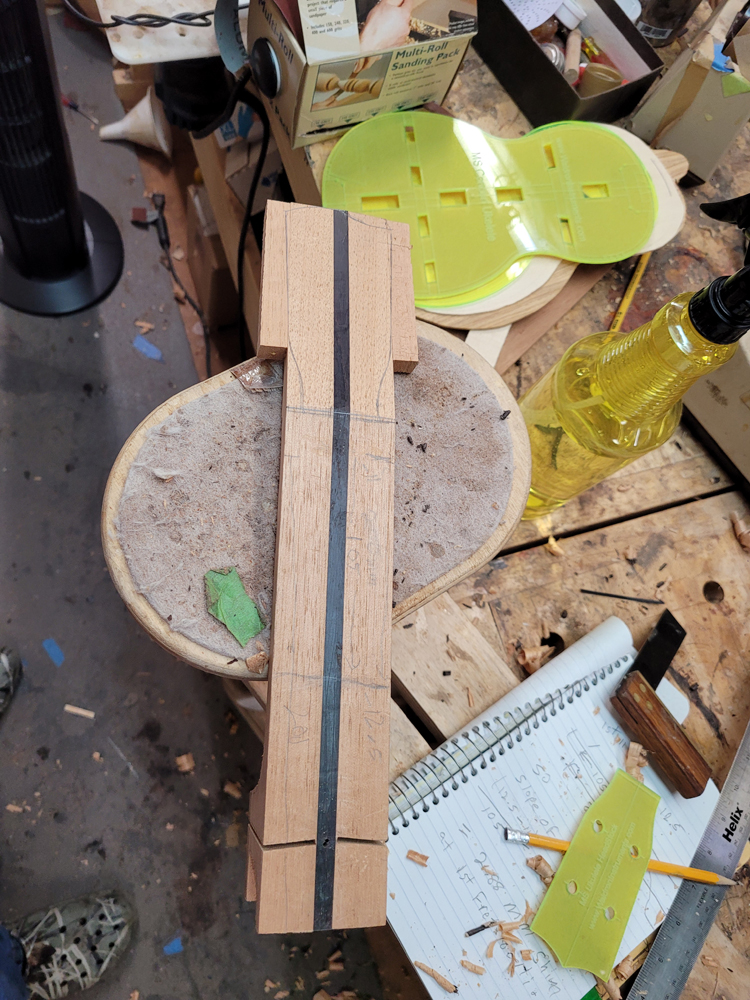
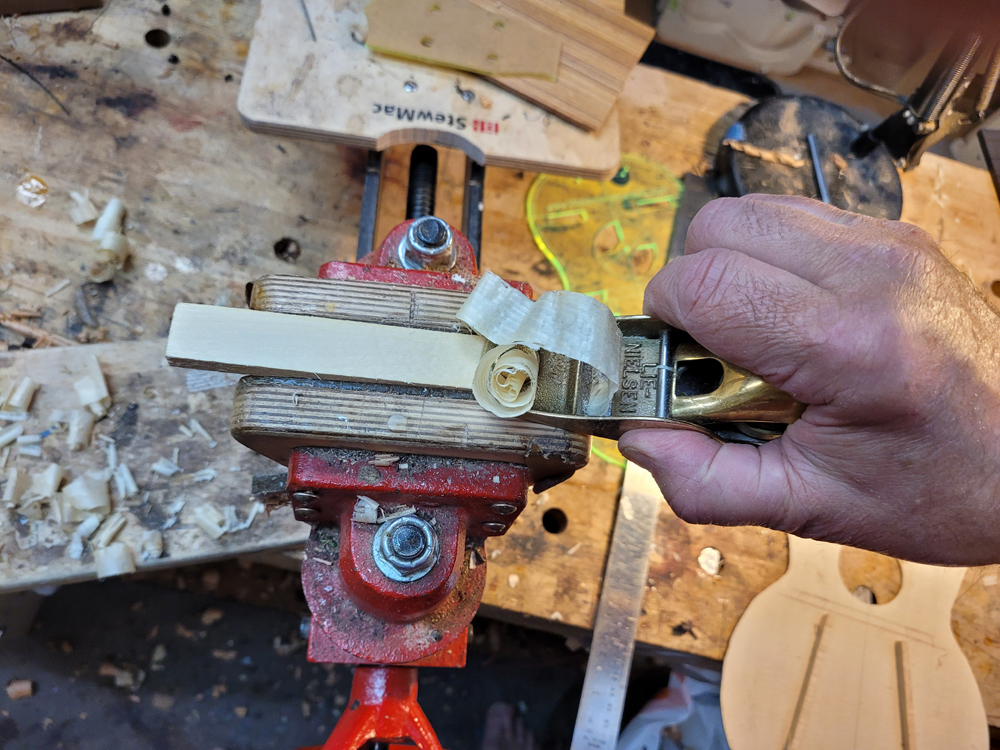
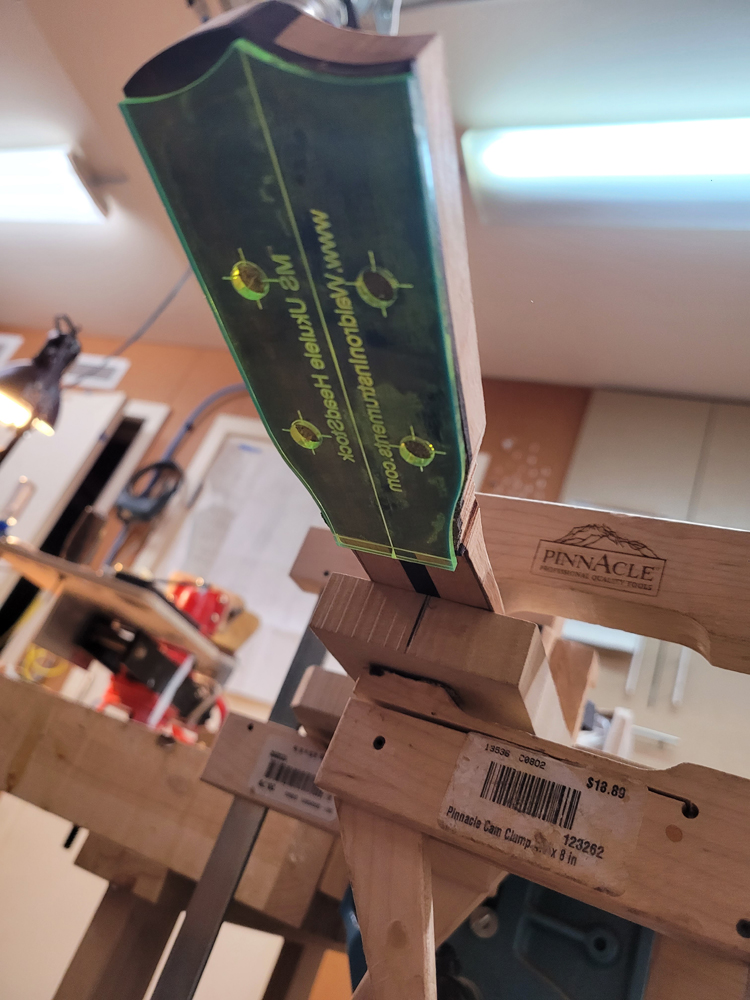
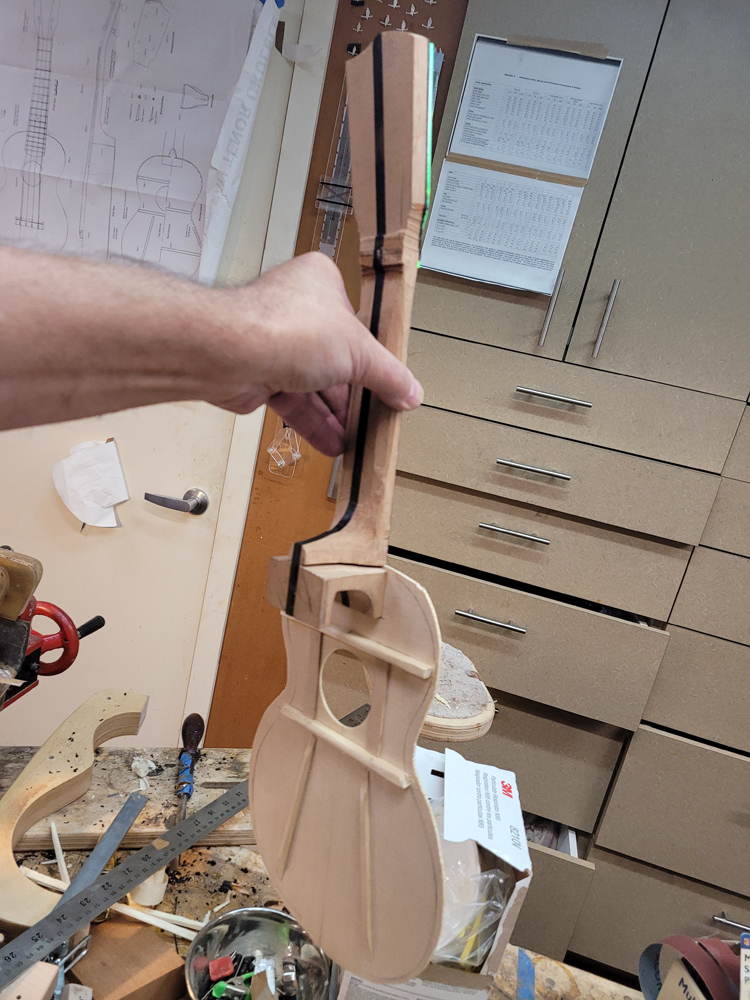
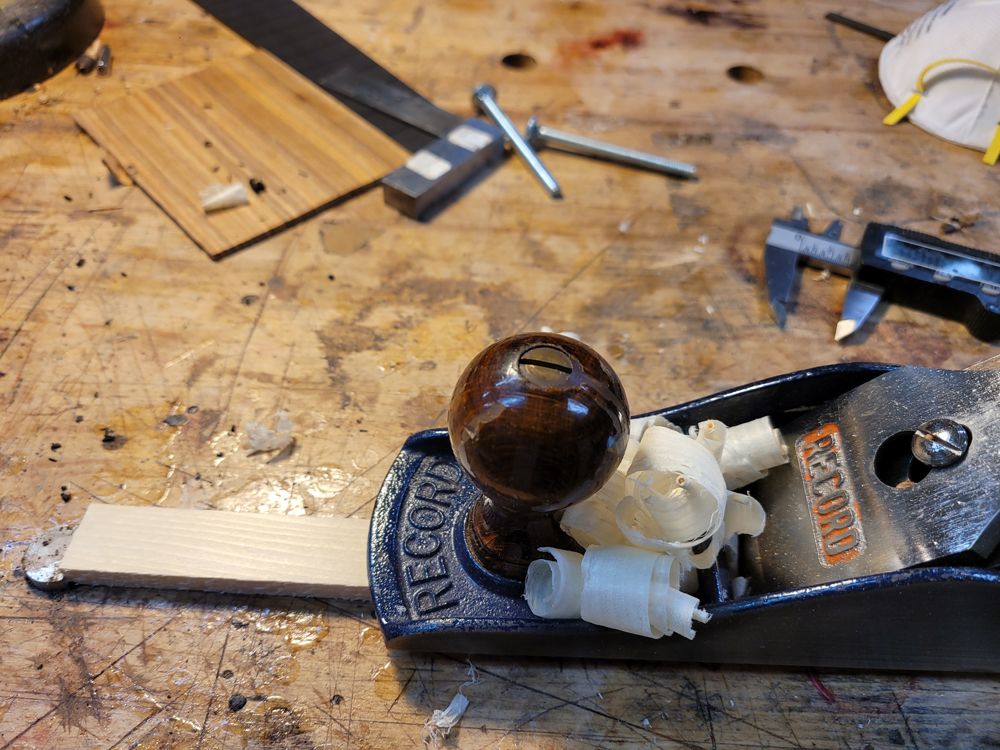
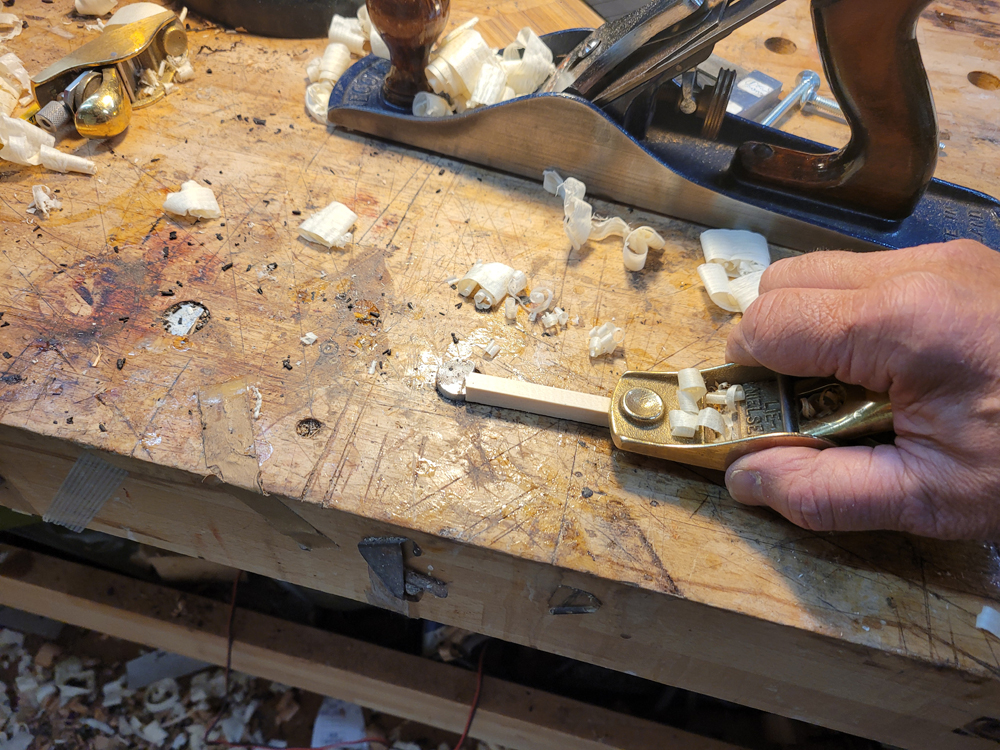
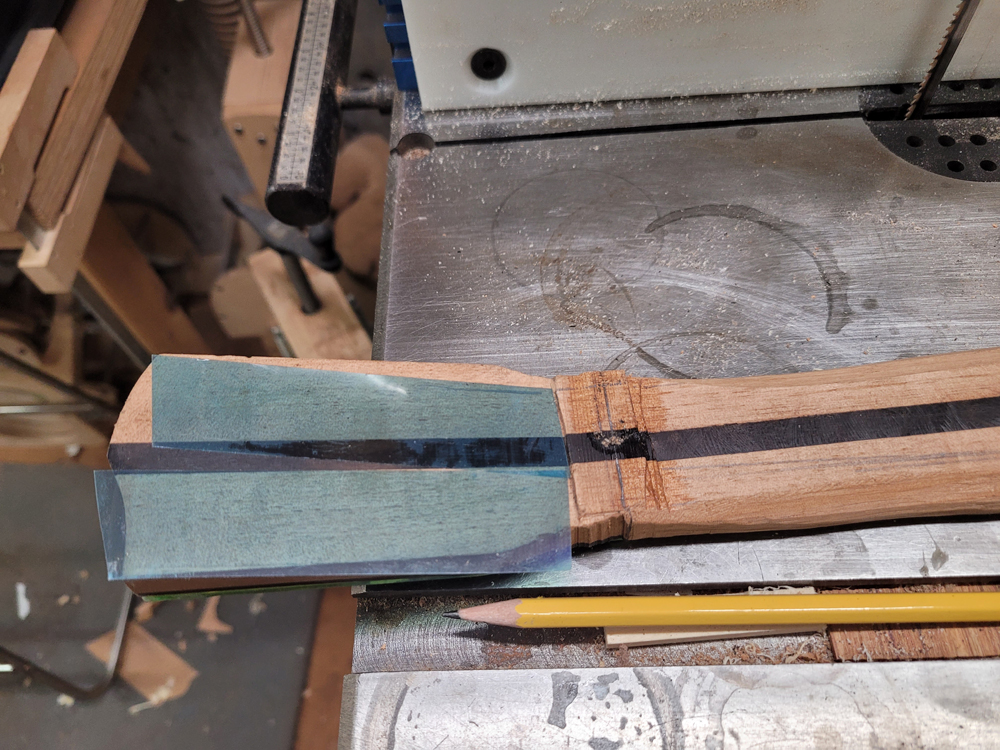
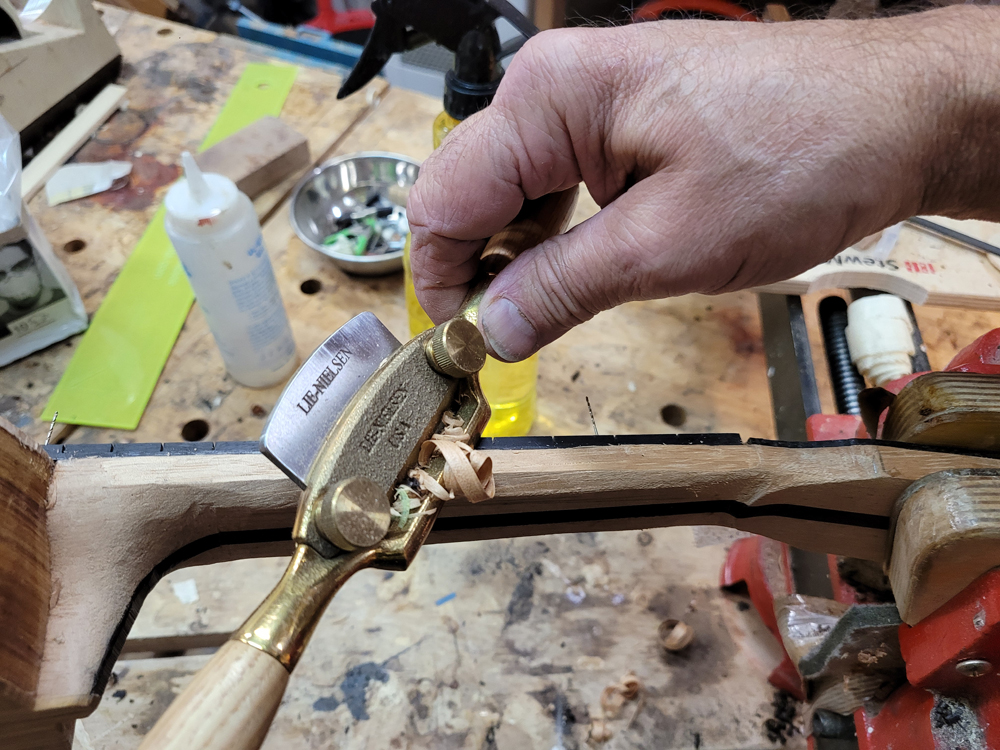
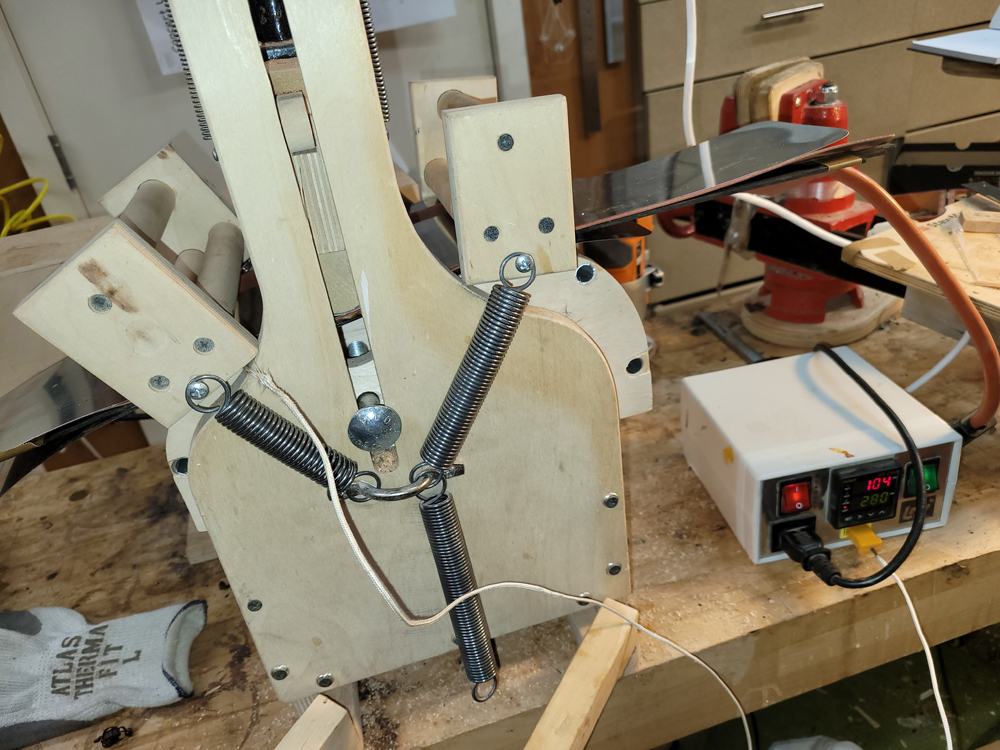
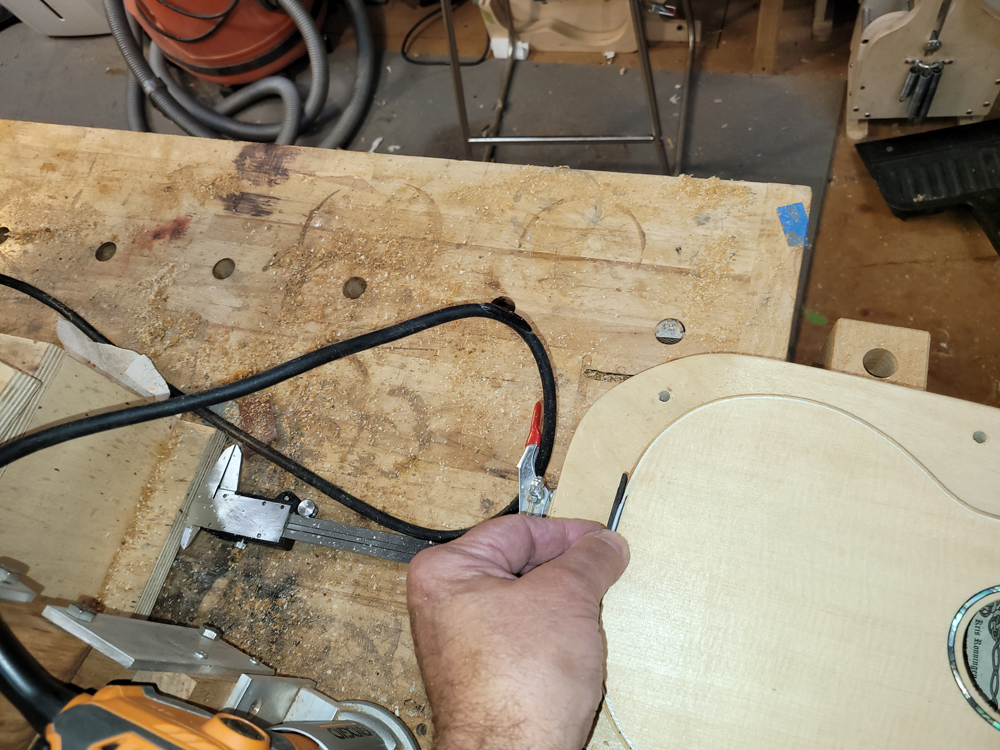
I have mostly been doing website maintenance the last few days, but I did get a bit of time on the rims and cleaned up the neck. I use a Safe-T-Planer for both the headstock and the taper of the neck, shimming up the nut side to get the thickness right.
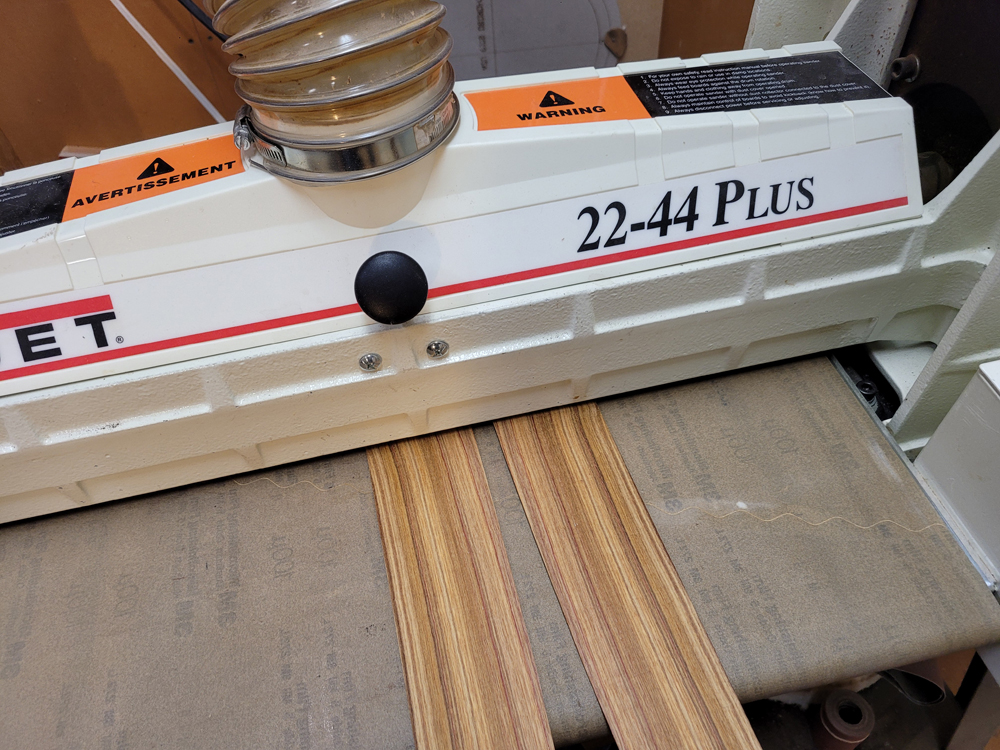
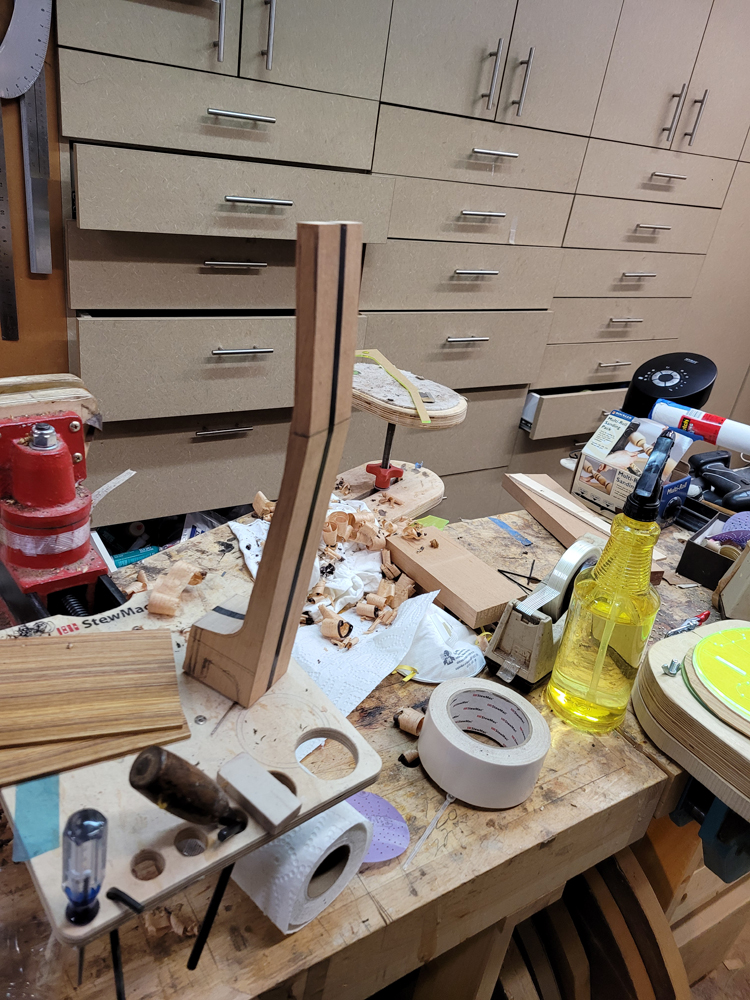
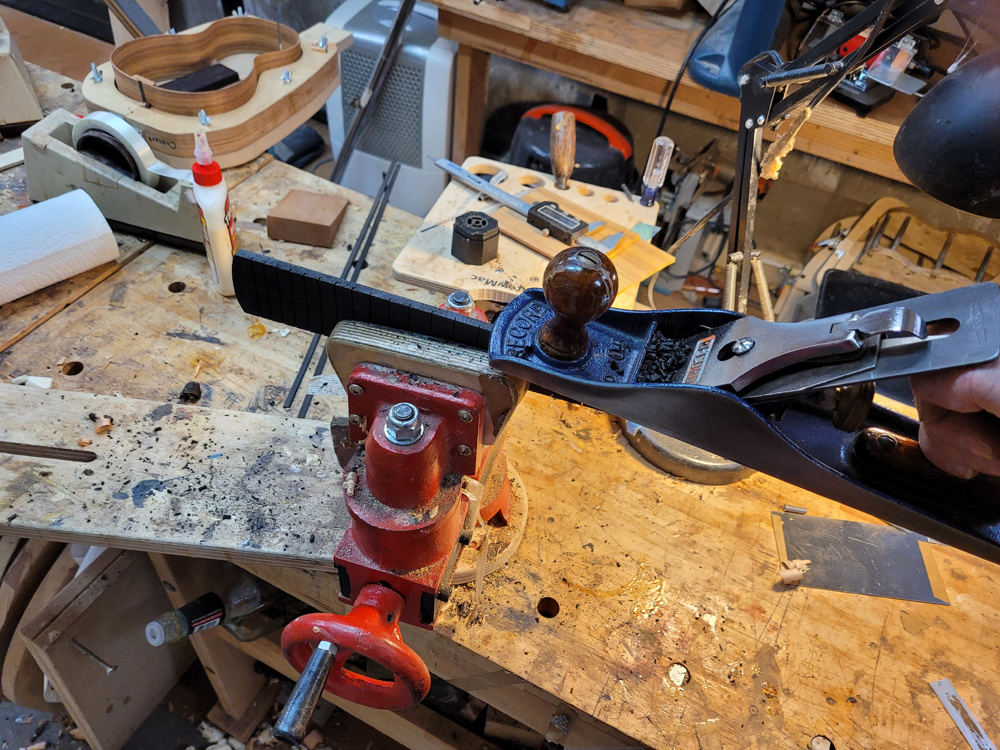
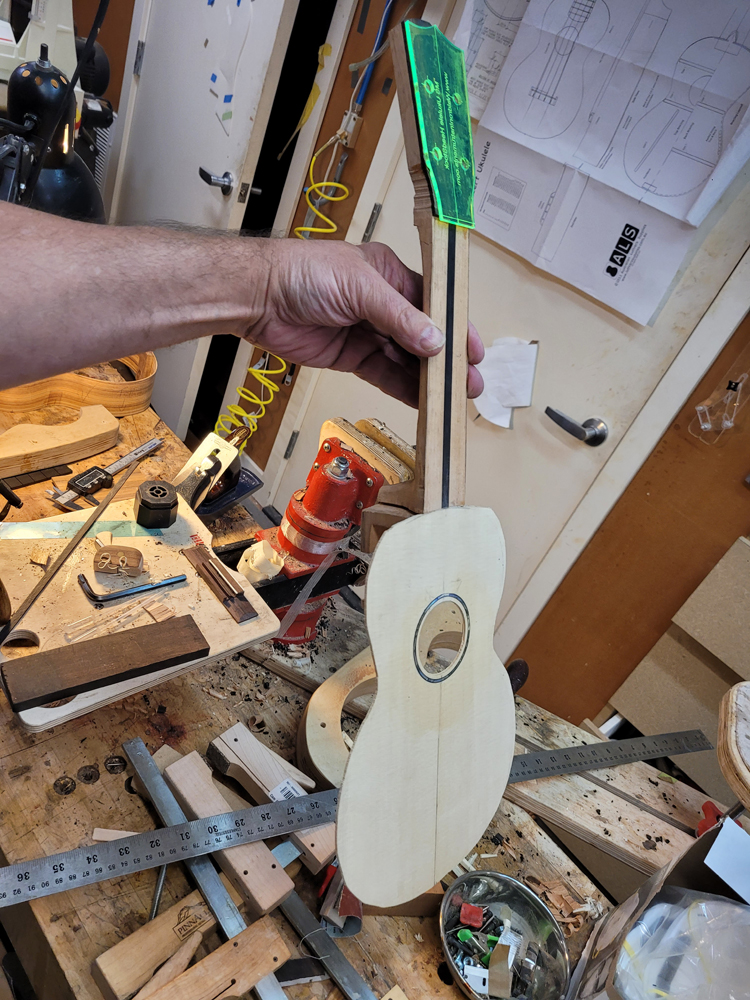
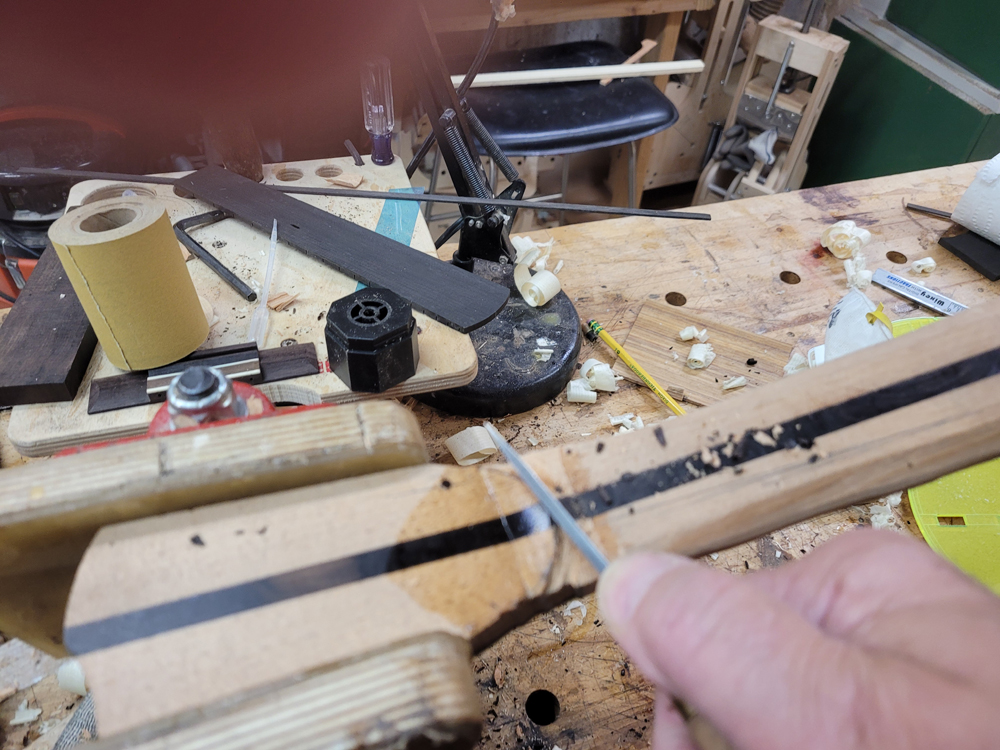
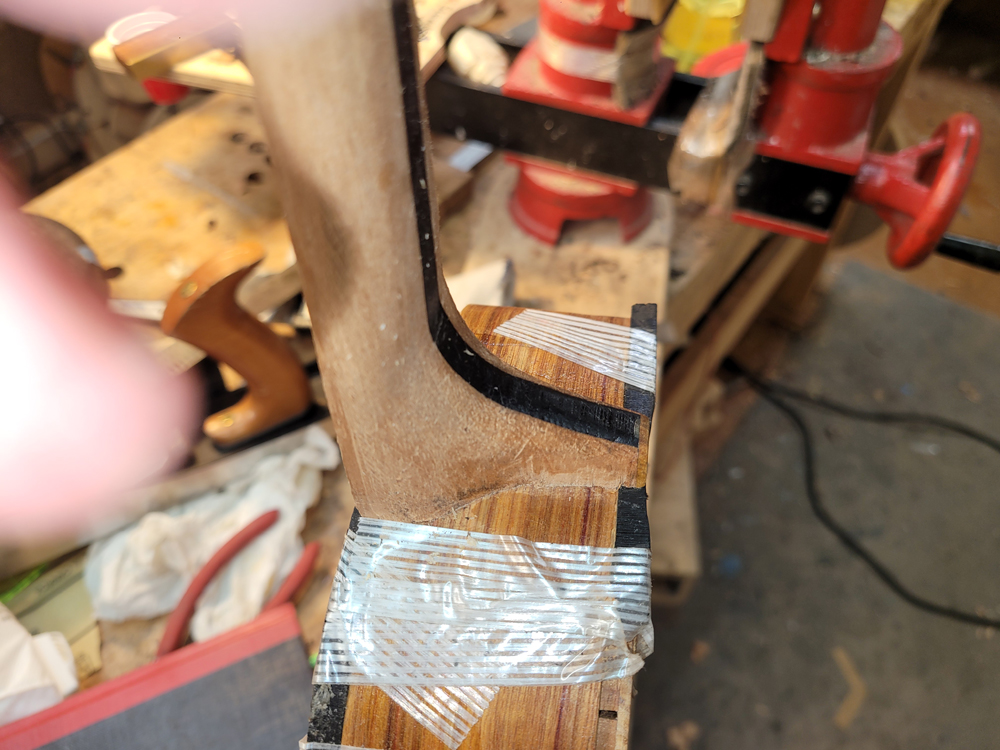
I continued to work on the neck getting it ready to glue on to the top. I glued on the headstock veneer and used my drum sander to thickness it to 2mm, then set my belt sander table to the headstock angle and bevelled the nut side about 10°.
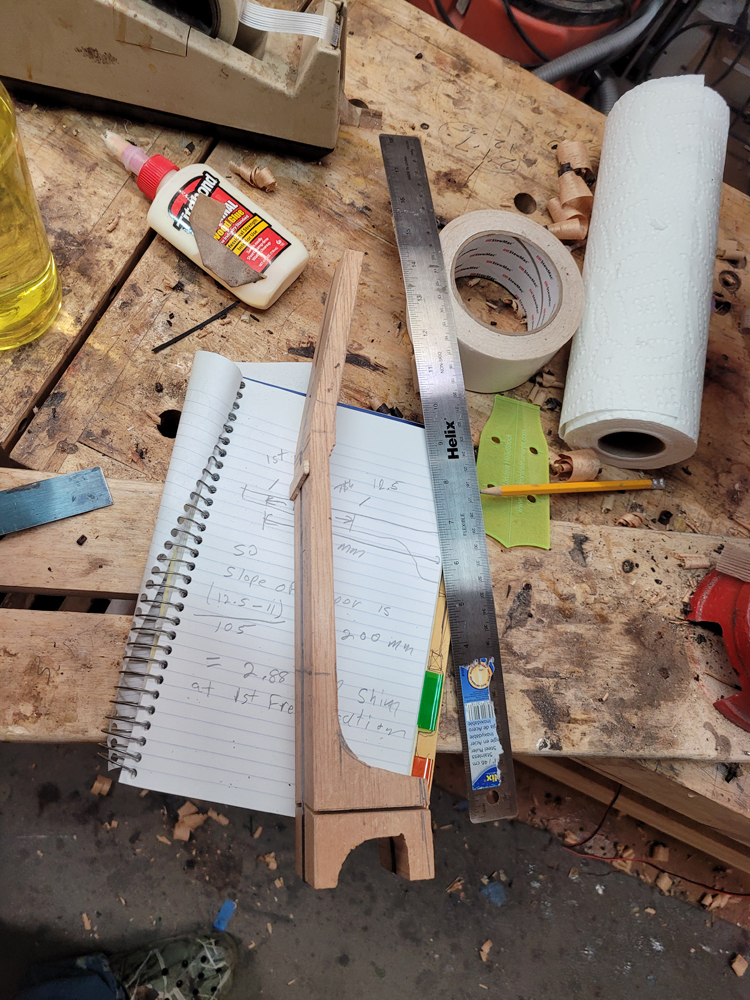
I am finding I really need to take care when working on the neck at this stage — it’s small and there’s not much wood to hold on to.
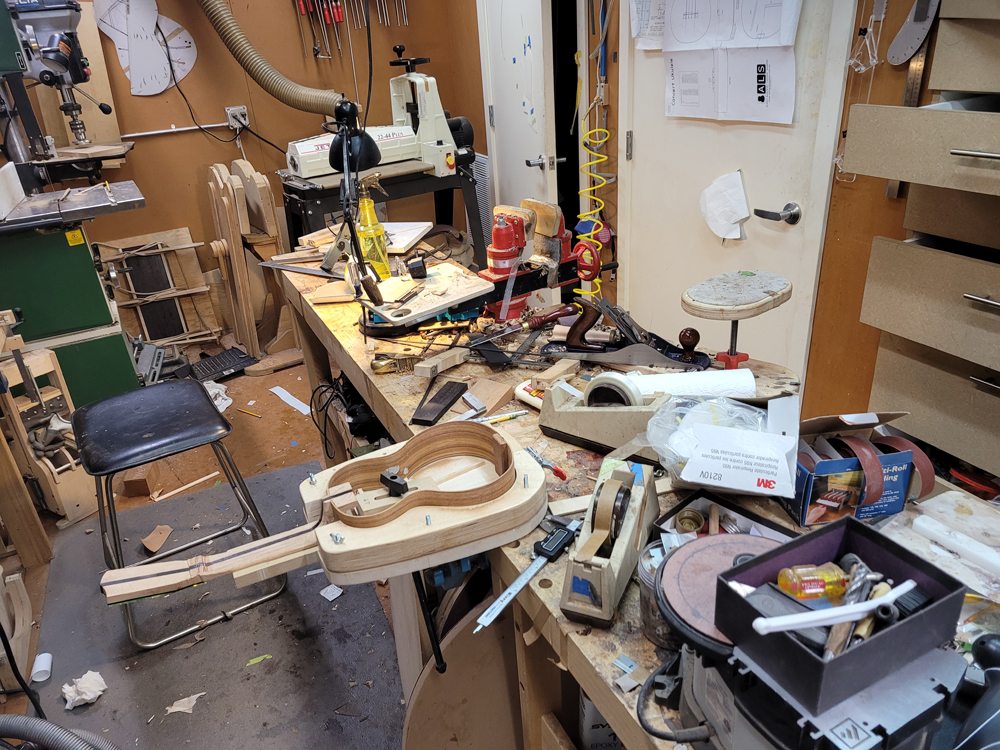
Yesterday I got a bit of time preparing to glue the rims to the top. First off I needed to straighten up the shop — it is amazing how quickly stuff piles up.
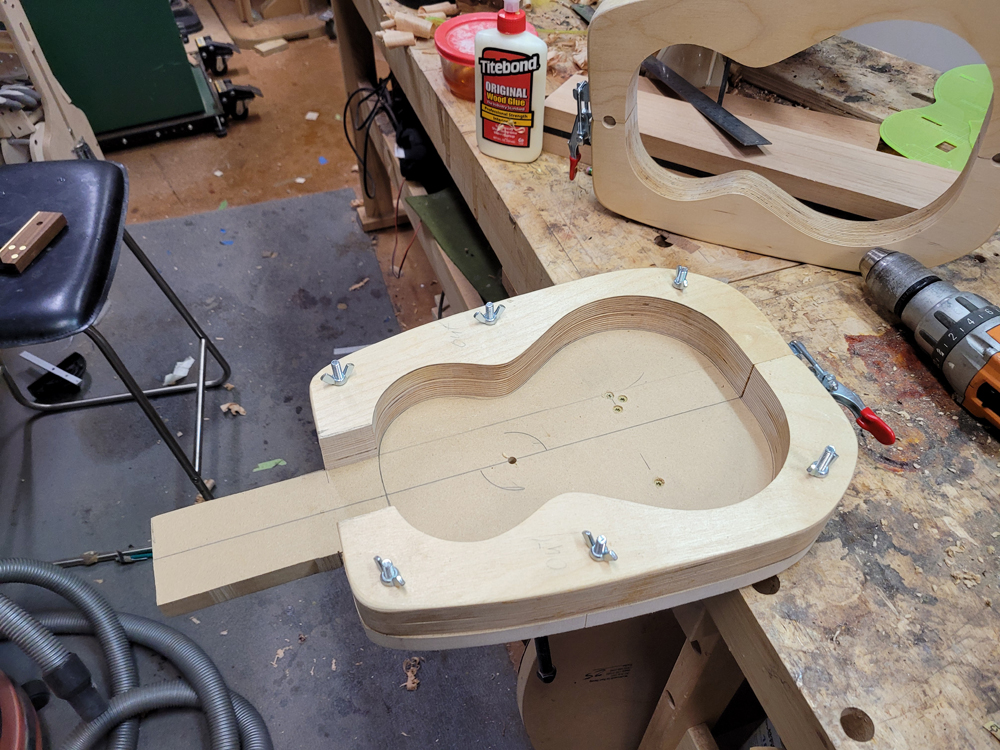
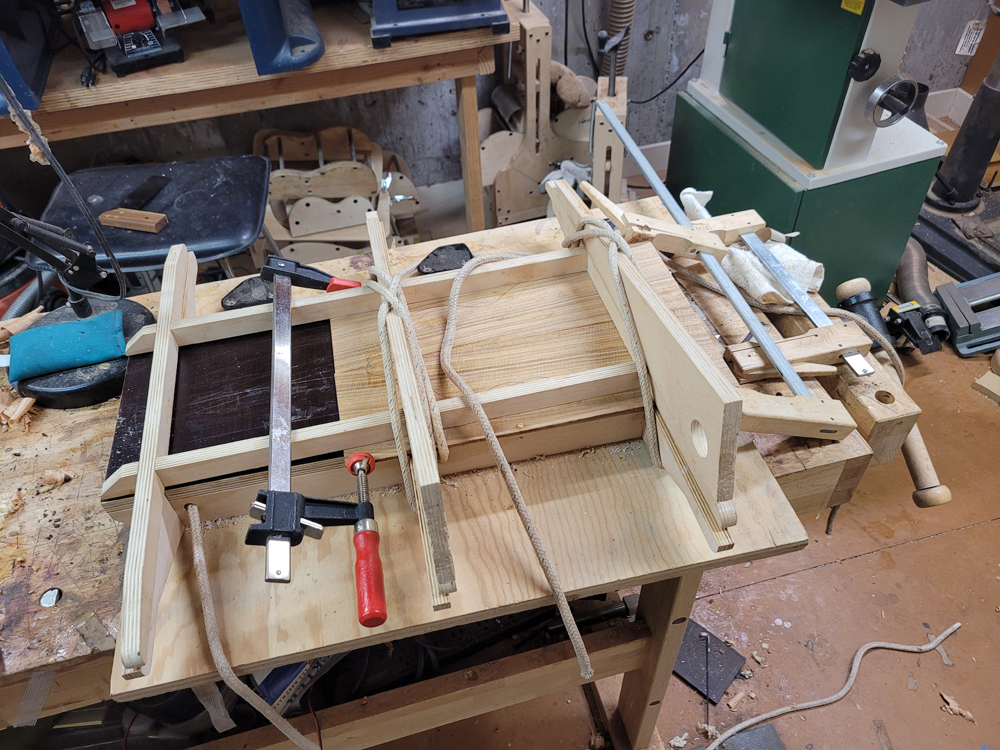
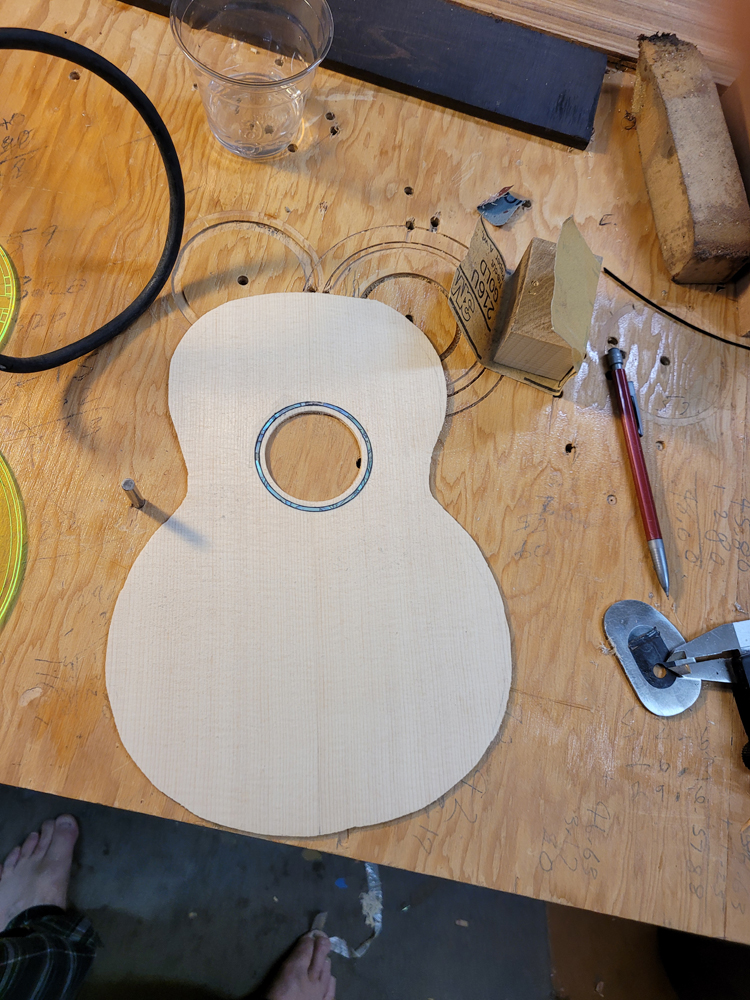
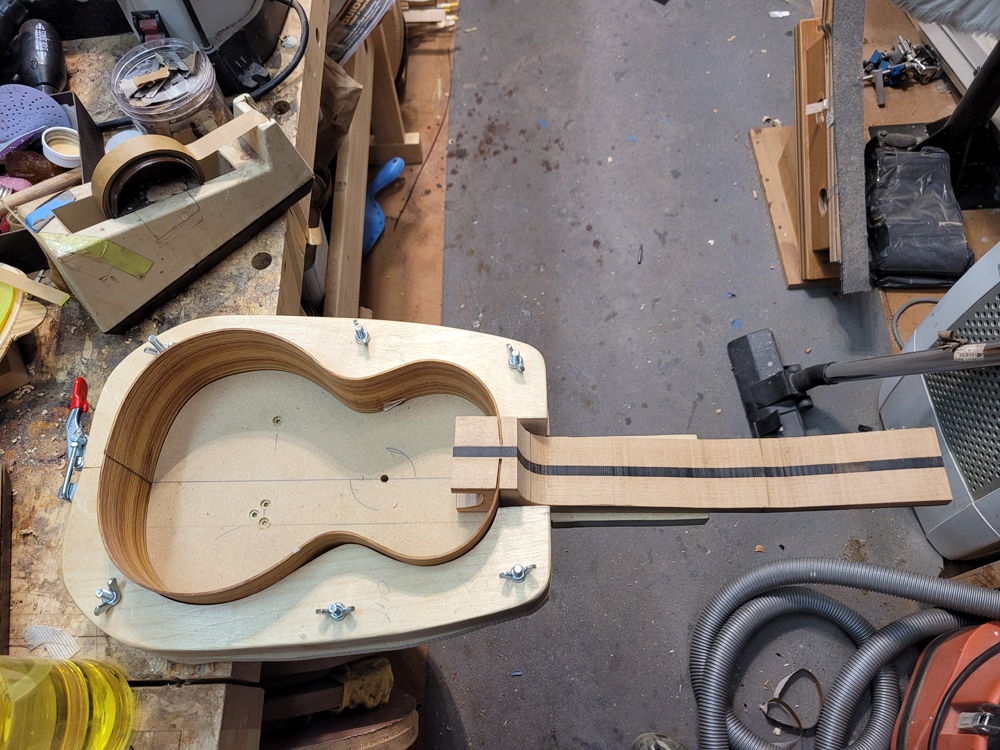
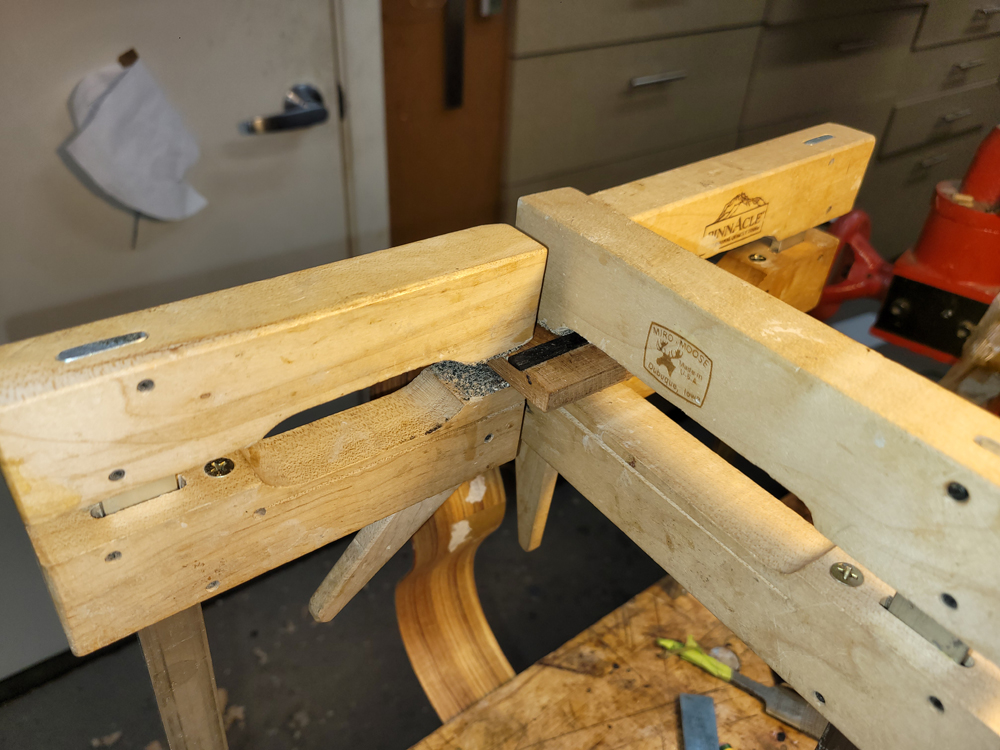
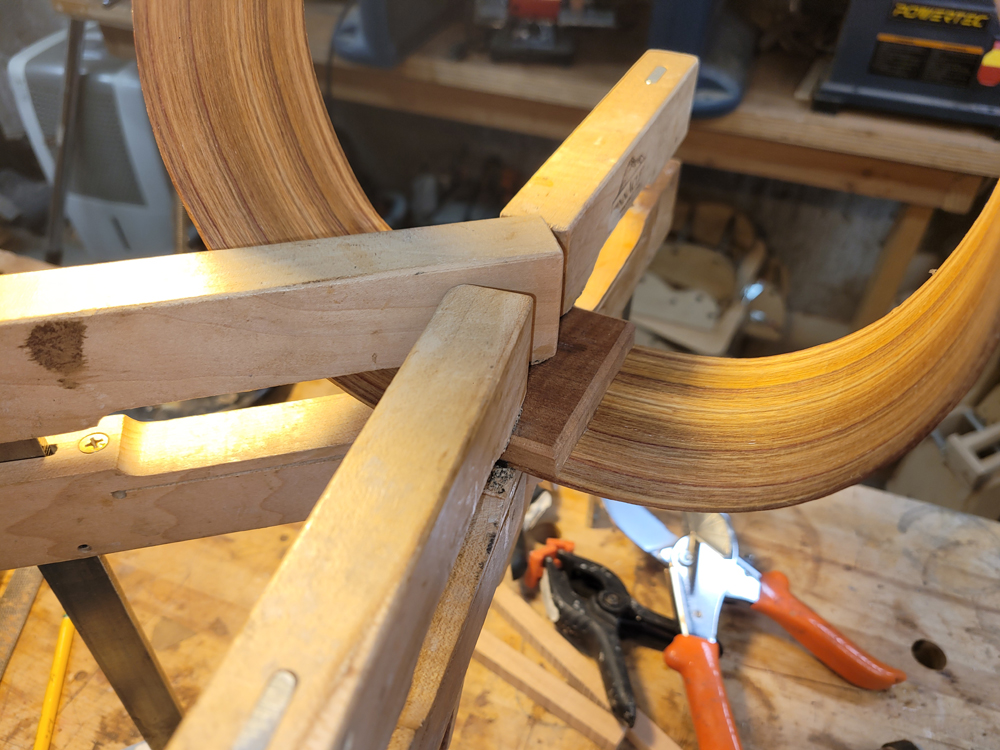
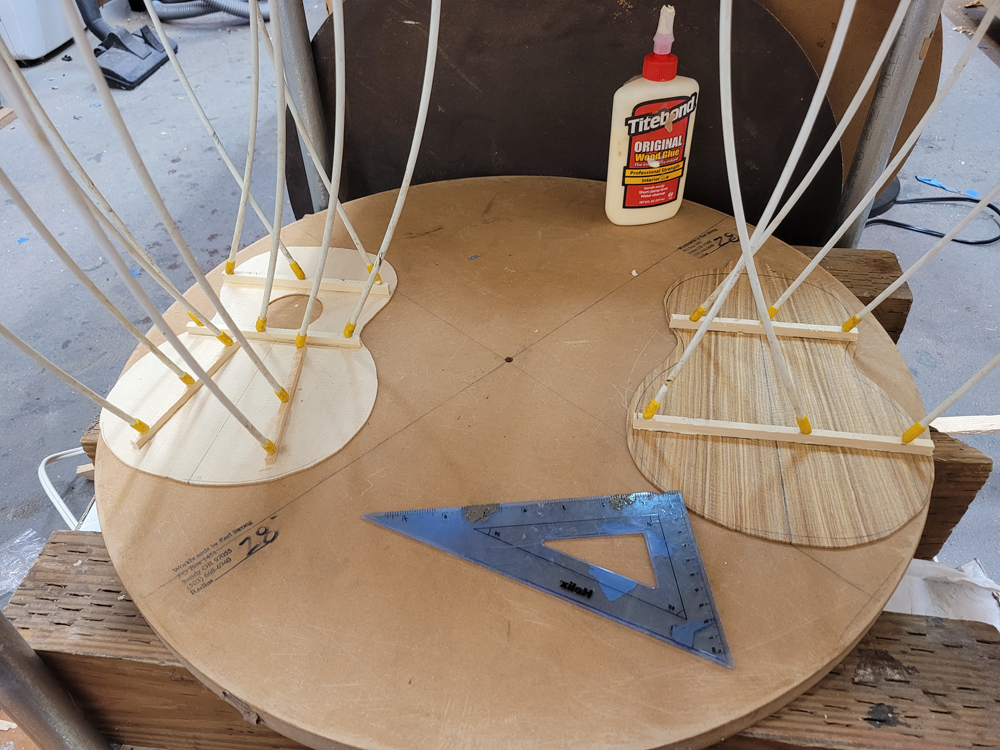
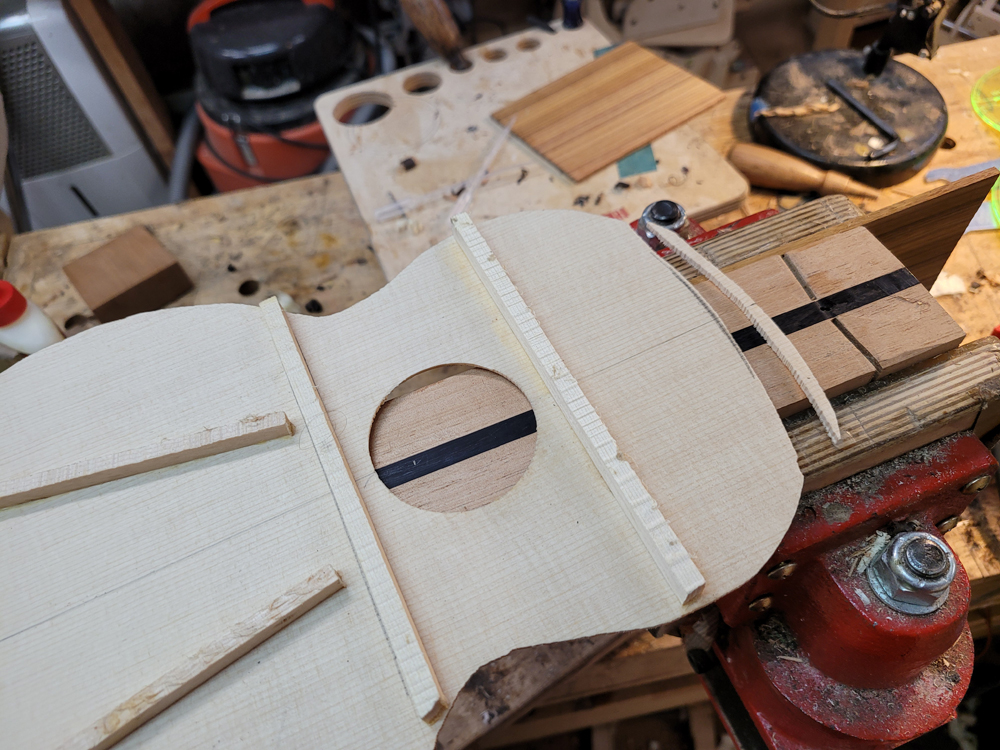
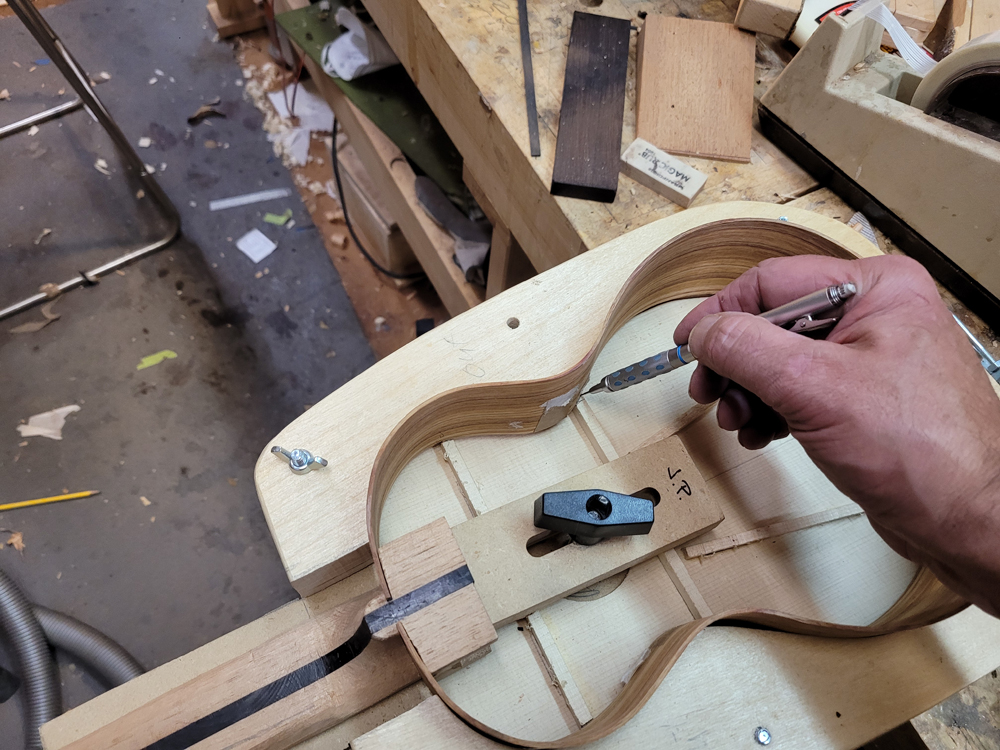
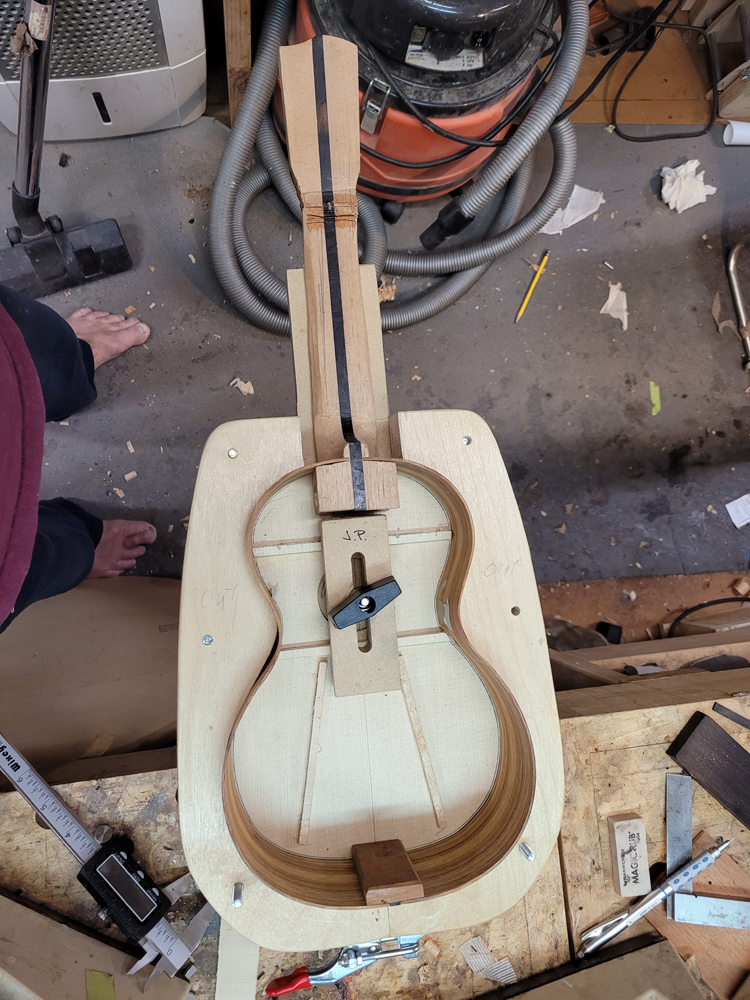
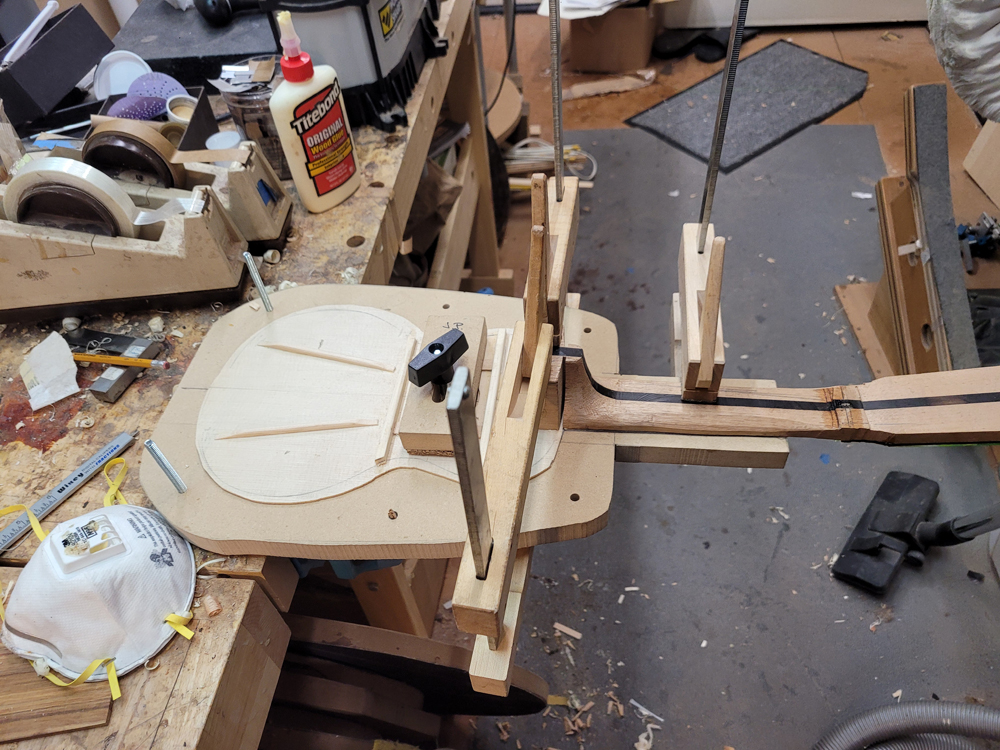
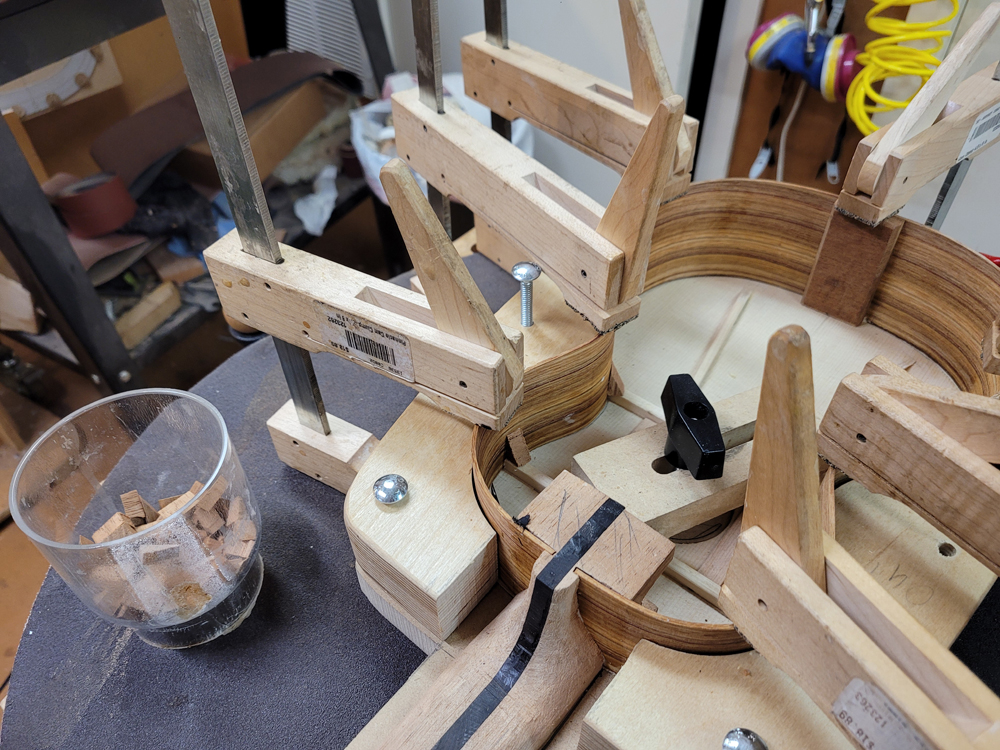
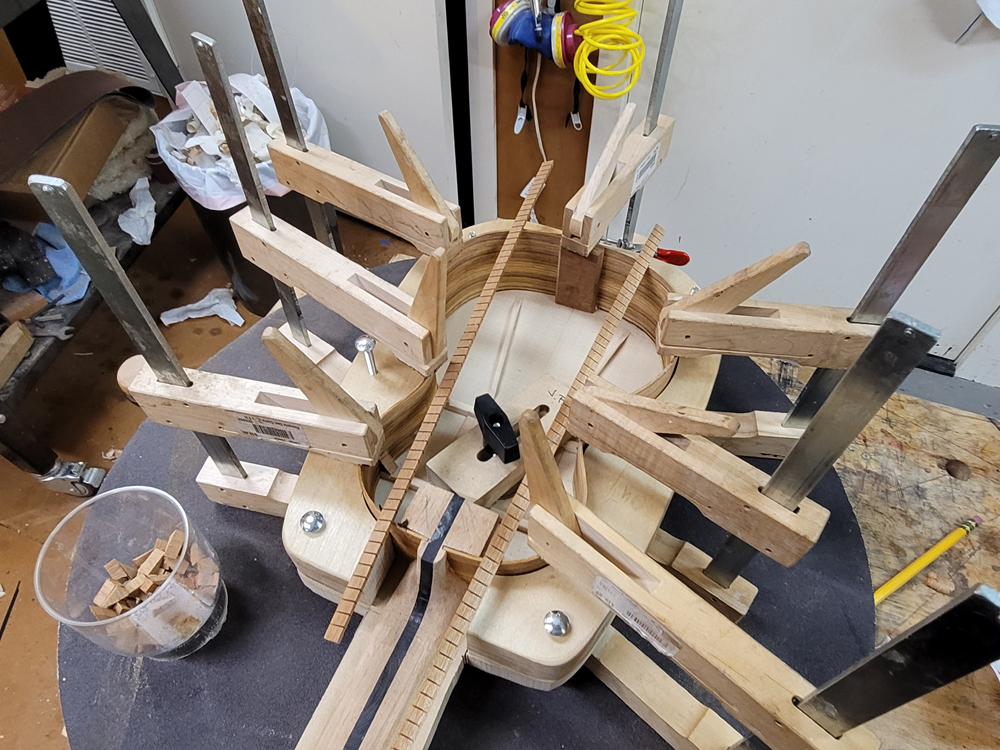
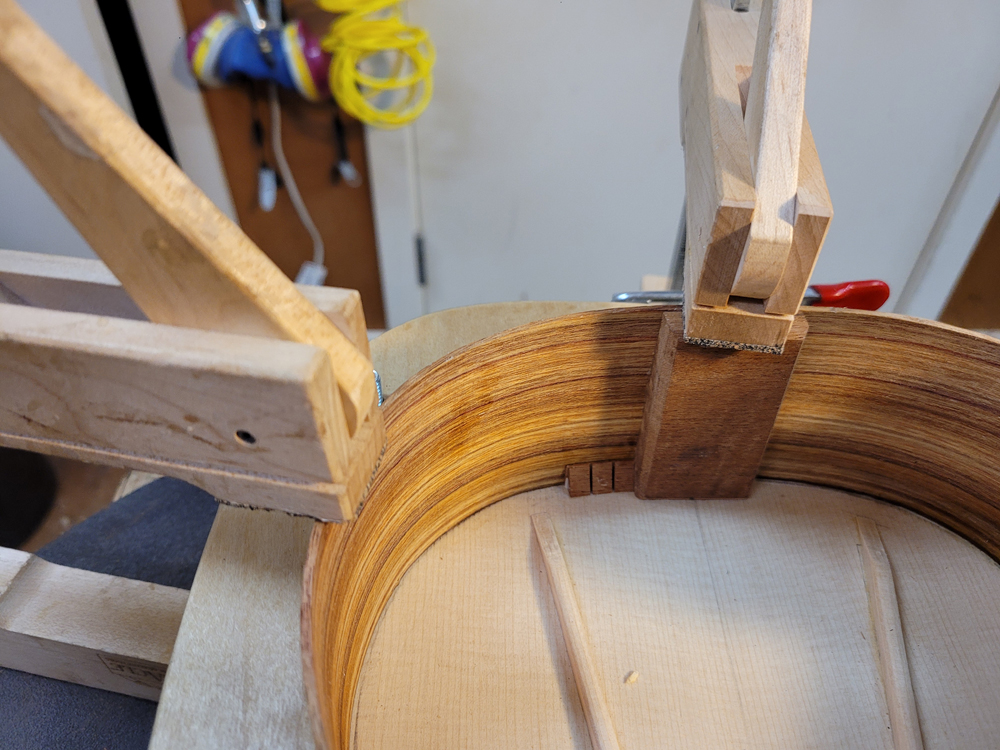
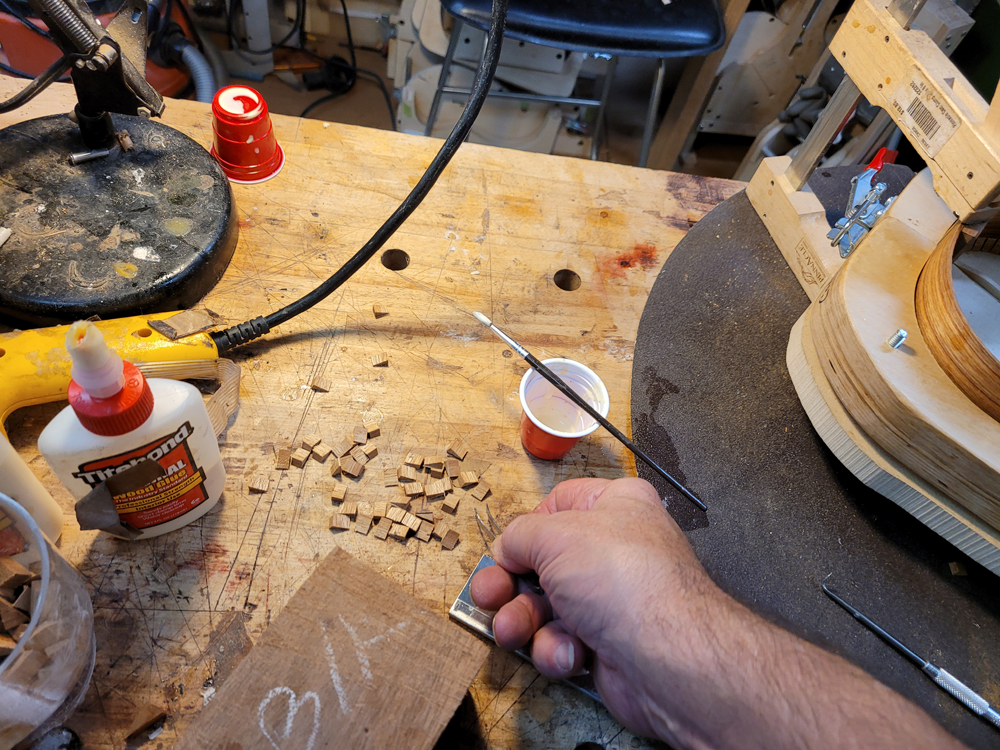
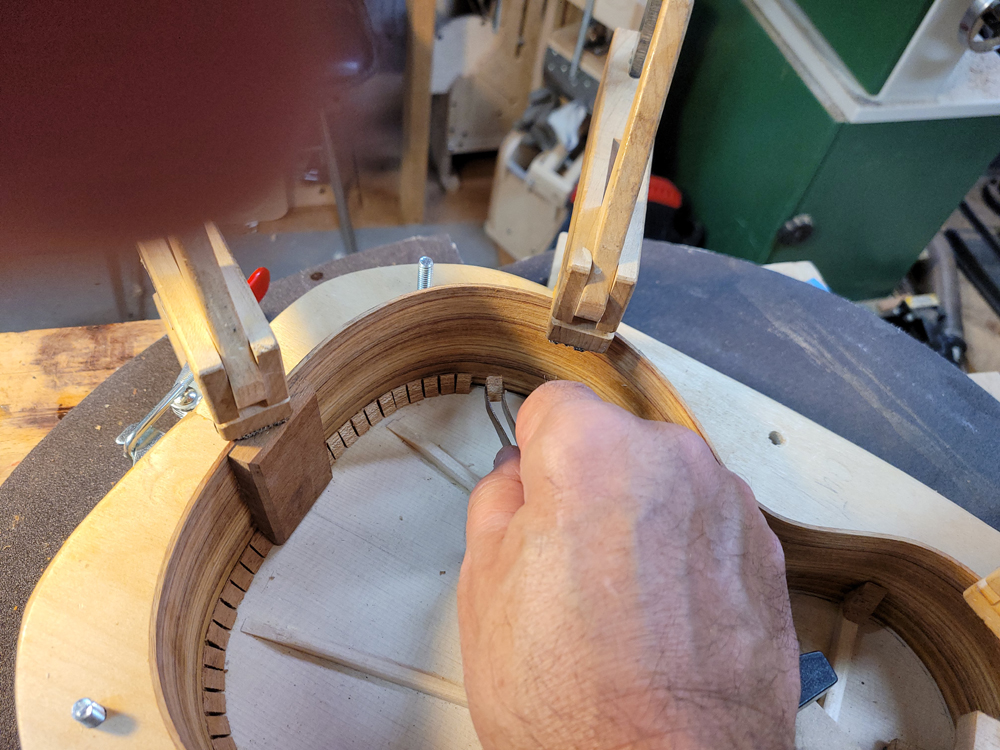
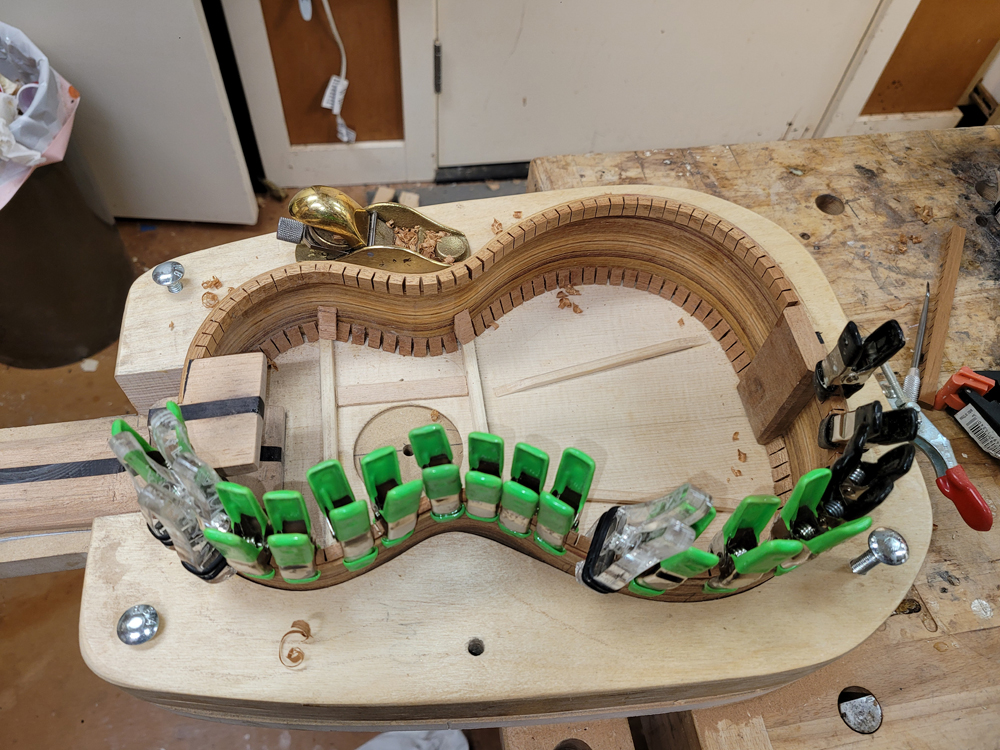
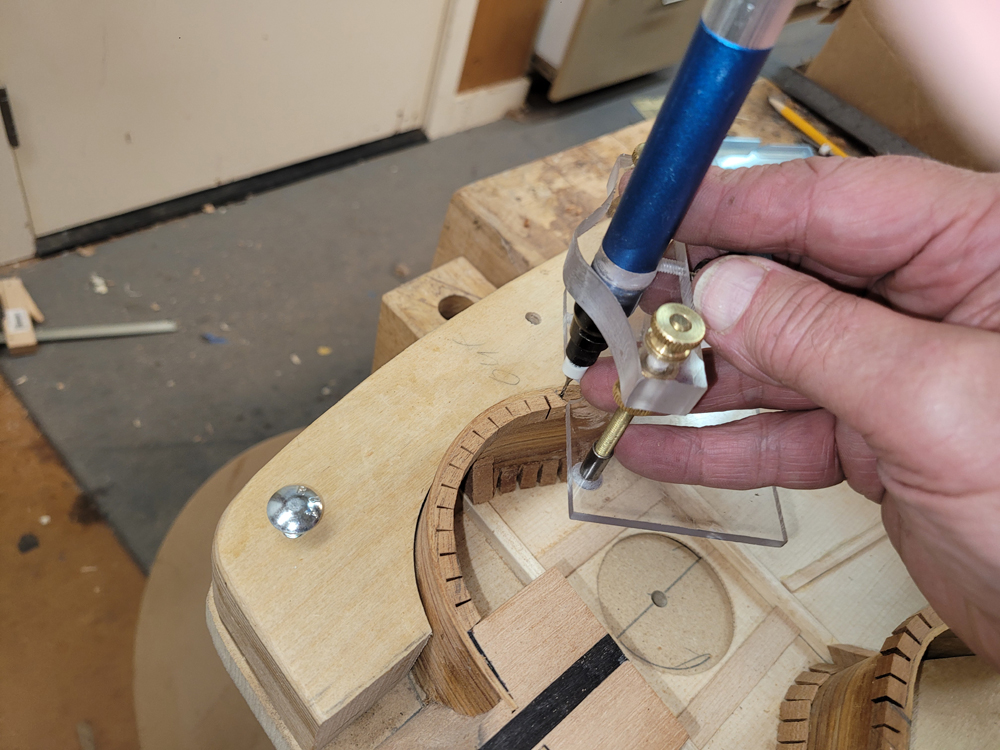
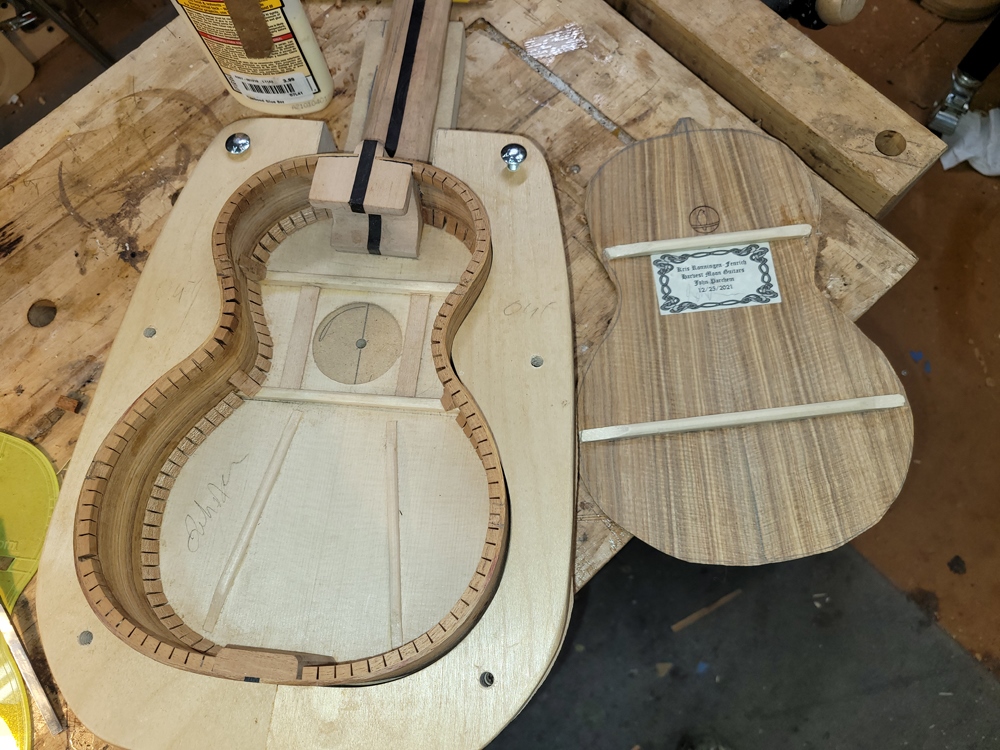
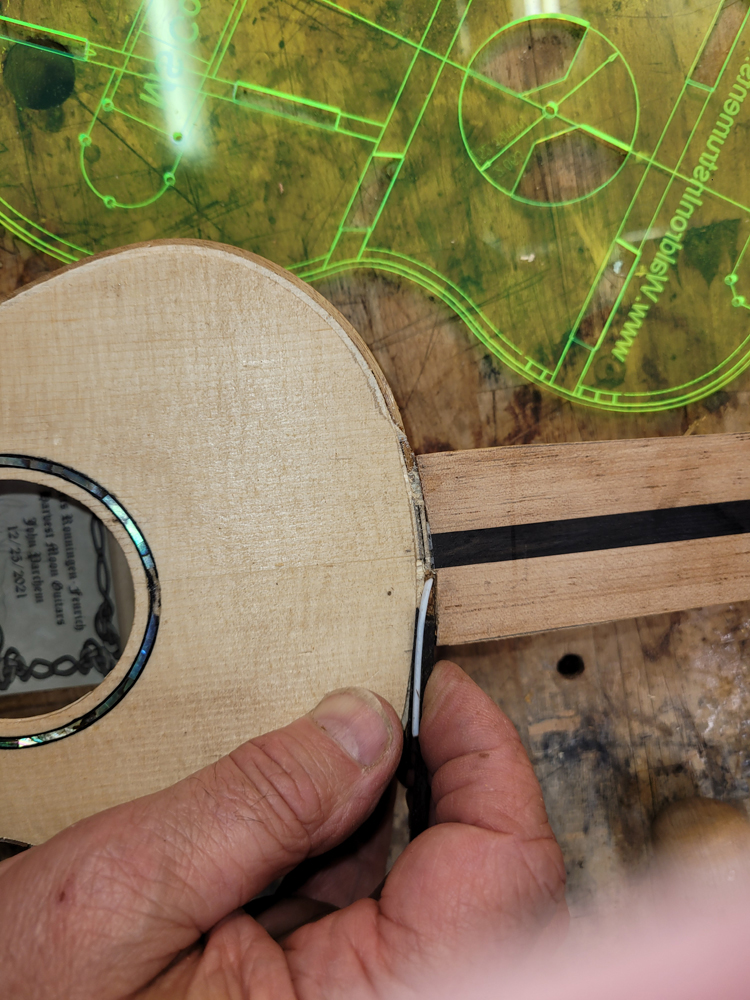
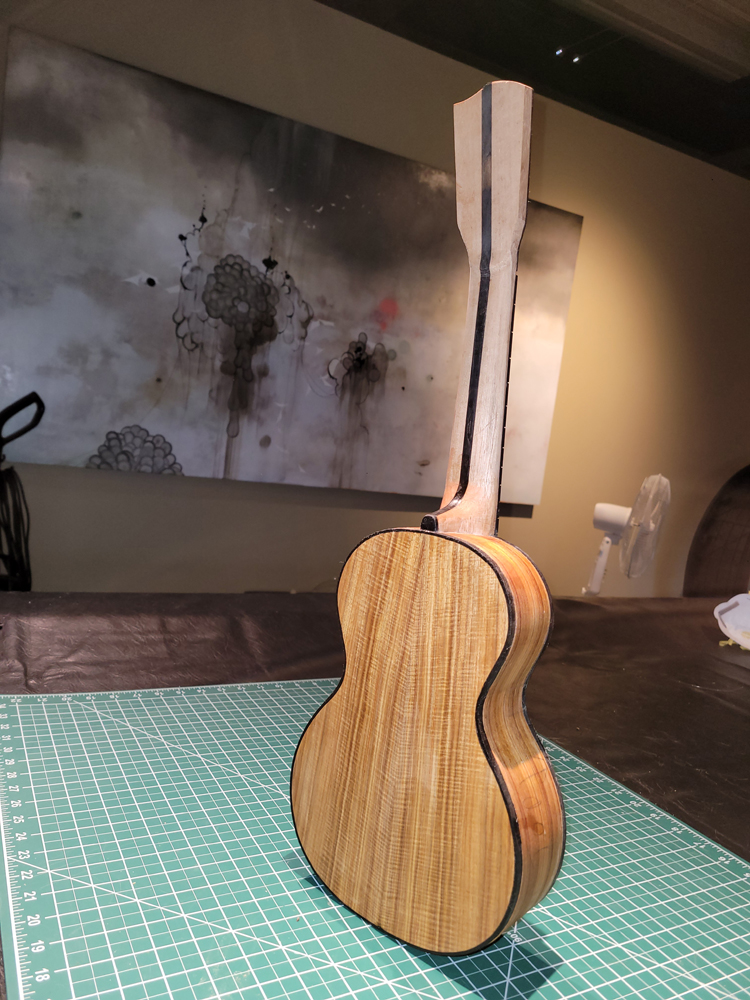
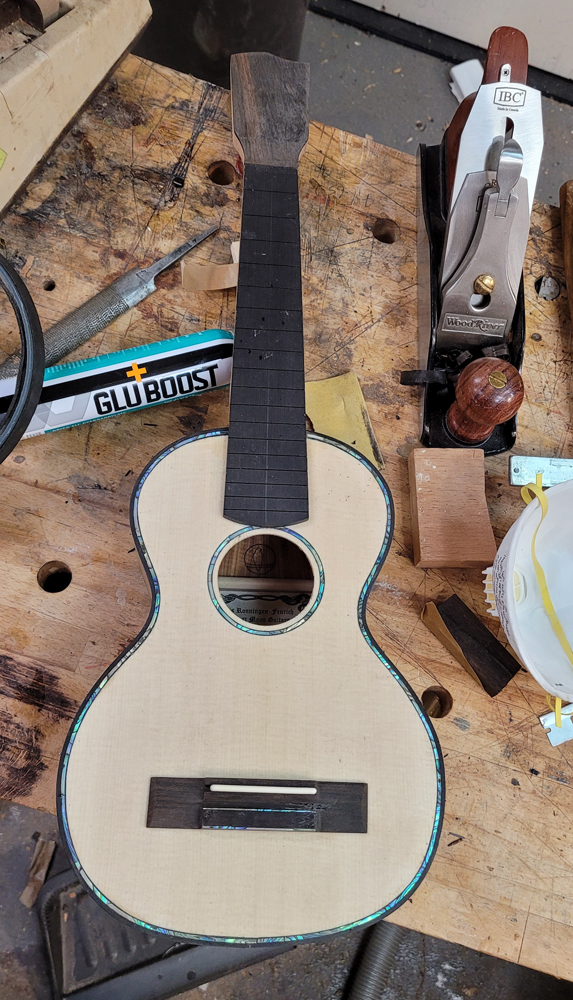
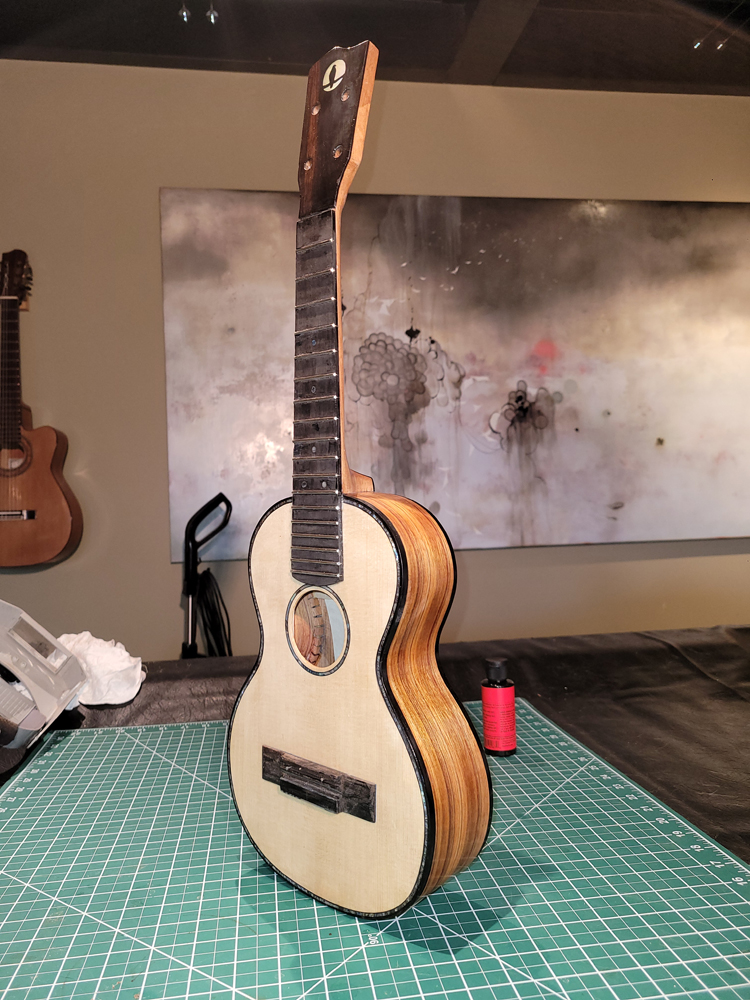
A quick update. I attached the rims and neck to the top. So far all is well. I used my flamenco/classical guitar peones for the transverse braces. I had thought about using a peones/kerfed lining hybrid installation method, but went traditional in the end.
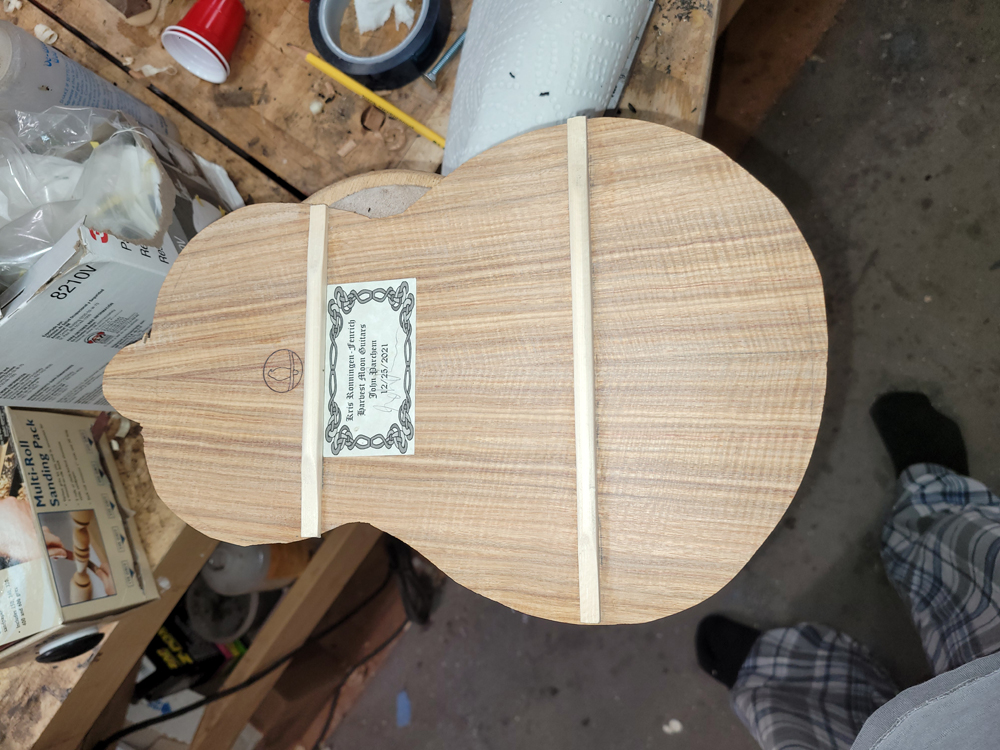
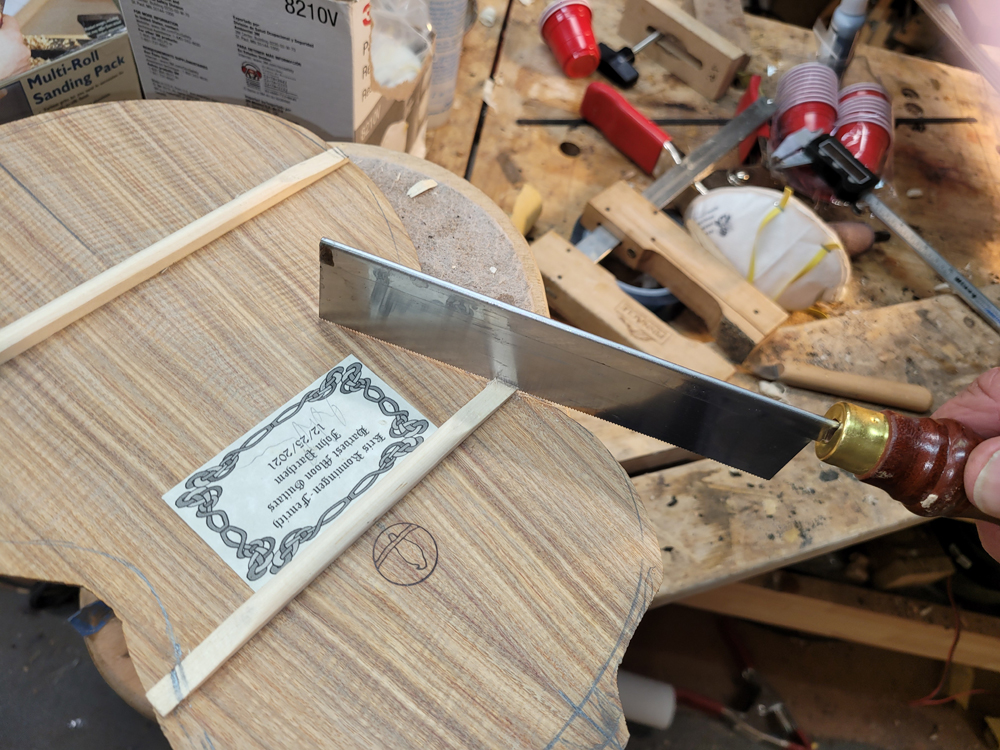
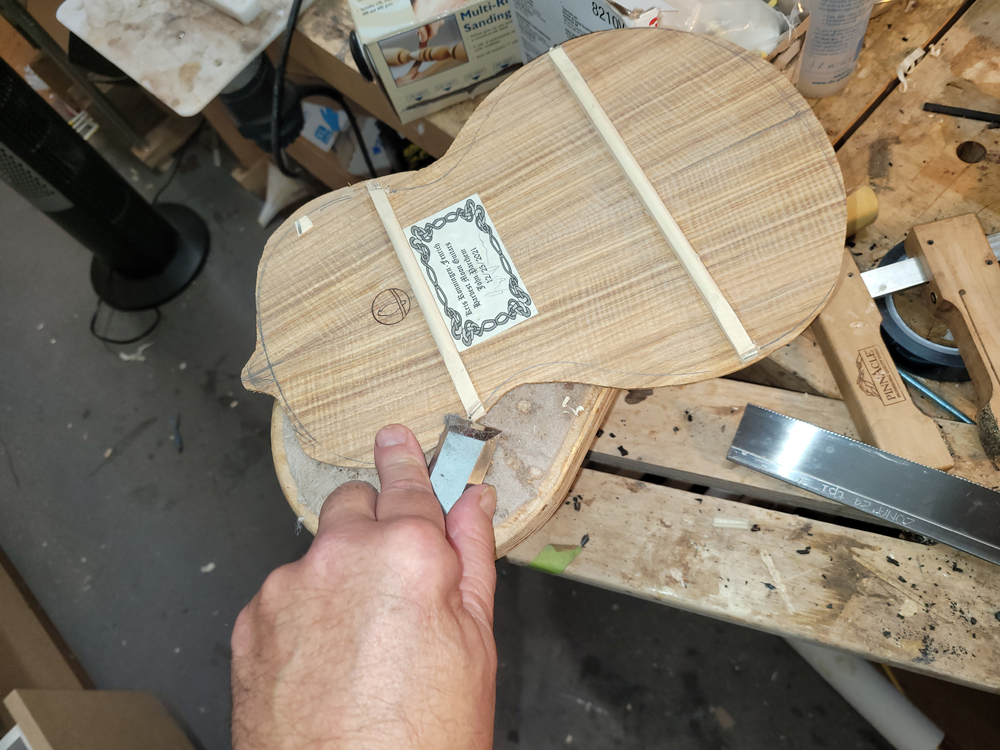
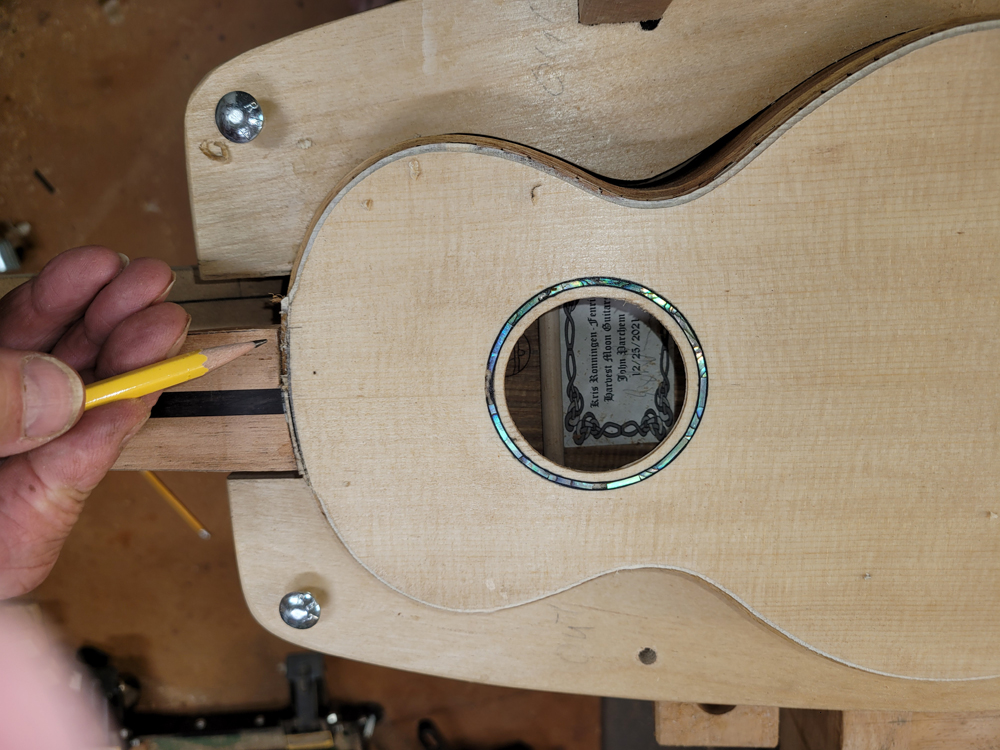
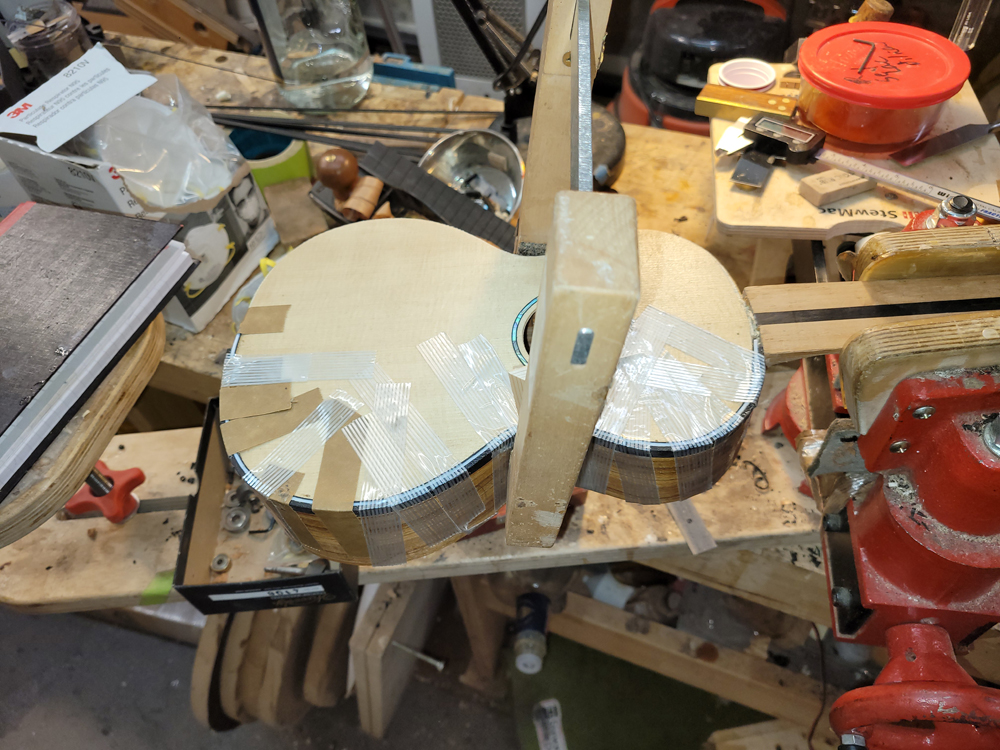
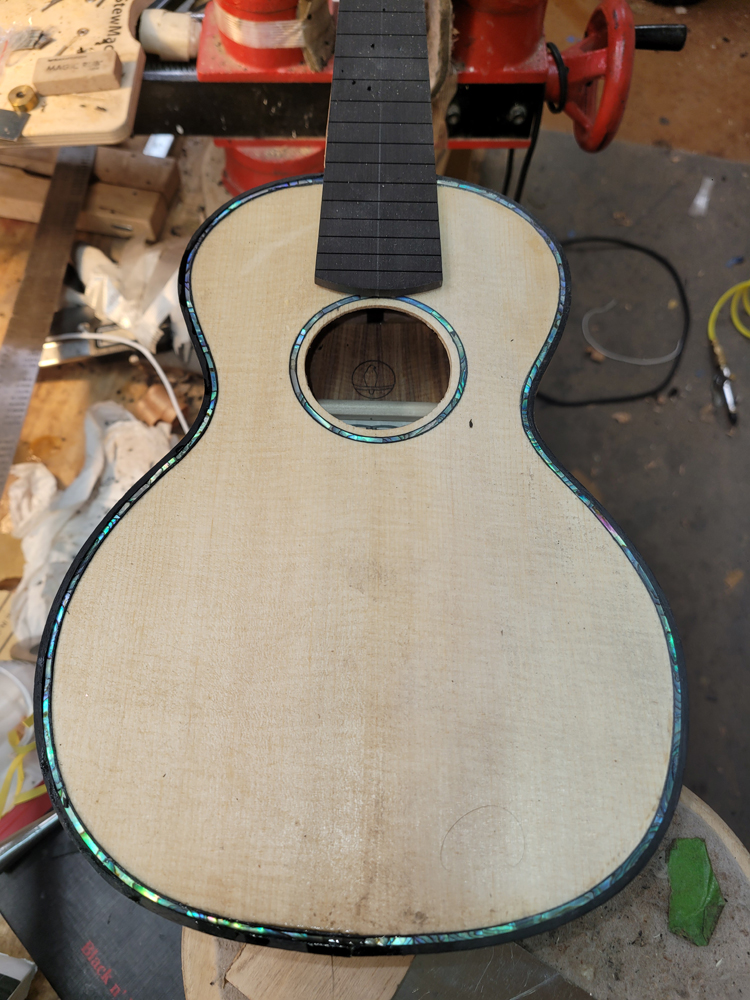
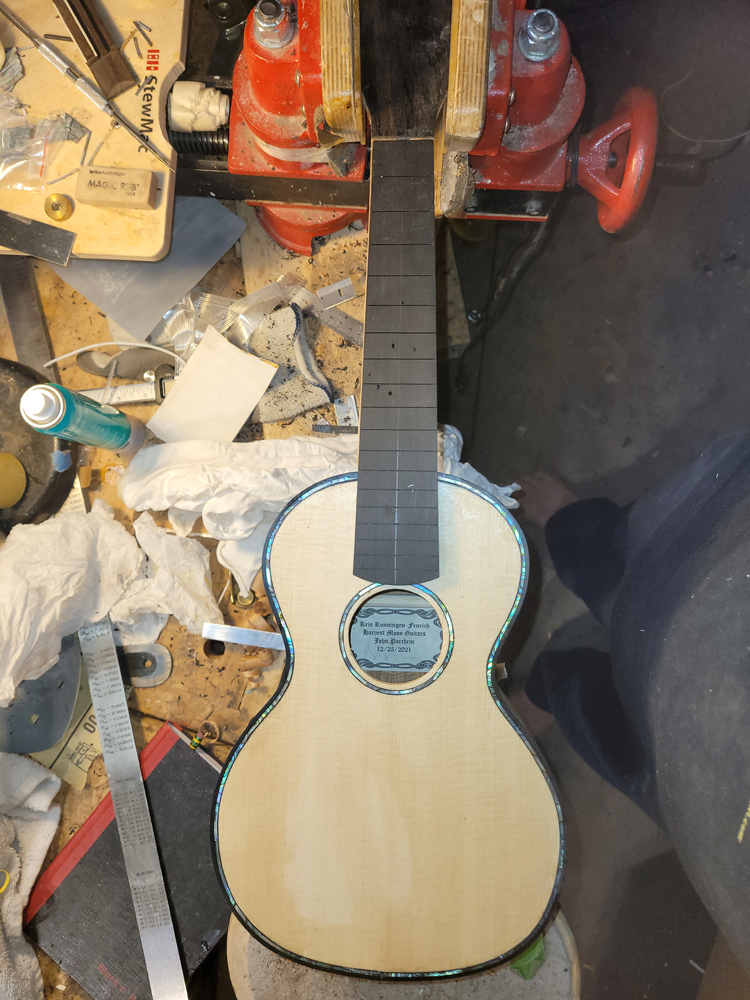
In between football games and during the commercials yesterday I closed the ukulele. Before closing I dealt with the label for the back.
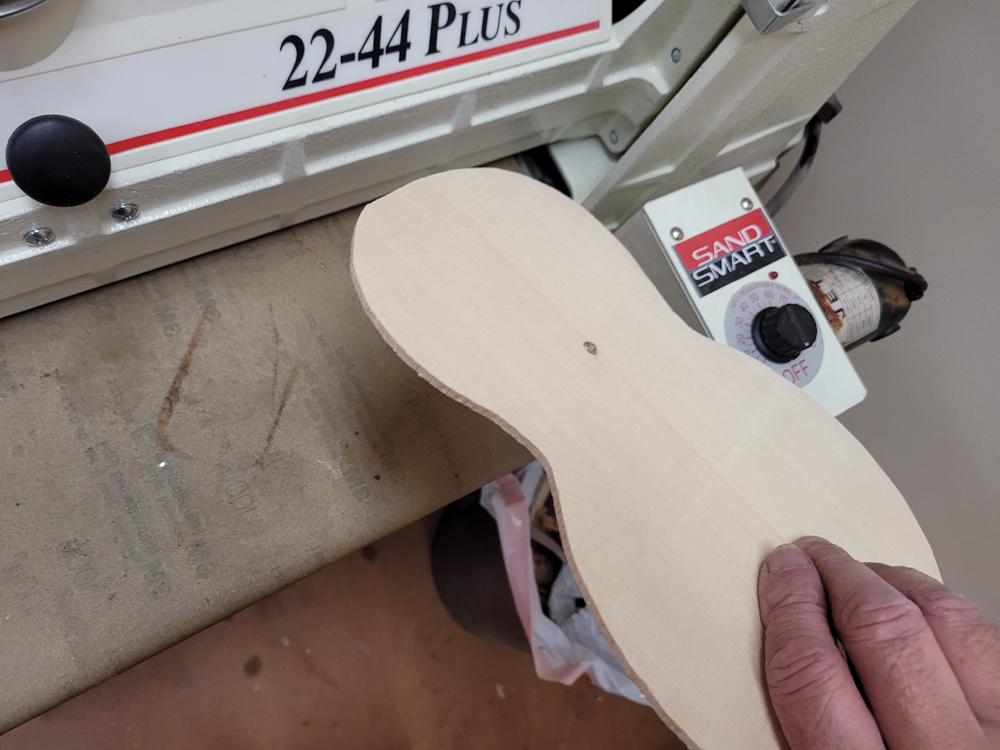
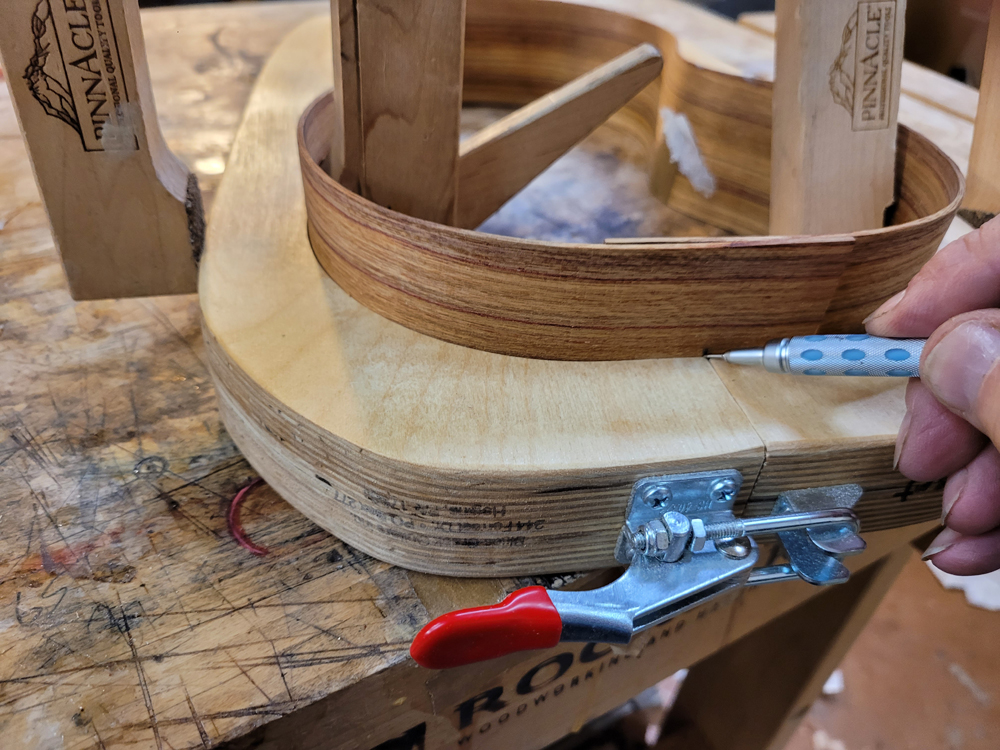
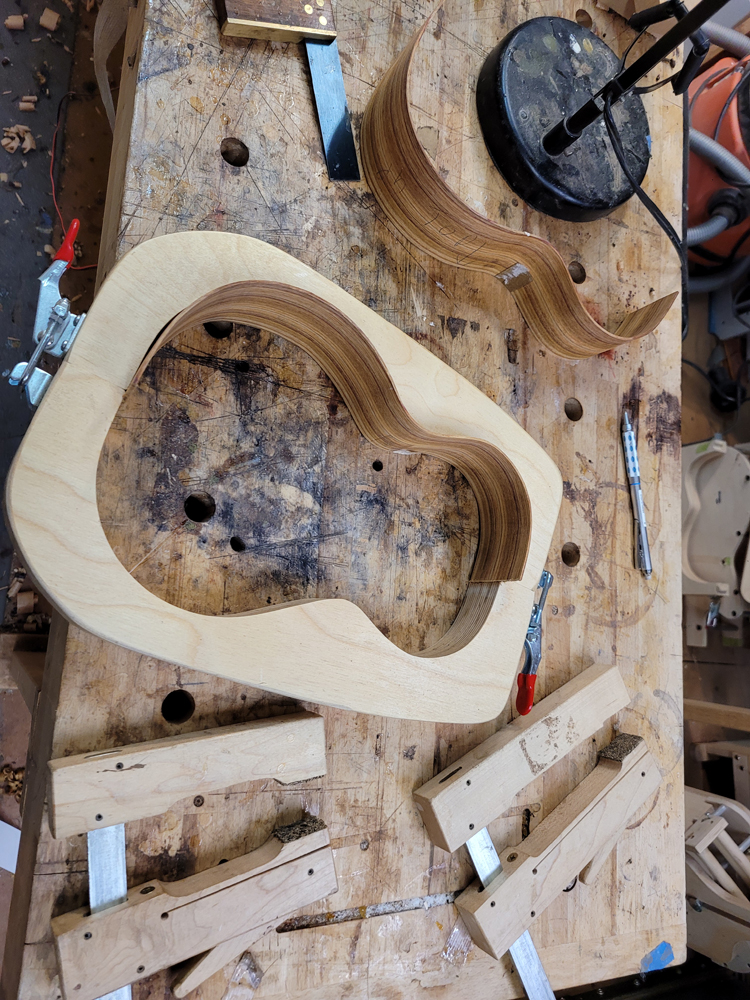
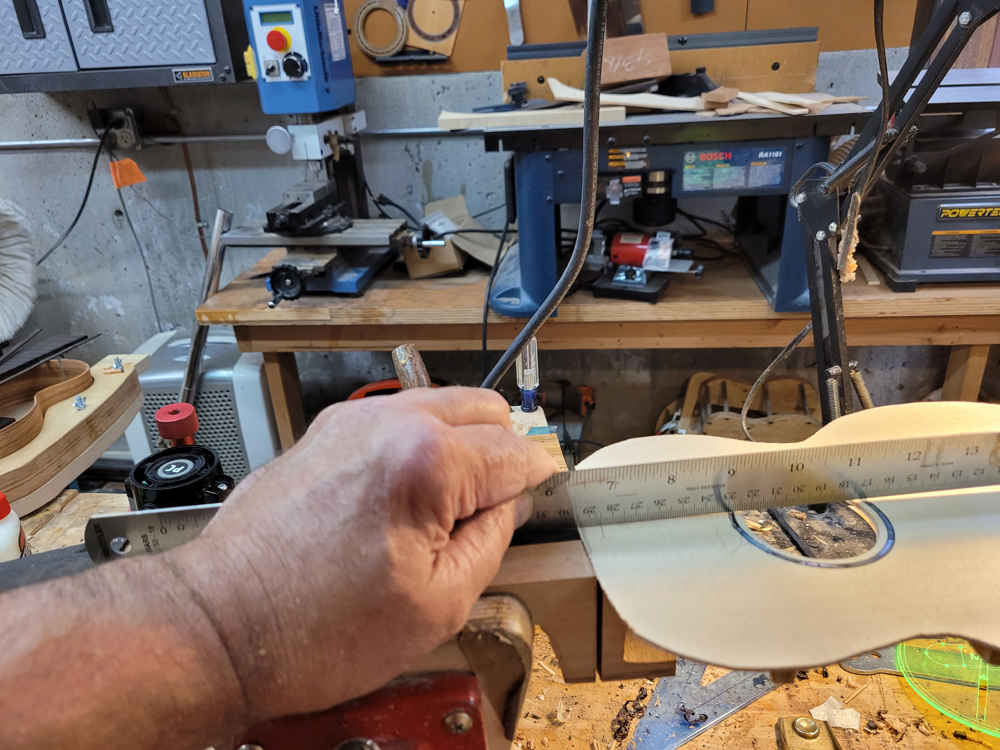
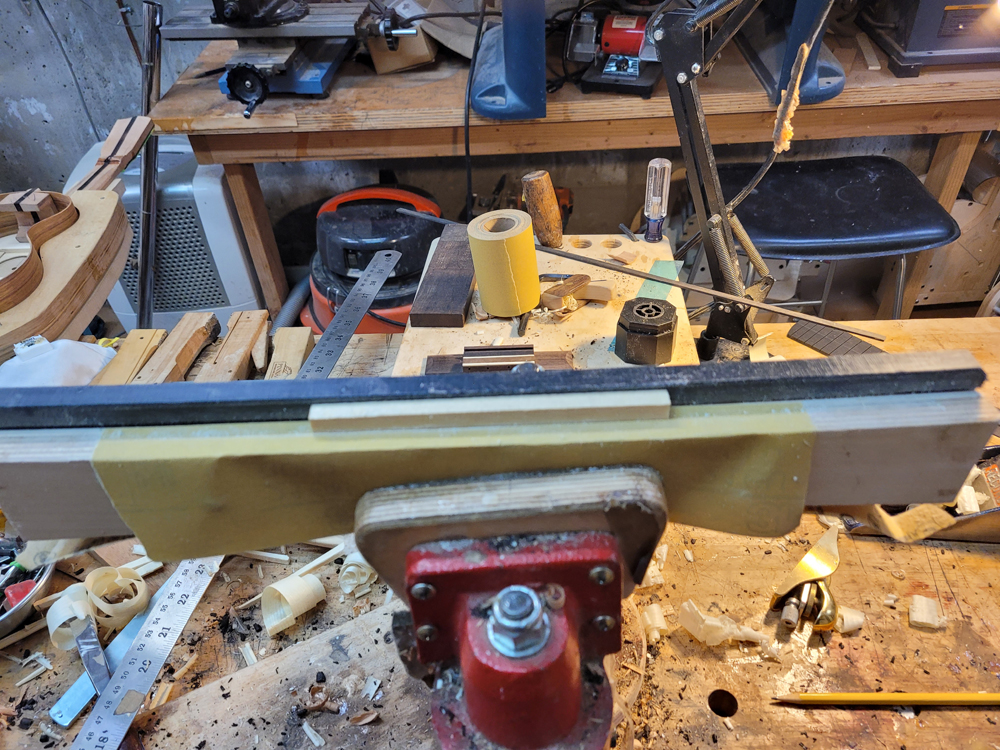
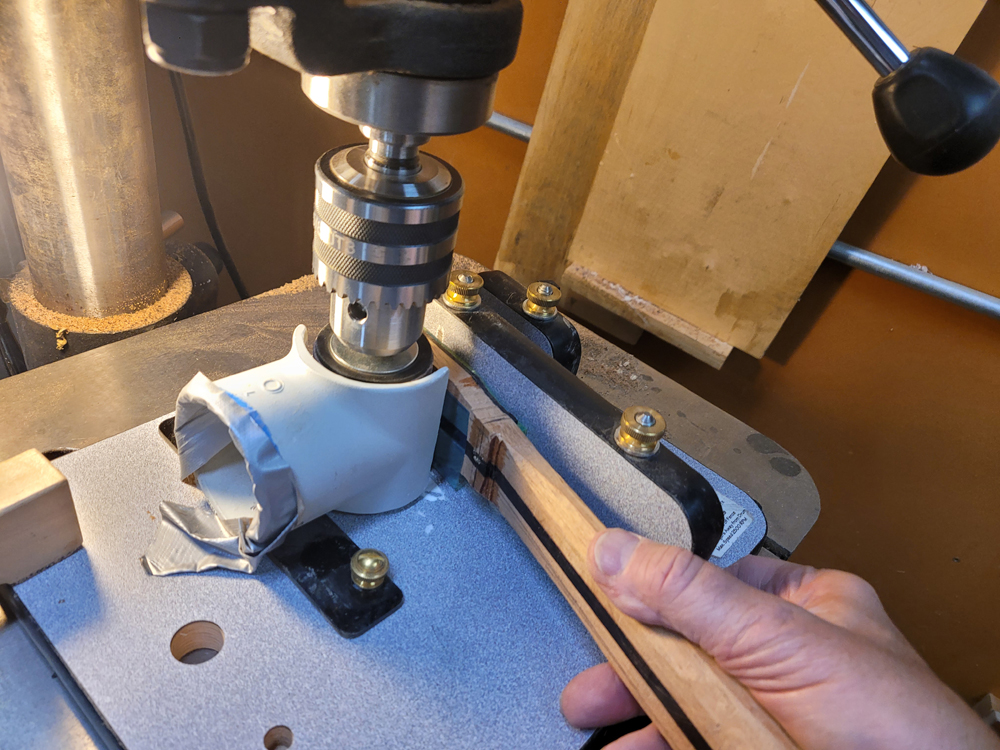
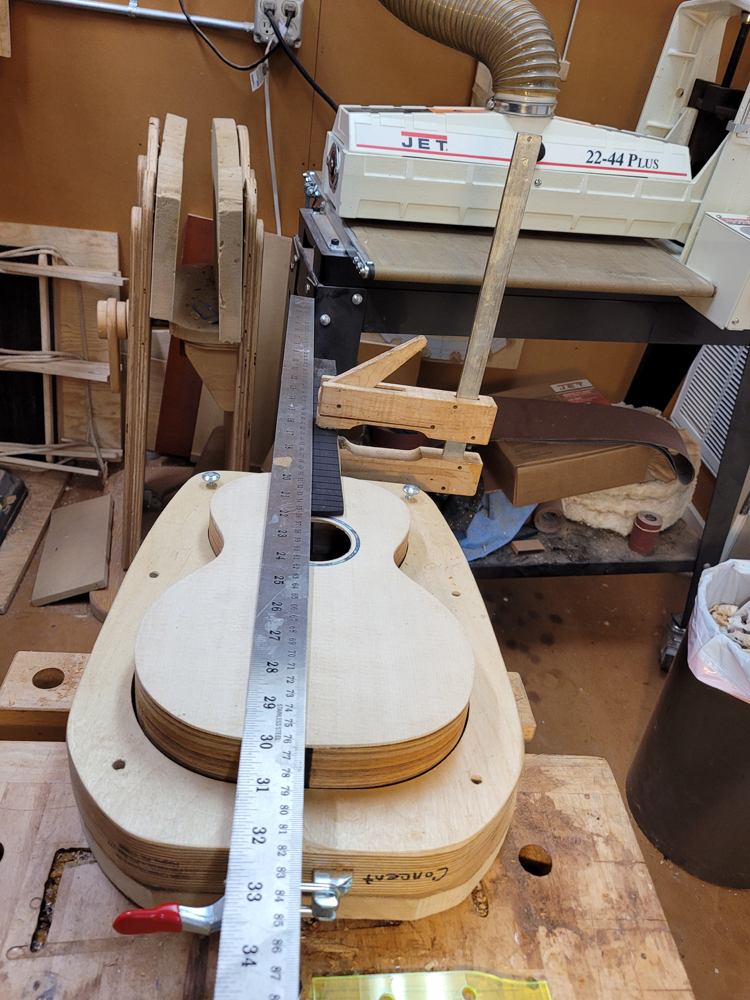
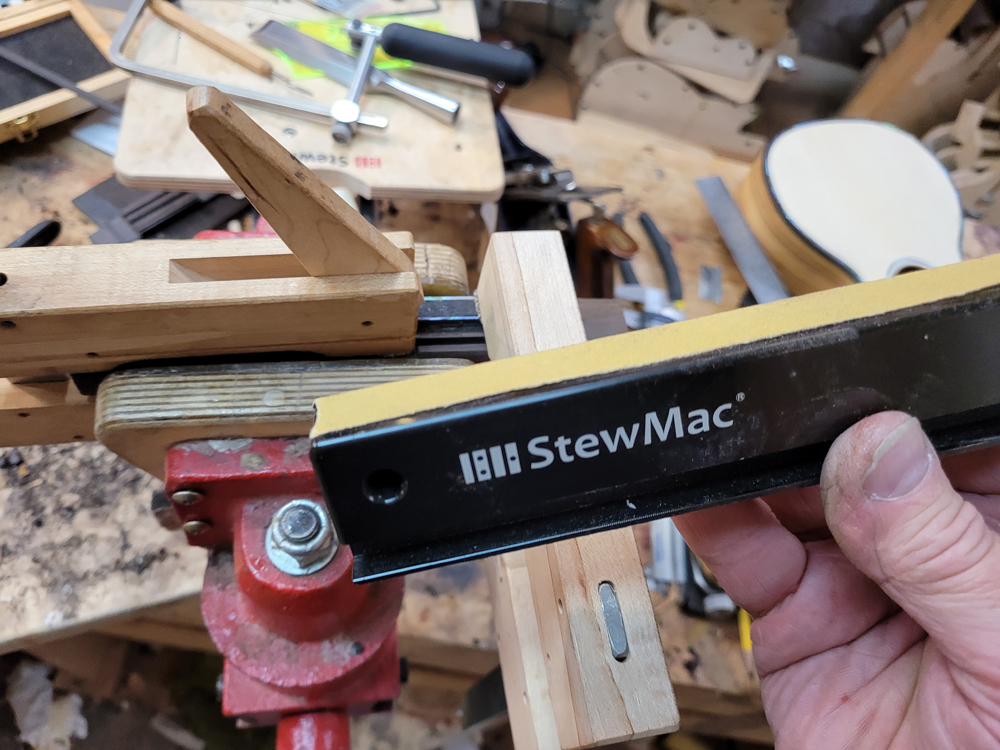
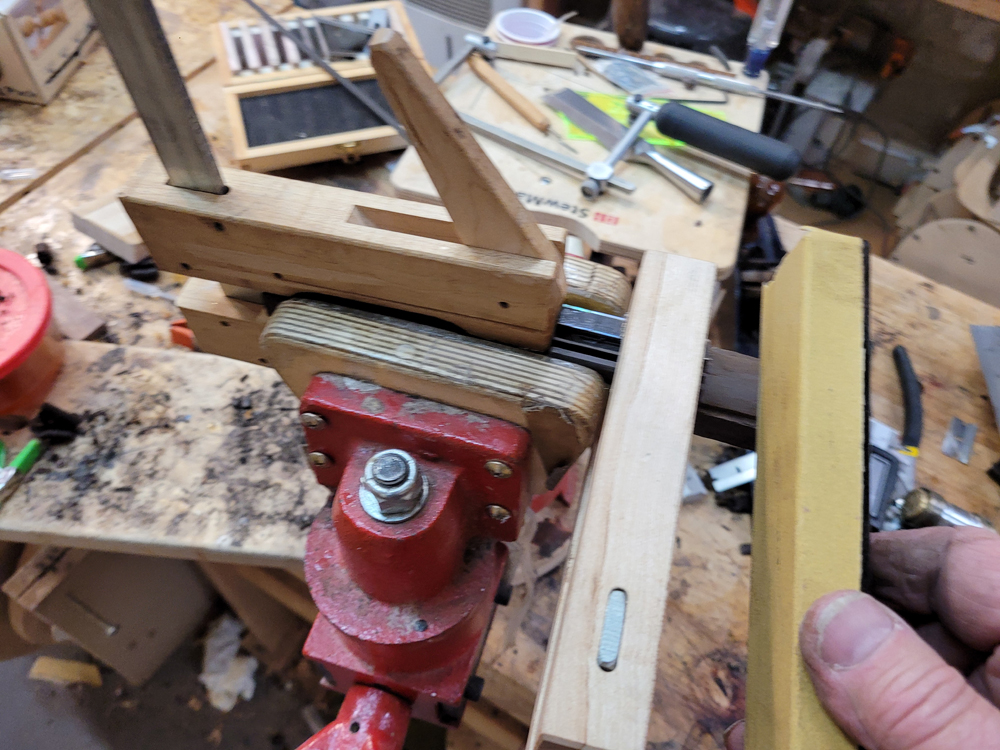
I sanded the rims with a 25-foot radius disk. The profile was really close — I mostly needed to clean up the kerfing.
Branding IronKevin asked about the logo stamp. I was suckered into a wood-burning branding iron by a Facebook ad. I just sent a logo drawing, they sized it, and delivered in a couple of weeks. Not expensive and it looks great on the label.
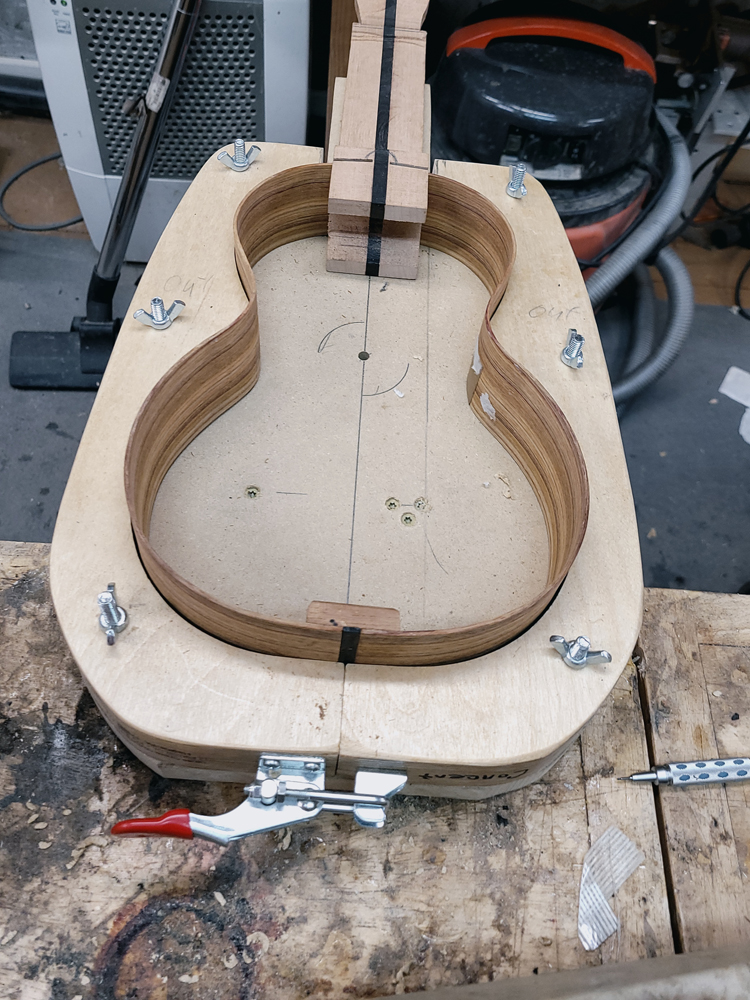
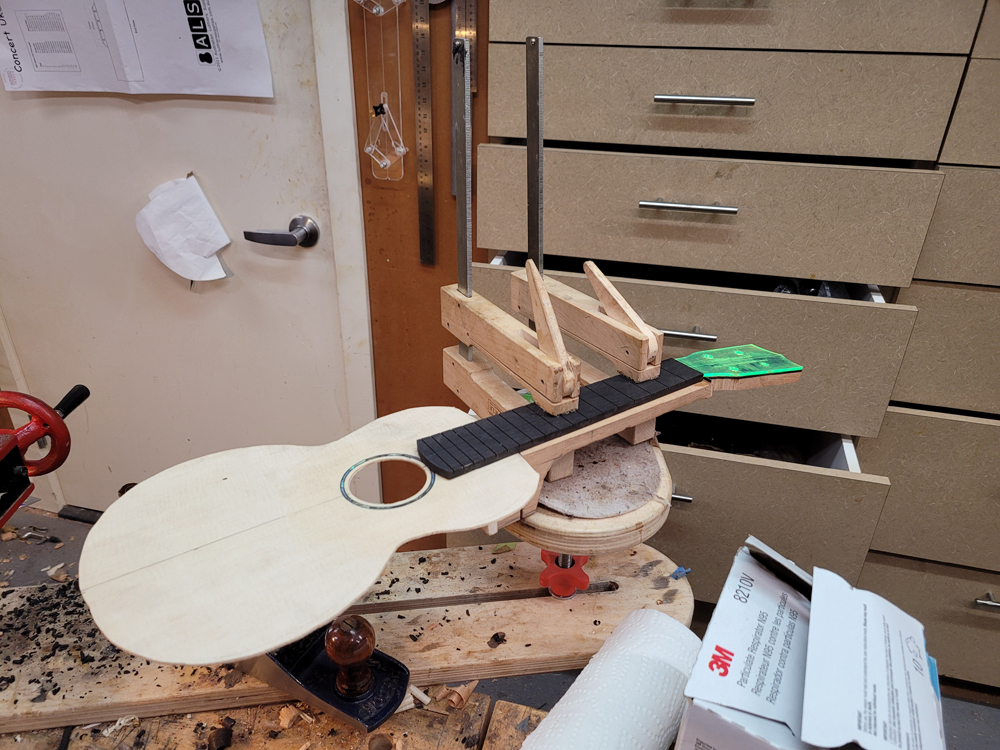
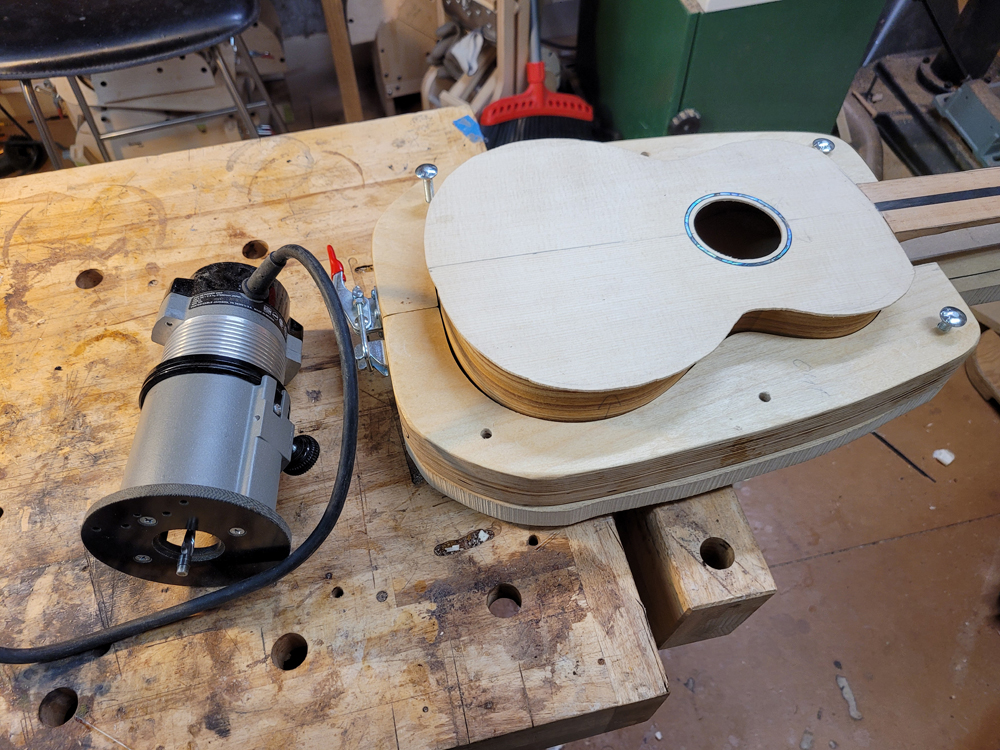
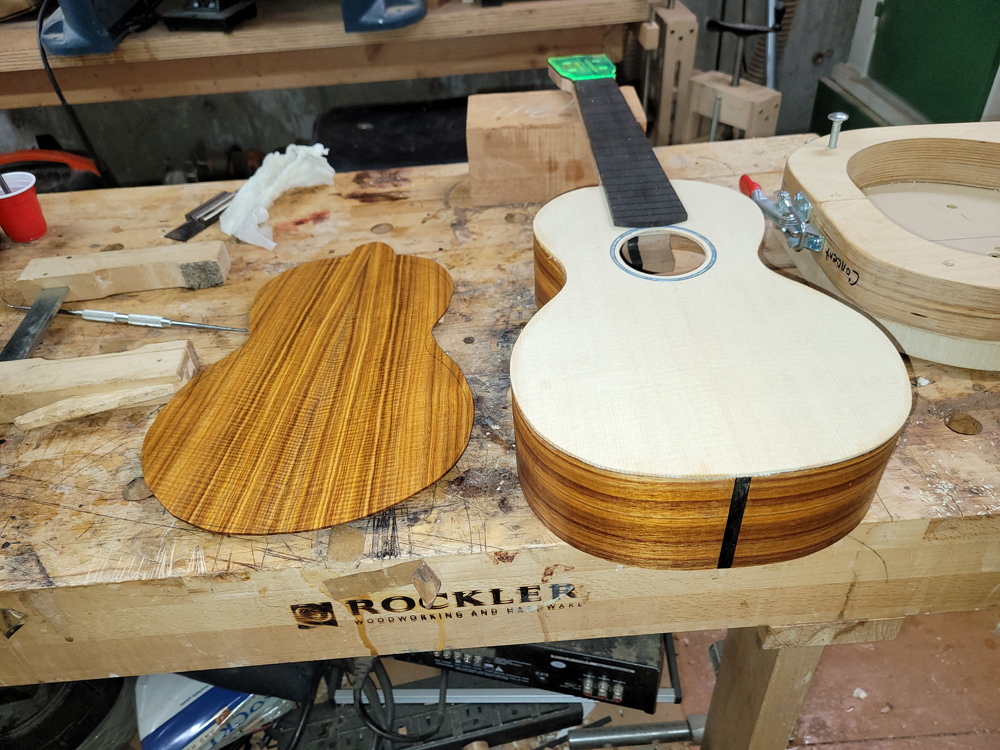
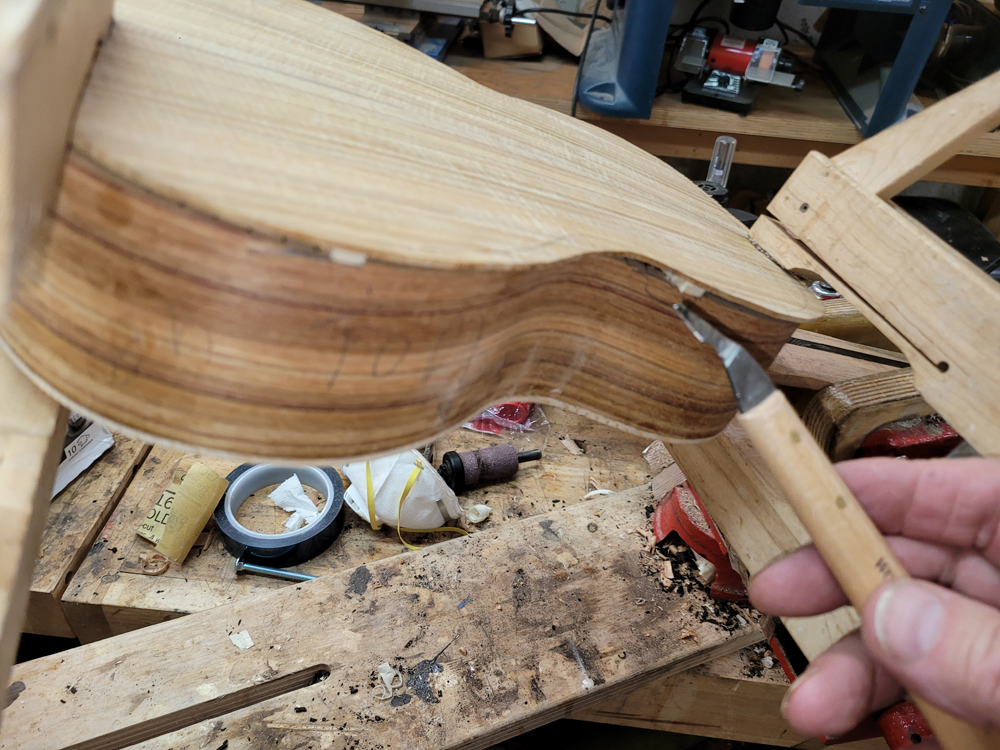
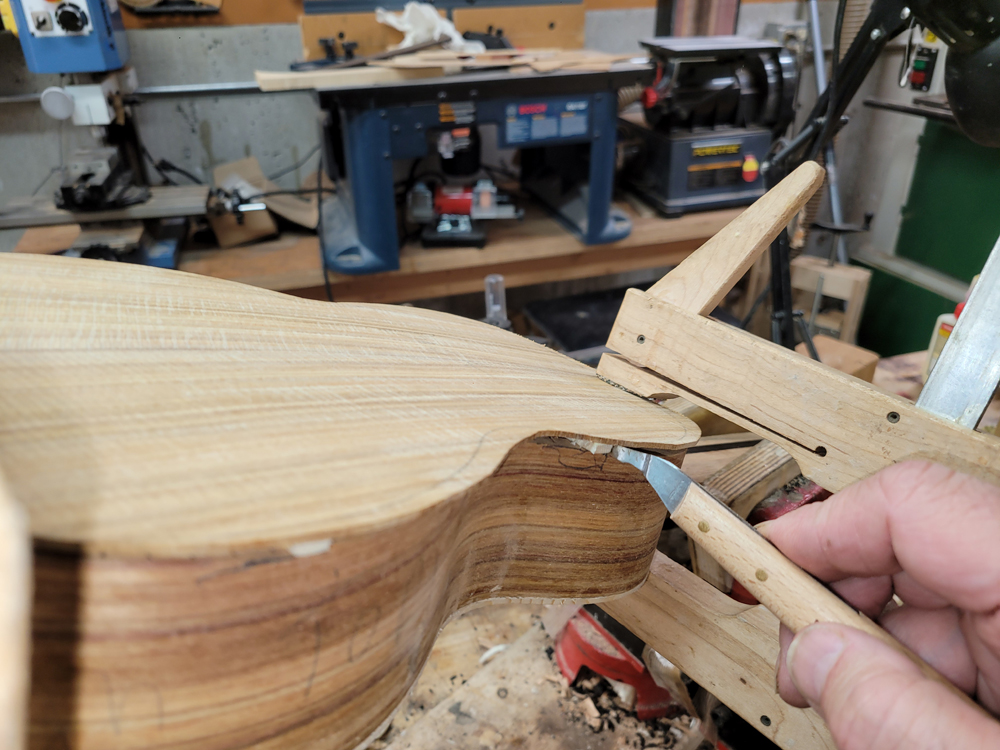
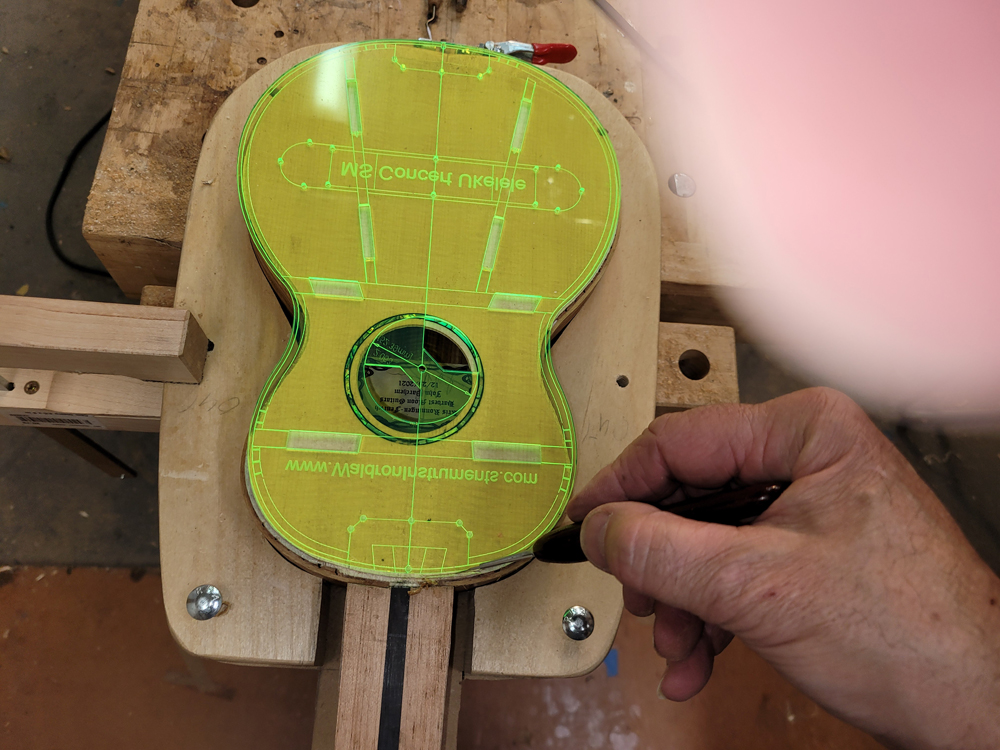
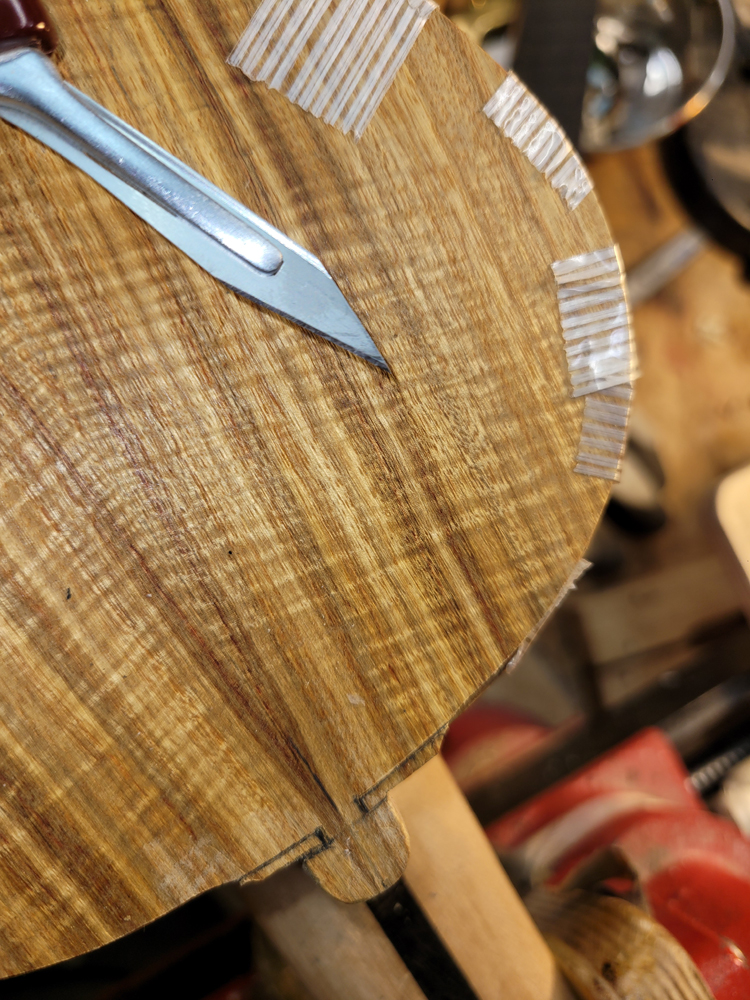
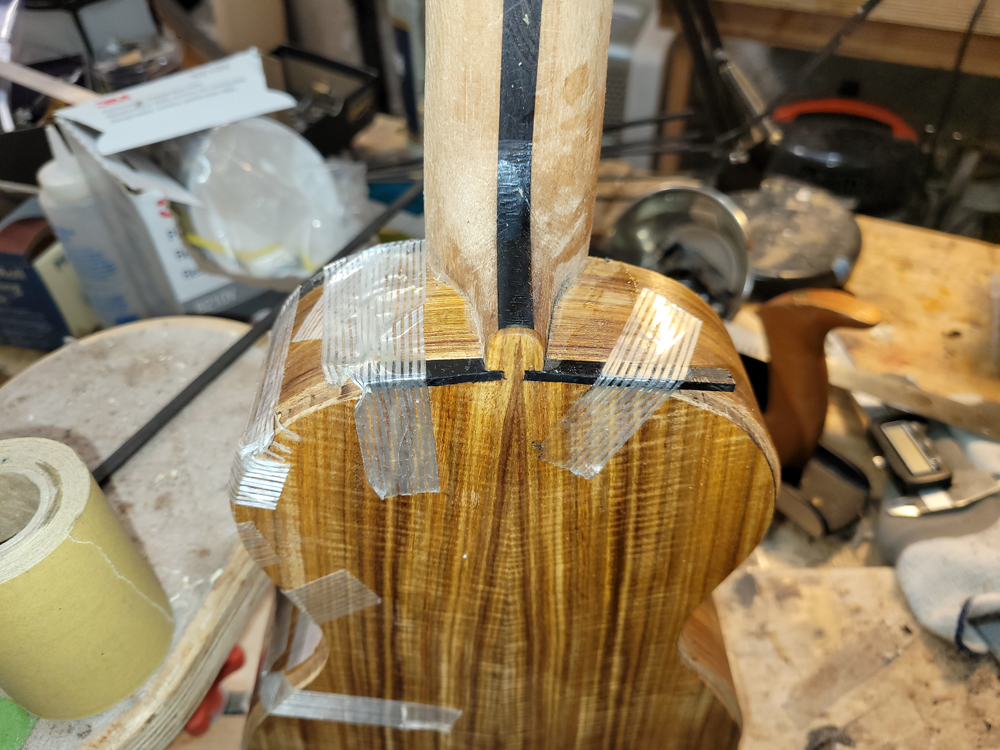
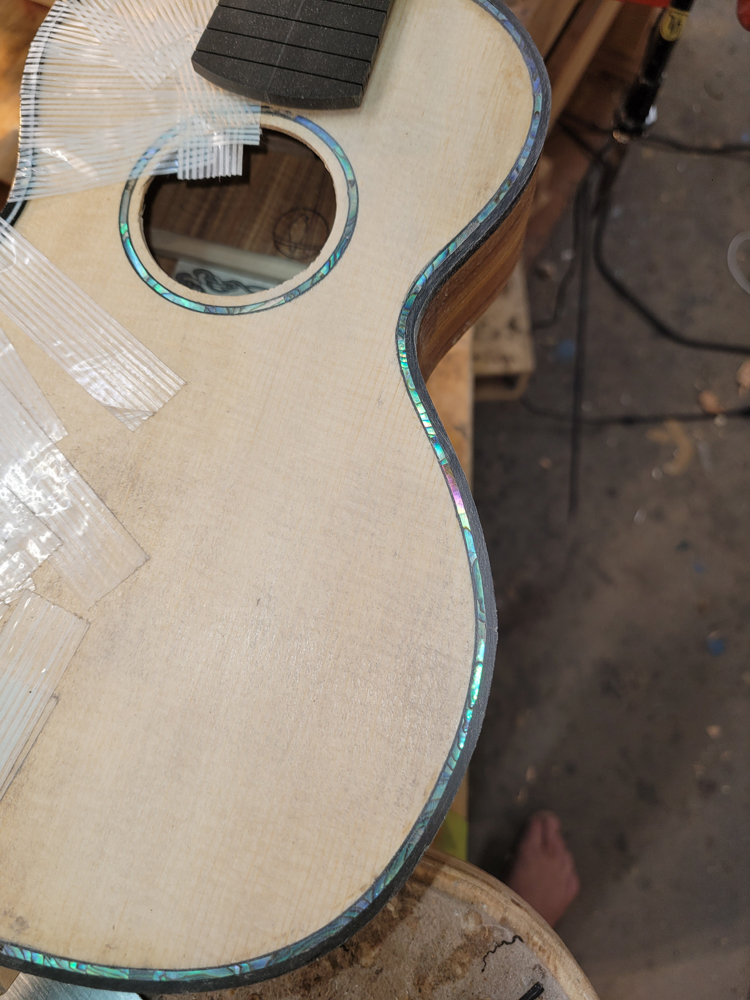
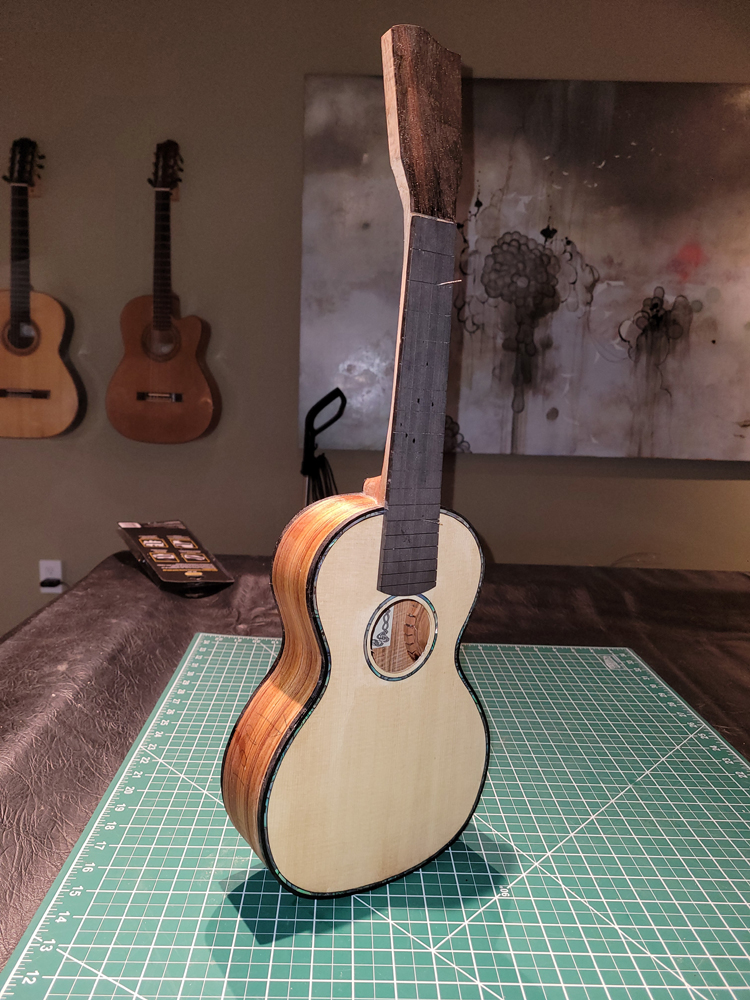
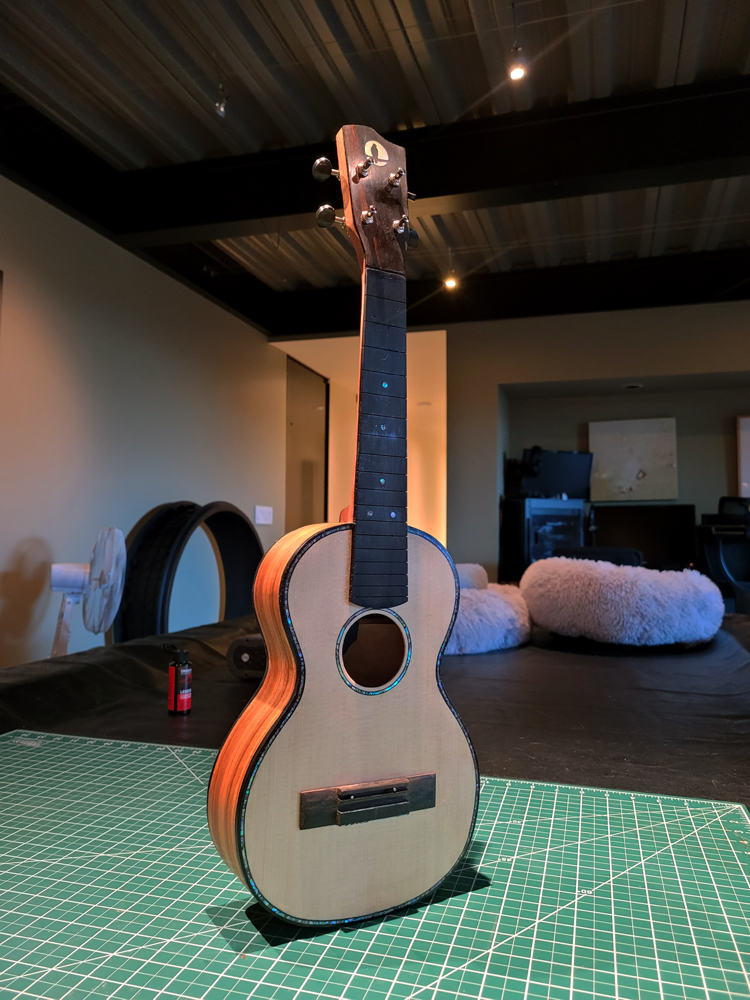
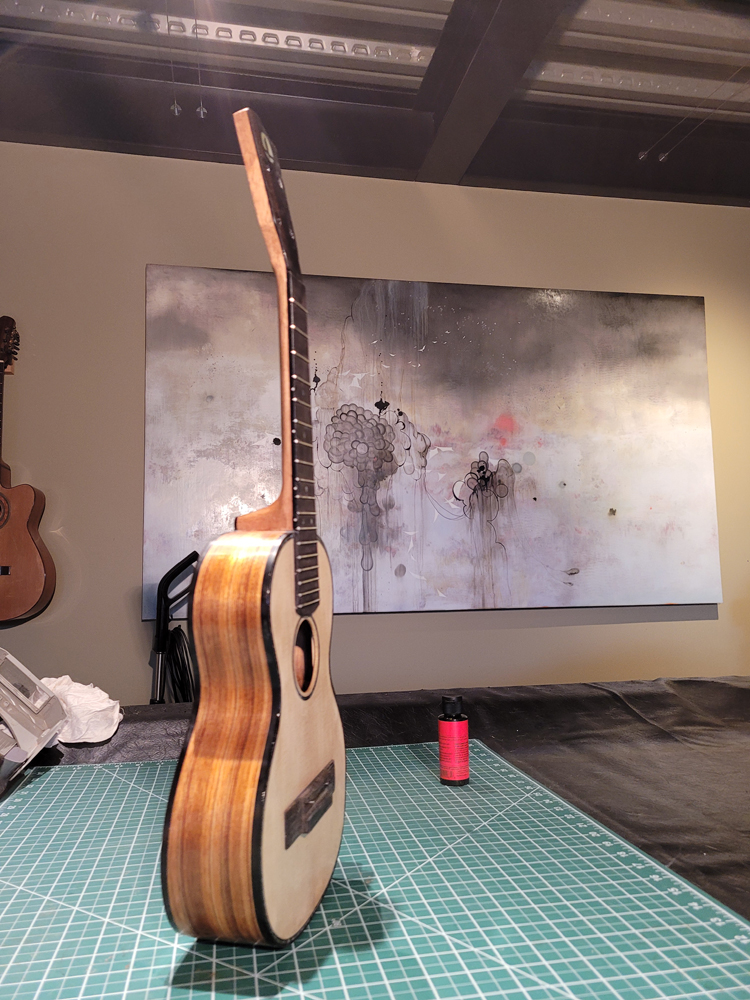
I now have the ukulele bound, but there were some steps along the way. Working with a traditional build method, having the neck aligned with the top is really easy — they are glued early in the process when you can see and align on a centreline. Care still needs to be taken at the tail end when the rims are glued to the top.
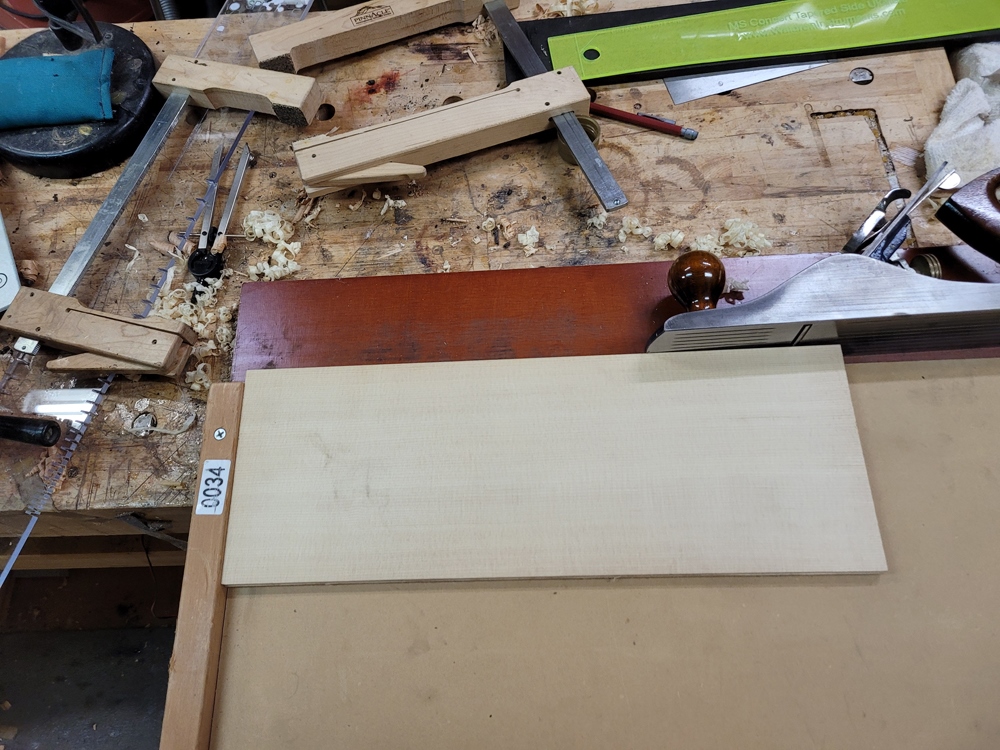
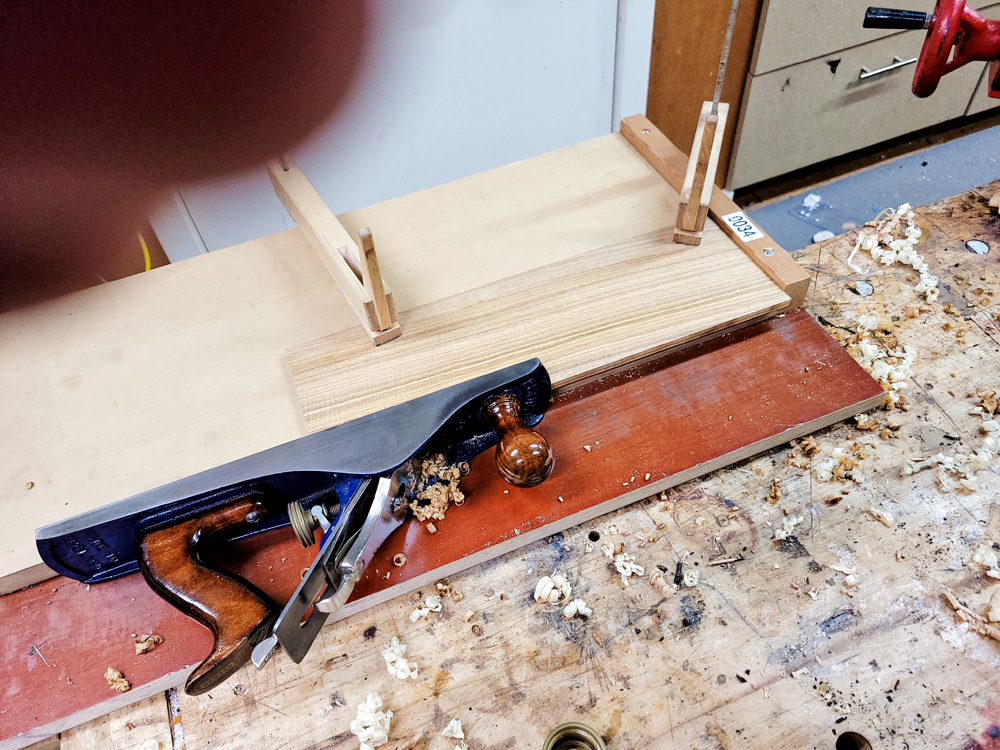
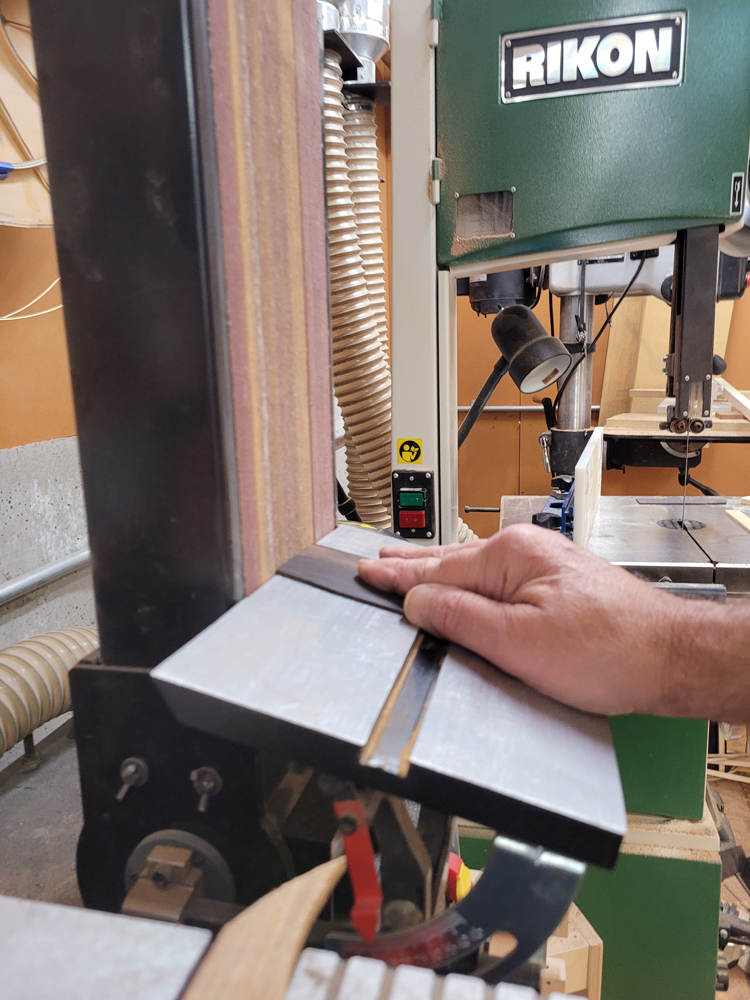
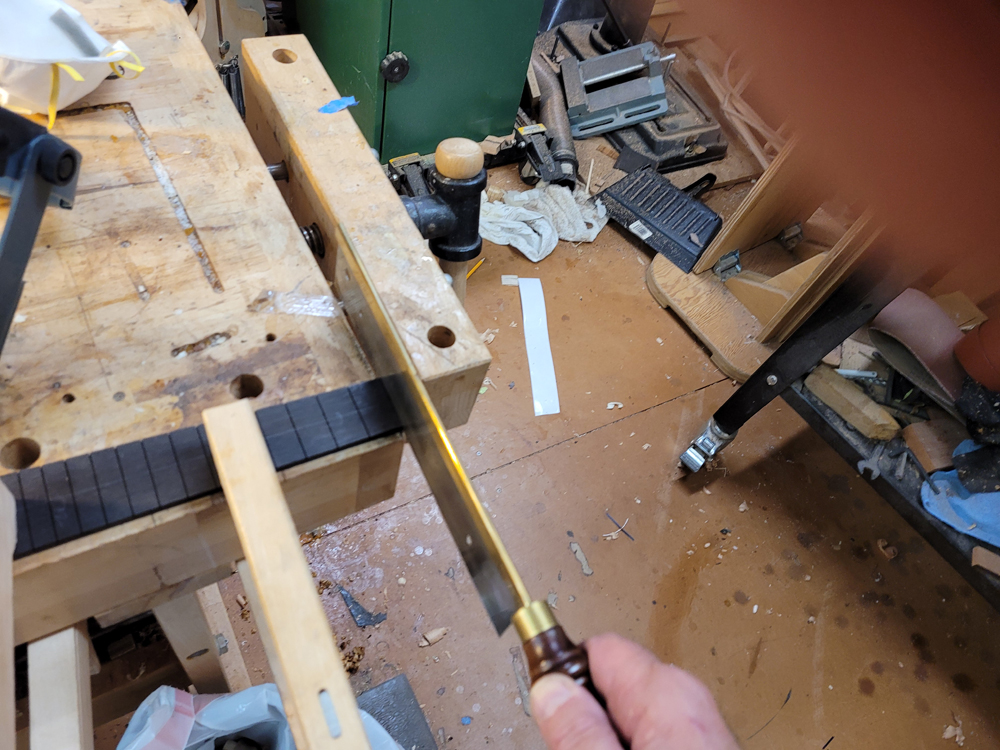
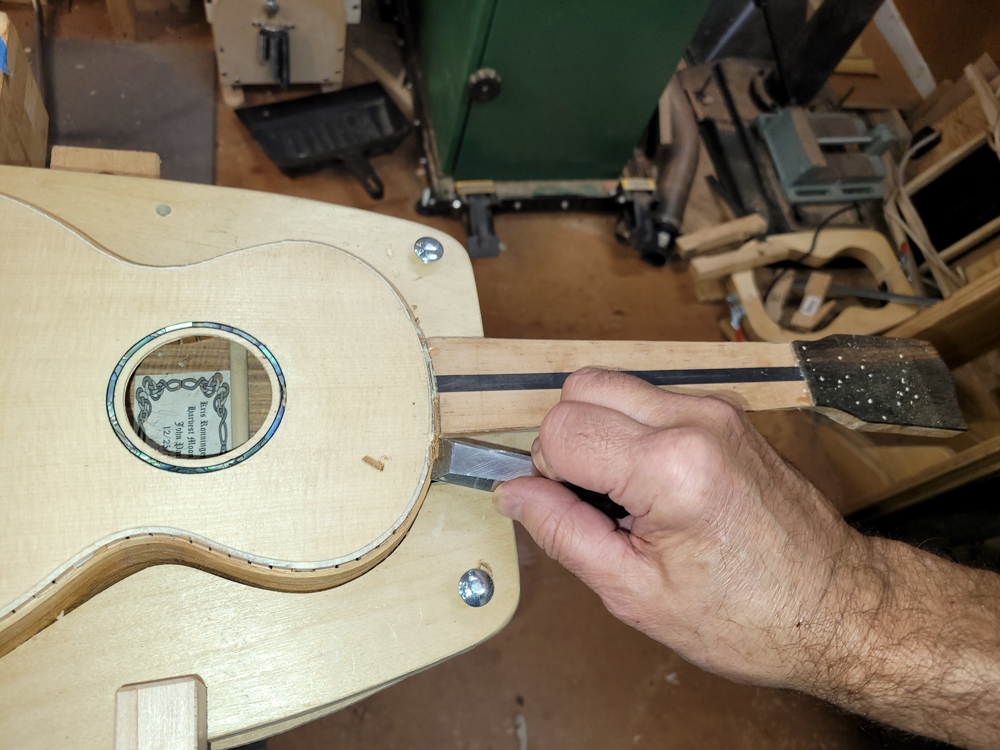
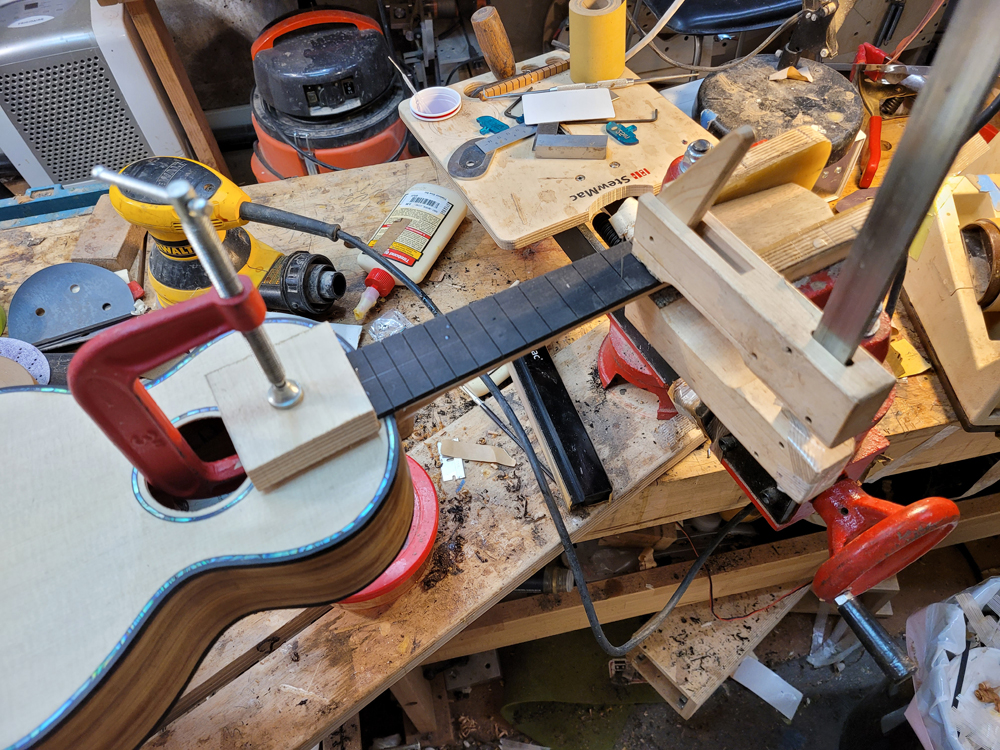
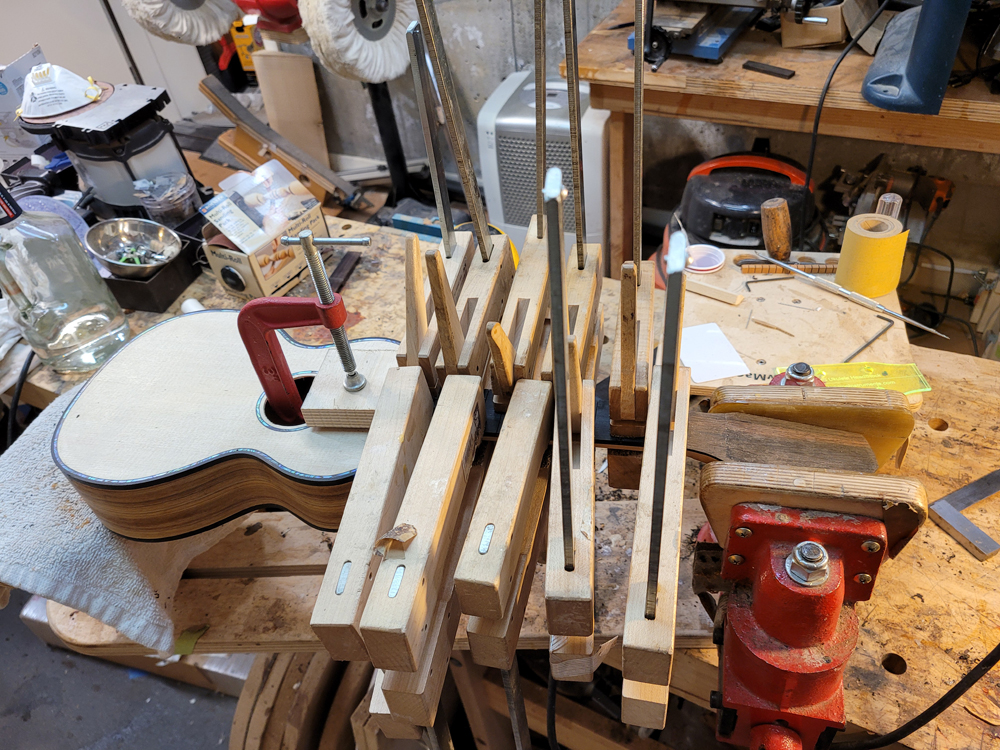
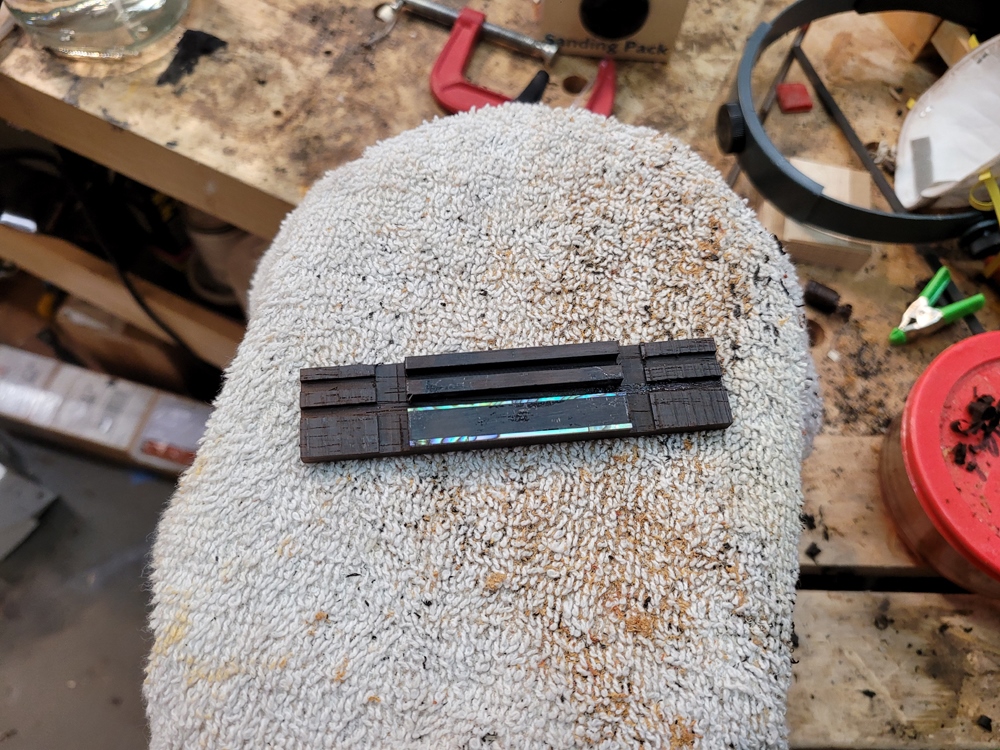
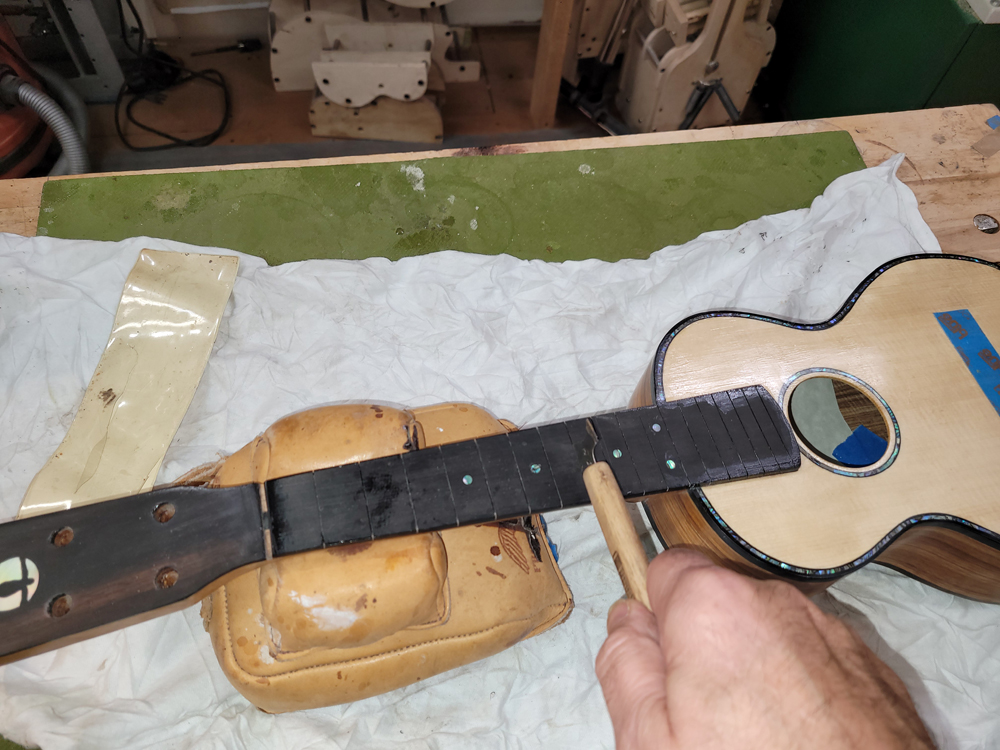
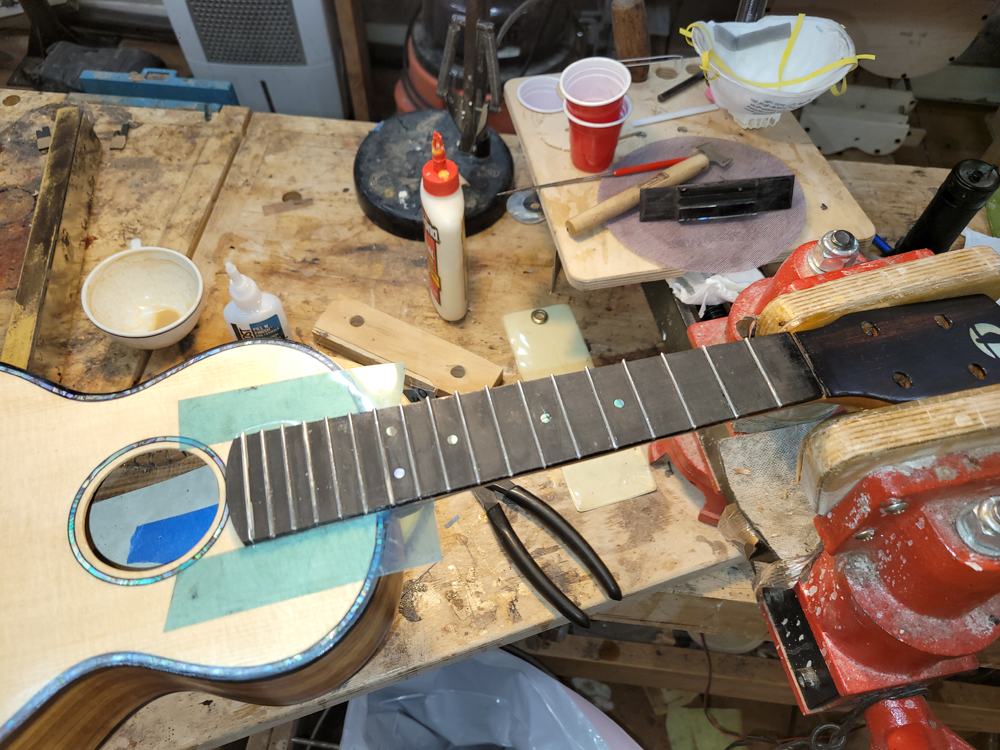
I glued on the fretboard and made a classical-style Brazilian Rosewood ukulele bridge. It took me a couple of tries — I had most of the slotting done but cut the wings too thin on the bandsaw. Not much to say about gluing on the fretboard, just a bunch of clamps.
I was really close early this month and had taken the pictures that follow. I went upstairs for a bit, heard an odd crash, and found that the cats had knocked down the ukulele. My fault for leaving it out.
The Cat IncidentVery little damage — some shell popped off — except that a bit of shell at the tail end took a chip of the top with it, about 4mm by 4mm. I spent a few days trying different repairs, but any patch was framed by the cross-grain joint edge and looked wrong. It would have been a fine repair for an older damaged instrument, so I re-topped it instead. I had pictures of the re-top but accidentally deleted them when cleaning up.
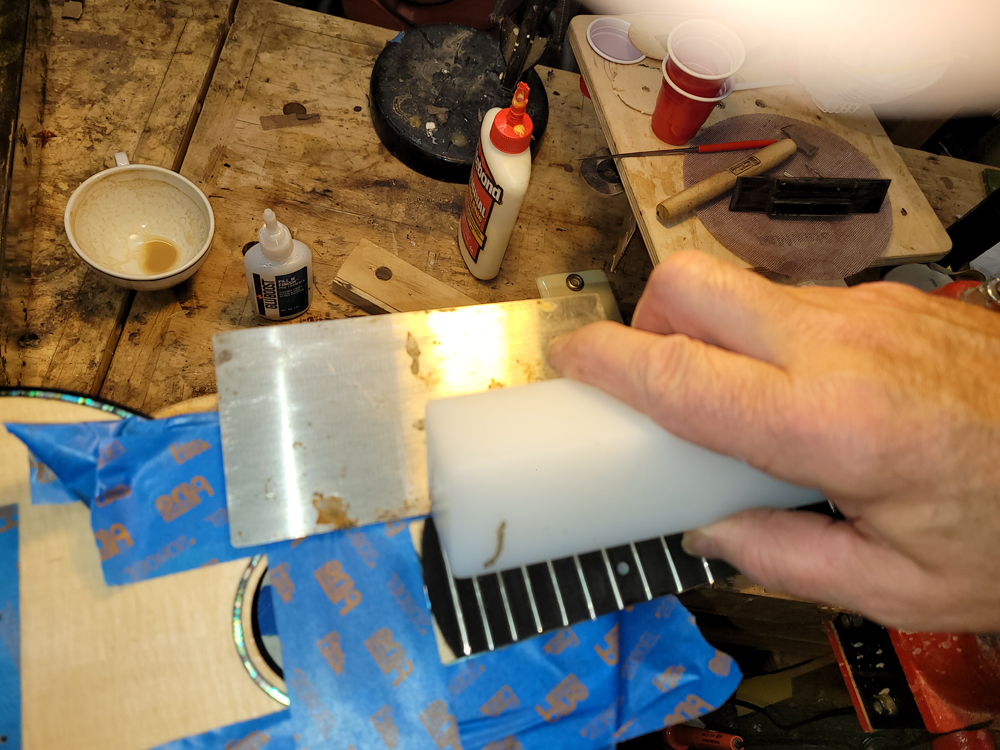
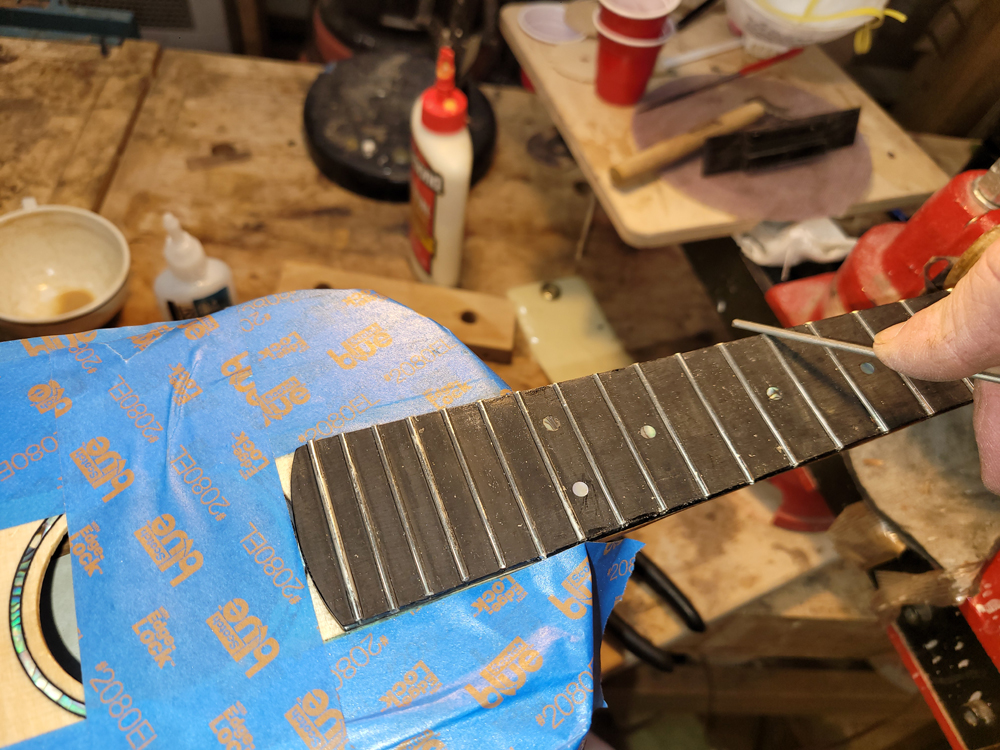
So I have the ukulele prepped for spraying. I used GluBoost Fill & Finish as a pore filler on the back and sides, with a sealer coat of shellac. I am going to spray probably eight coats of — post-cat — Royal Lac. I worked between shellac and GluBoost, levelling and filling gaps until it was acceptable.
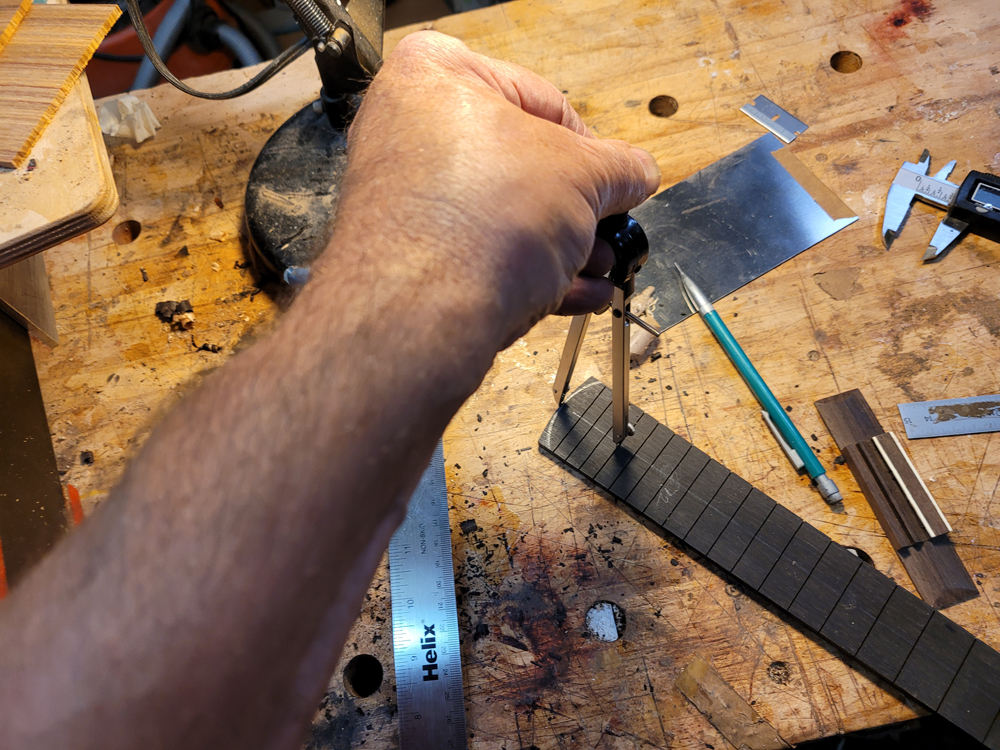
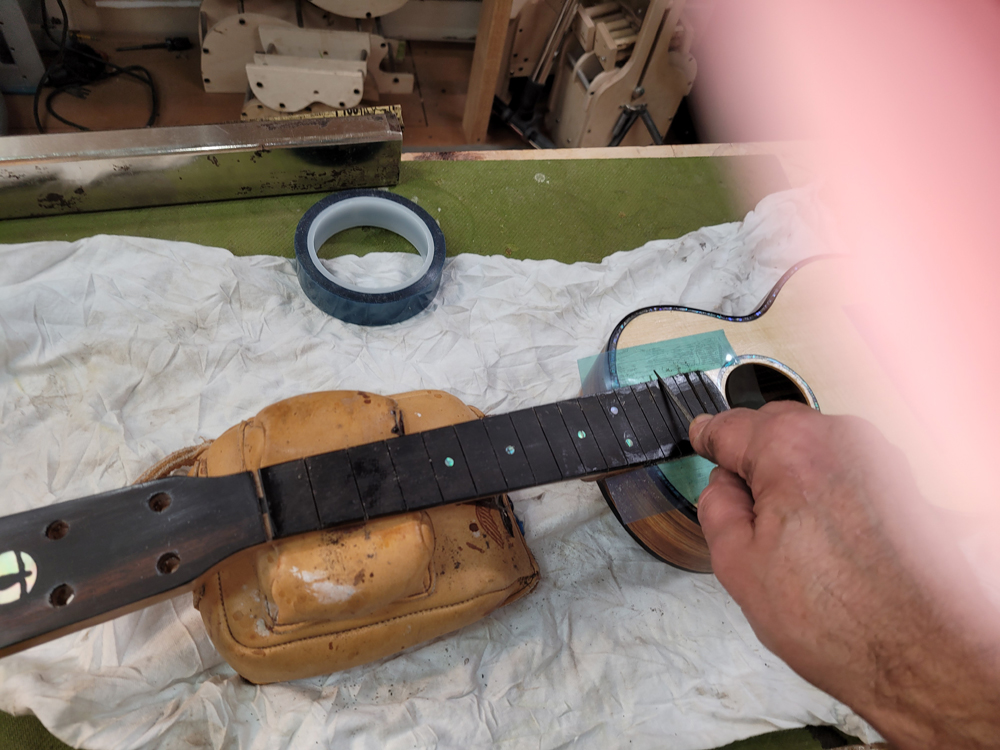
I fretted the instrument before spraying to avoid damaging the finish on the neck. Just hammered them all in after cleaning and prepping the slots, with diluted Titebond in the slots before hammering.
Finished and ready to deliver at the birthday party — a gift from her spouse.
Specifications
StyleConcert Ukulele
TopSpruce
Back & SidesTulipwood (Canarywood)
NeckSpanish Cedar
FretboardEbony
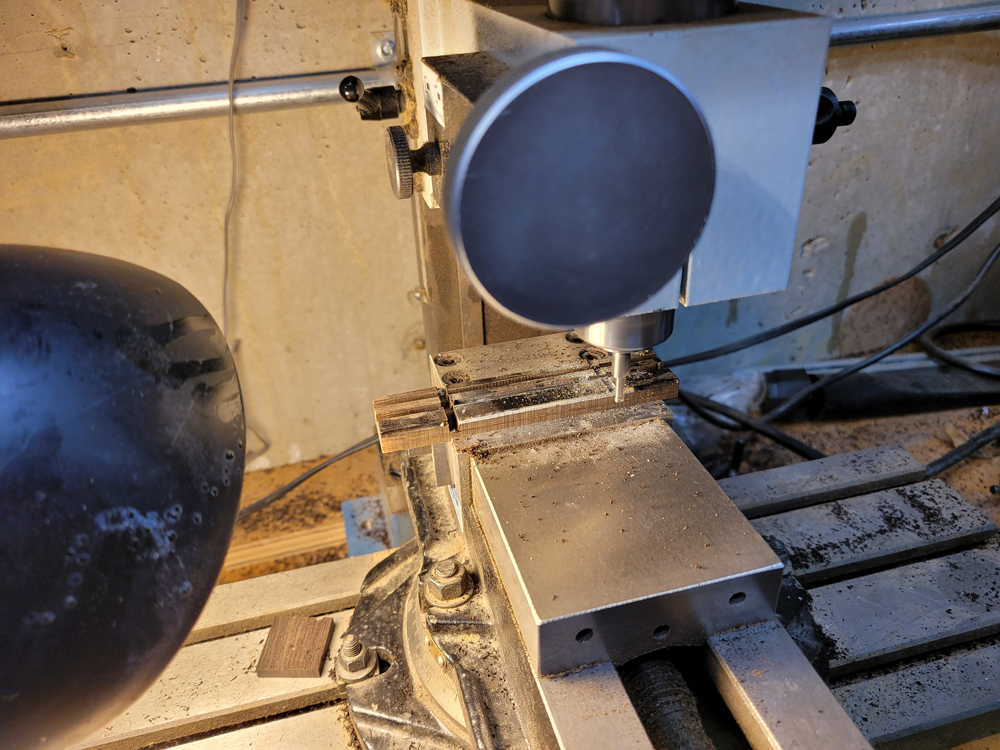
BridgeBrazilian Rosewood — Classical Style
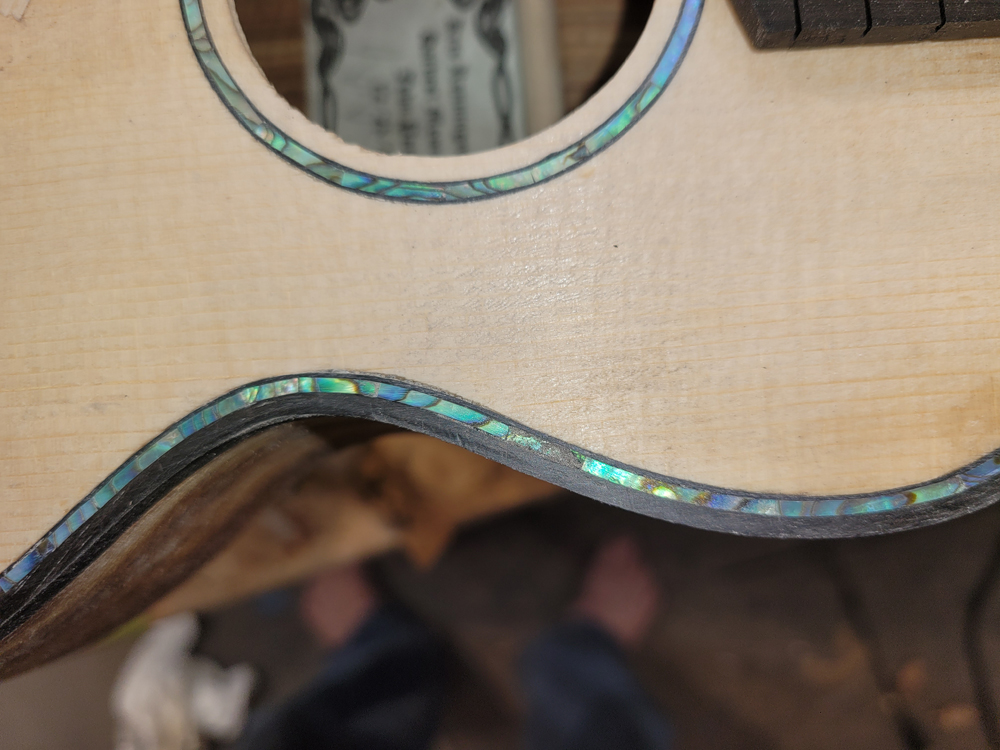
BindingsShell Purfling
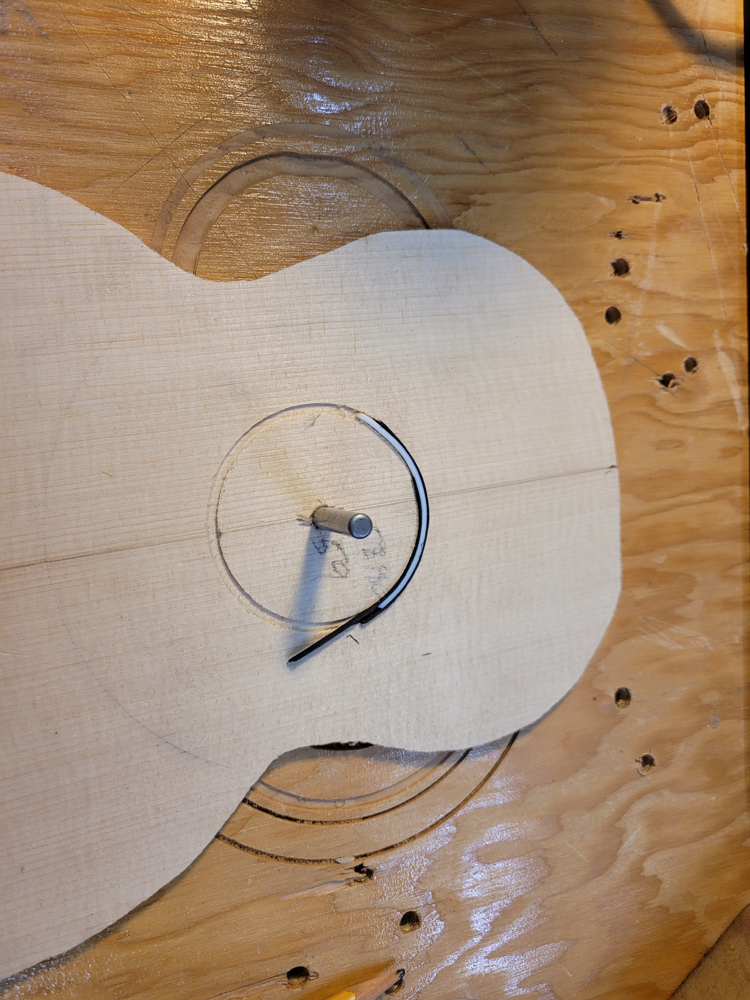
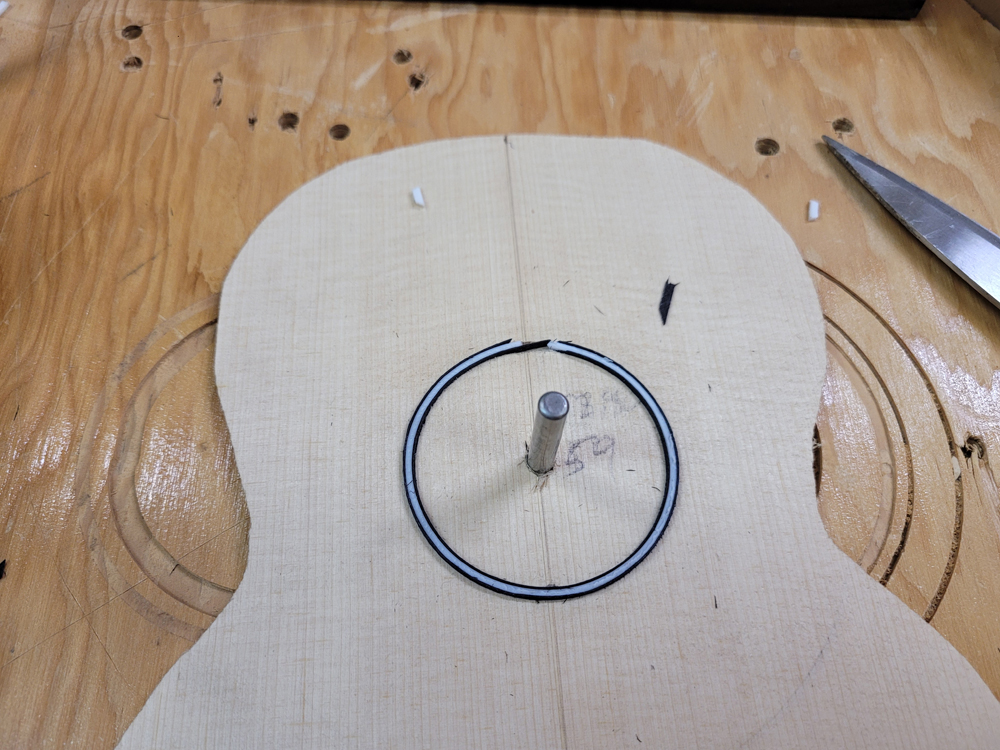
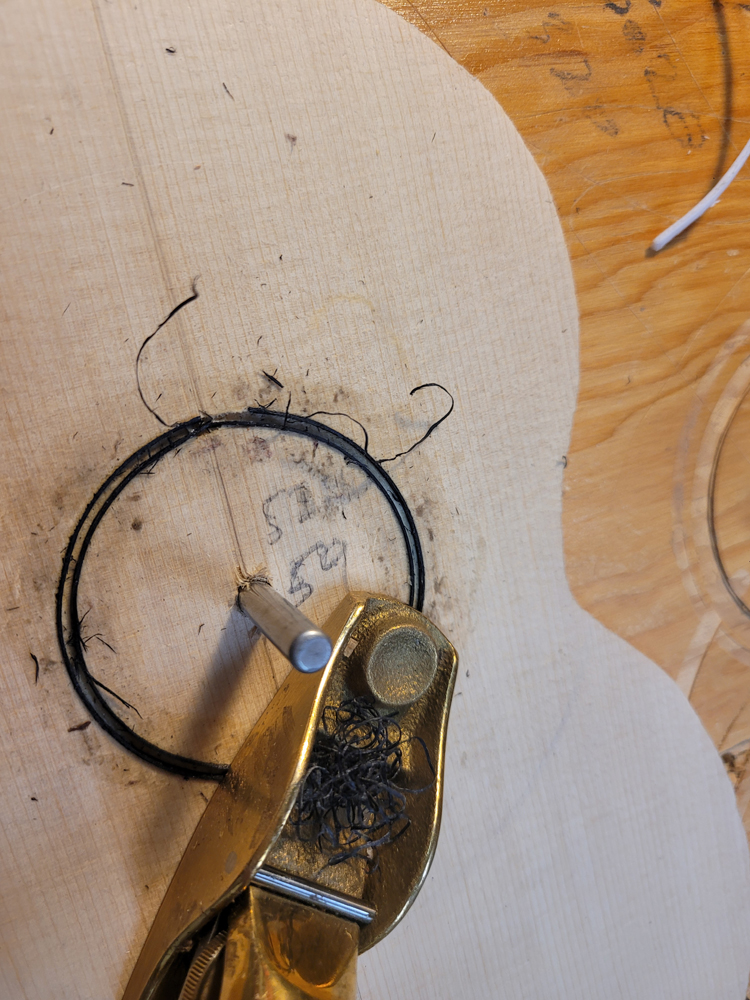
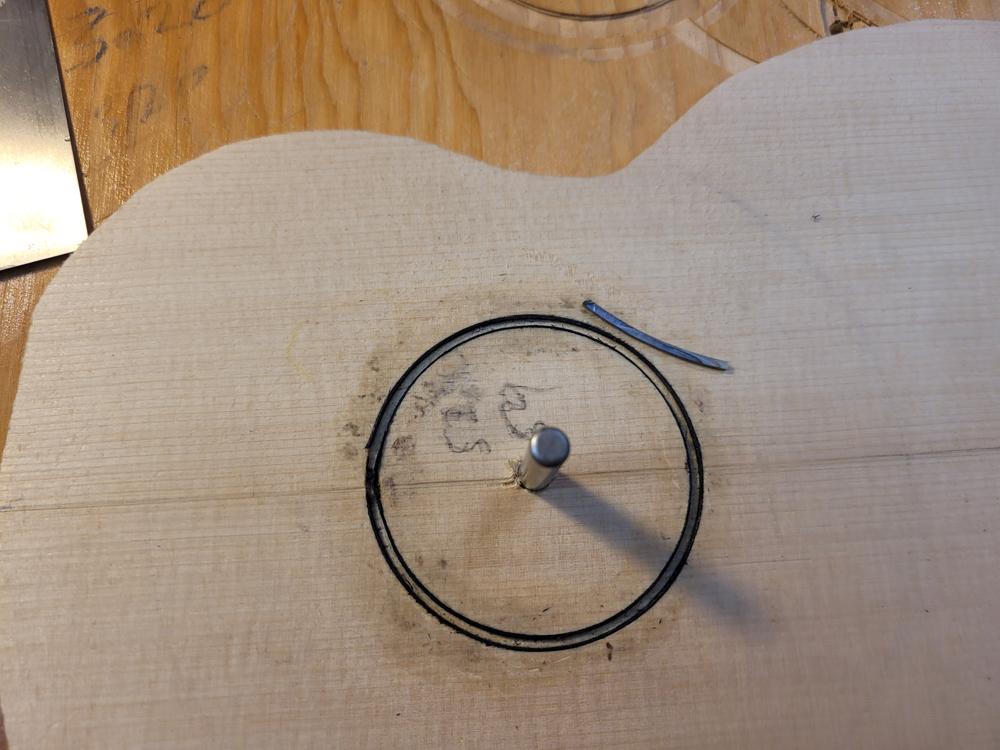
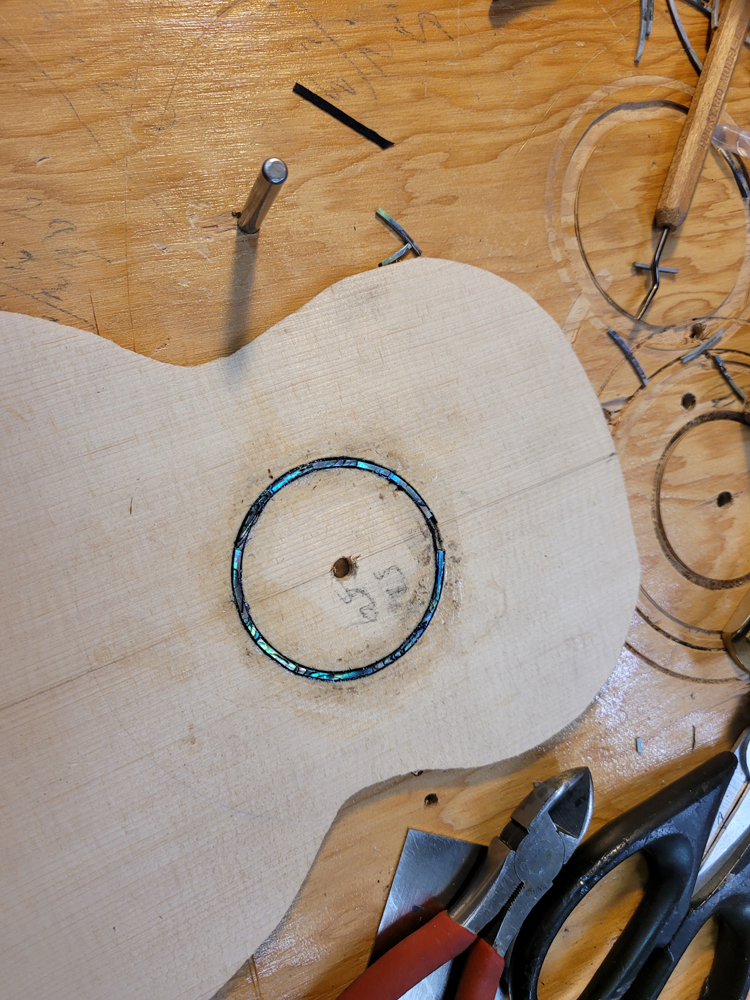
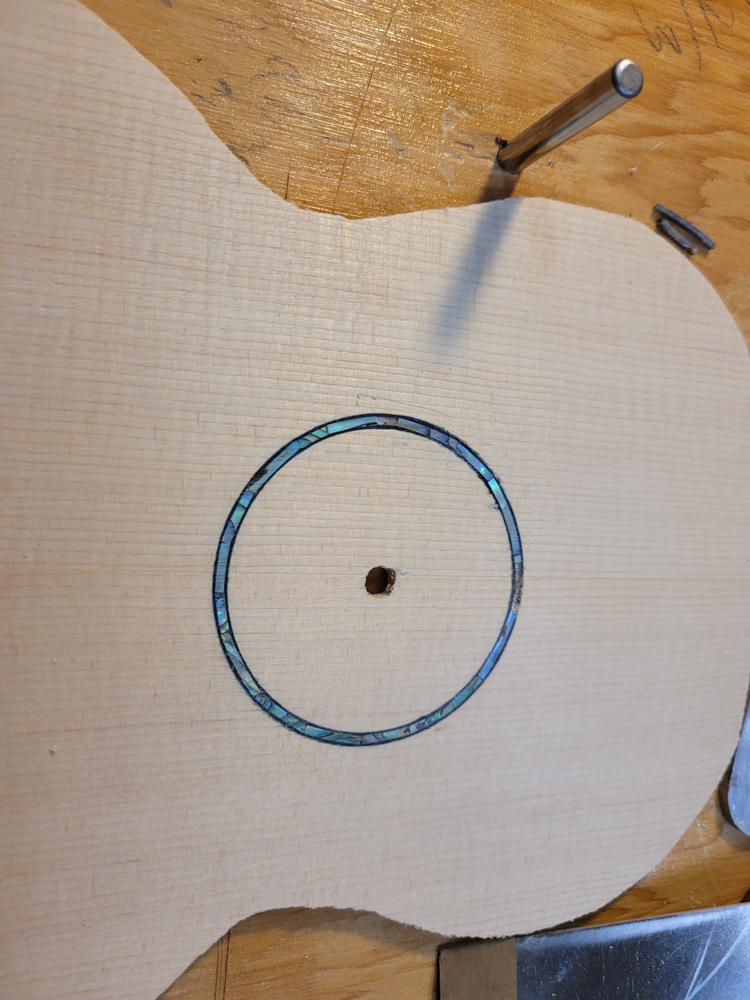
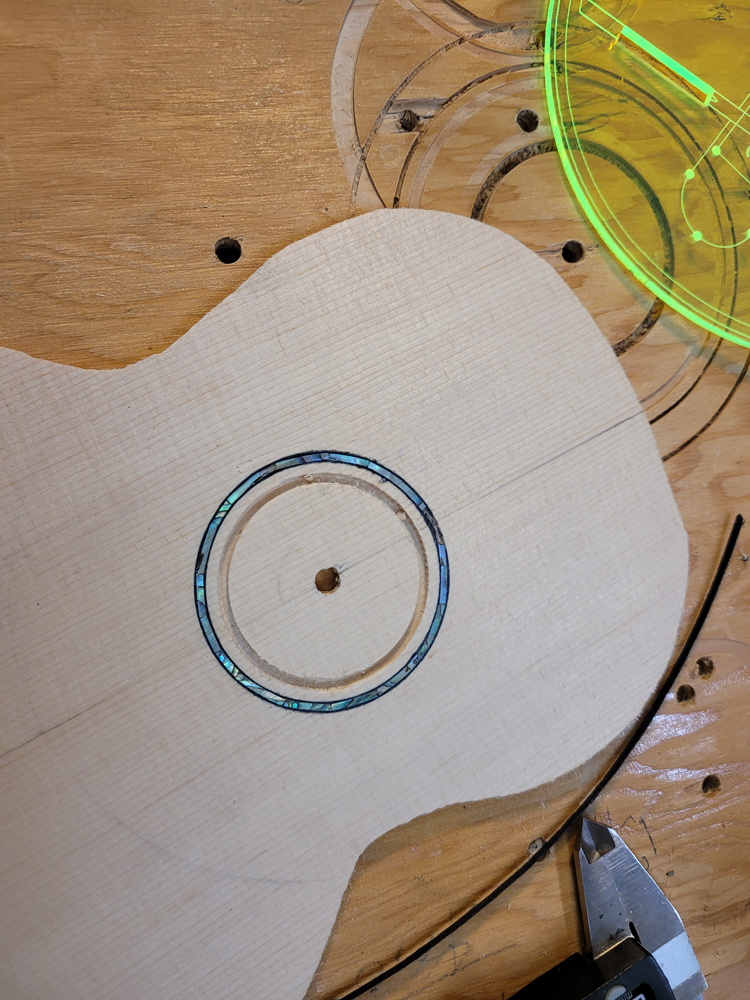
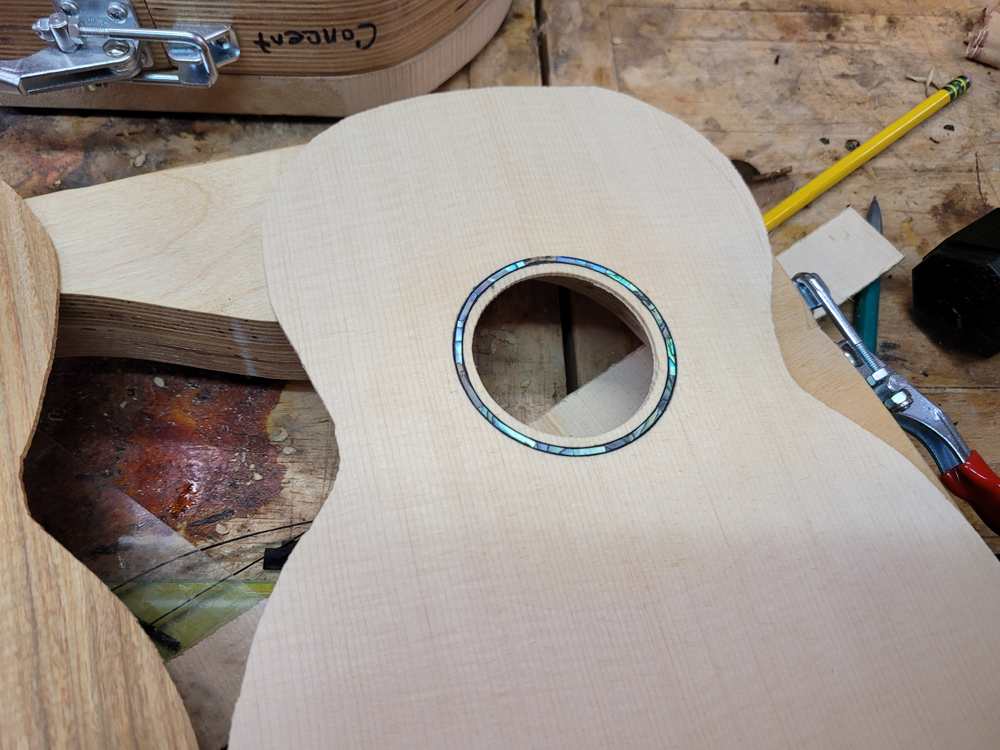
RosetteShell
Headstock VeneerAmboyna Burl
FinishRoyal Lac over Shellac & GluBoost
Built ForKris (Birthday Gift)
Build PeriodOctober – November 2021


.jpg)
.jpg)
.jpg)
.jpg)
.jpg)