Kenneth Michael Guitars est.1978
| Making "Perfect" guitar side profile templates |


© Ken Cierpilowski 2009 -2015
Having the guitar side cut to the exact profile prior to the bending process leads to
accuracy though out the entire construction process. As a matter of fact, at KMG we
use the inner most waist curve location points as the basis for many construction
procedures. This idea was submitted by one of our customers, a profile can be drawn
to match an original instrument -- or you can even layout the a completely custom
guitar knowing the critical waist curve contour will be the right height, in the right place.
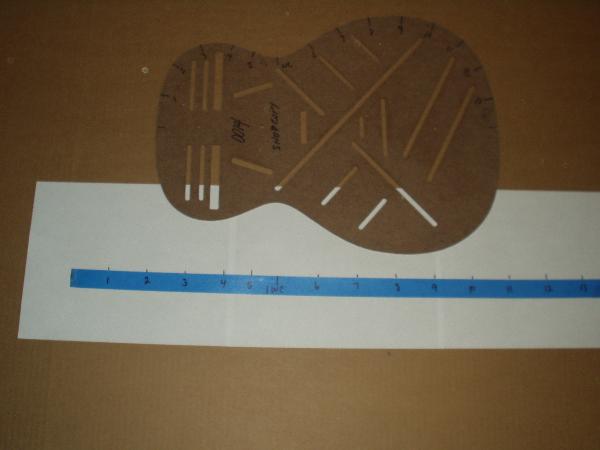
The first step is to mark pick-off points around the perimeter of the guitar template. We
used two-inch spacing, note that the innermost waist curve is defined. To aid in
transferring information and keeping track of the points the marks are numbered.
used two-inch spacing, note that the innermost waist curve is defined. To aid in
transferring information and keeping track of the points the marks are numbered.
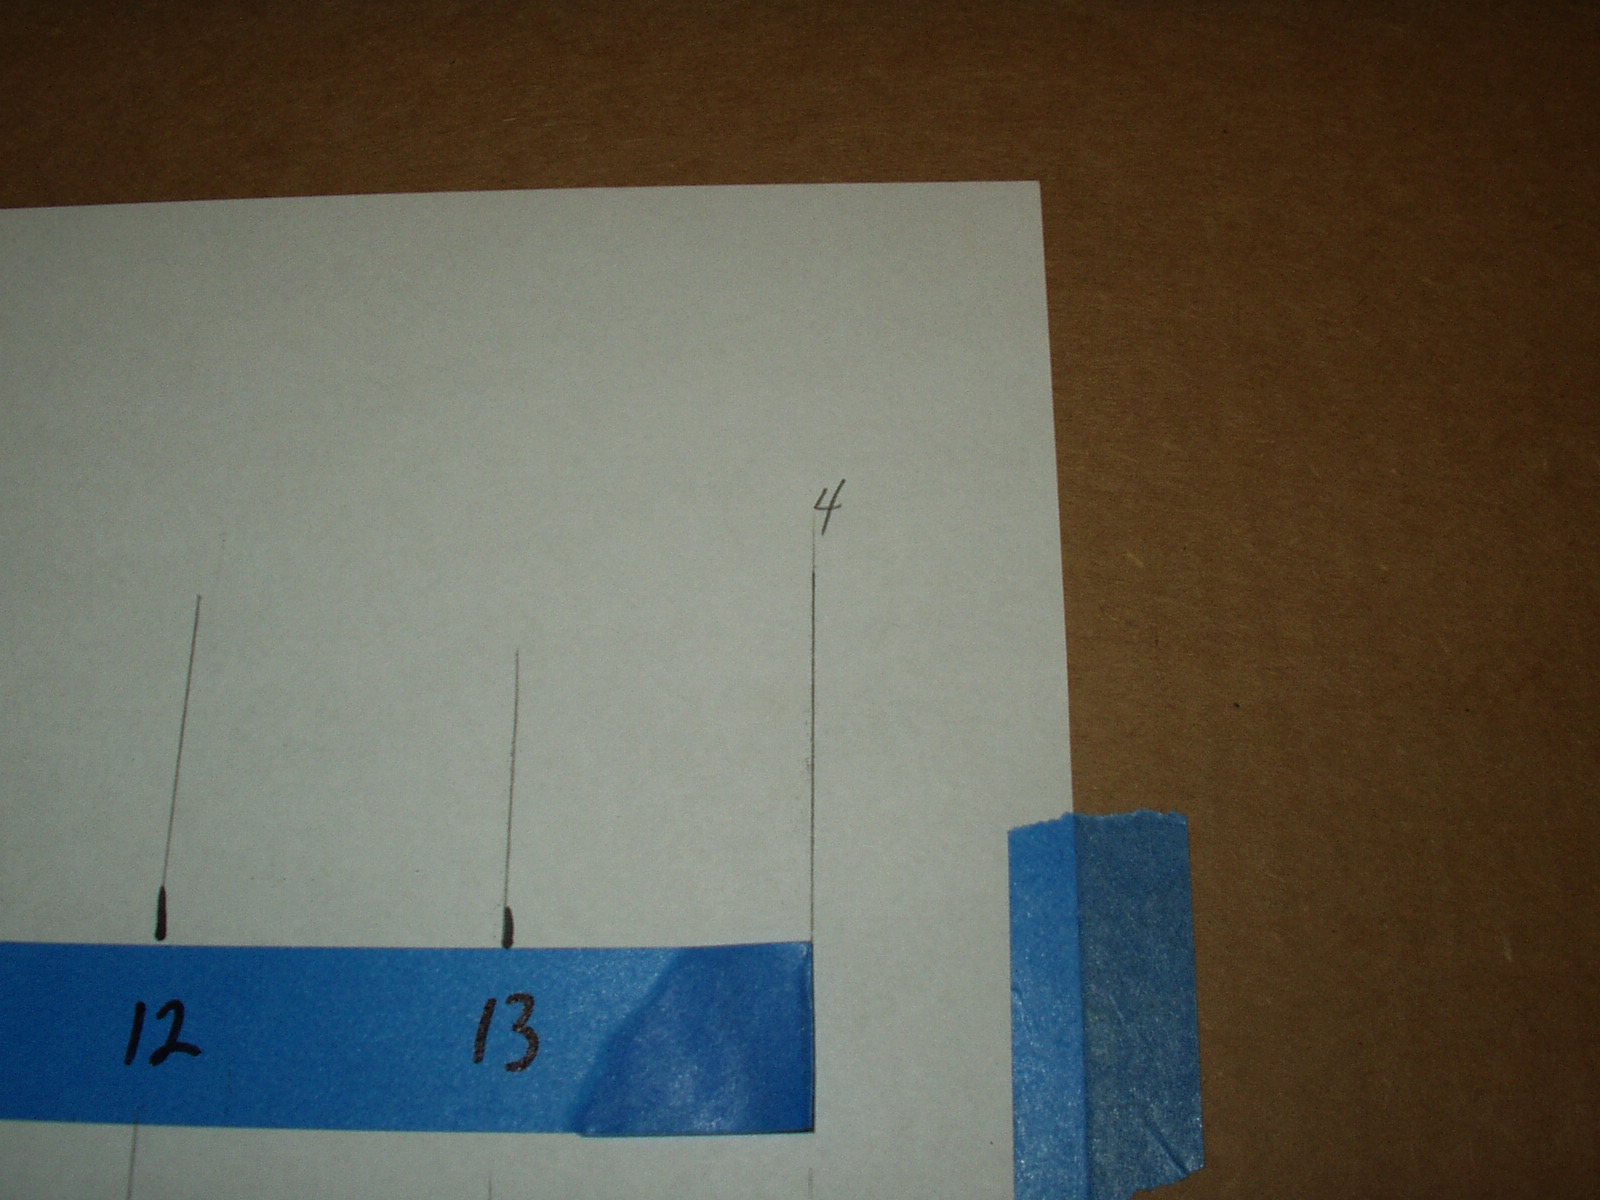
A linear grid is made by using a piece of masking tape that is the overall length of the
side. We simply apply the tape to the bending form (note the inner most curve is
marked) cut or fold the ends to match the ends of the form at the upper and lower
bouts. Then layout the two inch increments along the entire length.
side. We simply apply the tape to the bending form (note the inner most curve is
marked) cut or fold the ends to match the ends of the form at the upper and lower
bouts. Then layout the two inch increments along the entire length.
Place the guitar shape template in the mold and lightly pencil corresponding marks on
the mold.
the mold.
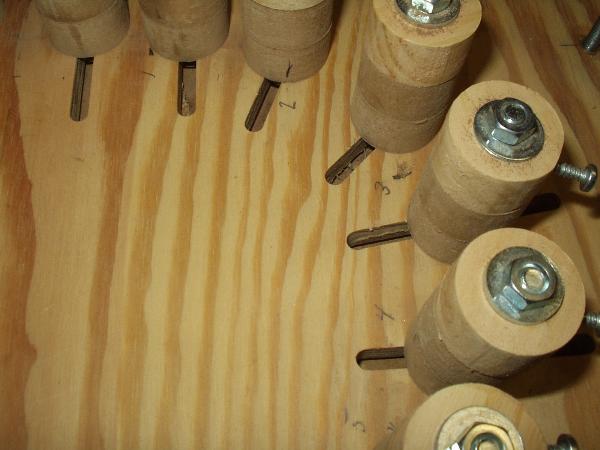
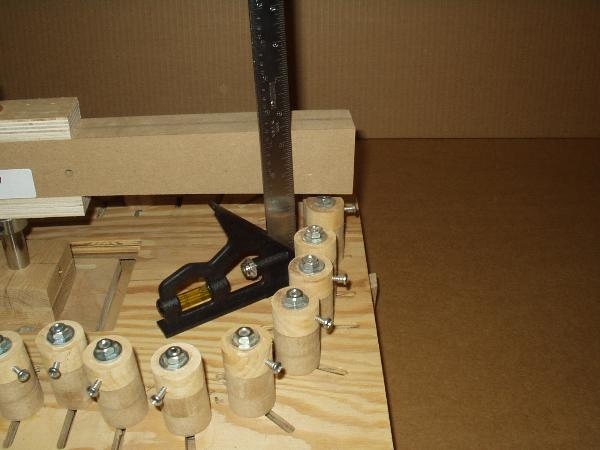
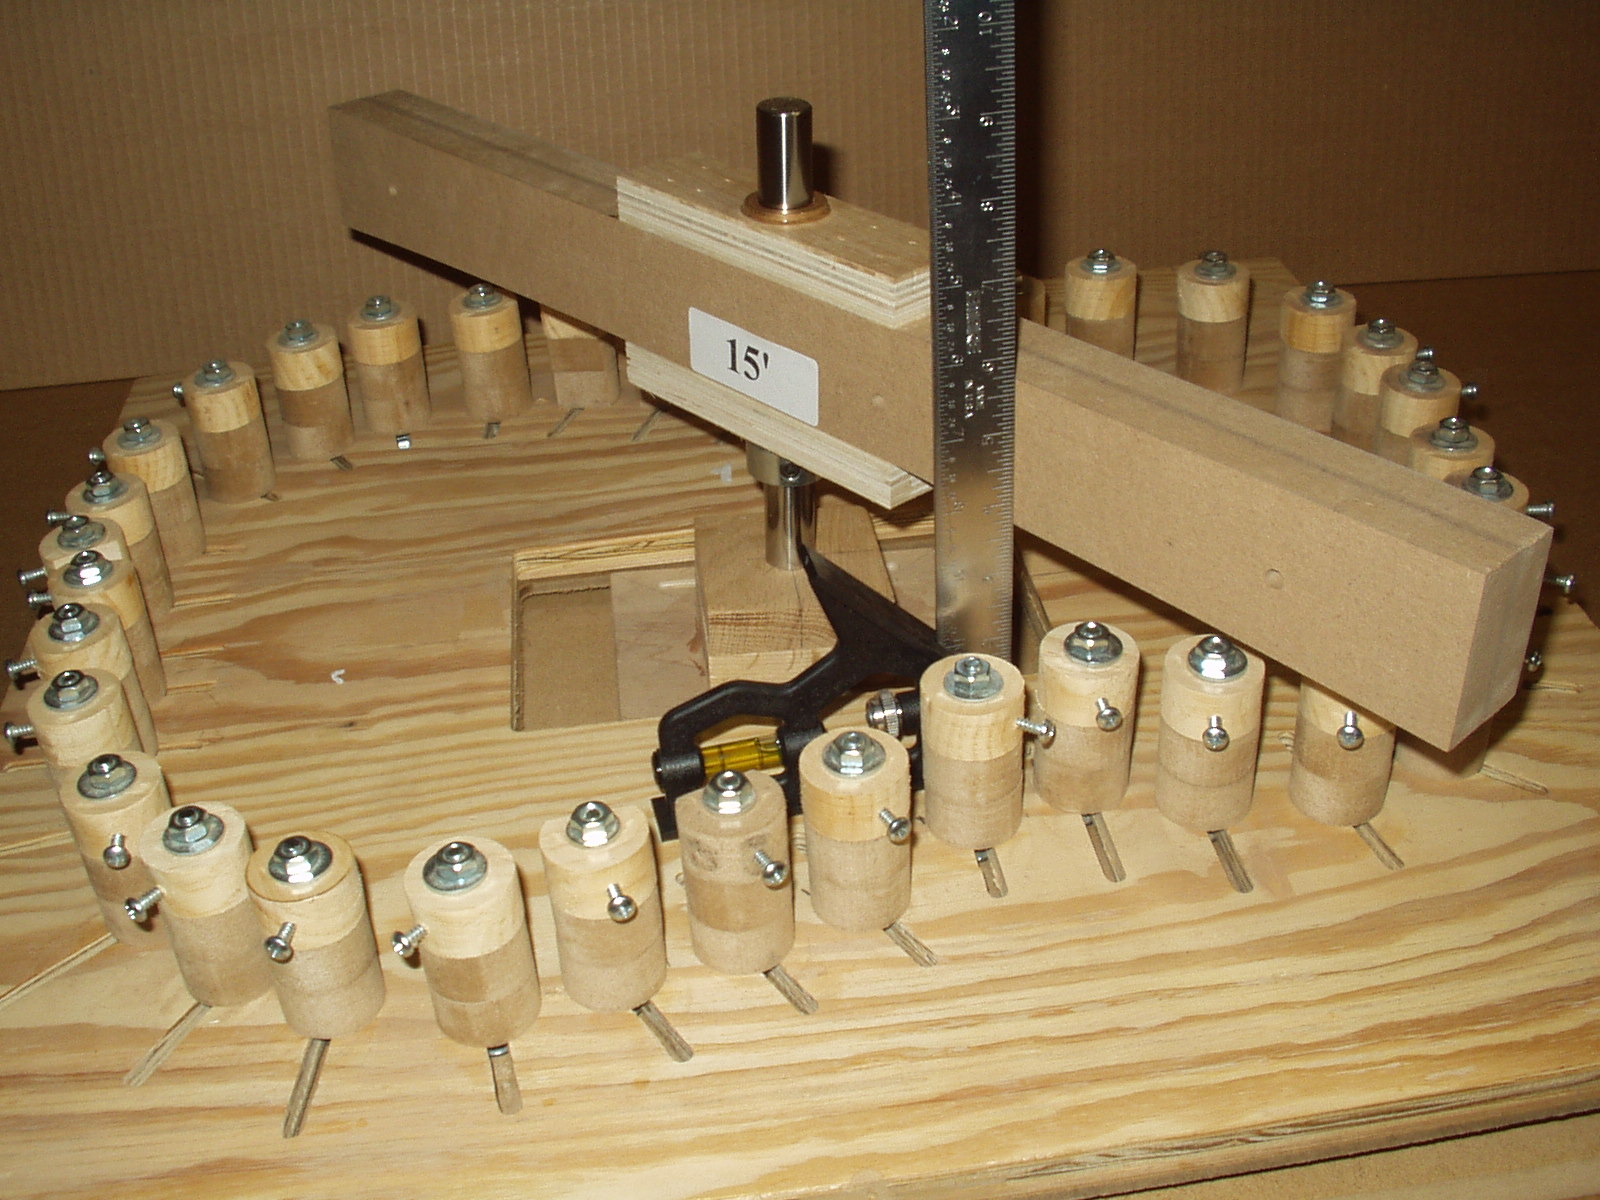
For this style guitar the spindle is placed center/center length and width. The MM is
adjustable, so the apex could be positioned based on different design parameters. A
stop collar is also placed on the spindle at this time.
adjustable, so the apex could be positioned based on different design parameters. A
stop collar is also placed on the spindle at this time.
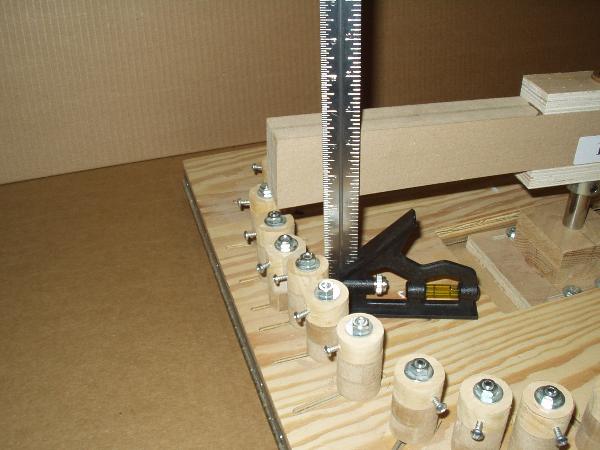
The height at the neck block and the tail block are known dimensions so those are
used as the end plot positions. The MM taper angle is also set using those same
measurements. The abrasive bar is mounted to the spindle the stop collar is set so the
end of the bar is at the tail block height. In this case 4” – the MM Jack screws are used
to raise the neck block end to the proper height, which is 3 1/8”
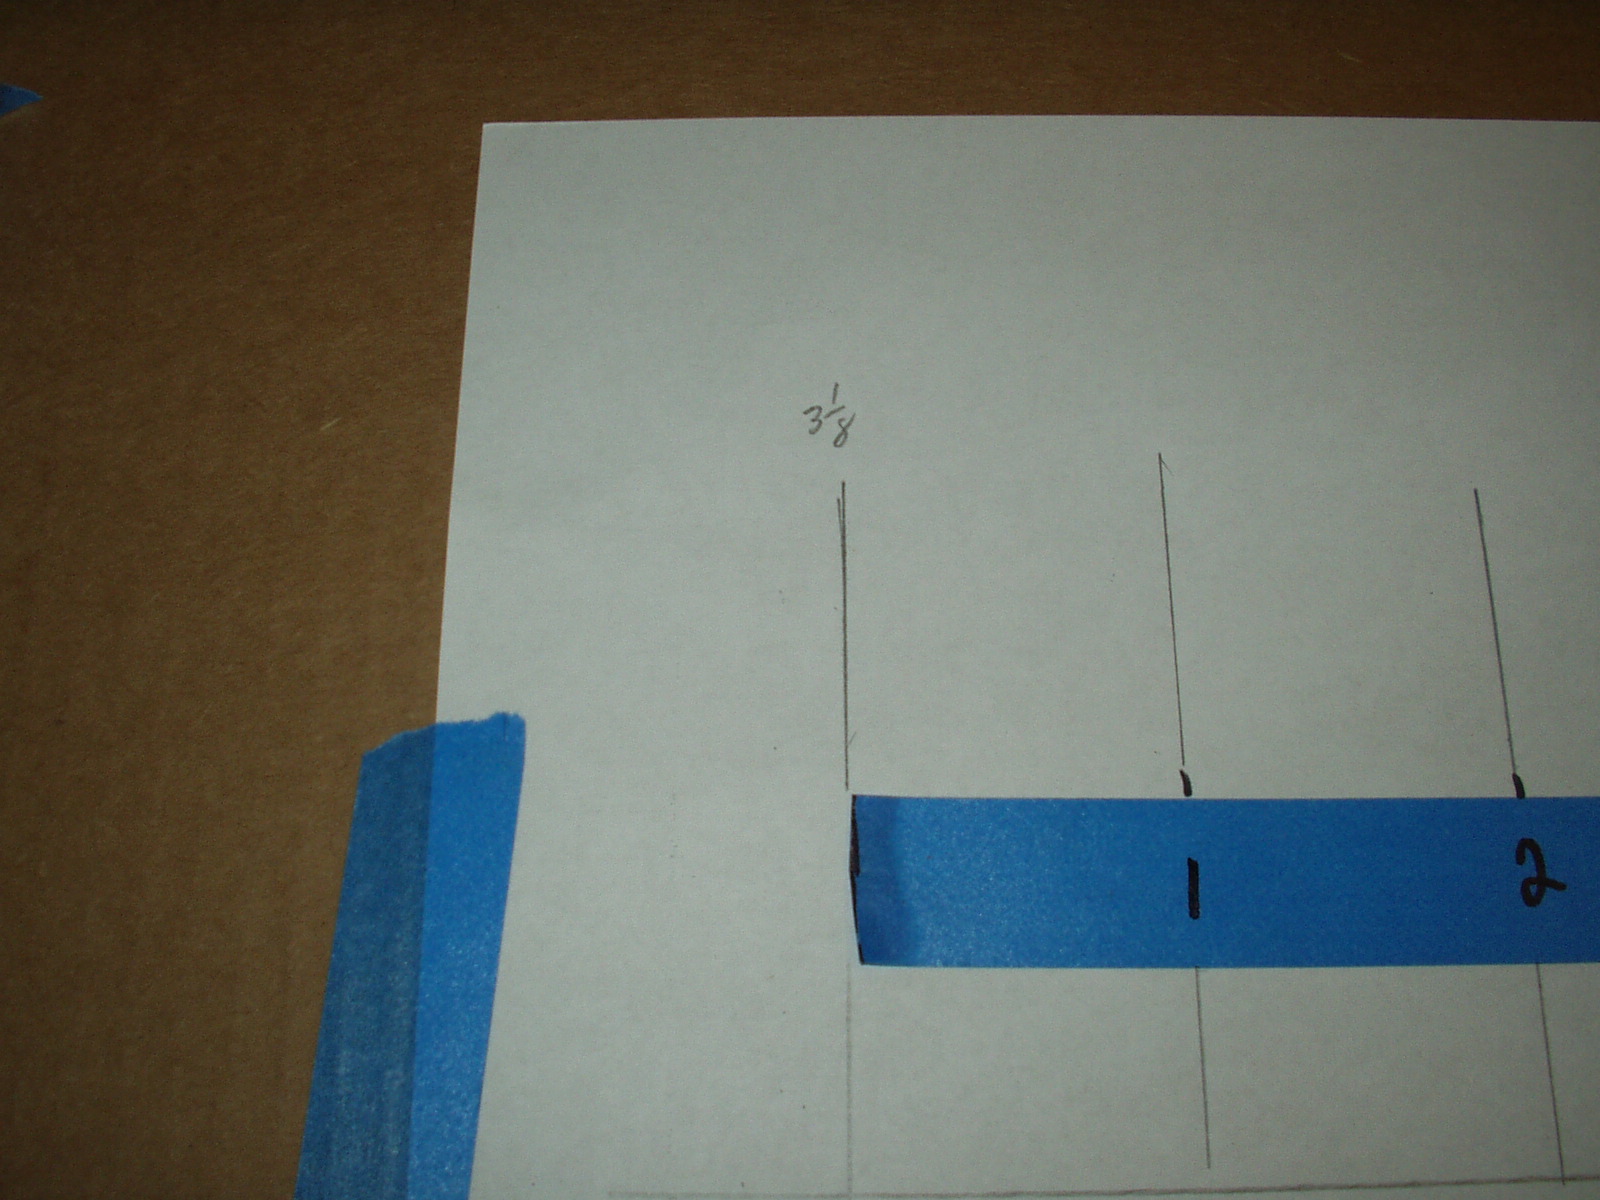
Now it is just a matter of picking off the measurements at the various points that we
penciled on the mold. Those dimensions are then transferred to the linear grid to
create the plot locations. To complete the process connect the dots!
penciled on the mold. Those dimensions are then transferred to the linear grid to
create the plot locations. To complete the process connect the dots!
By increasing the plot points a more precise layout can be achieved. However I have
found that the two-inch spacing works well. Since this system steps outside the
boundaries of the two dimension drawing, those that have an idea for a new guitar
shape now have a method to produce an accurate full size side profile.
found that the two-inch spacing works well. Since this system steps outside the
boundaries of the two dimension drawing, those that have an idea for a new guitar
shape now have a method to produce an accurate full size side profile.