
Mark the centerline on the neck block – If your
blocks are pre-cut, a piece of tape can be used
to cover the gap at the truss rod slot.
The block is our Martin compatible true "bolt on"
blocks are pre-cut, a piece of tape can be used
to cover the gap at the truss rod slot.
The block is our Martin compatible true "bolt on"

Get the block centered and flush with top of
the rim. Hold it in place with a couple of
clamps.
the rim. Hold it in place with a couple of
clamps.
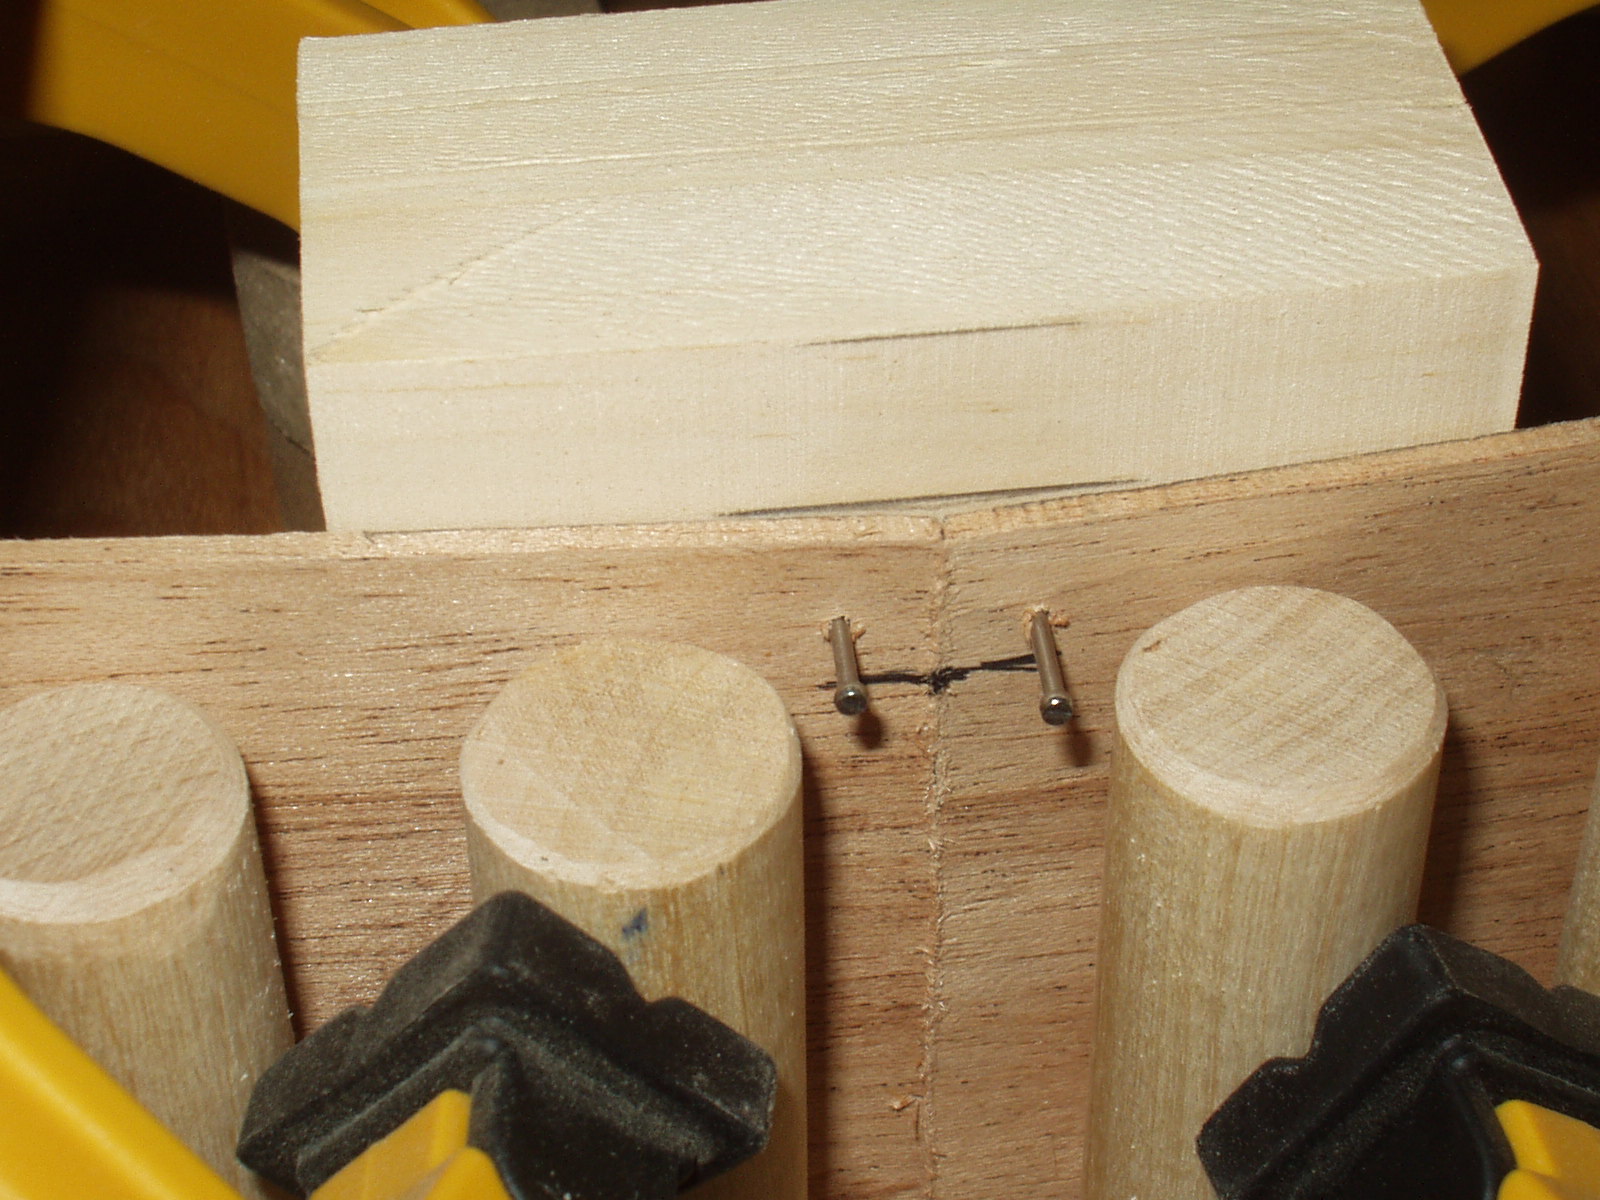
Drill two #54 holes through the rim sides
into the neck block. Use care to locate the
holes so they will be under the neck heel
and clear of the mortise or dovetail cut out.
Pin in place with #18 brads.
into the neck block. Use care to locate the
holes so they will be under the neck heel
and clear of the mortise or dovetail cut out.
Pin in place with #18 brads.

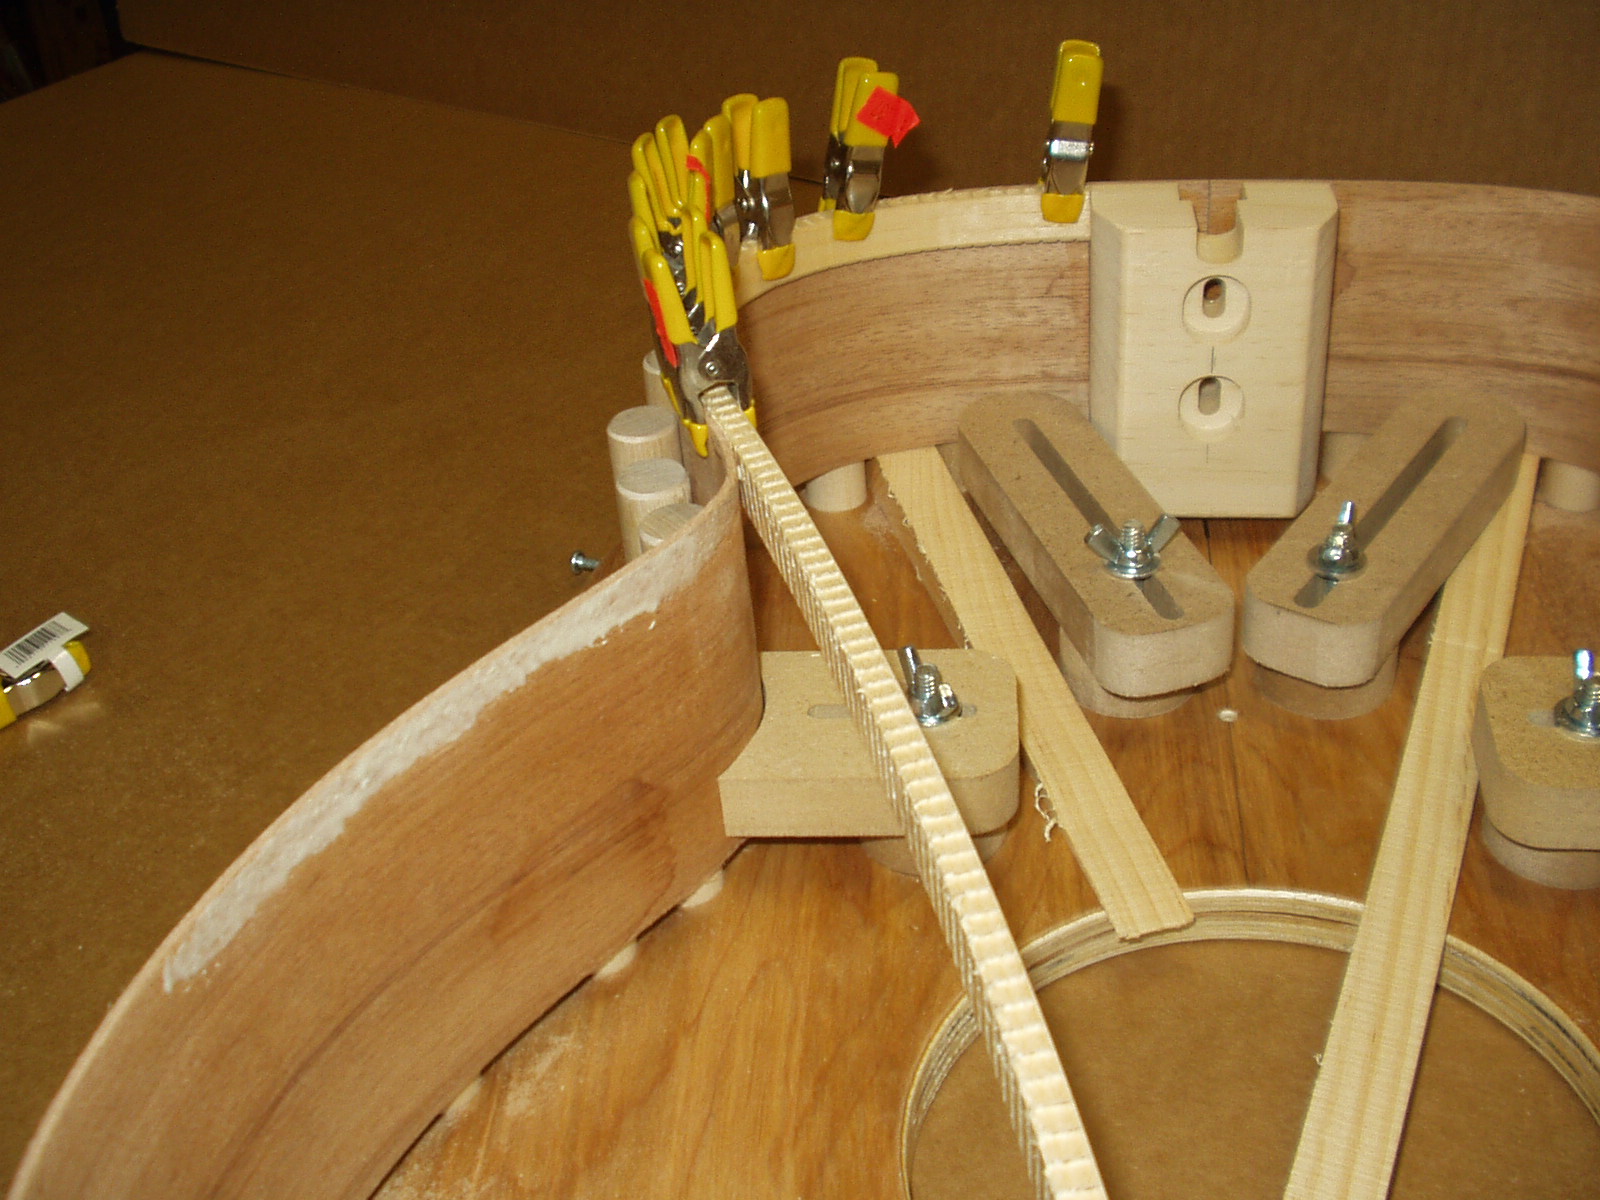
Remove the sides from the mold, apply
glue, re-pin, apply the clamps --- make sure
the rim joint is closed and the block is flush
at the top. Notice that the block is proud of
the rim on the back rim edge. It will be
trimmed and contoured to match the back.
glue, re-pin, apply the clamps --- make sure
the rim joint is closed and the block is flush
at the top. Notice that the block is proud of
the rim on the back rim edge. It will be
trimmed and contoured to match the back.

Place the rim back in the mold back edge
down. Measure the height at the tail block
down. Measure the height at the tail block

Adjust the height of the neck block so it is
equal to the tail block. Insert shims under the
rim to keep the top edge of the rim parallel to
the mold base. Pinch the rim to the sides of
the mold with the built-in clamps
equal to the tail block. Insert shims under the
rim to keep the top edge of the rim parallel to
the mold base. Pinch the rim to the sides of
the mold with the built-in clamps

Using a sanding stick (I use 80 grit glued to
MDF) lightly sand the top edge of the rim.
Even now it should be uniform all the way
around including the tops of the blocks.
MDF) lightly sand the top edge of the rim.
Even now it should be uniform all the way
around including the tops of the blocks.
When assembling the kerfing I apply glue to
the rim as well as the kerfing with a brush. My
preference is the modern rounded reverse
style kerfing. It provide a laminate effect
which makes the rim much stiffer. I have
found that the rim keeps its shape. This is
important since the centerlines of the two
blocks remain in the proper relationship with
each other and perpendicular to the top
edge. I also found that spraying a little water
on the kerfing improves flexibility and helps
prevent cracking. (If they do crack it is not a
problem).
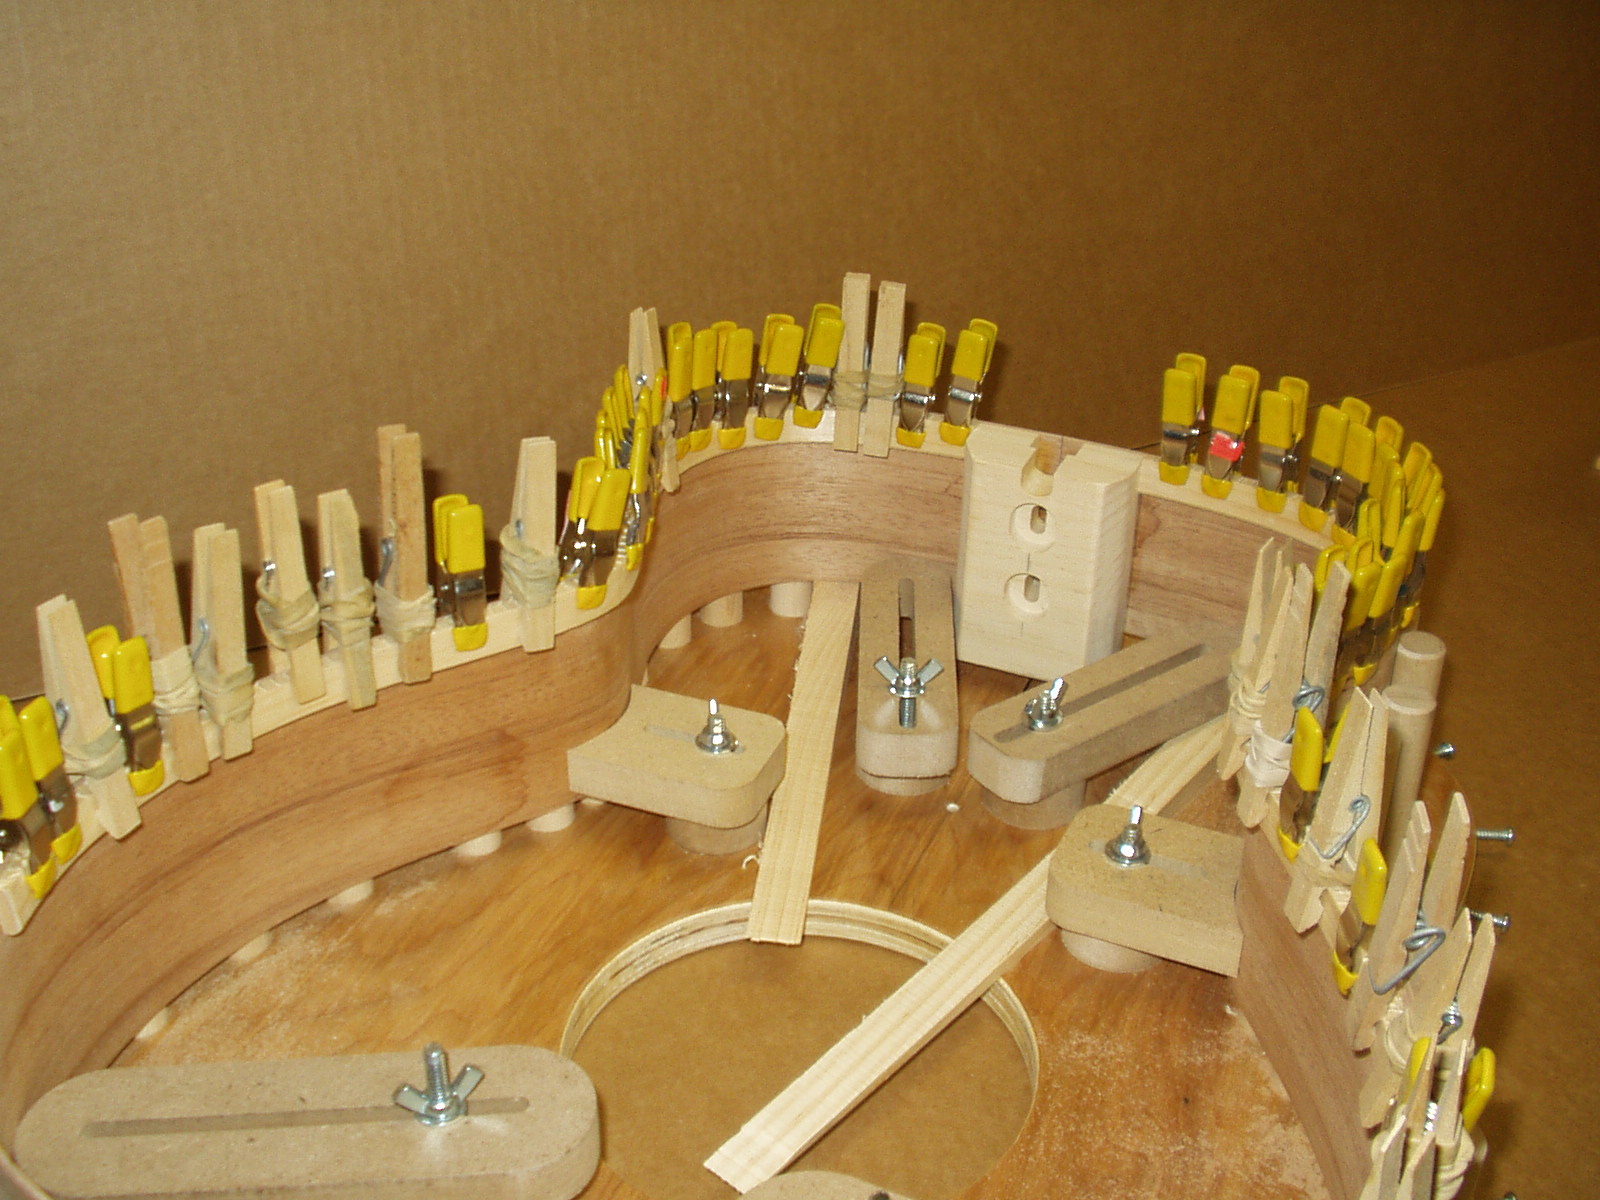
The 39 cent clamps from Home Depot work
well if a little extra pressure is needed. Be
careful they will dent the kerfing if the metal
part hits the wood. I mostly use “high tech”
spring clothespins. These are clothespins
with a #32 rubber band wrapped around
the jaws. Use plenty of clamps. It’s a good
idea to have an inspection mirror in order
to look at the bottom edge of the kerfing to
make sure it is tight against the side.
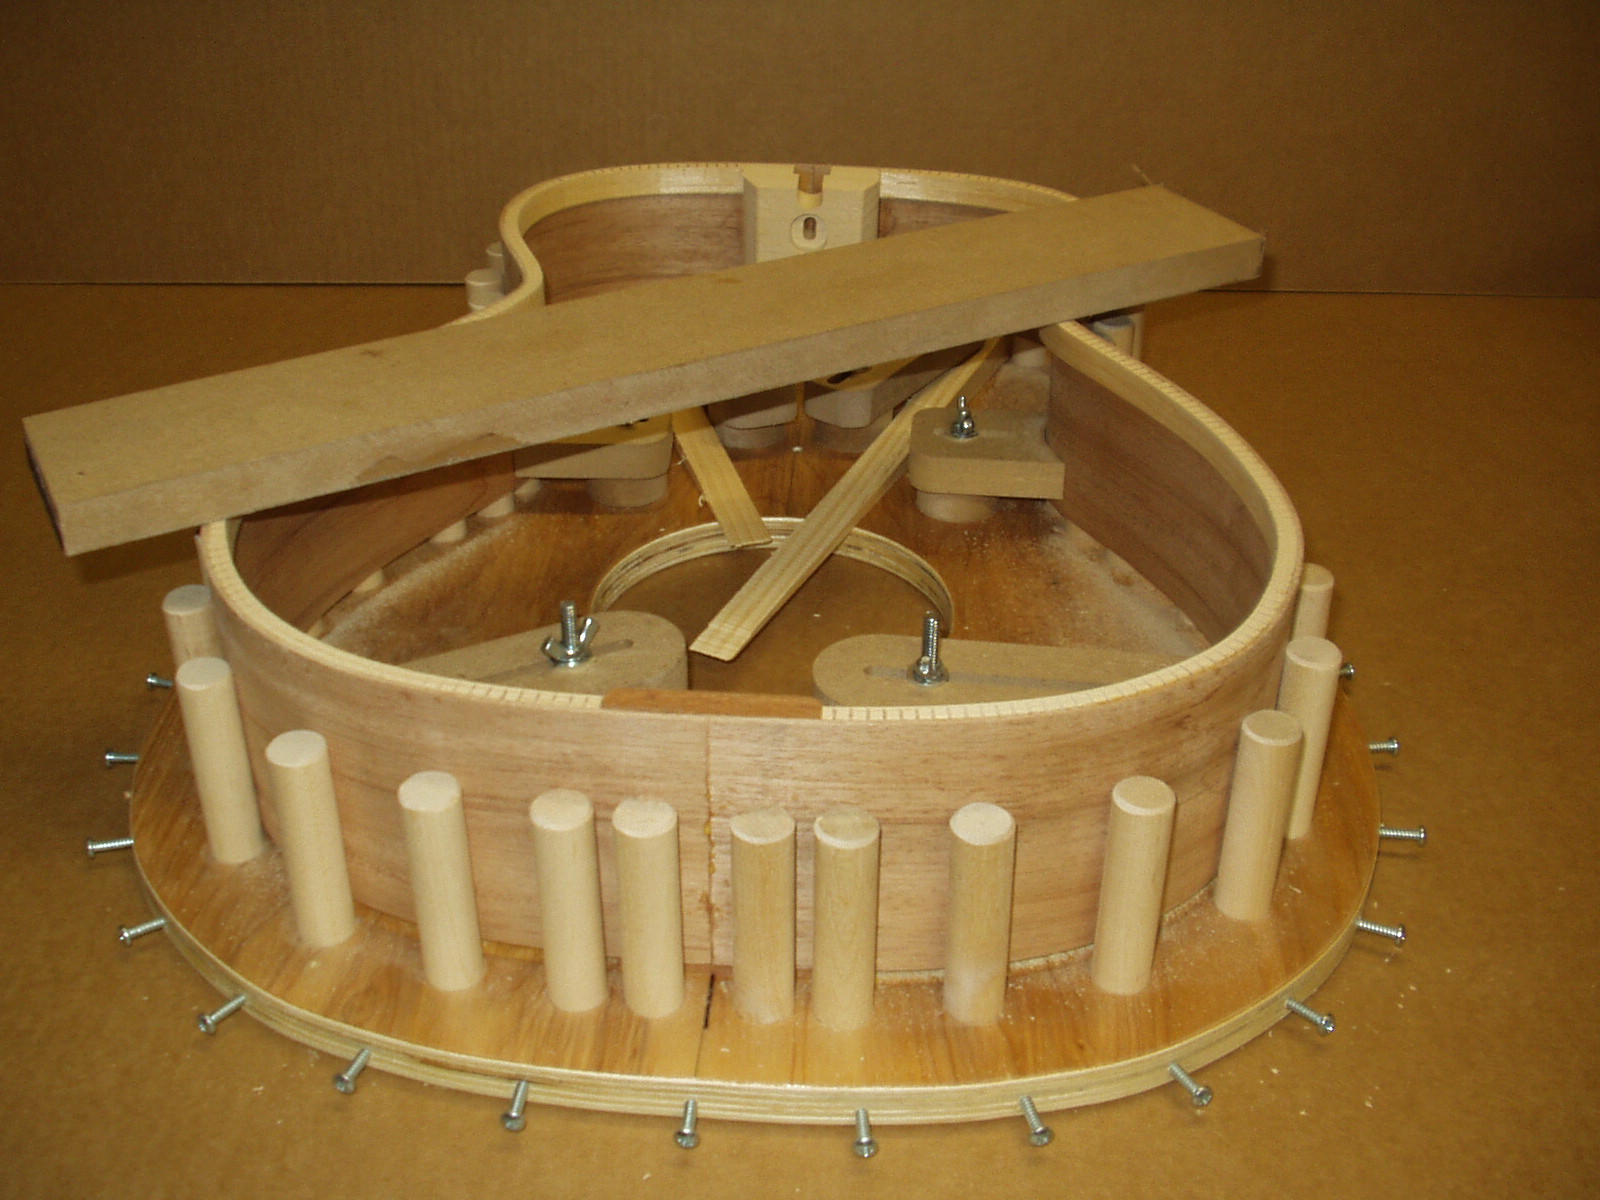
Sand the top edge so everything is uniform

Applying kerfing for the back is the same
except it needs to be just a tad proud so when
it is contour sanded the inside edge is higher
that the outside edge to match the back.
except it needs to be just a tad proud so when
it is contour sanded the inside edge is higher
that the outside edge to match the back.
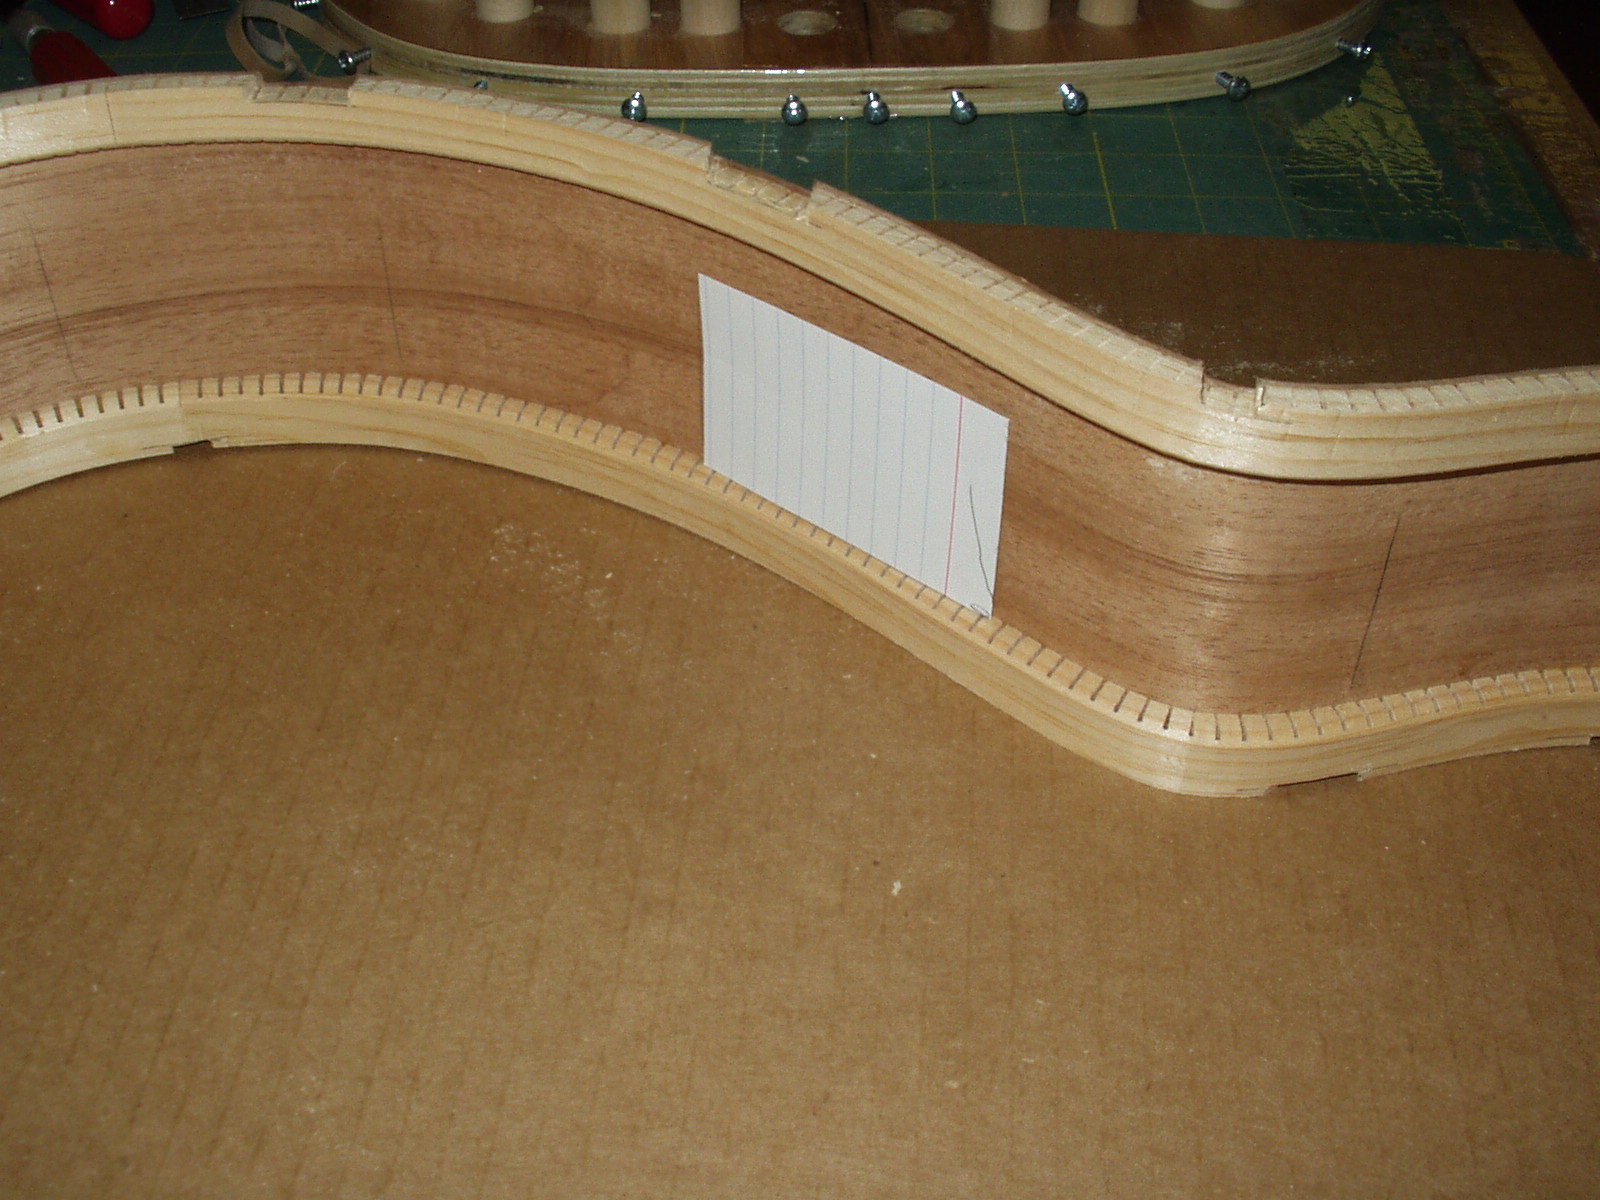
We use 1/8” x ¼” vertical grain Spruce for
the side reinforcements. The spacing is 3”
(note the 3x5 card no doubt this is the lazy
man’s way.) Start at the tail block use the
top kerfing to keep the marks perpendicular.
Number the locations as you go.
the side reinforcements. The spacing is 3”
(note the 3x5 card no doubt this is the lazy
man’s way.) Start at the tail block use the
top kerfing to keep the marks perpendicular.
Number the locations as you go.
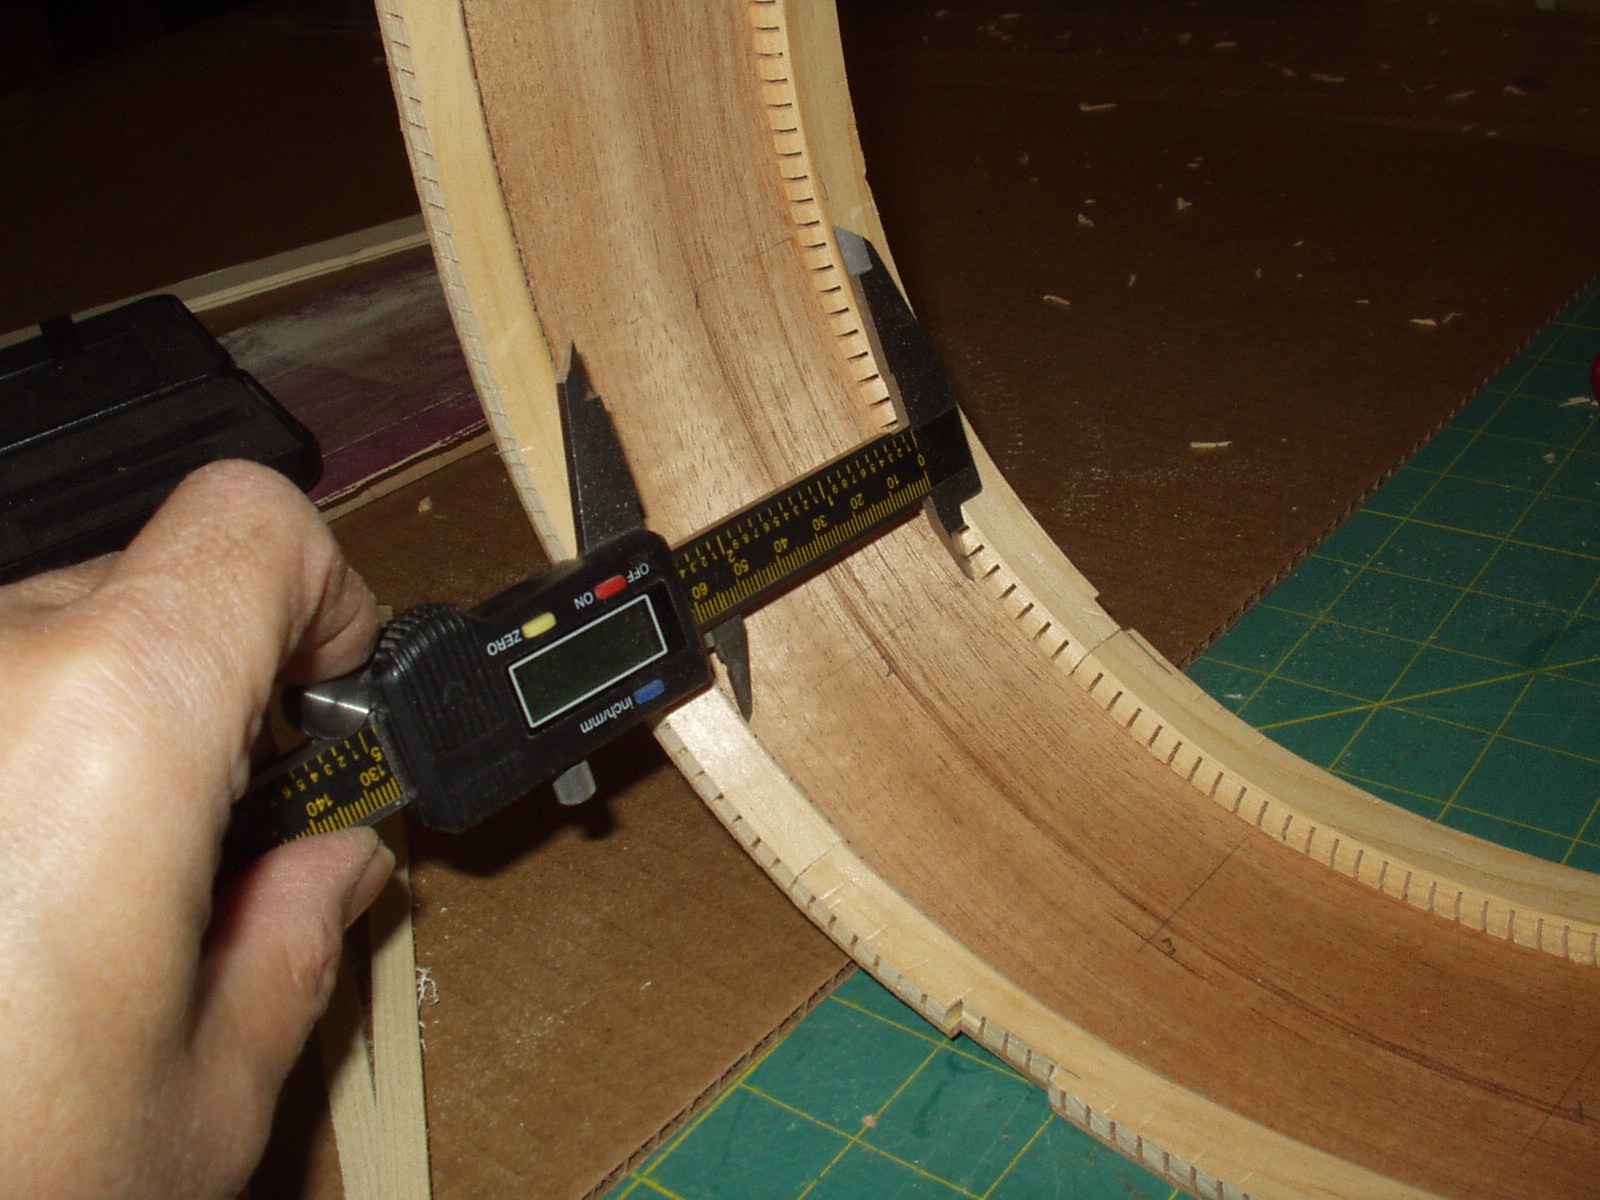
My handy dandy Harbor Freight digital
calipers work nice to pick off the
reinforcement lengths
calipers work nice to pick off the
reinforcement lengths
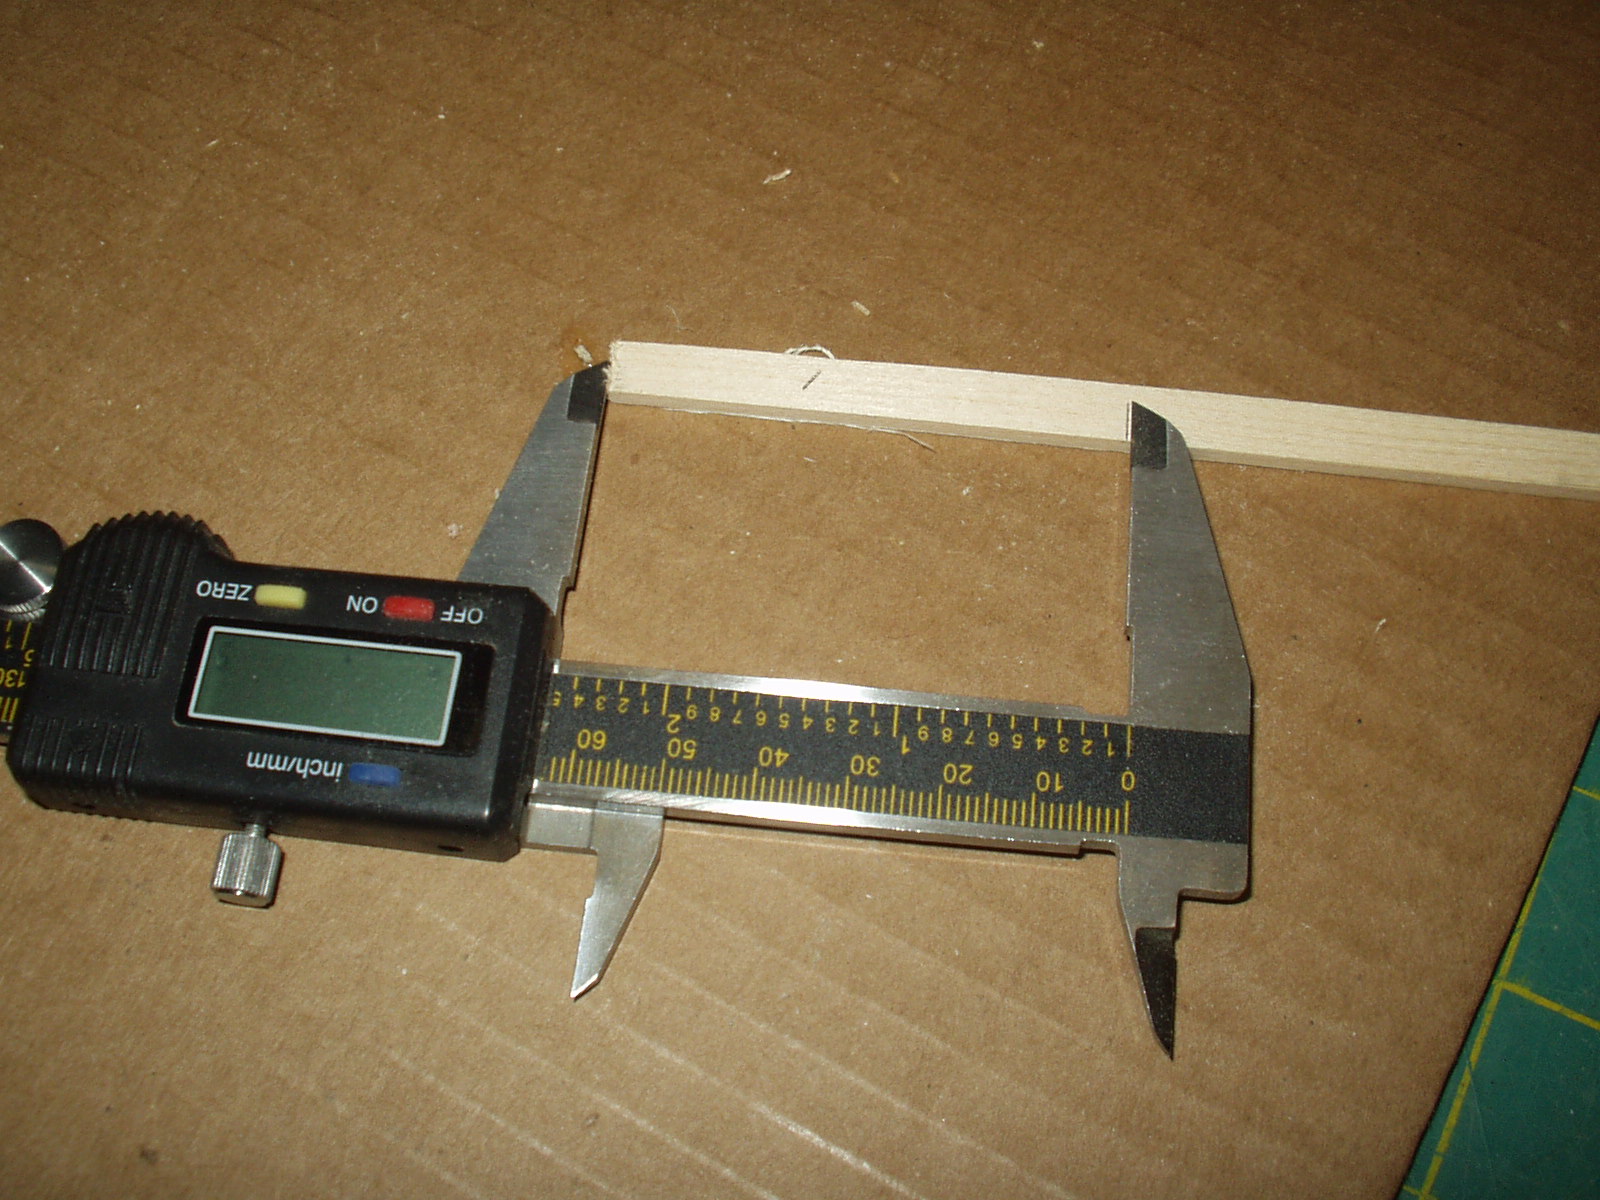
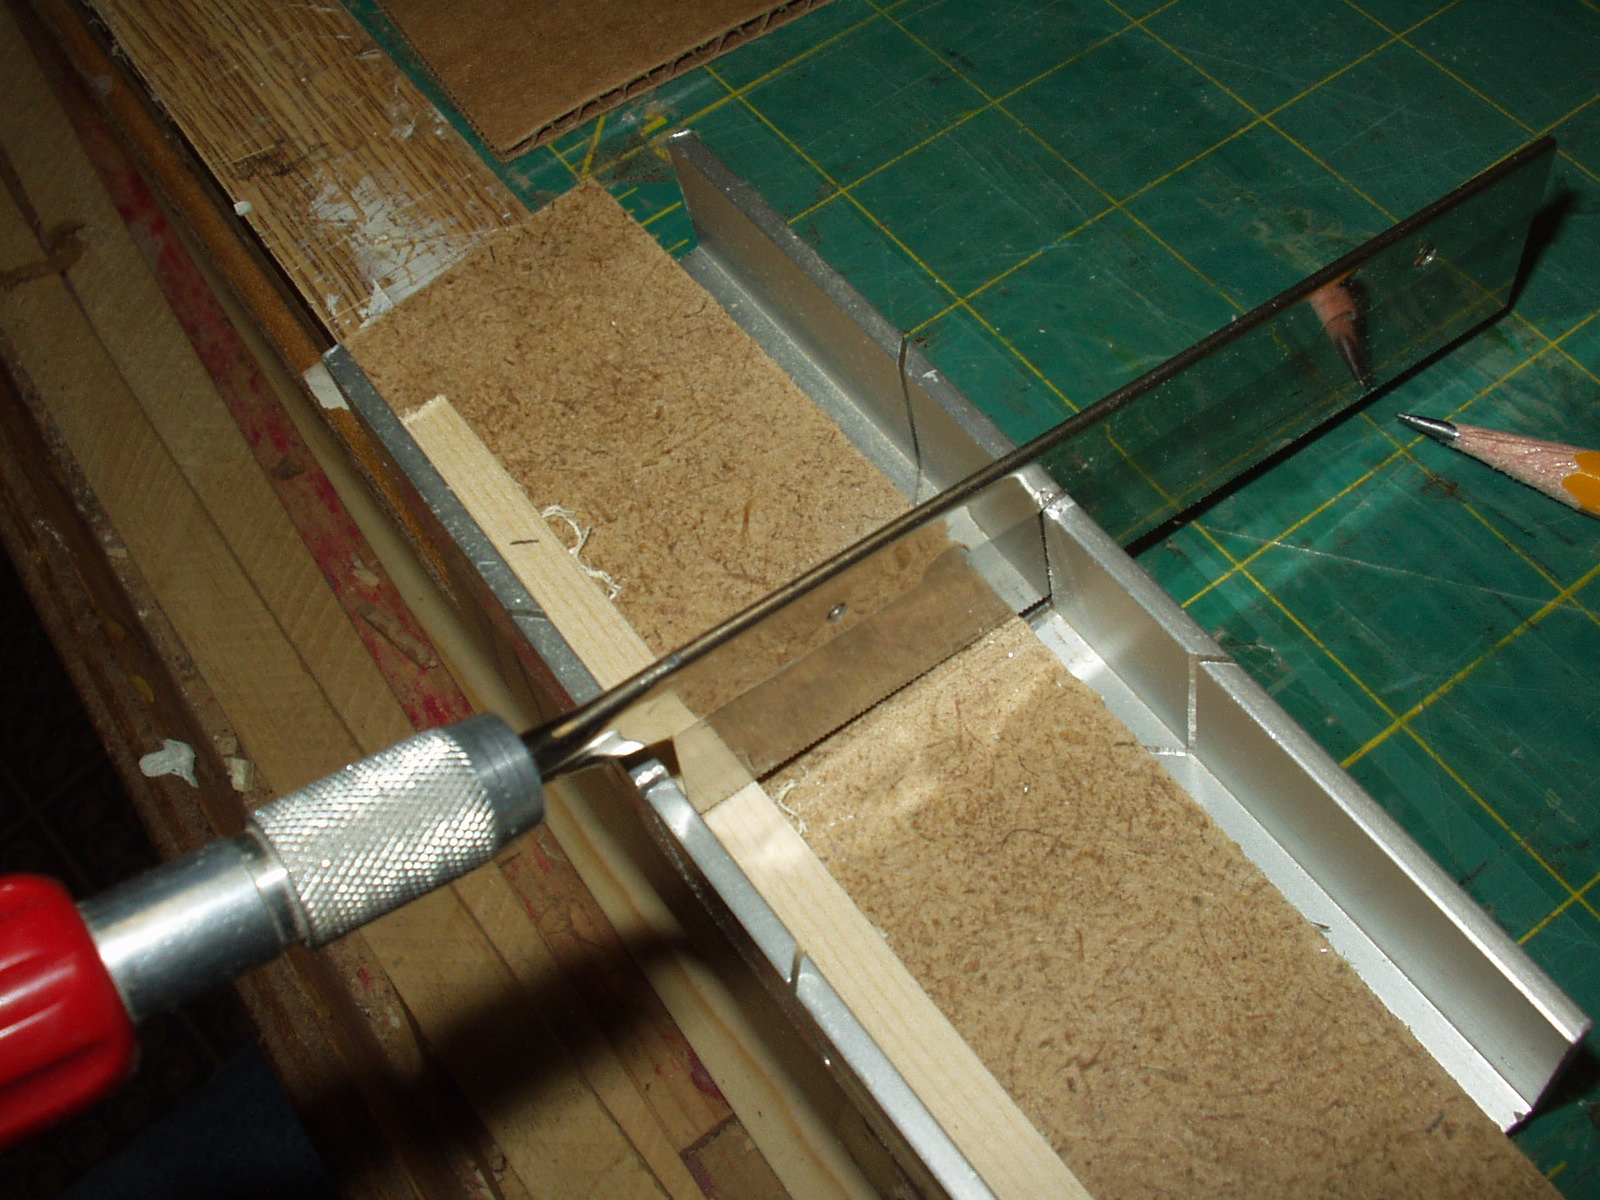
Transfer the length to the
reinforcement material, then cut with a
razor saw. Mark the location on each
piece so you know where to glue it.
reinforcement material, then cut with a
razor saw. Mark the location on each
piece so you know where to glue it.

As each reinforcement is cut to size,
clean up the edges and chamfer all
four visible corners. A block with 220
grit sand paper works well.
clean up the edges and chamfer all
four visible corners. A block with 220
grit sand paper works well.

The large (generic) spring clamps from
Home Depot are very strong and work
good for this application. If you do not
have two dozen clamps, just work in
batches of 2 or 4 --- the clamps can be
removed and used for the next set in
about thirty minutes. (some times we
guitar builders get carried away with
our drying time)
Home Depot are very strong and work
good for this application. If you do not
have two dozen clamps, just work in
batches of 2 or 4 --- the clamps can be
removed and used for the next set in
about thirty minutes. (some times we
guitar builders get carried away with
our drying time)
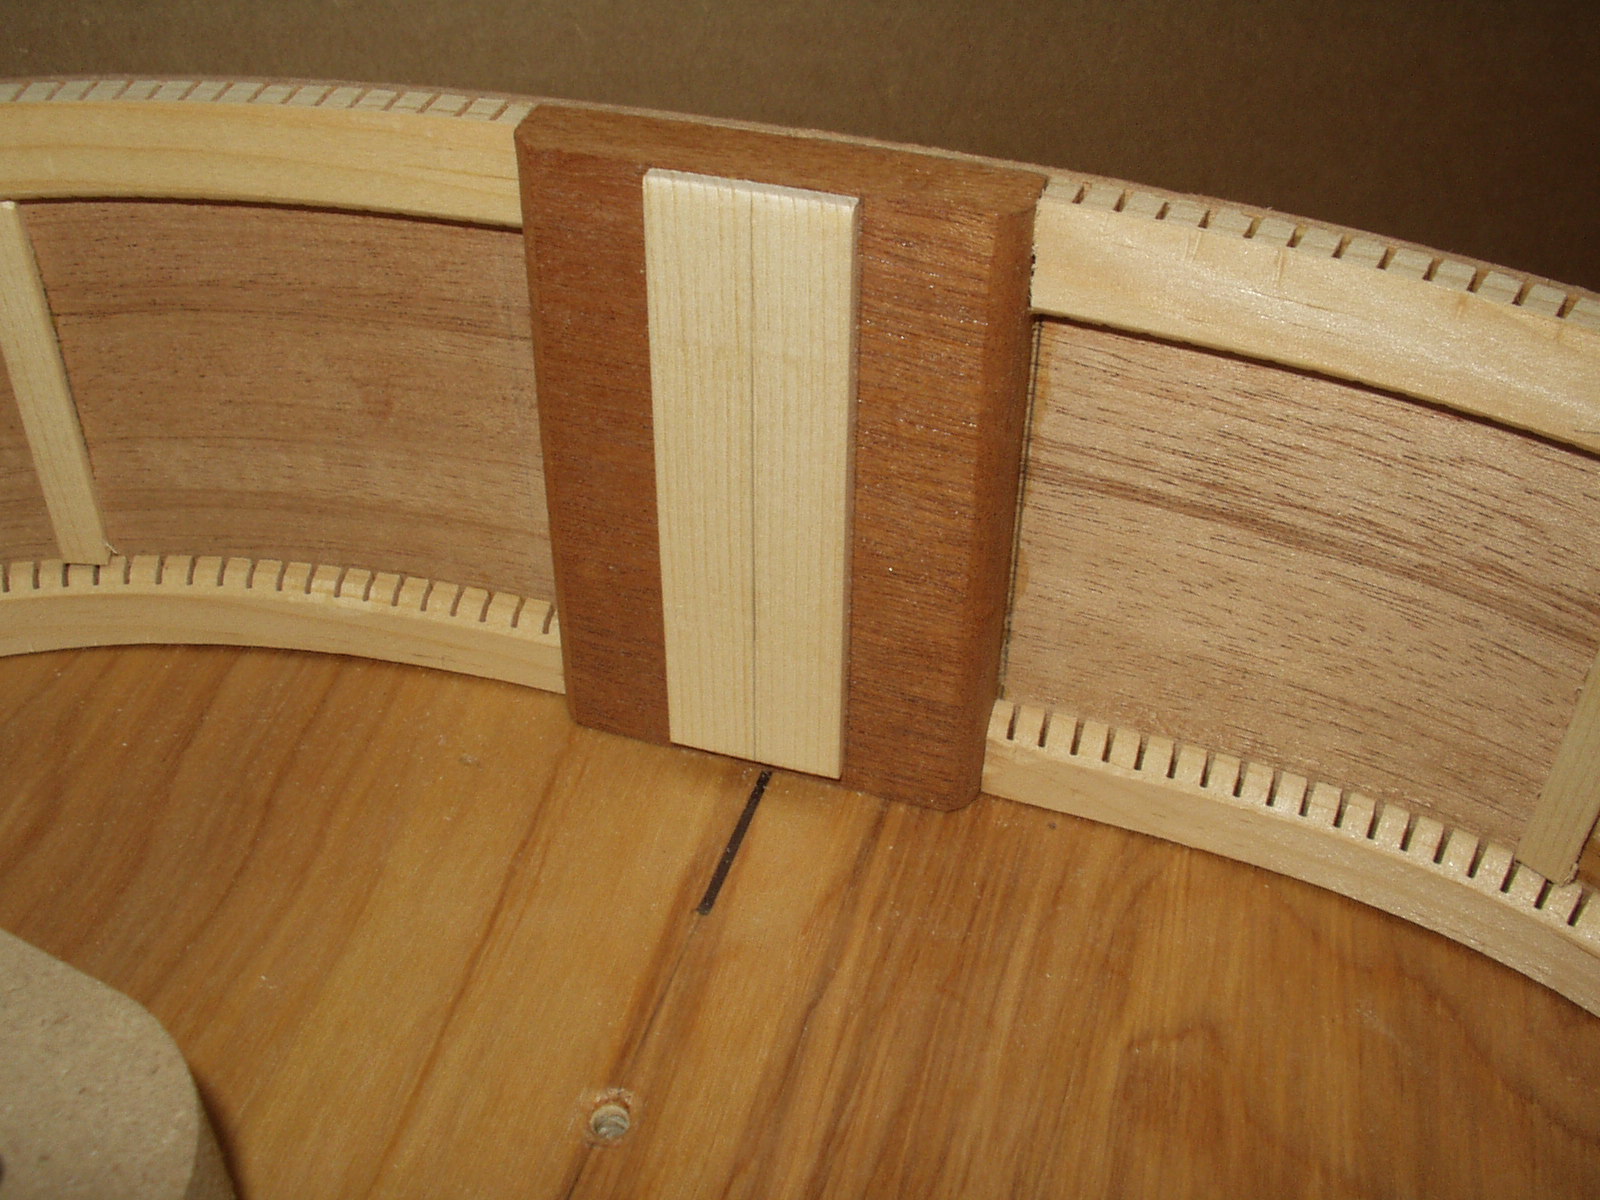
Because the tail block grain runs
parallel to the side grain (this makes
contouring the rim easier) we need to
laminate a piece of 1/8” x 1” quarter
sawn spruce to the tail block to
eliminate the possibility of splitting.
parallel to the side grain (this makes
contouring the rim easier) we need to
laminate a piece of 1/8” x 1” quarter
sawn spruce to the tail block to
eliminate the possibility of splitting.