Kenneth Michael Guitars est.1978
"Masterwork Cam Clamp Kit"©
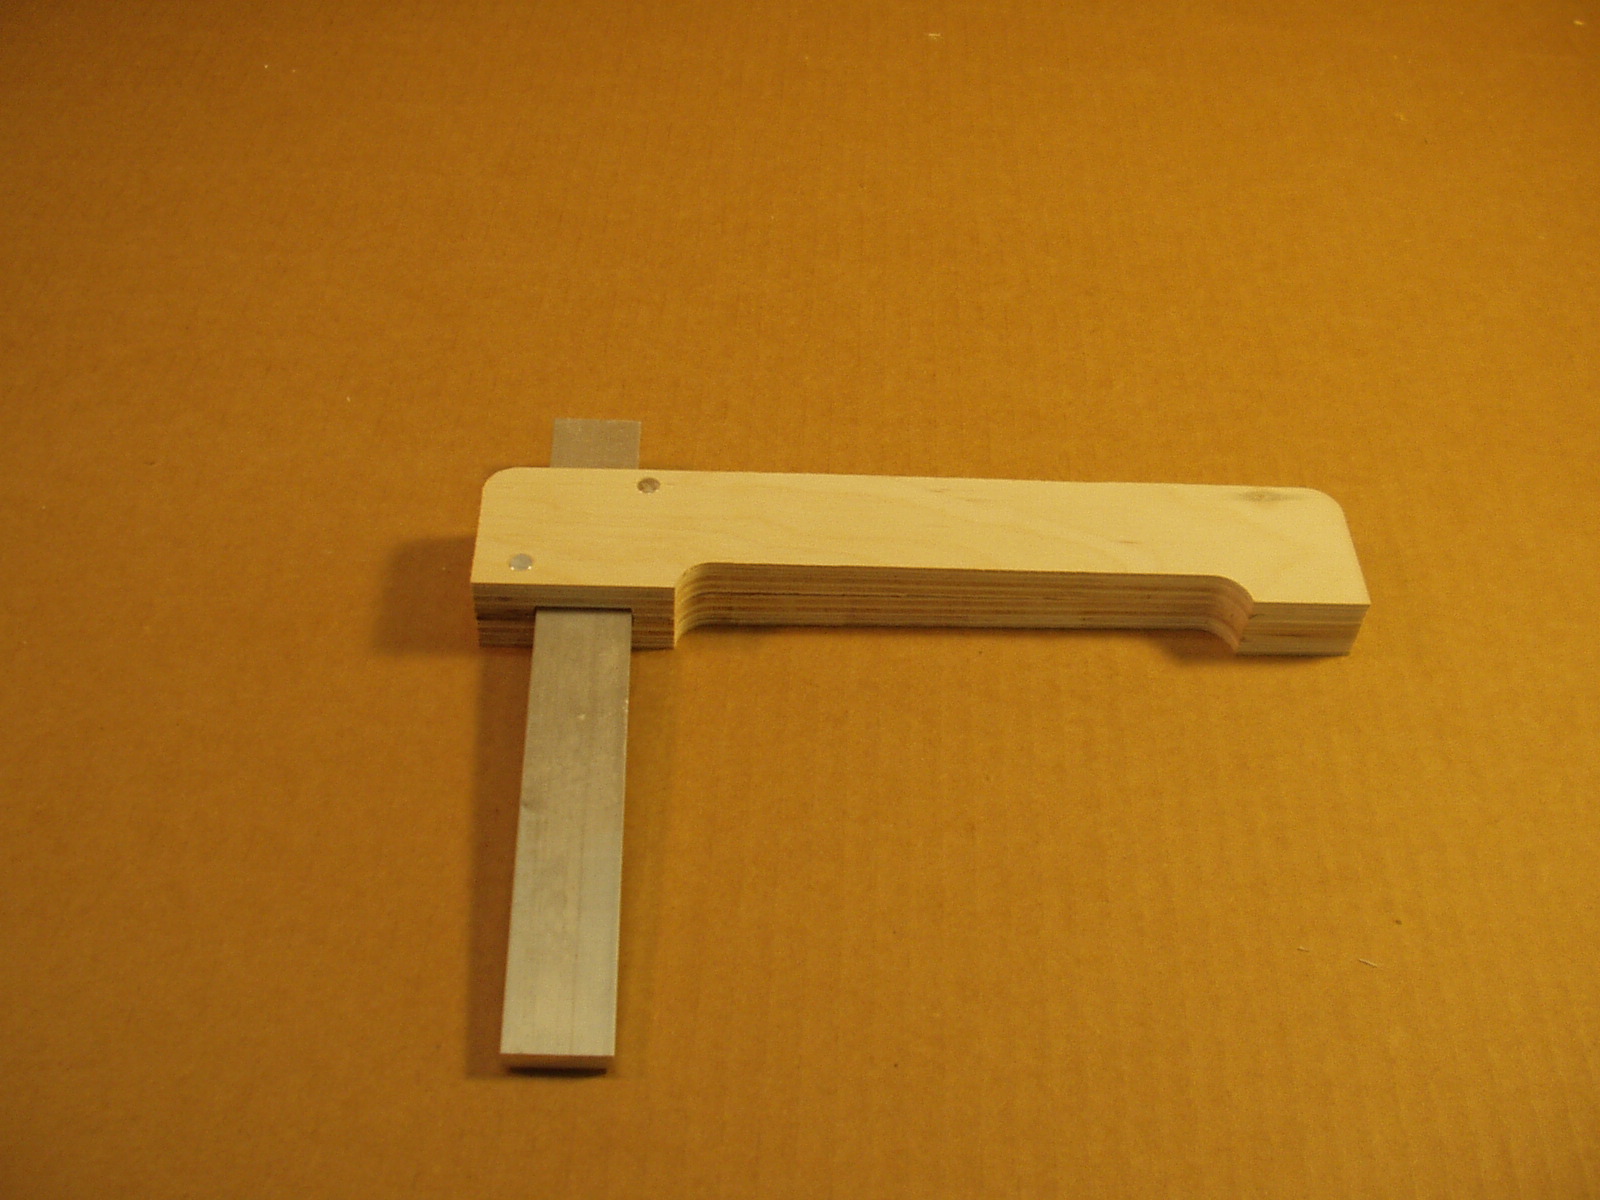
Our “Masterwork” Cam Clamp Kit is unique in the industry. Each kit yields
three high quality clamps with an 8” deep throat and 5 ½” open height.
They are made from birch plywood, hardwoods and use light weight
aluminum or hardwood for the slide bar.
three high quality clamps with an 8” deep throat and 5 ½” open height.
They are made from birch plywood, hardwoods and use light weight
aluminum or hardwood for the slide bar.
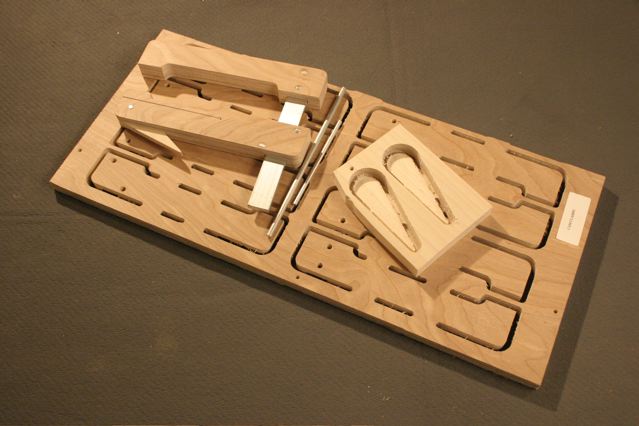
Assembly starts with cutting the
components from a sheet using a band
saw, saber saw etc. The parts are held
on the sheet with only a thin partial
tab layer.
components from a sheet using a band
saw, saber saw etc. The parts are held
on the sheet with only a thin partial
tab layer.
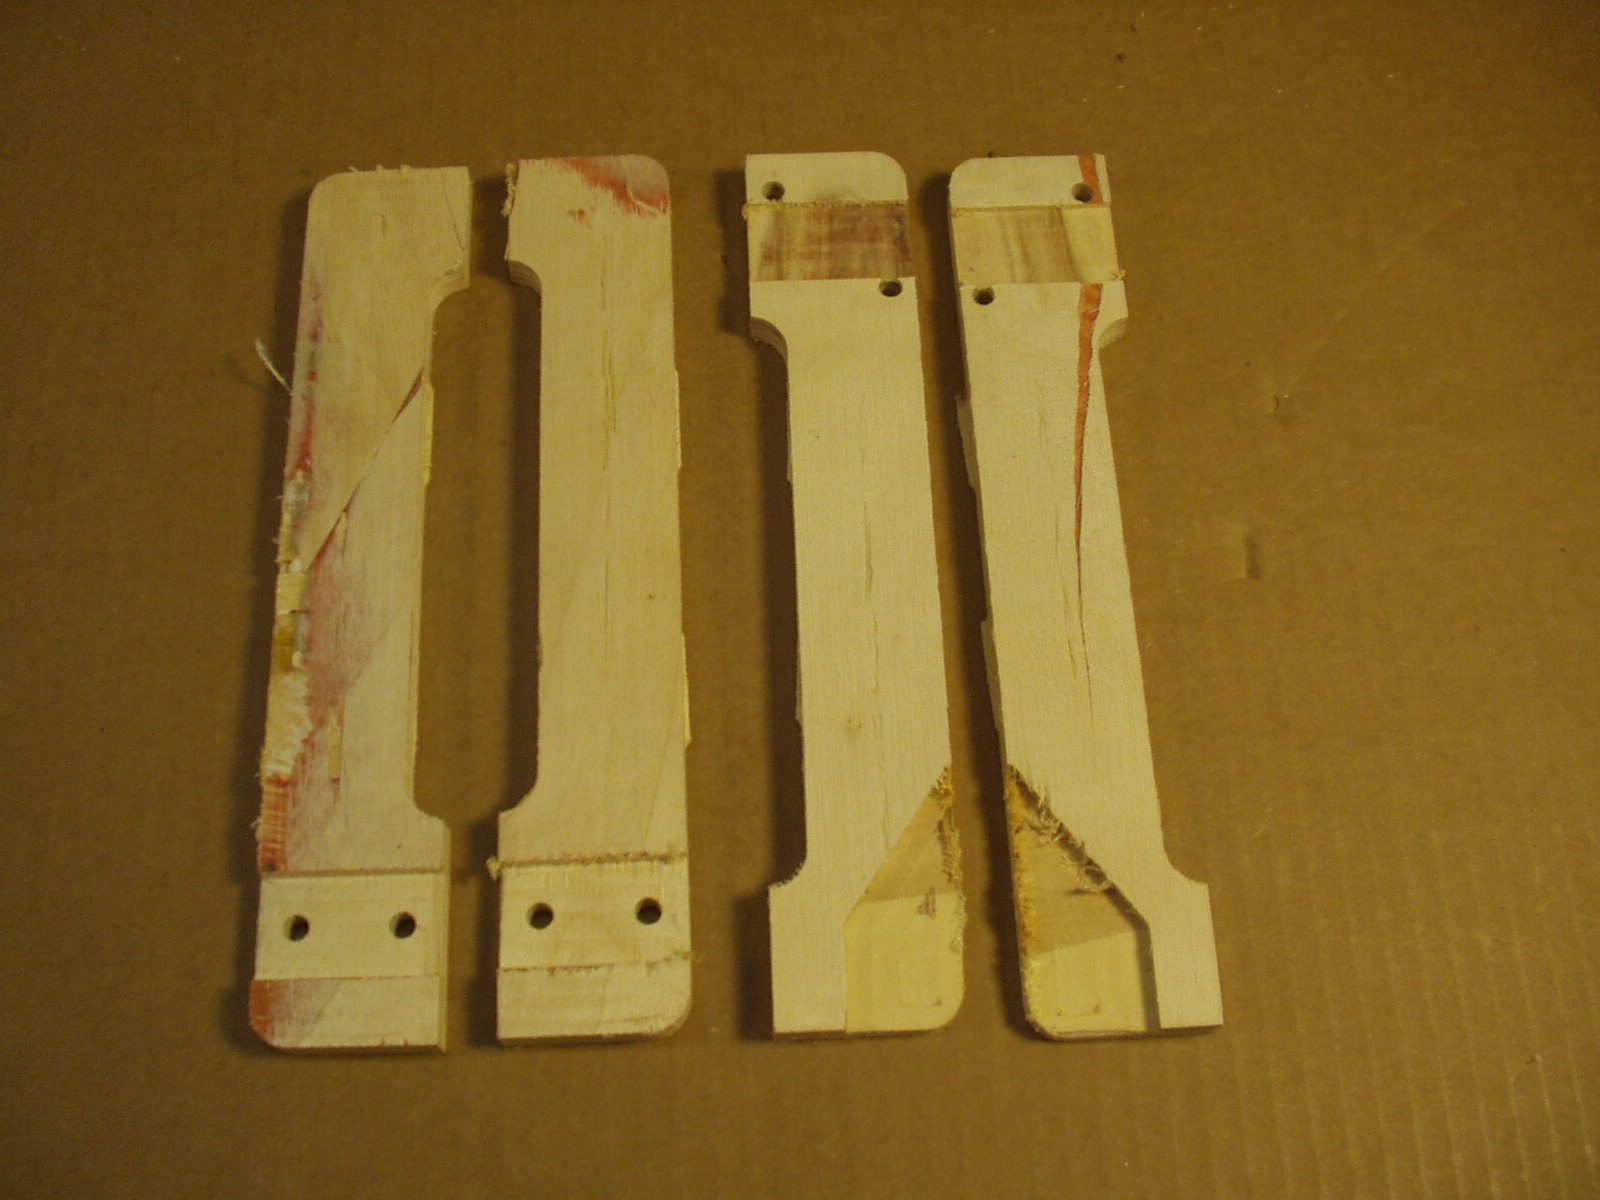
Each clamp requires two top section
halves, these have the slots for the
cams and two bottom section halves.
The bottoms only have slots for the
bar.
halves, these have the slots for the
cams and two bottom section halves.
The bottoms only have slots for the
bar.
The CNC machining leaves the components in a rough state on
the inside mating surfaces. Clean off the burrs with sanding
blocks, files, scrapers etc.
the inside mating surfaces. Clean off the burrs with sanding
blocks, files, scrapers etc.
Each clamp requires 4 – 1" x 1/4"
rivets and one 1 x 3/16” rivet
rivets and one 1 x 3/16” rivet
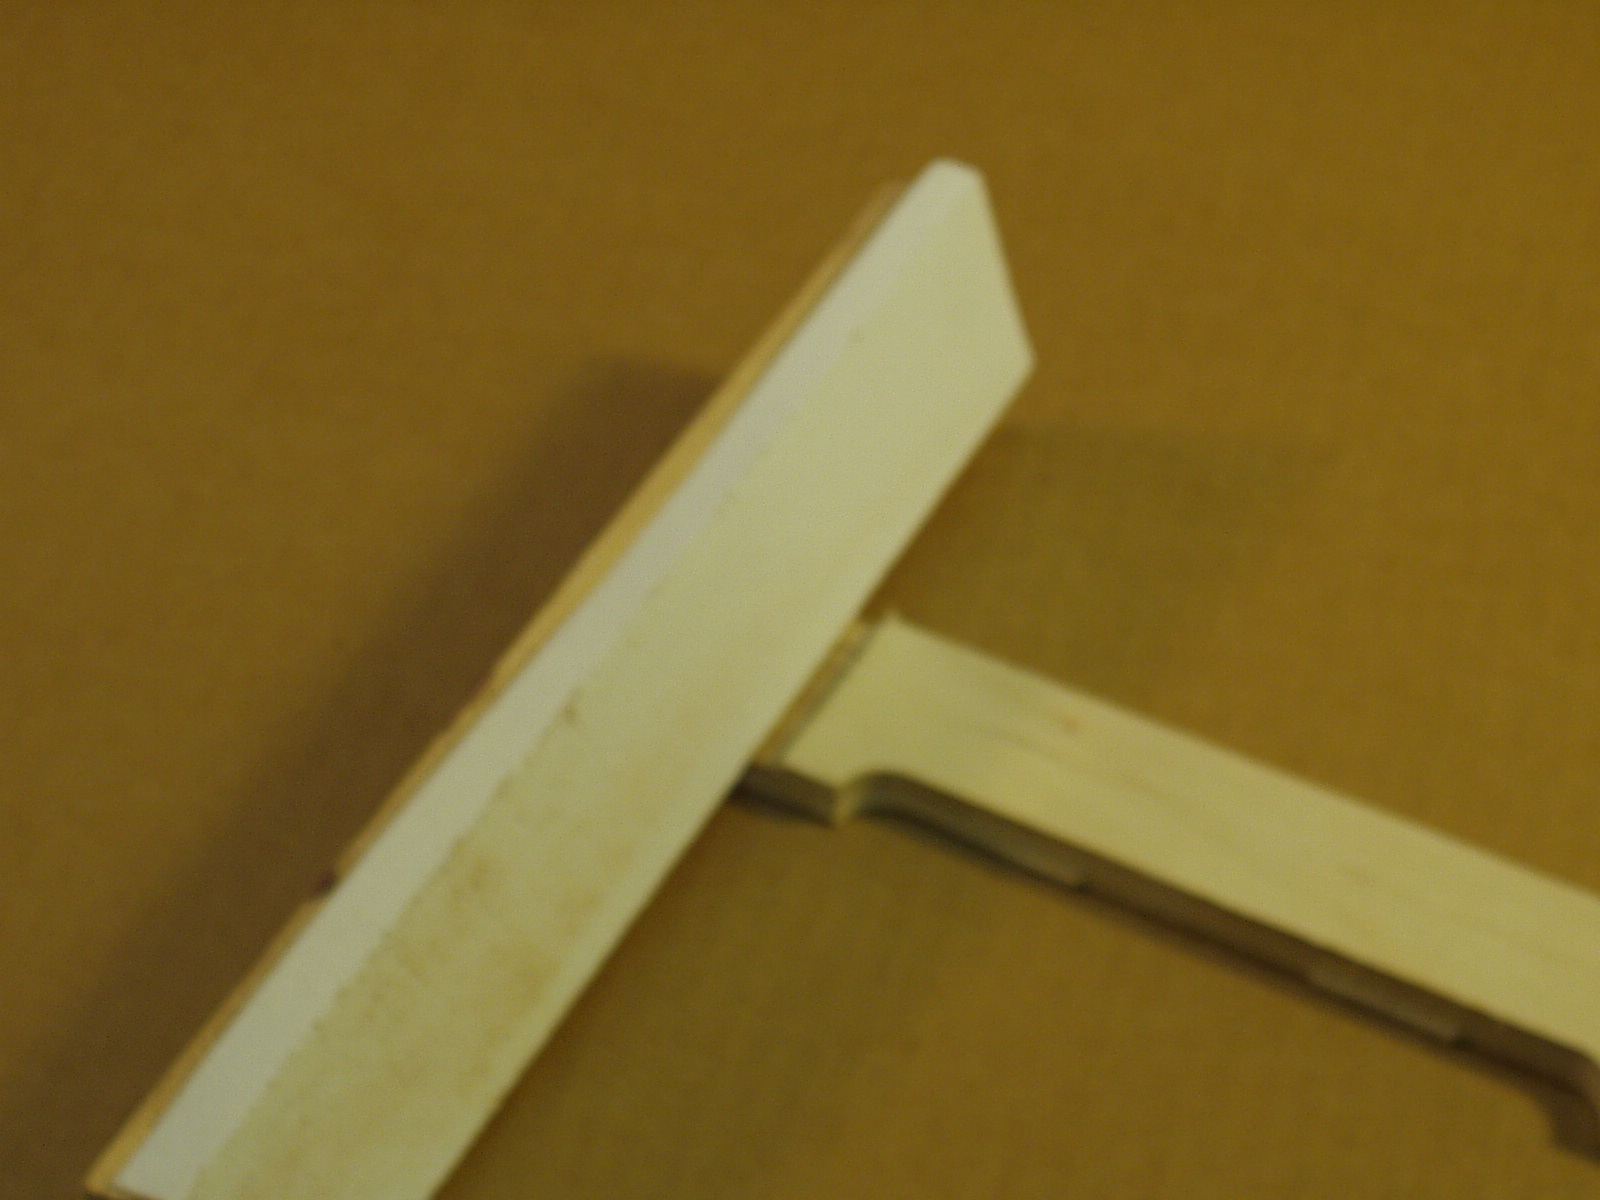
The bar needs to slide freely in the slot
created by the two top clamp halves.
Mate the parts temporarily insert the
pins and check for smooth movement.
File or sand proper clearance if
necessary.
created by the two top clamp halves.
Mate the parts temporarily insert the
pins and check for smooth movement.
File or sand proper clearance if
necessary.

When you are satisfied with the fit apply
“Titebond” glue to both halves, use
care not to get glue in the bar slot.
Apply several clamps to secure.
“Titebond” glue to both halves, use
care not to get glue in the bar slot.
Apply several clamps to secure.
Repeat the above procedure for the bottom halves of the clamp. Getting glue in
the bottom half bar slot is not a concern as long as the bar is flush with the lower
edge. The bar is ultimately pin in this location.
the bottom half bar slot is not a concern as long as the bar is flush with the lower
edge. The bar is ultimately pin in this location.
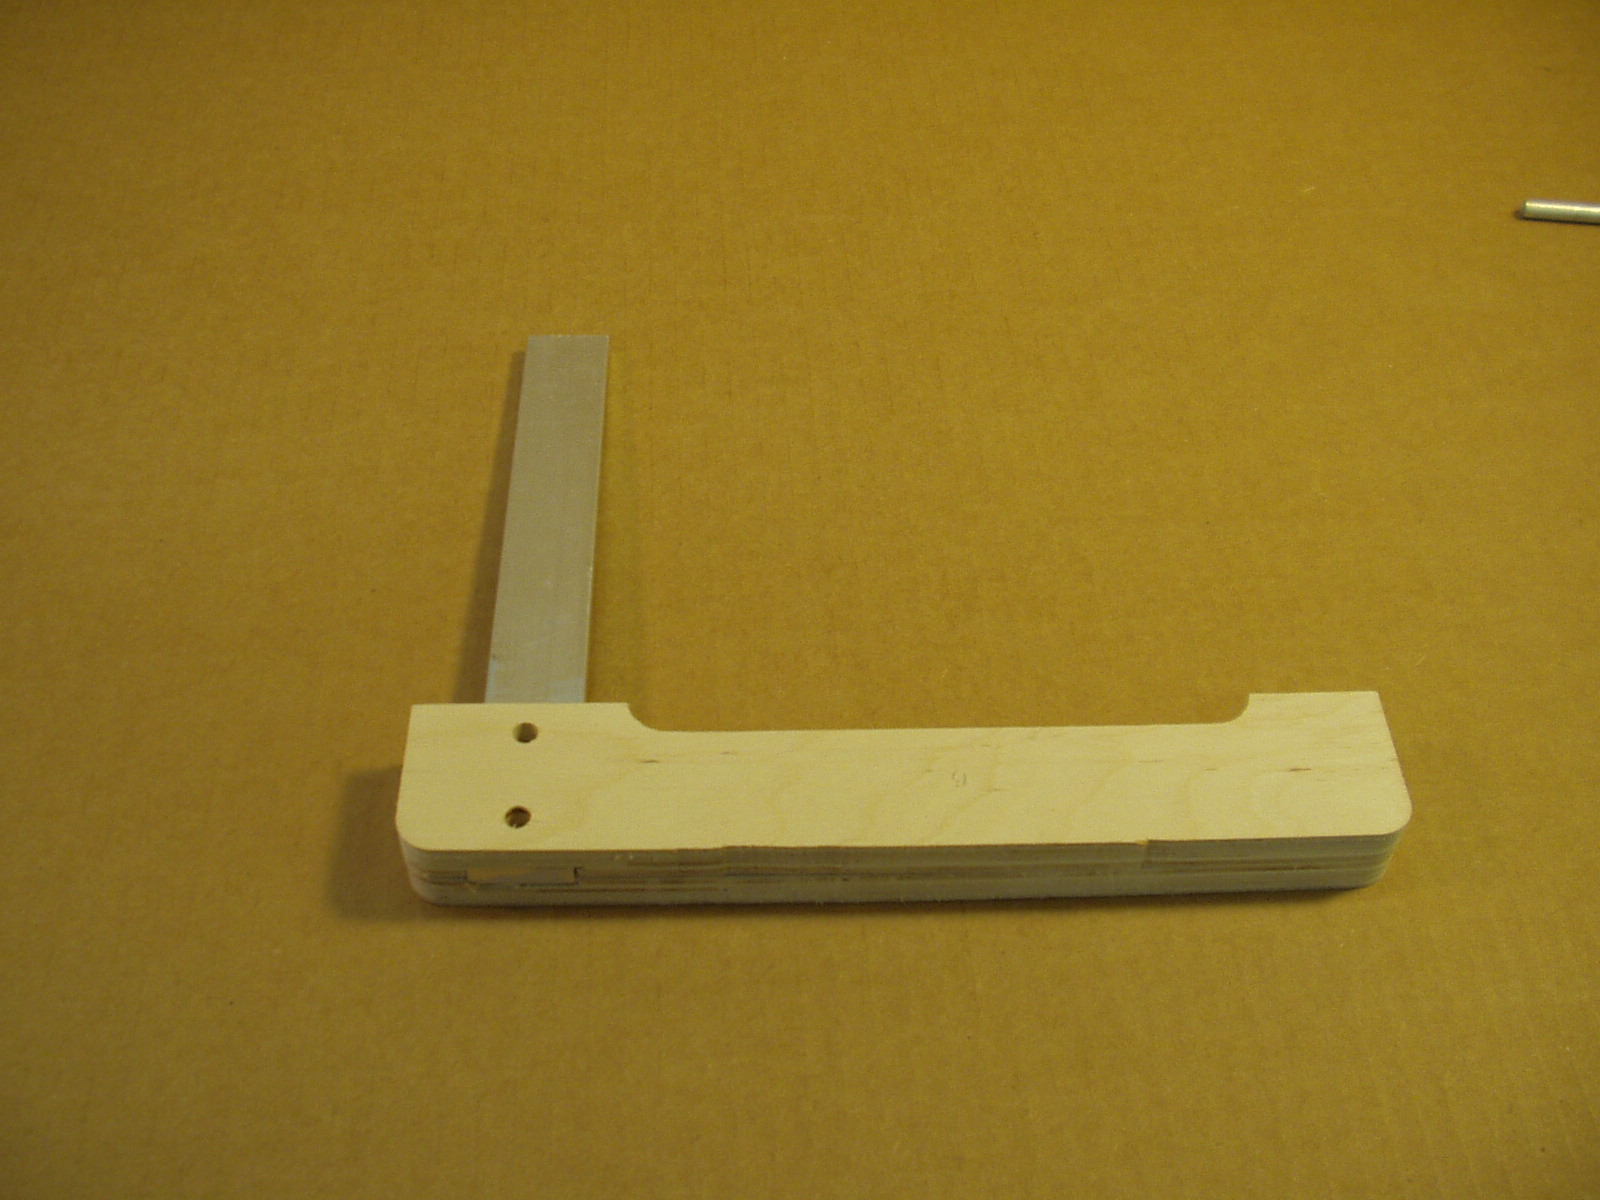

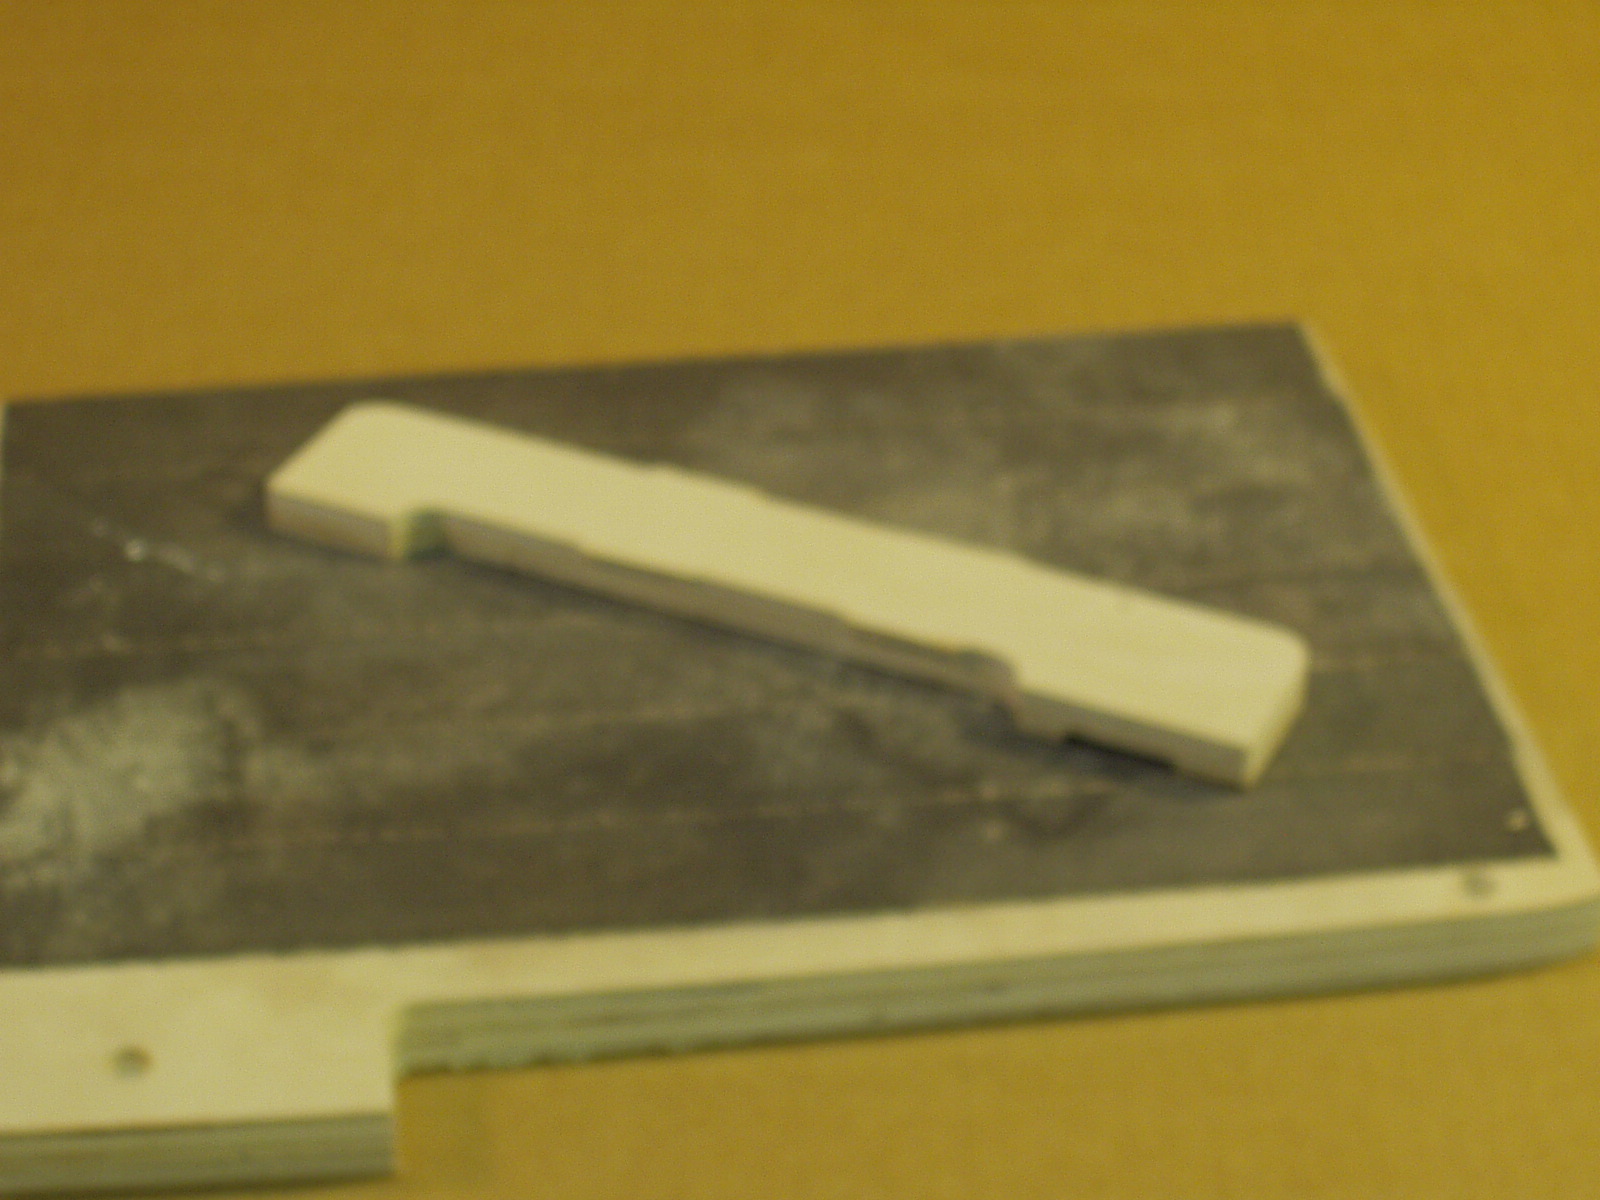
After the top half has dried – usually at least 30 minutes, mark a straight
line across the bottom of the cam slot.
line across the bottom of the cam slot.


Draw a line 5 ¼” long using the bottom
of the cam slot as a starting point.
of the cam slot as a starting point.

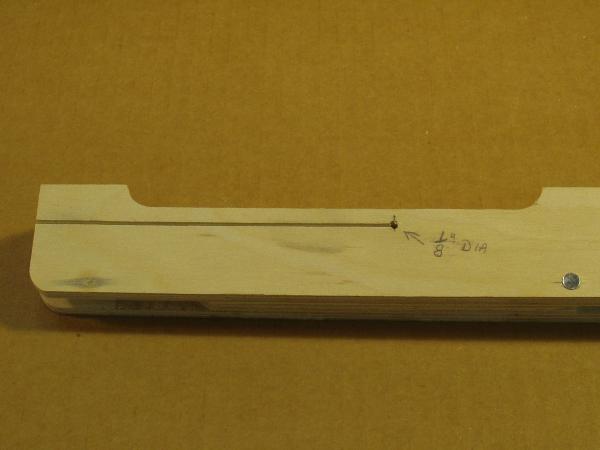
Drill a 1/8” hole as perpendicular as
possible – if you have drill press use it.
Locate the center of the hole at the end of
the line that was just drawn.
possible – if you have drill press use it.
Locate the center of the hole at the end of
the line that was just drawn.
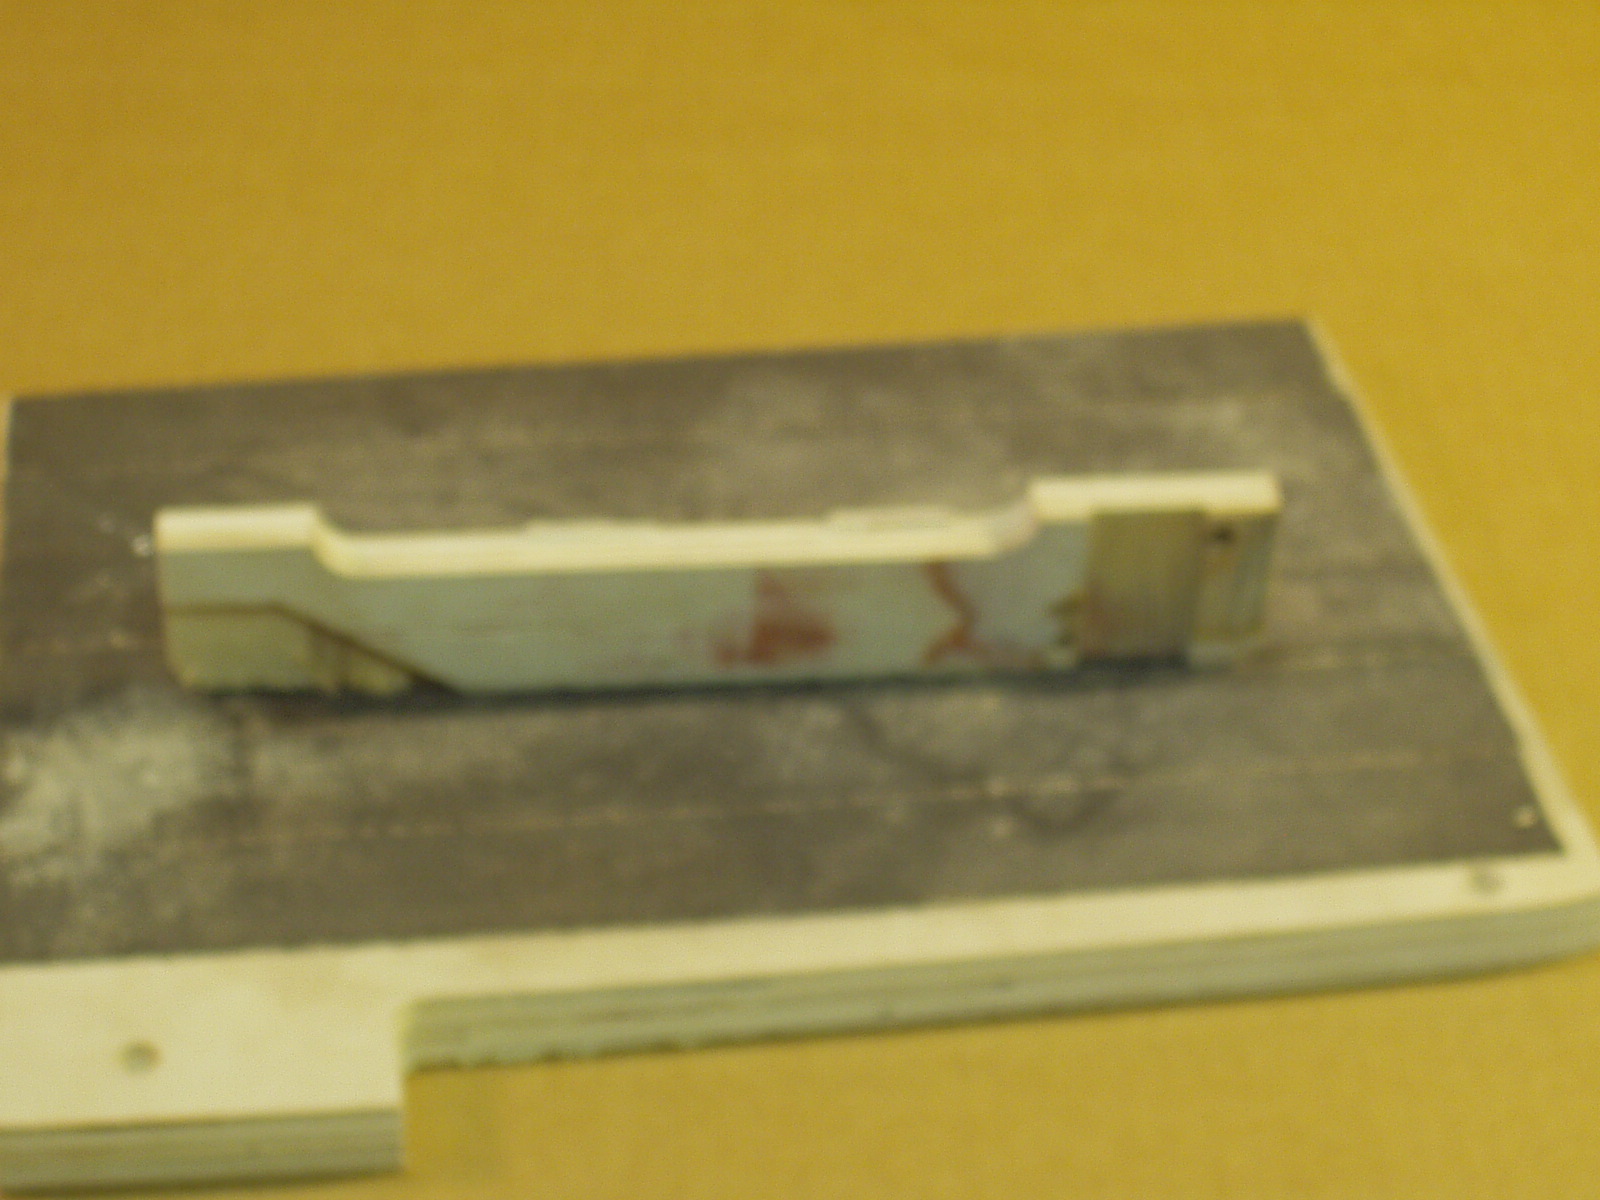
This step is a little tricky if you do not have a band saw – a saber saw will work fine if
equipped with a fine cutting blade and if you do not rush. It is necessary to cut loose
the pressure pad along the line. Keep the blade on track and perpendicular. Check
the cut on the bottom as you progress – if doing the job with a hand held saw it may
be helpful to draw lines on both sides of the clamp to check how you are tracking with
the cut.
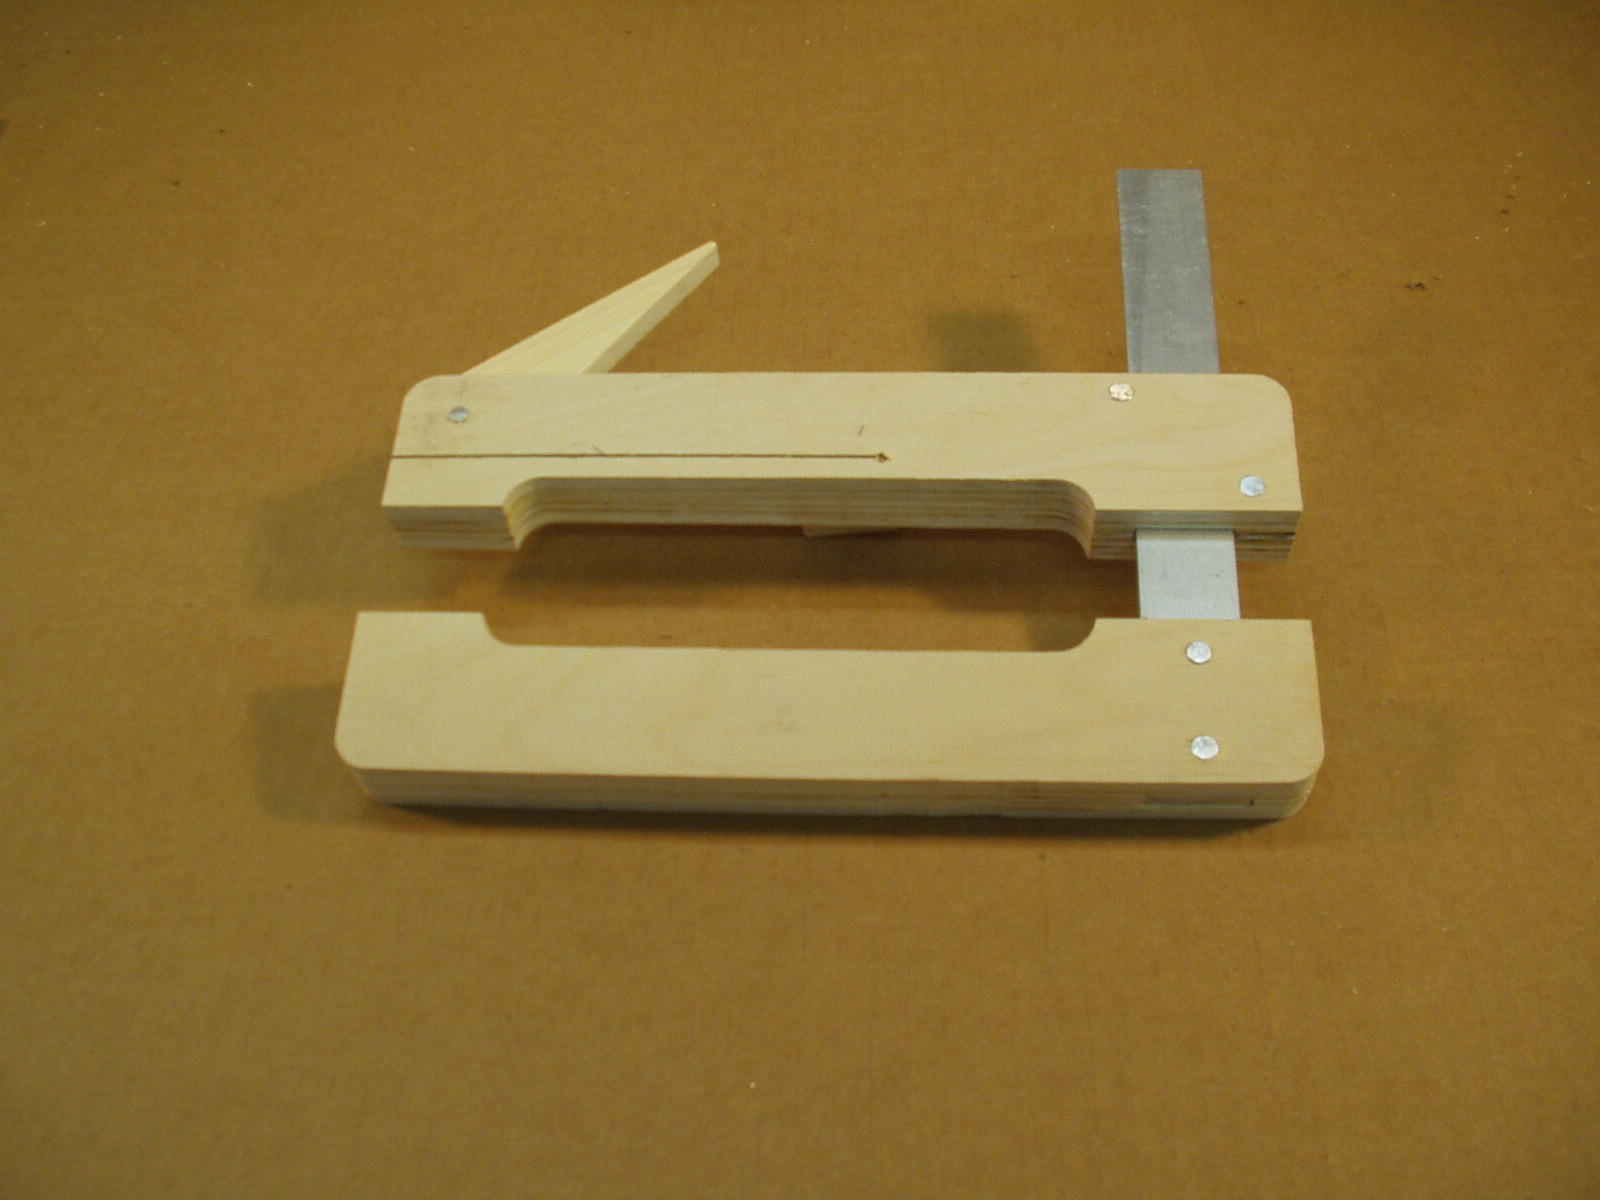
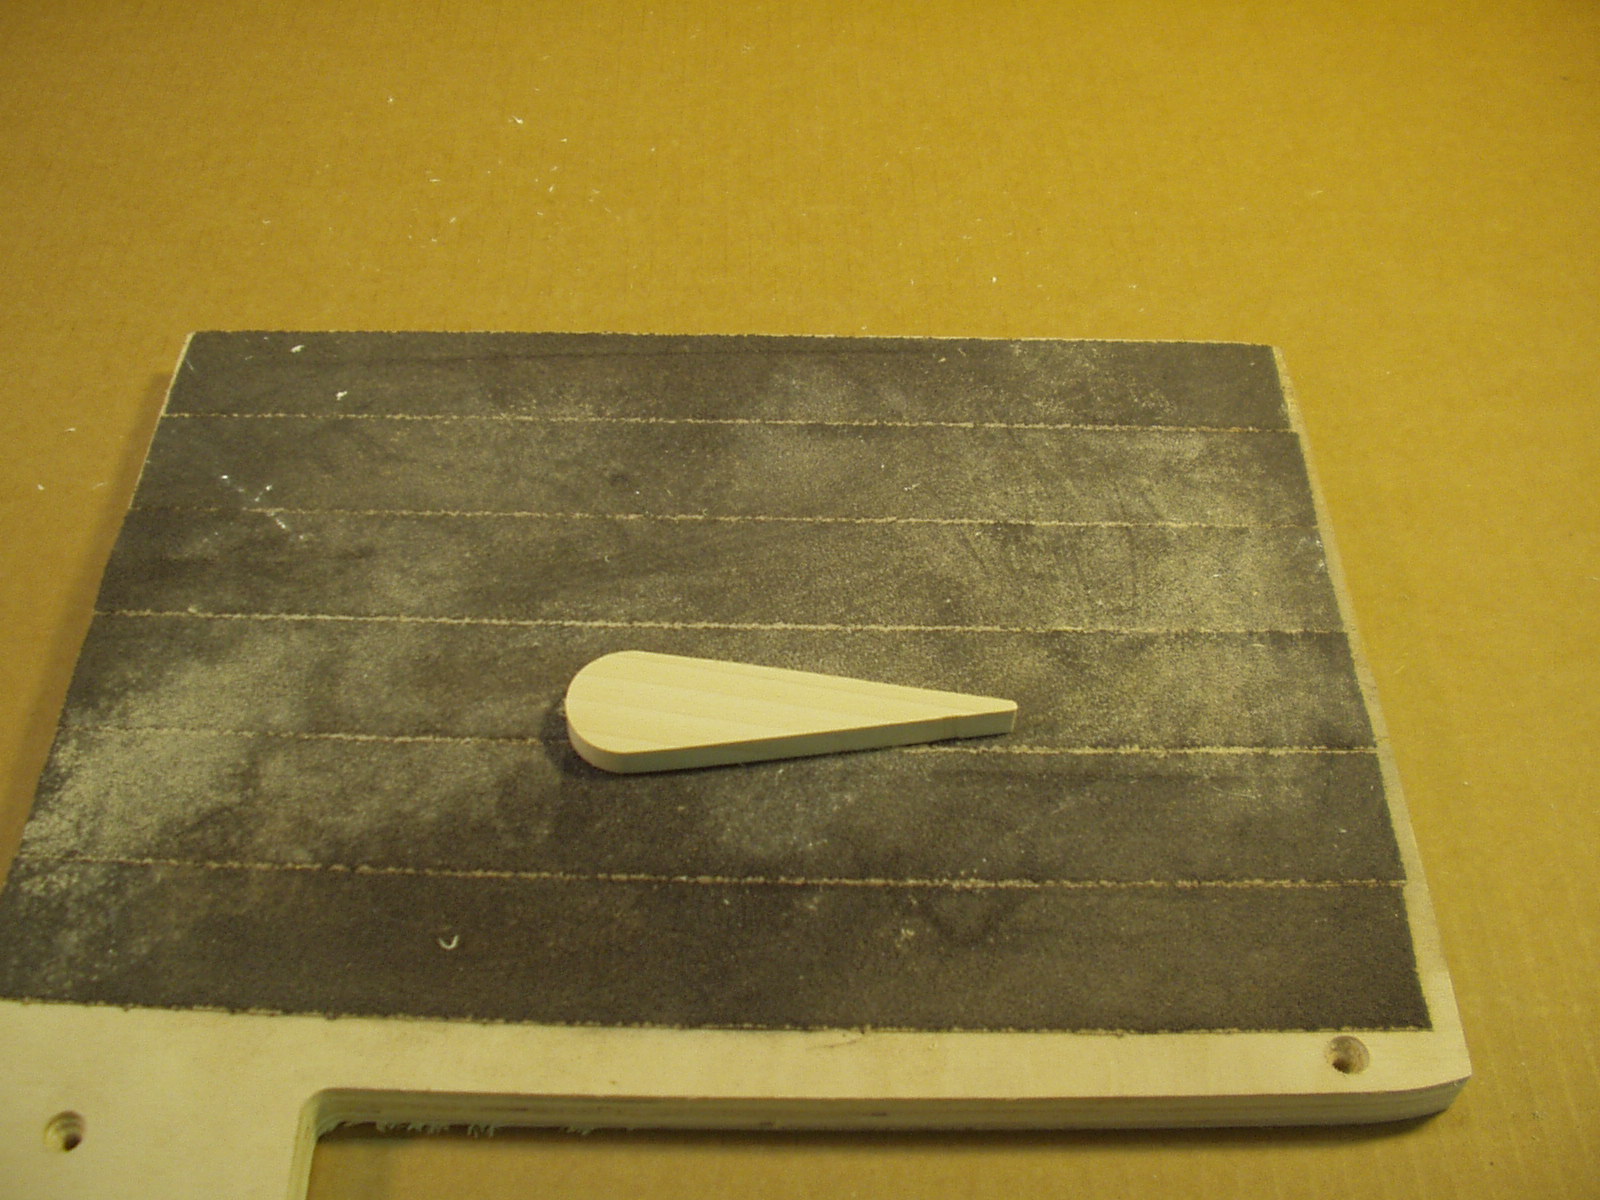
Tape the cam lever in the clamp slot aligning the rounded end to the front of the clamp.
Doing this will keep the parts in the correct position during the drilling operation.
Doing this will keep the parts in the correct position during the drilling operation.
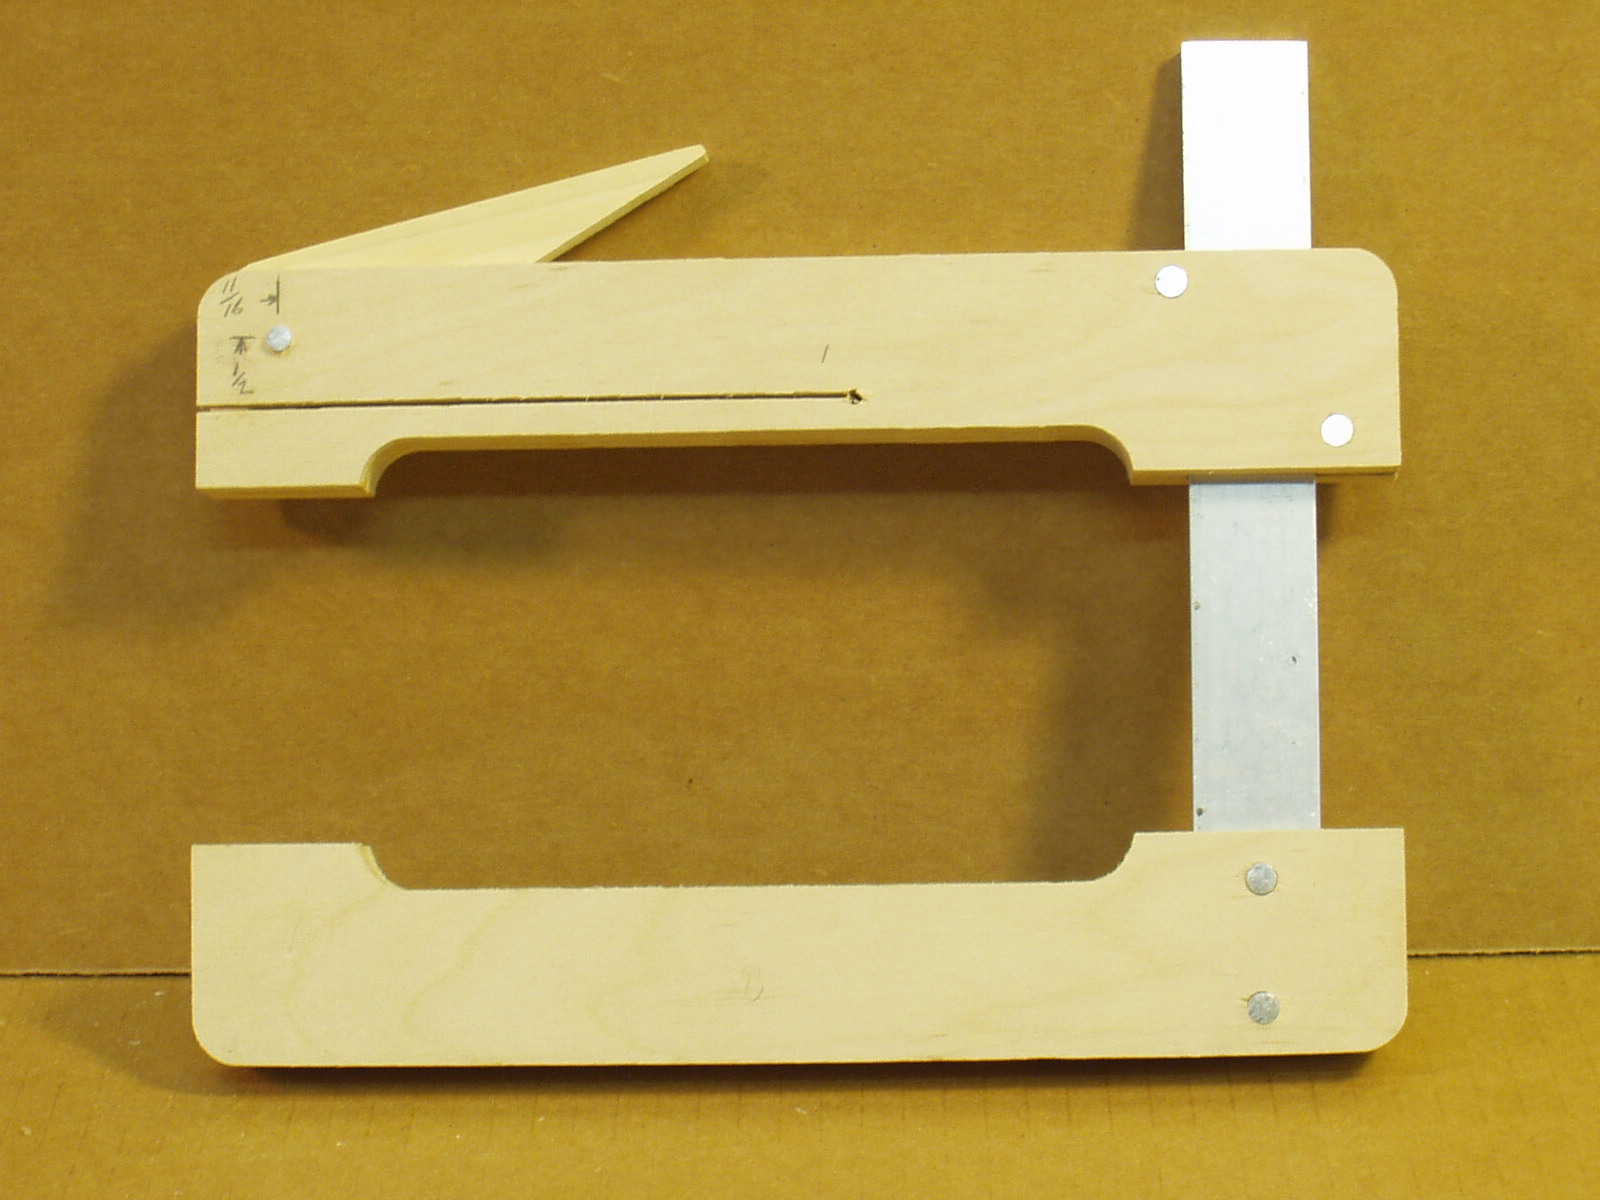
The cam lever is fastened to the clamp using the 3/16” rivet. A hole needs to be drilled
through the clamp half and the pin. The hole location is 11/16” from the from edge and ½”
from the top of the saw kerf. Mark this location and use a nail or an awl to punch a start
detent so the drill bit will not slip off location. Drill a perpendicular hole all the way
through. Install the 3/16" rivet -- place the clamp on a metal surface and tap a hammer to
seat a droplet of CA (Super glue) can be use if the fit is not tight.


Using a ¼” bit drill through the aluminum
or hardwood bar--- again keep the drill
perpendicular as possible.
or hardwood bar--- again keep the drill
perpendicular as possible.

Place the clamp on a hard Insert the
pins in the holes and hammer in
through the bar. Keep the 1/4" rivets
perpendicular or they will get wedged
and have to be removed and started
over.
pins in the holes and hammer in
through the bar. Keep the 1/4" rivets
perpendicular or they will get wedged
and have to be removed and started
over.
The rivets can secured with a droplet of CA (super glue) if the fit is not tight.
© Bill Cory