|
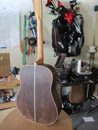
French Polished Englemann Top
|
|
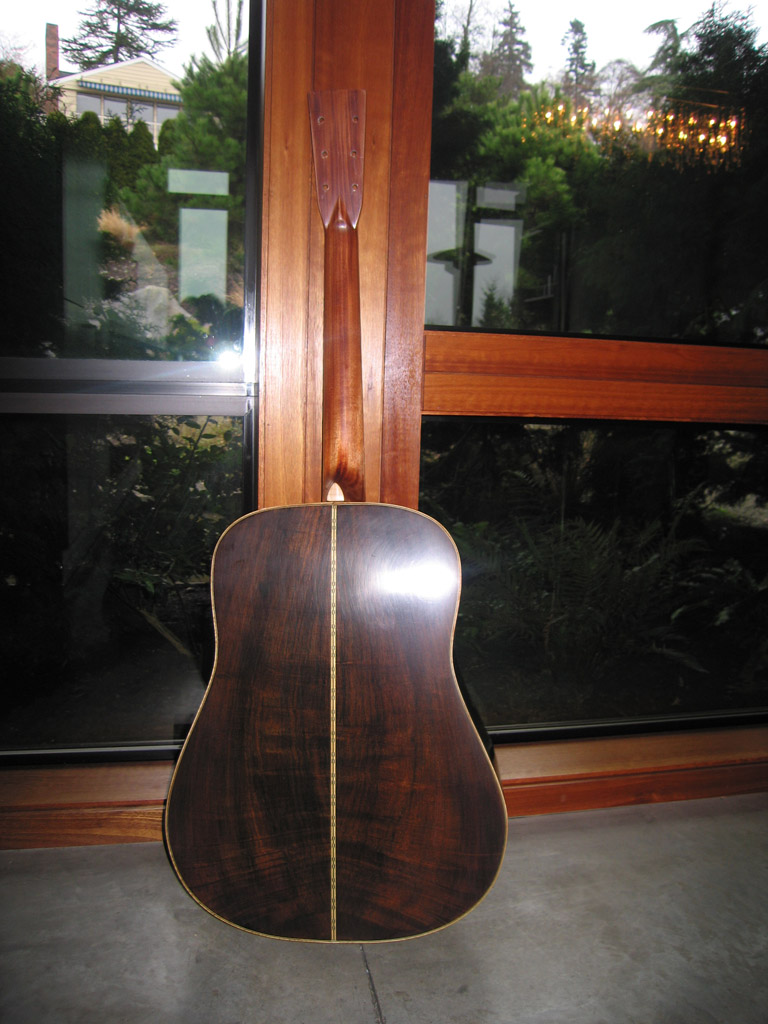
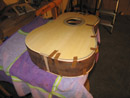
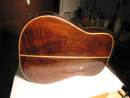
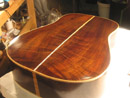
KTM-SV on Zpoxy pore fill for the back and sides. This picture is the guitar at 1 year.
|
|

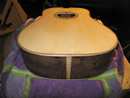
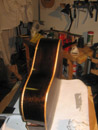
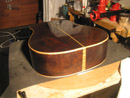
Guitar right after finishing.
|

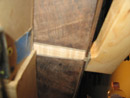
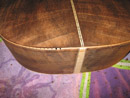
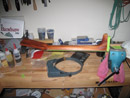
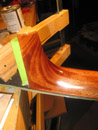
Prepairing to glue back seam strip.
|
|

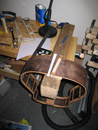
Sides in drednaught mode built from 3.4 MDF
|
|
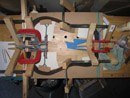
Prepairing to glue tail block and heel block.
|
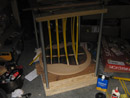
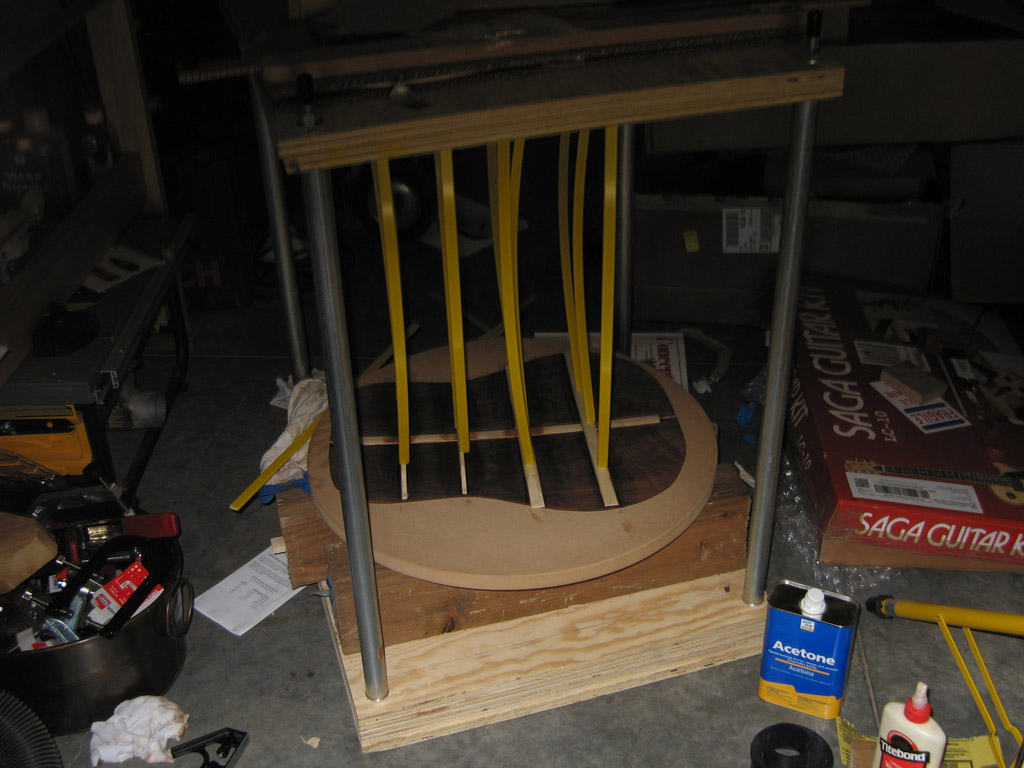
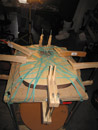
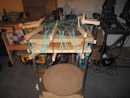
Gluing Back braces on new go-bar deck.
|
|

gluing xbrace on go-bar deck in 28' radius disk.
|
|

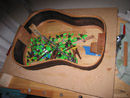
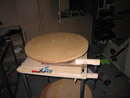
completed top.
|

Top on bench.
|
|
glue-up of the end block and heel block.
|
|
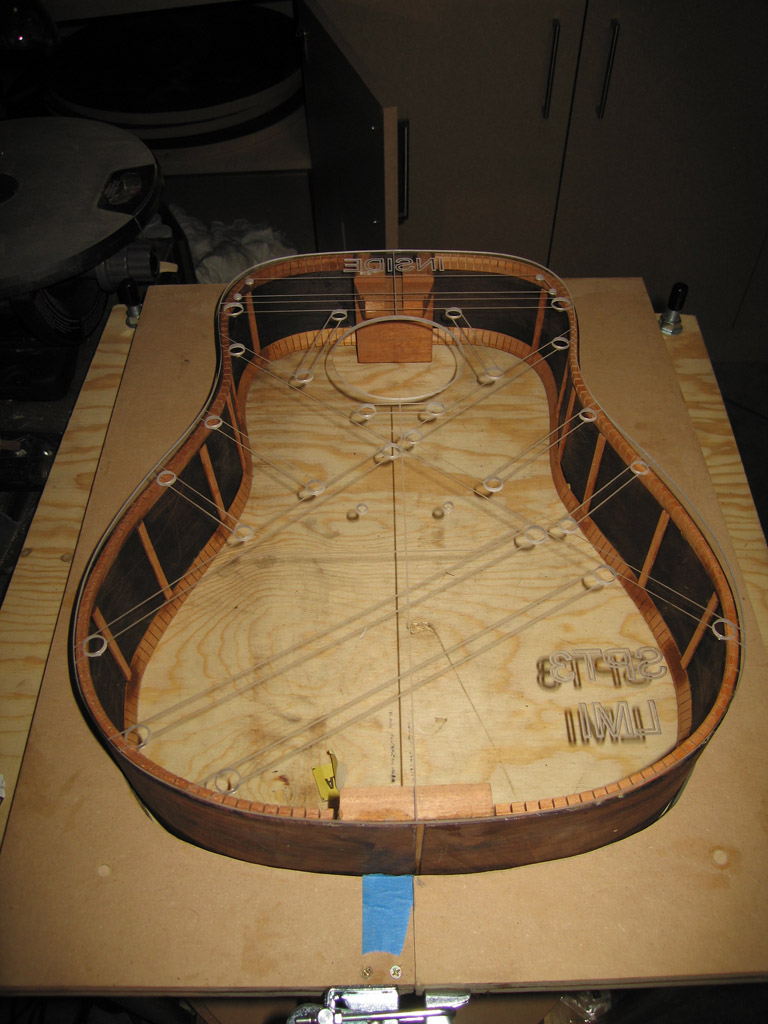
right after the kerflings were glued on.
|
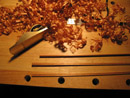
side braces were made with spanish cedar.
|
|

side braces glued in. On top is a LMI drednaught template.
|
|
Hard to see the guitar but I radiused the rims with 28' (top) and 16' (bottom) radius dish.
|
Cutting inlay for curly maple end-graft
|
|

End graft glued into rim.
|
|
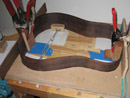
Preparing to glue back
|

preparing top glue top
|
|
top glued first
|
|
Back glued on.
|
Ledge for the binding routed.
|
|
To deal with the back radius I shimmed the base of the router to close to the correct angle.
|
|
Fitting top bindings and purflings
|

fitting back binding with a maple and black fiber purfling
|
|
I fit all of the bindings before I glued up any. One really needs to be careful with the curly maple bindings I snapped a couple.
|
|
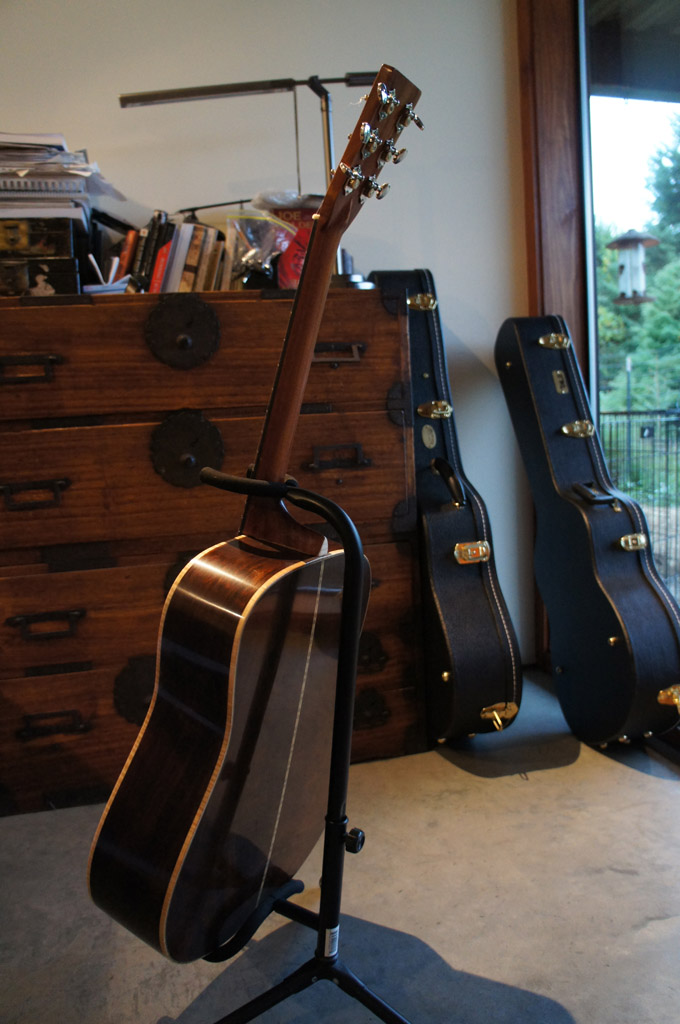
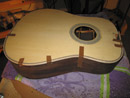
Completed body!
|
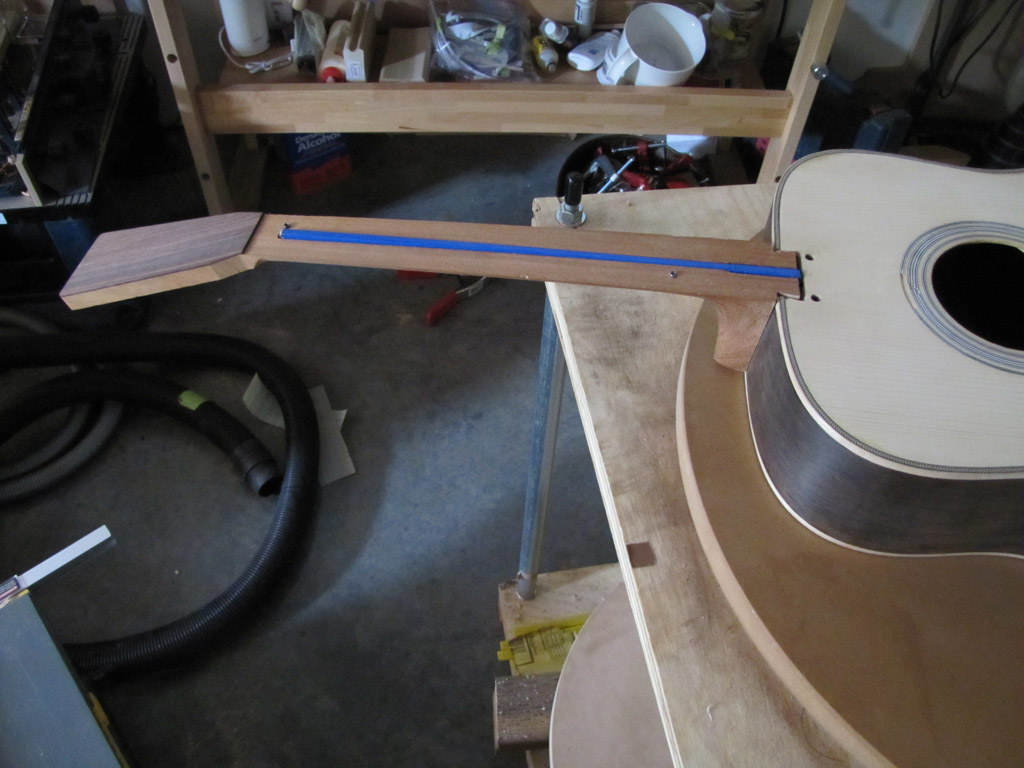
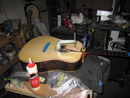
I spent a lot of time setting the dove tail. I actually set it a few times. Gluing shims to the neck dovetail tenon for each re-try.
|
|
I used a dremal tool to route the inlays on the fret board.
|
|
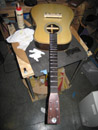
I was happy at this point with the dry fit of the neck.
|
Zpoxy pore fill on back.
|
|
zpoxy pore fill on sides.
|
|

Ready for finsih.
|
I pore filled the the neck with ZPoxy.
|
|
Brushed on KTM-SV finsih.
|
|
Tryed to brush on KTM-SV to back and sides but was never really happy with the results. I came really close. If I had the skill I probably could have fixed my mistakes
and complete the guitar with a brush.
|
Ultimatly I bought a Earlex spray station 5000 spray gun and started to get
the finish I was looking for.
|
|
Before I glued the neck on I was really happy with the fit and neck angle
|
|
The fretboard delivered the correct height at the saddle and was co-planer to the body
|
Unfortunatly when gluing in the neck, the glue kept the neck from seating properly ( note the gap at the heel). I did not notice this at the time I was doing the glue-up.
|
|
I used the Kenneth Michael Guitars Bridge Setter tool to place the bridge. Here I am gluing on the bridge
with the bridge clamp that comes with the bridge setter tool.
|
|
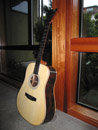
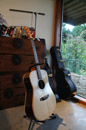
I French polished top with Behlen Qualasole. This picture is just before setup.
|
|
|