|

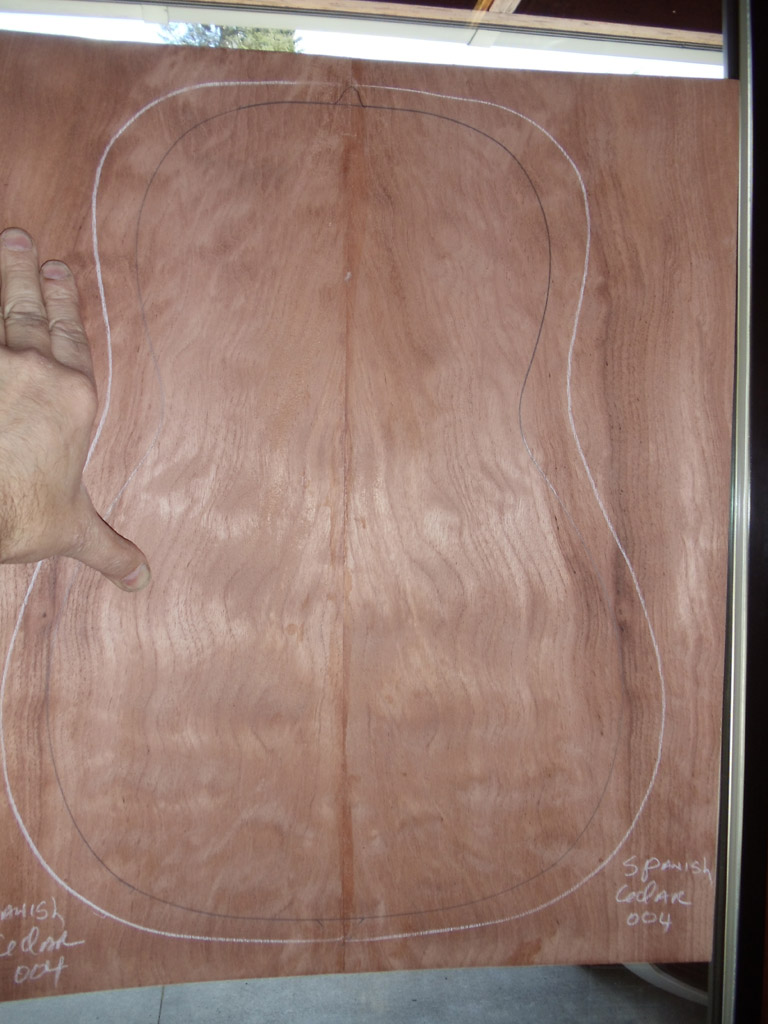
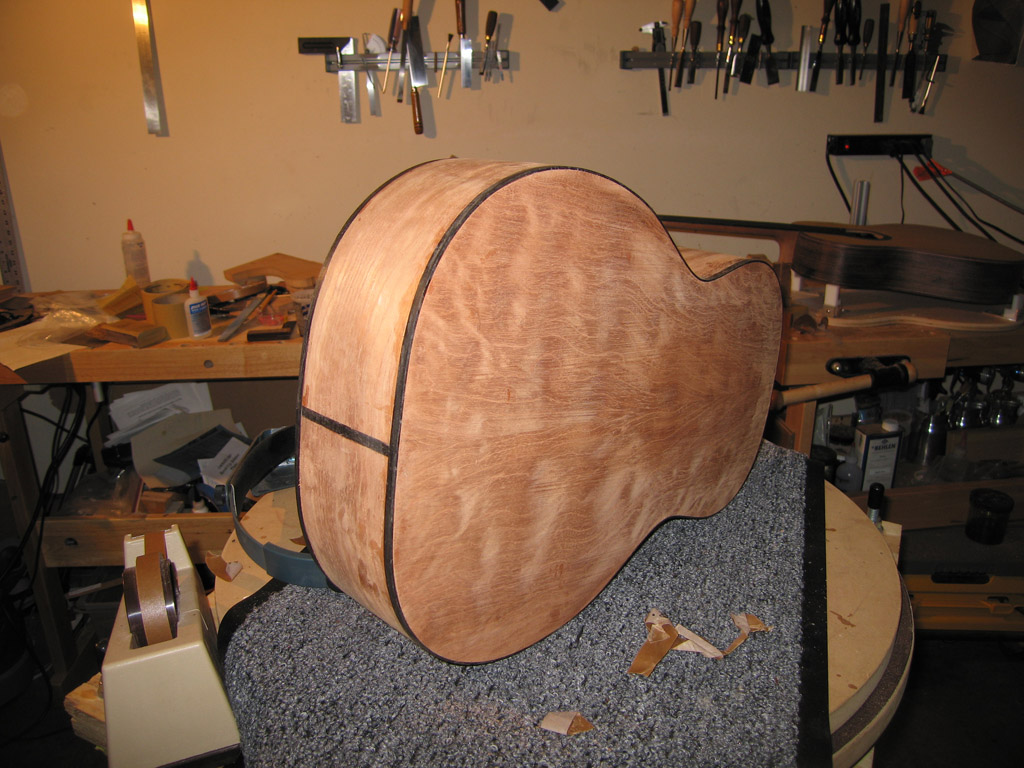
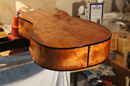
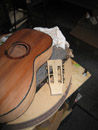
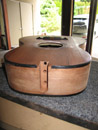
Quilted Spanish cedar back and sides with a
zpoxy fill and just a wash coat of amber shellac.
|
|

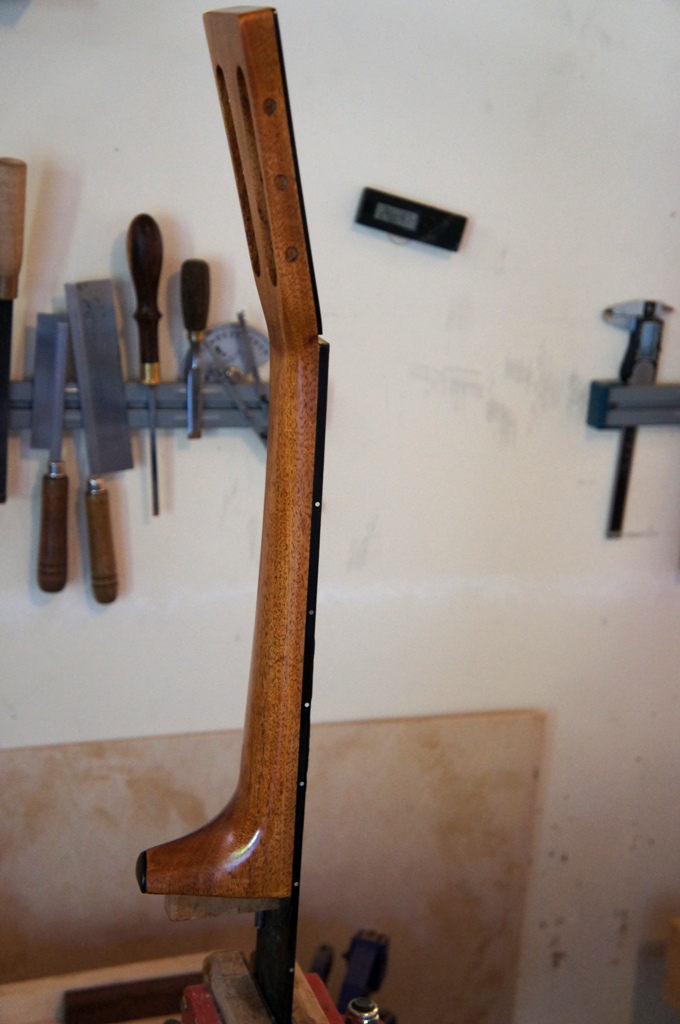
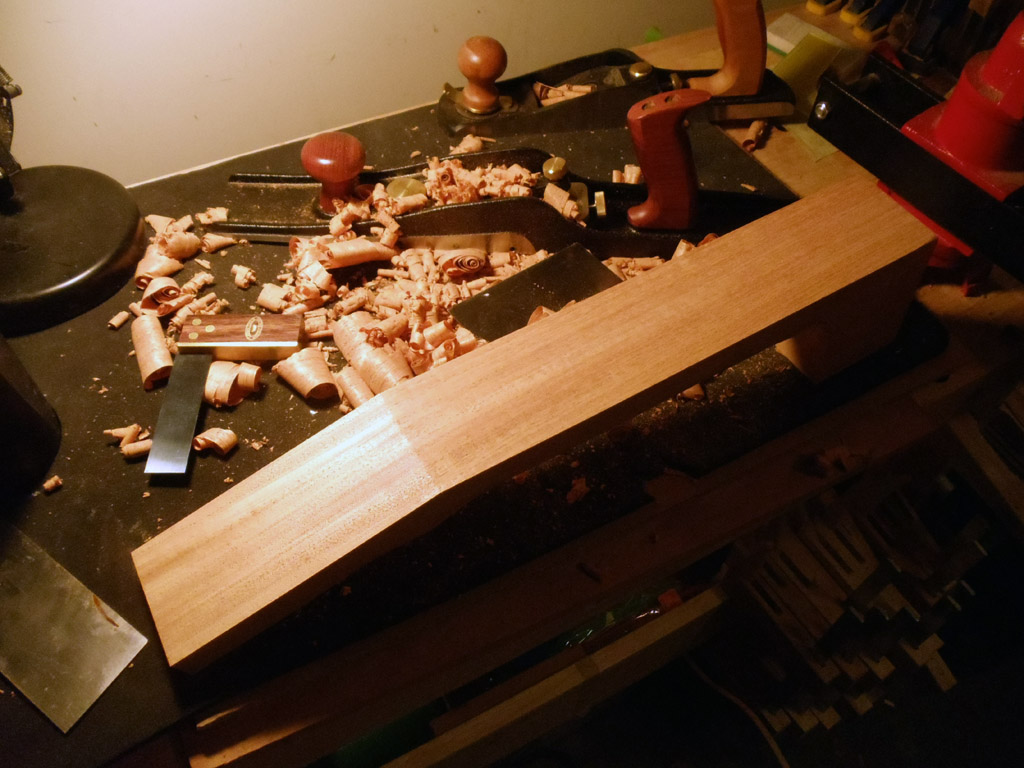
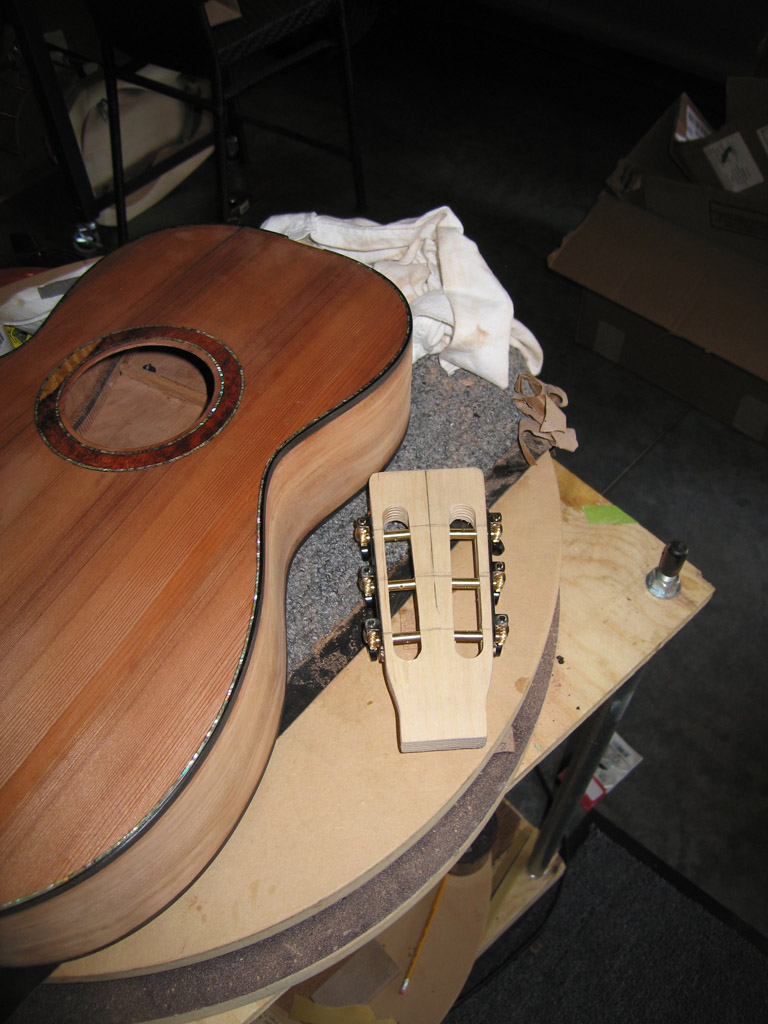
Honduran Mahogany neck with slotted headstock
|
|
Ebony bindings and end graft.
|
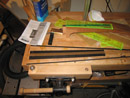
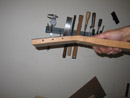
The neck blank was cut out a 4" x 3" neck blank. I used my Veritas® Bevel-Up Jointer Plane to clean up and square the
face and head stock.
|
|
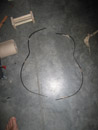
Throughout my build of this guitar I worked from a complete set of templates that I purchased from Waldron Instruments Inc.
|
|
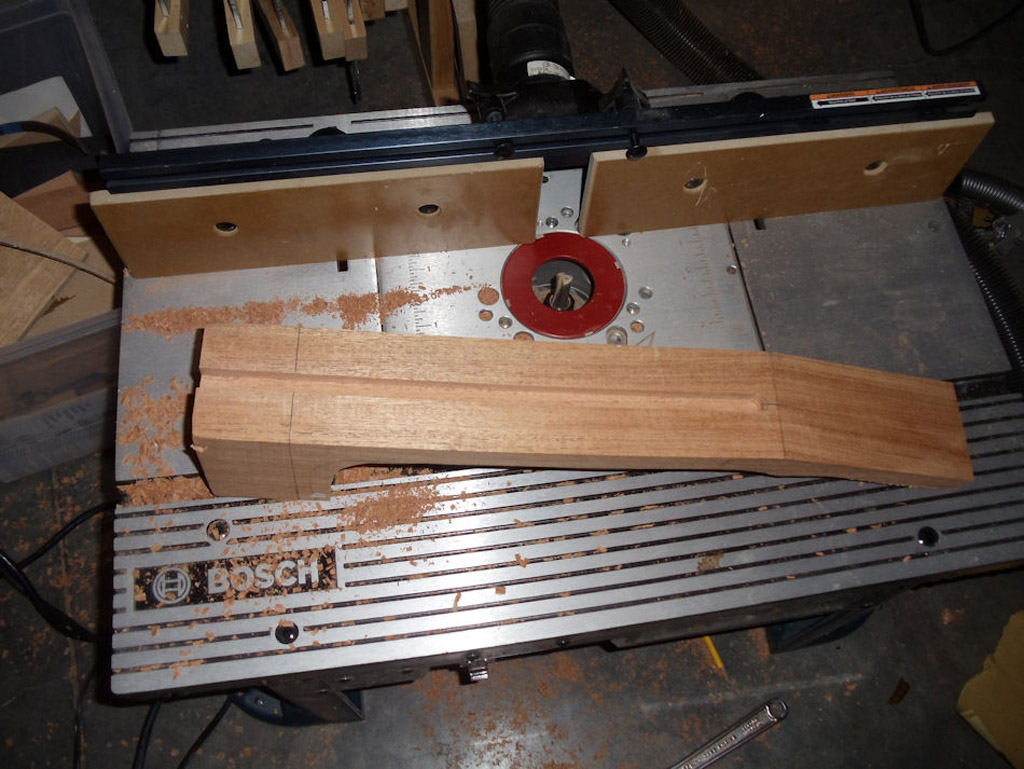
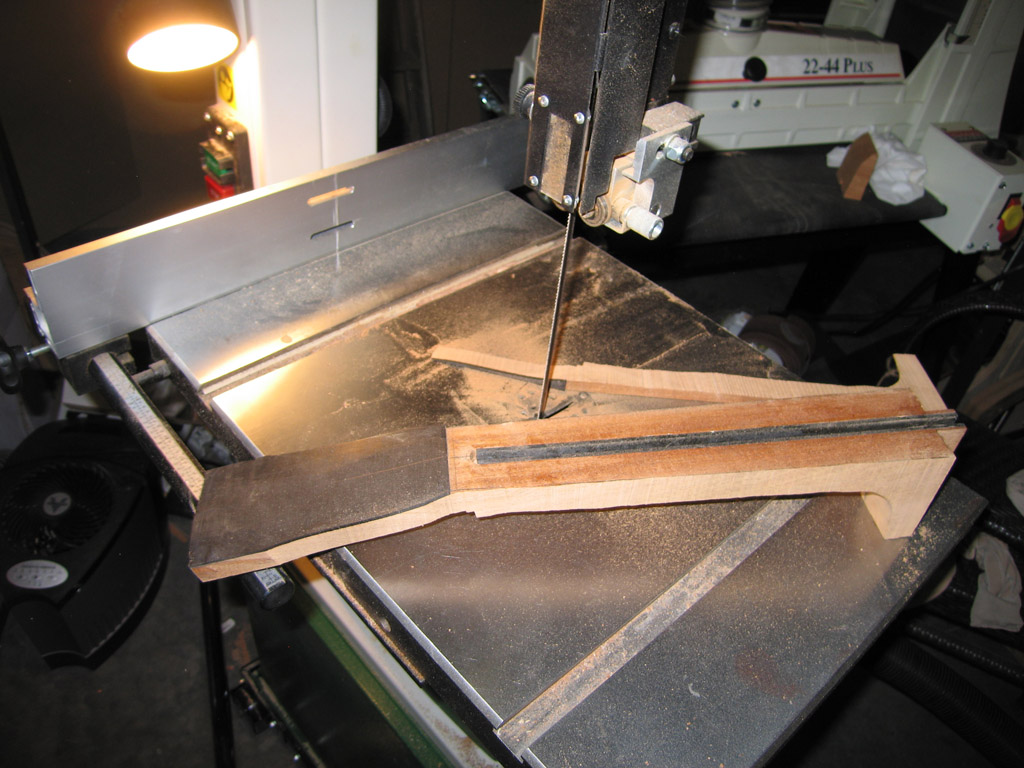
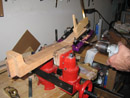
The neck has an LMI double action Truss Rod and two carbon fiber 1/8" carbon fiber rods.
|

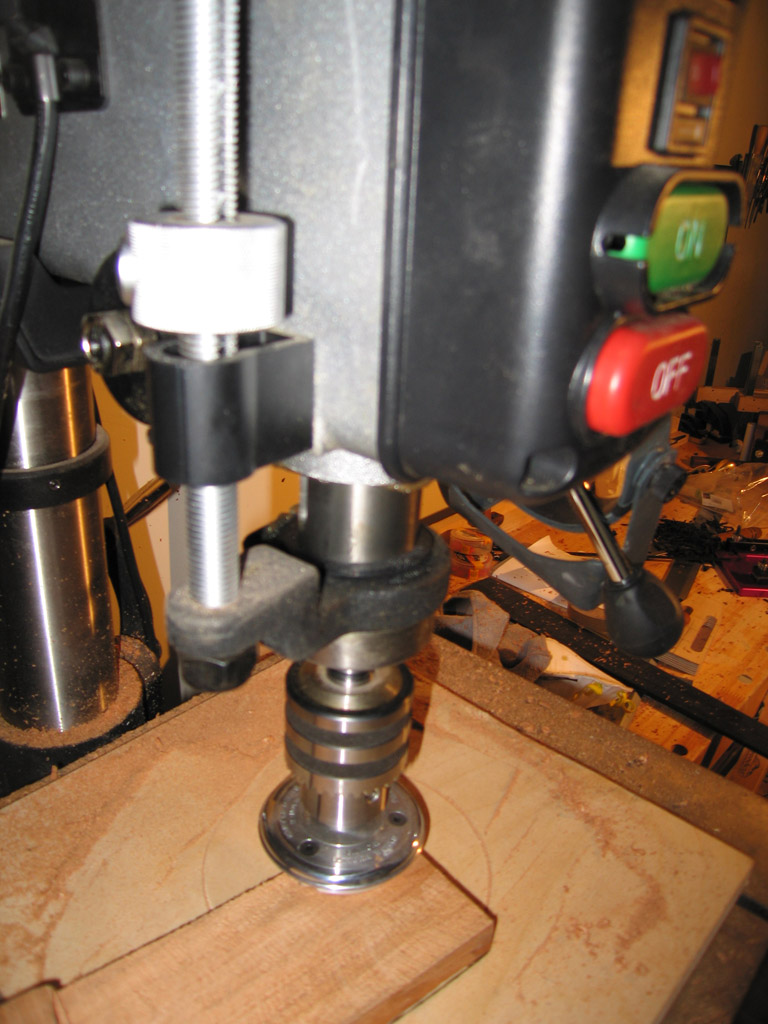
I used my router table to cut a 1/2" channel for the truss rod and 2 carbon fiber rods in the neck.
|
|

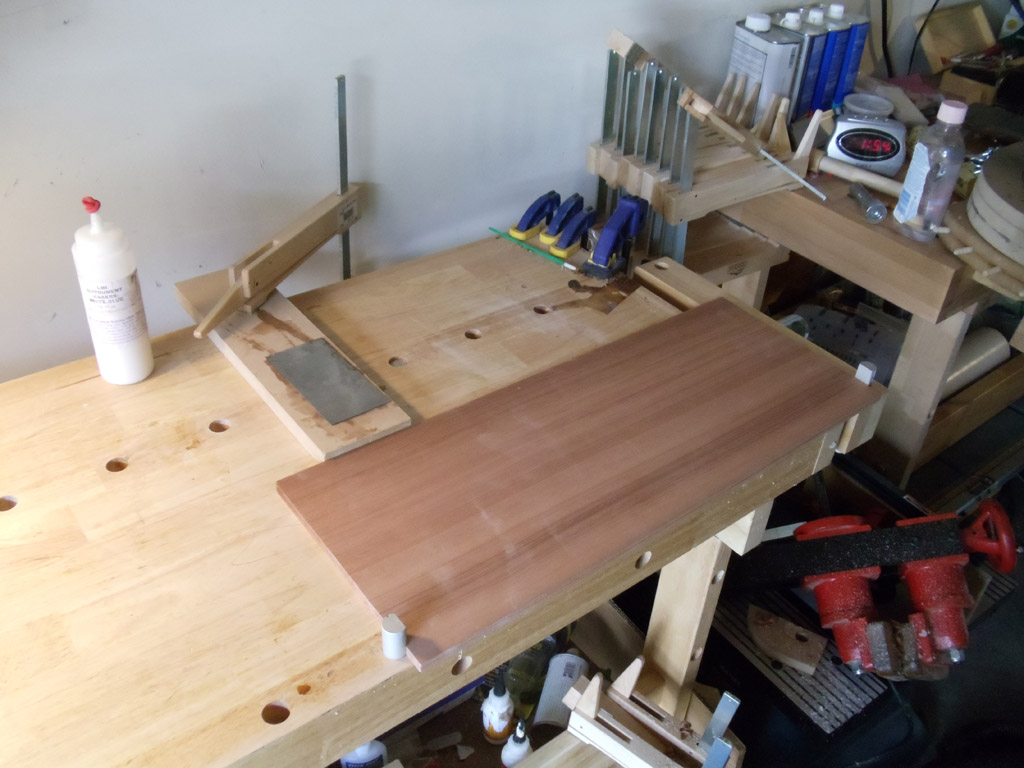
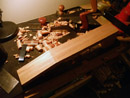
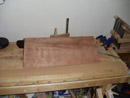
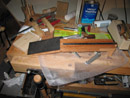
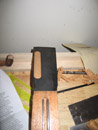
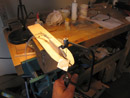
Too lazy to build a shooting baord I used my bench and my veritas jointer plane to prepare the top and
back plates for jointing.
|
|
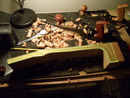
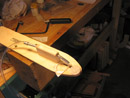
I got really close with the plane but swiped the plats across some 120 grit sand paper
on a piece of 28" long tempered glass.
|
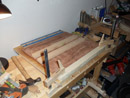
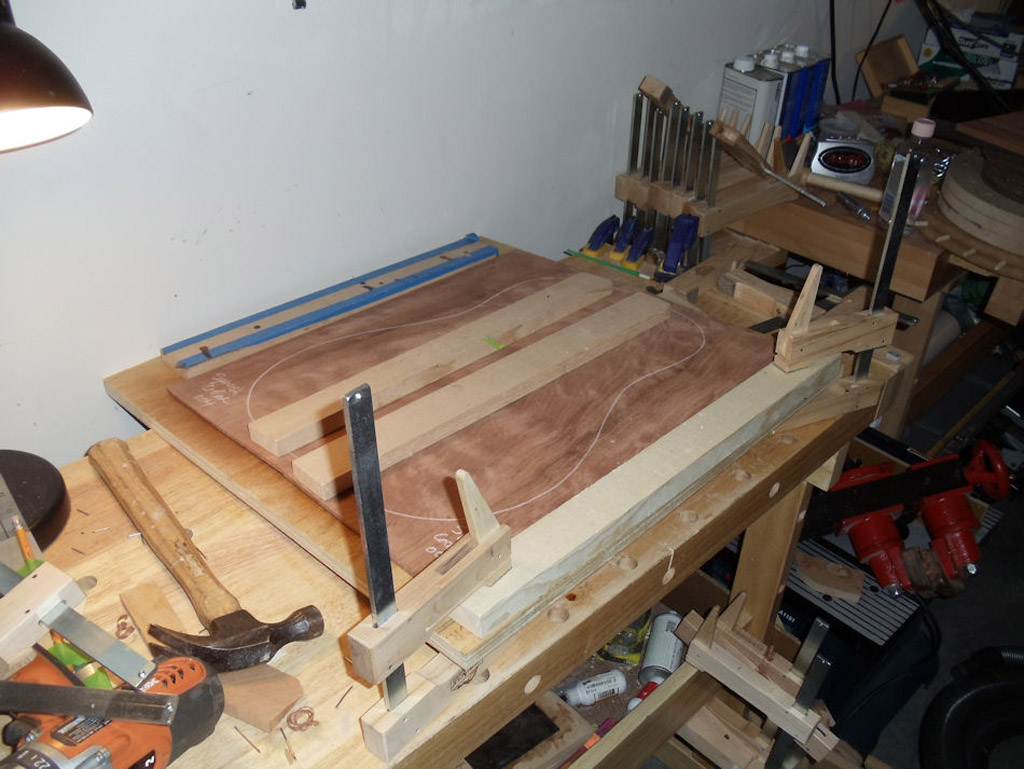
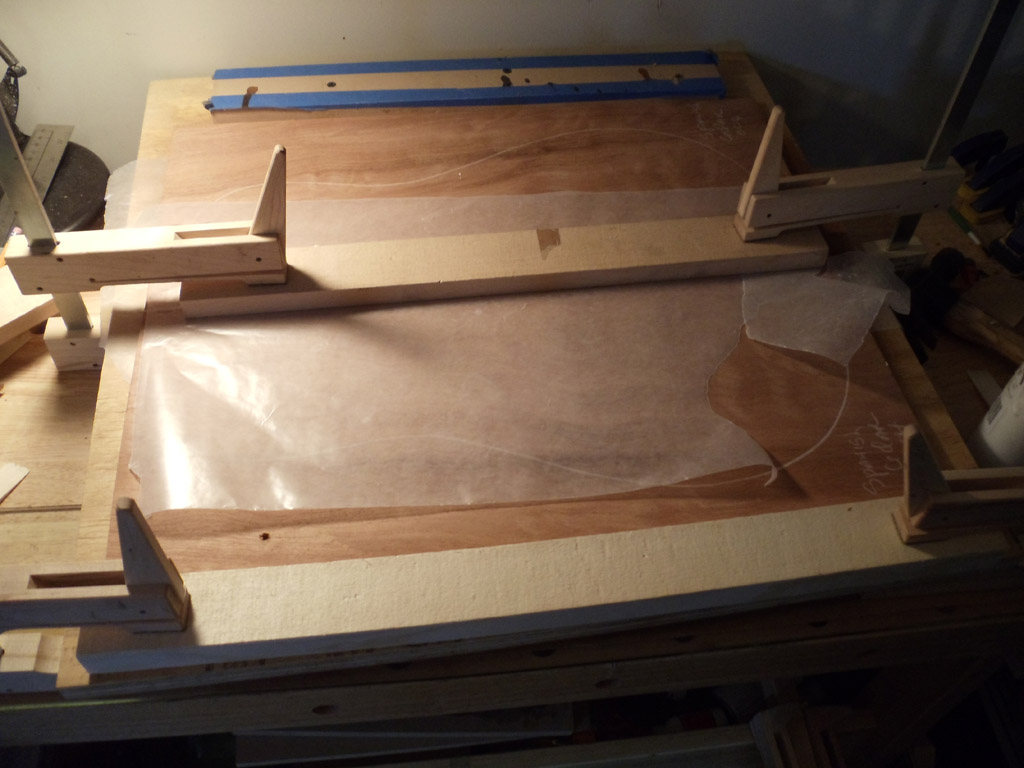
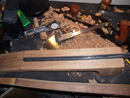
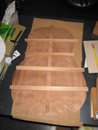
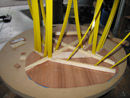
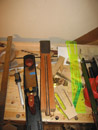
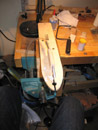
Laid out the plates in a tent configuration and then clamped stops on edges of each plate.
Glue was spread on one plate. The plates were placed back in the guides and the plates
were forced down and clamped.
|
|

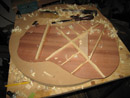
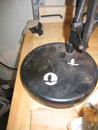
Back plates joined, waiting for the glue to cure.
|
|
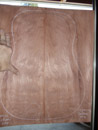
Holding the back up to light there is no light coming through the seam. A good joint.
|
The process described for the back was used on the top plates.
|
|
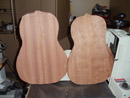
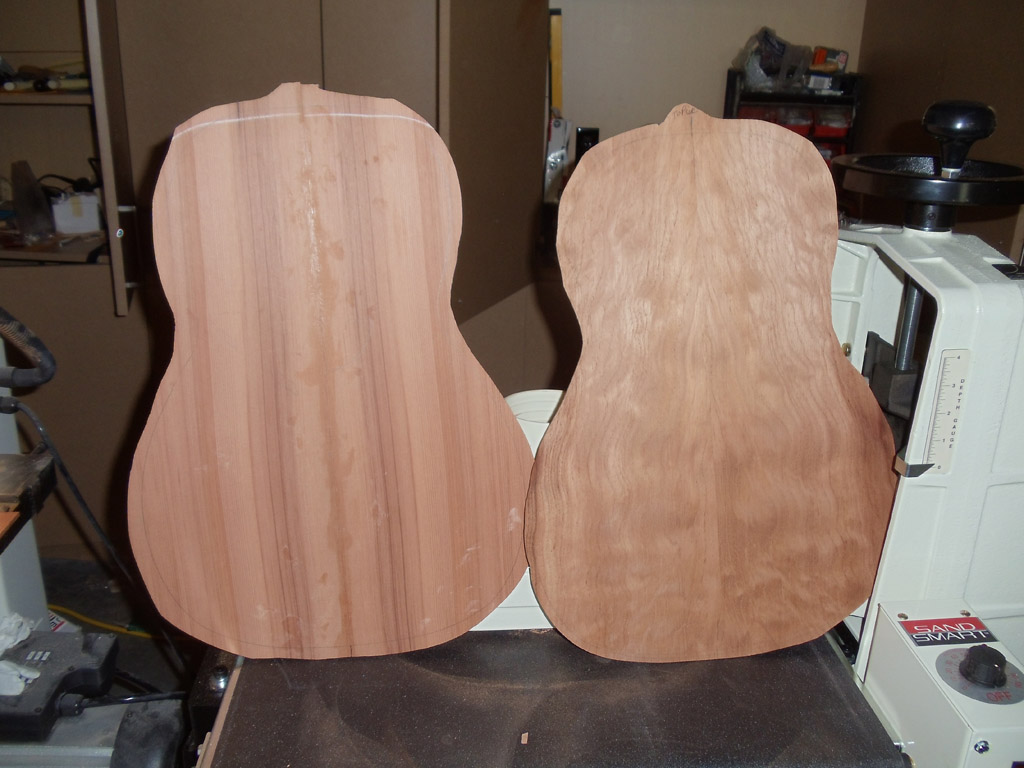
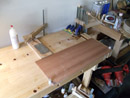
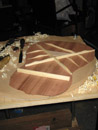
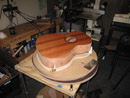
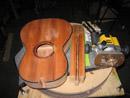
Joined and profiled back and top.
|
|
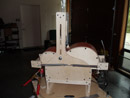
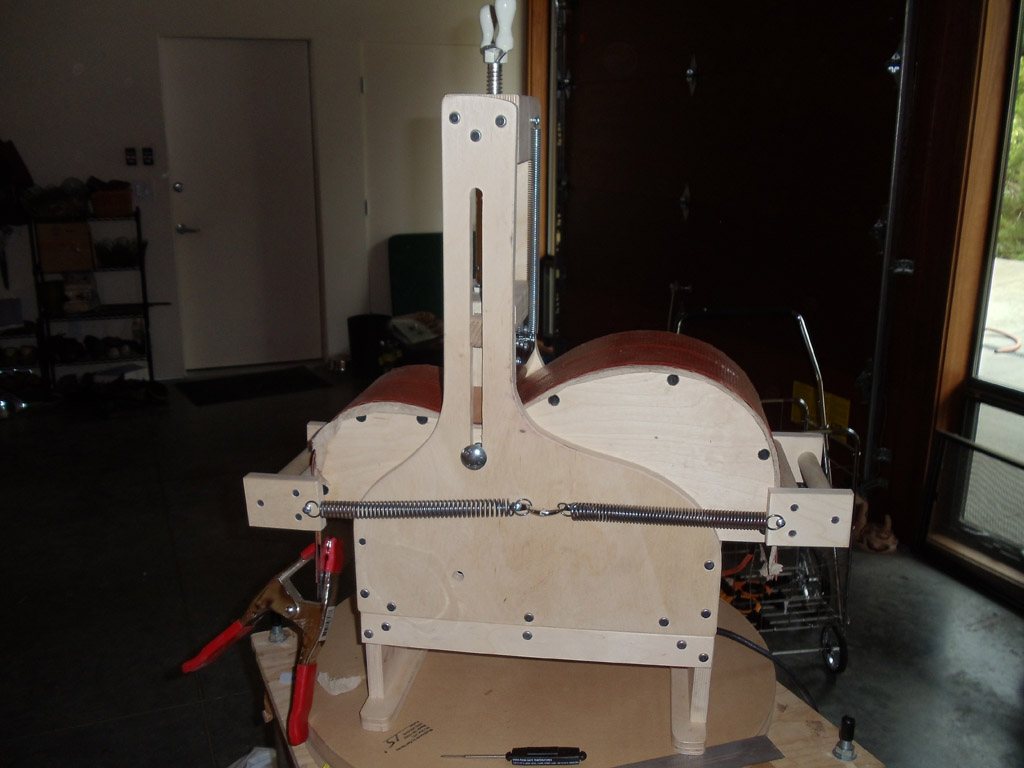
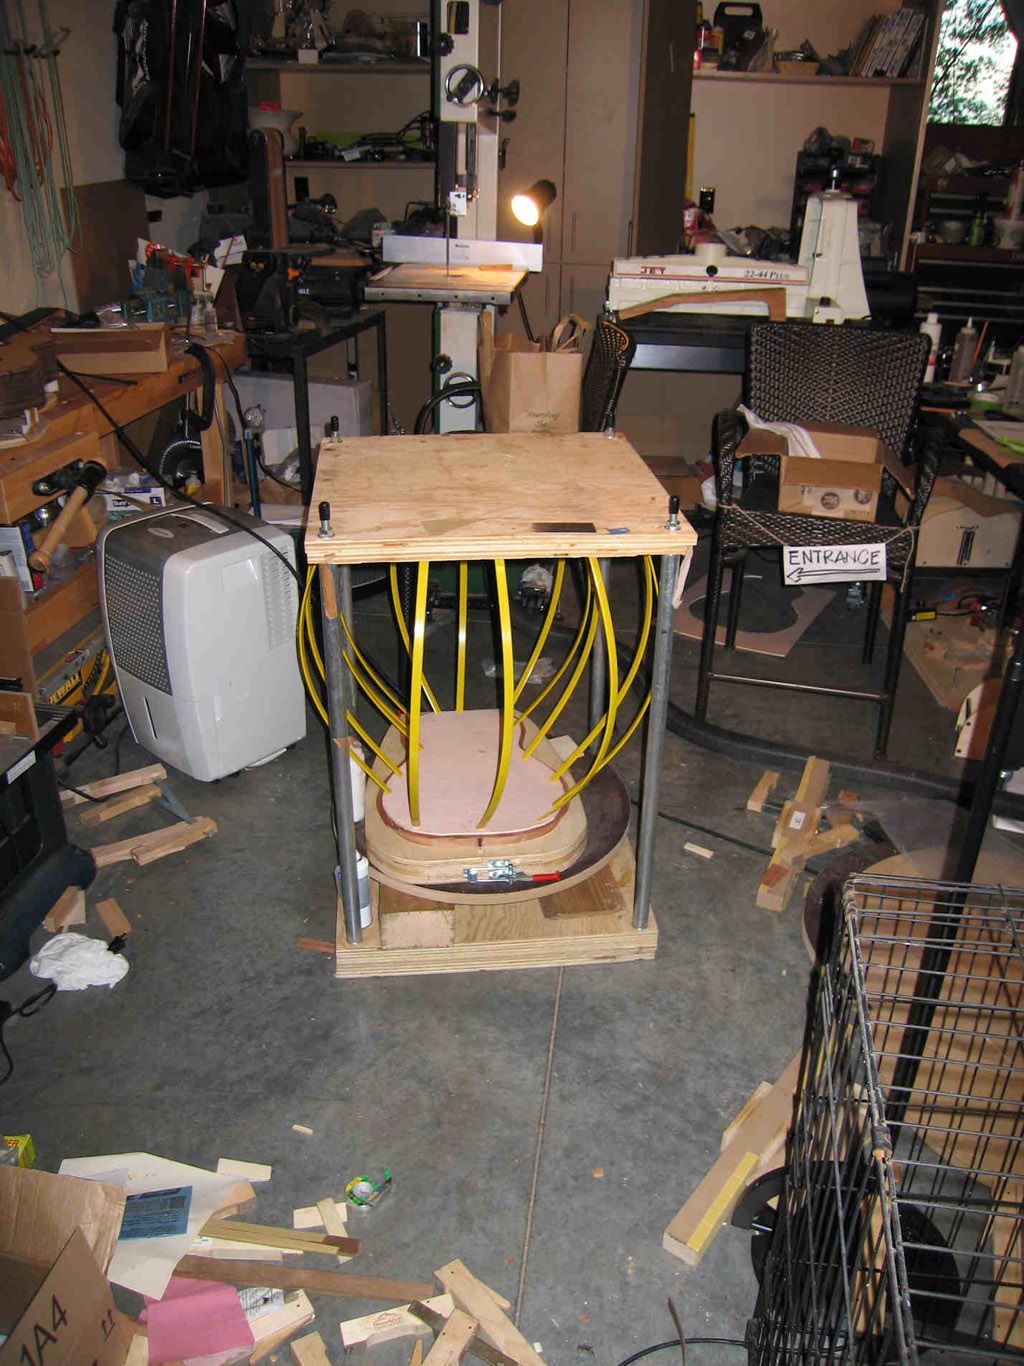
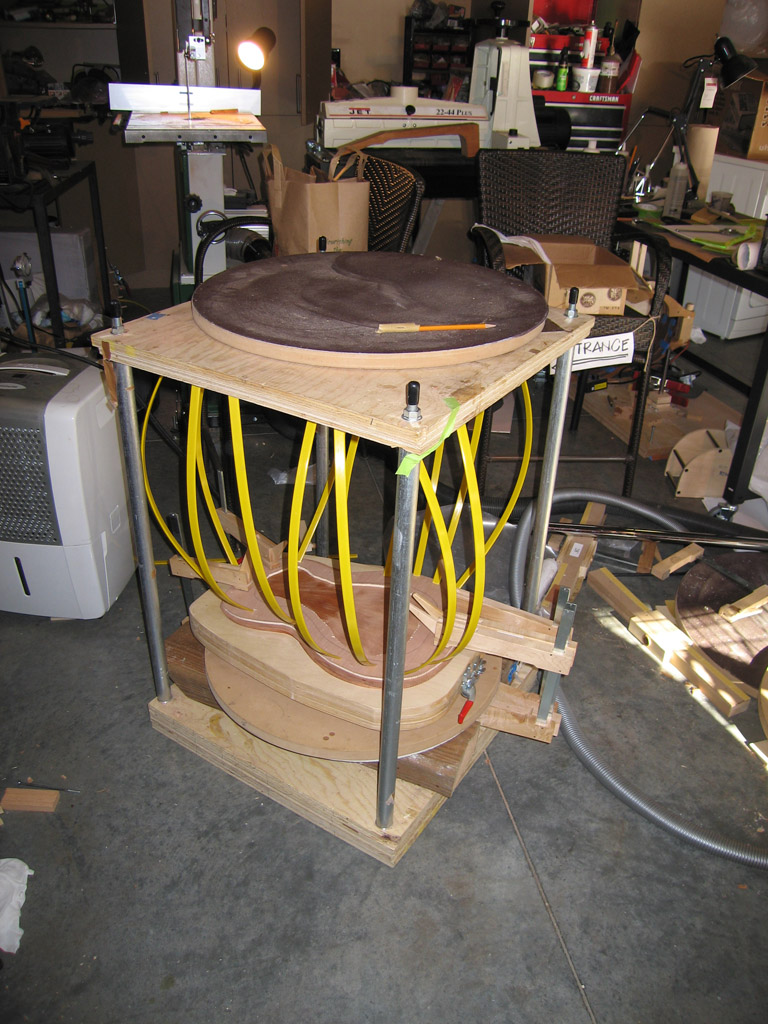
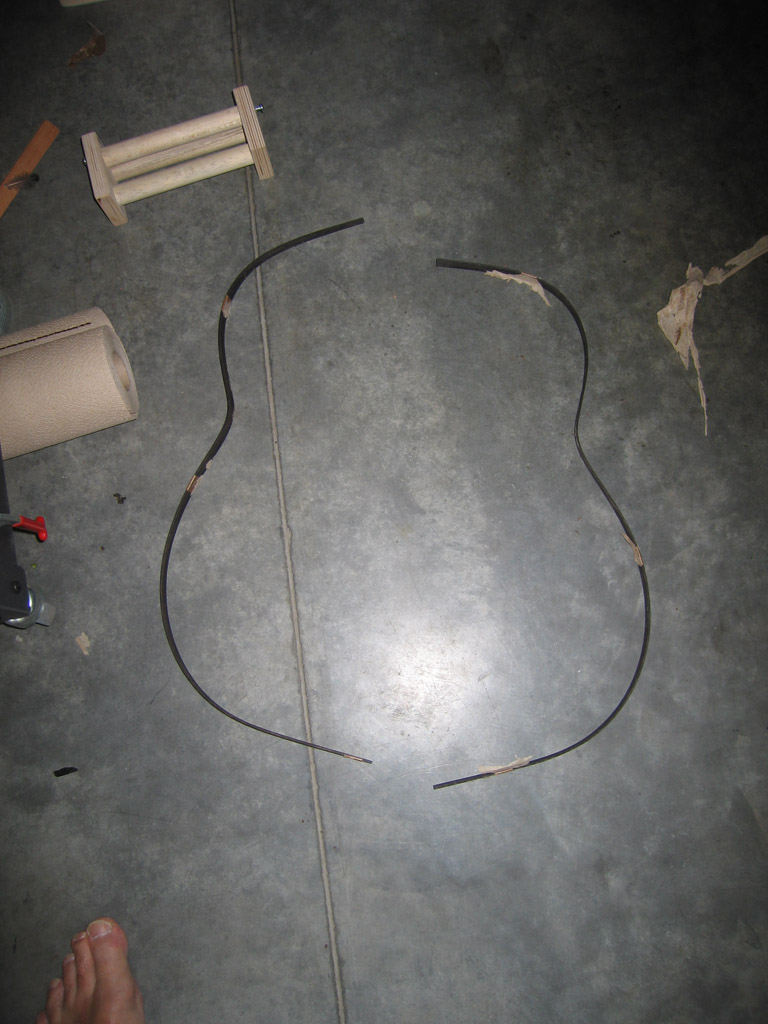
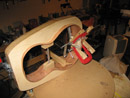
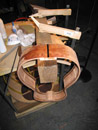
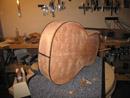
The sides were bent using a Fox style bender built by Blues Creek Guitar.
|
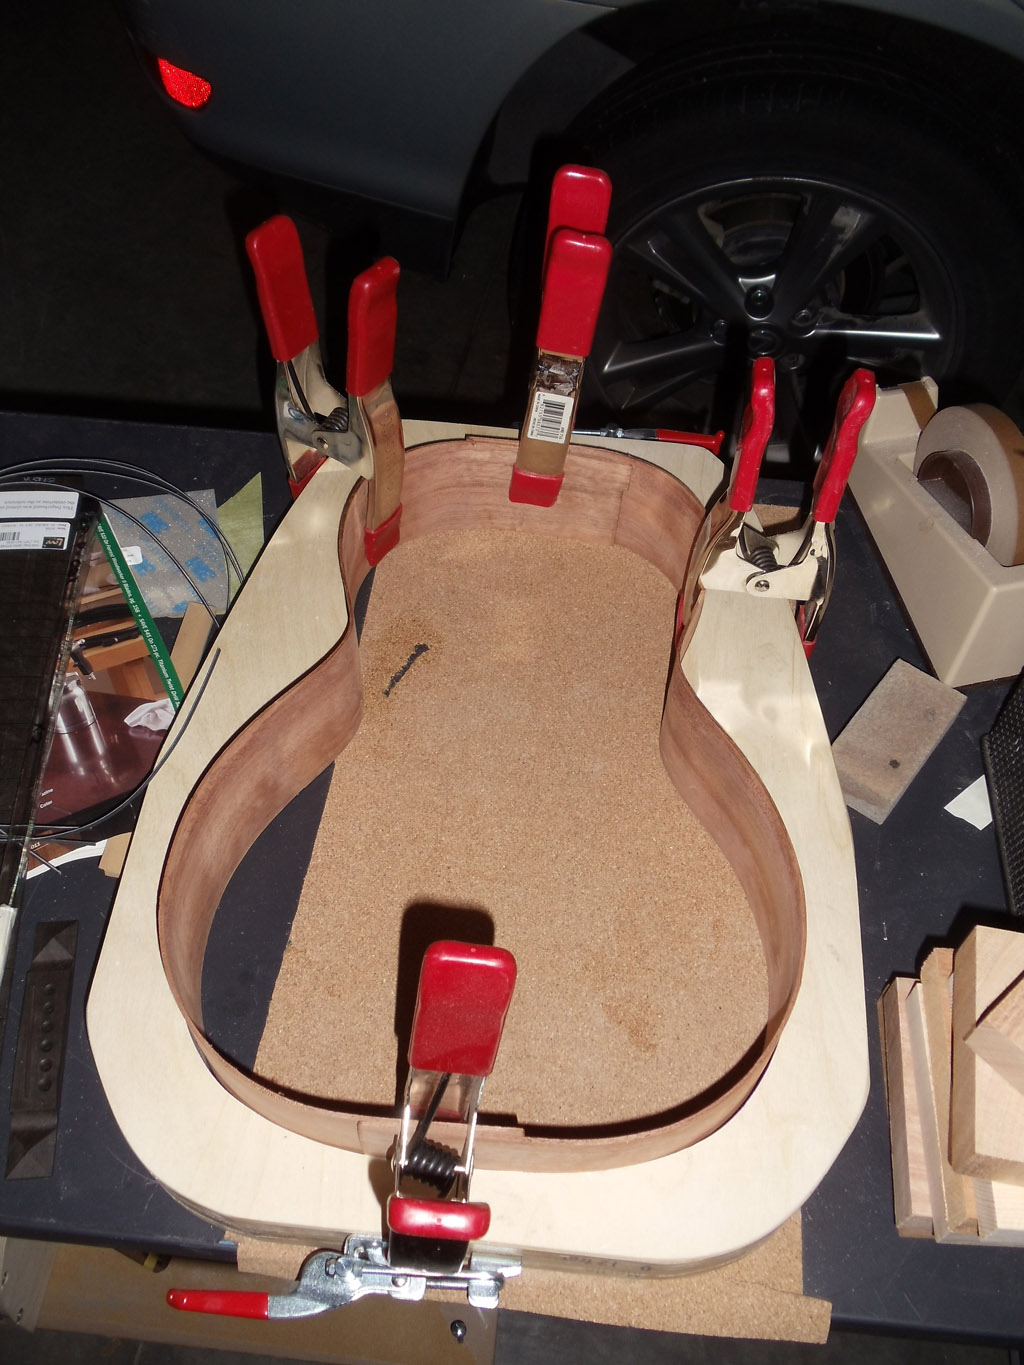
The side bending went well and nicely fit into a mold also purchased from Blues Creek Guitar.
|
|
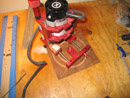
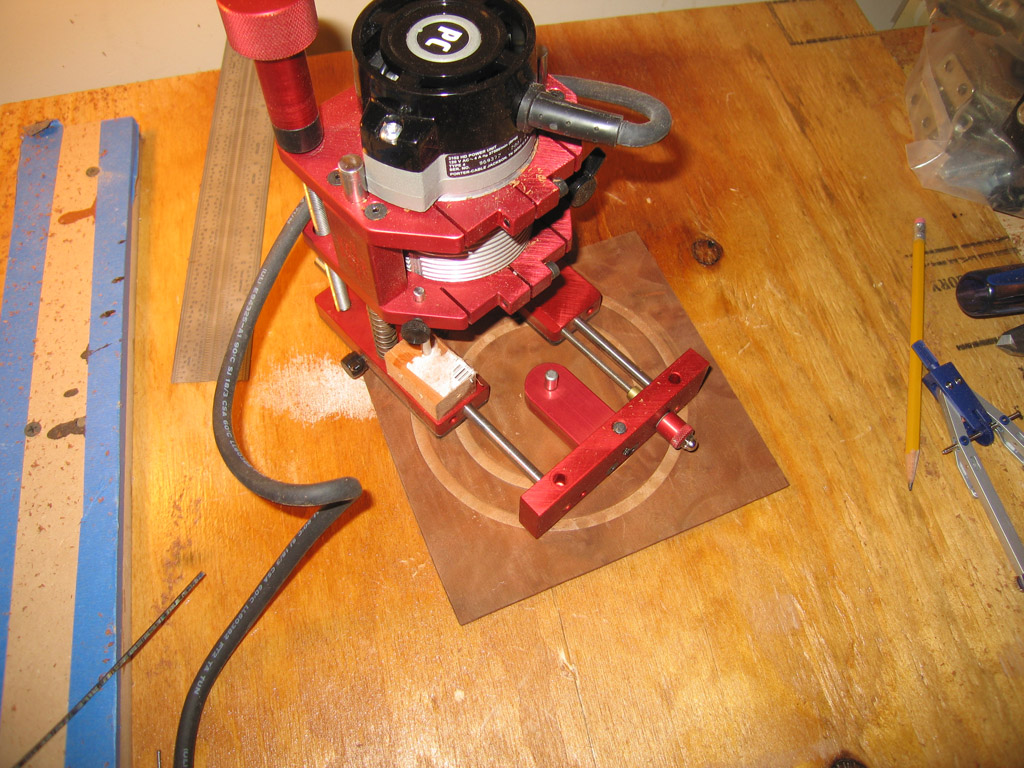
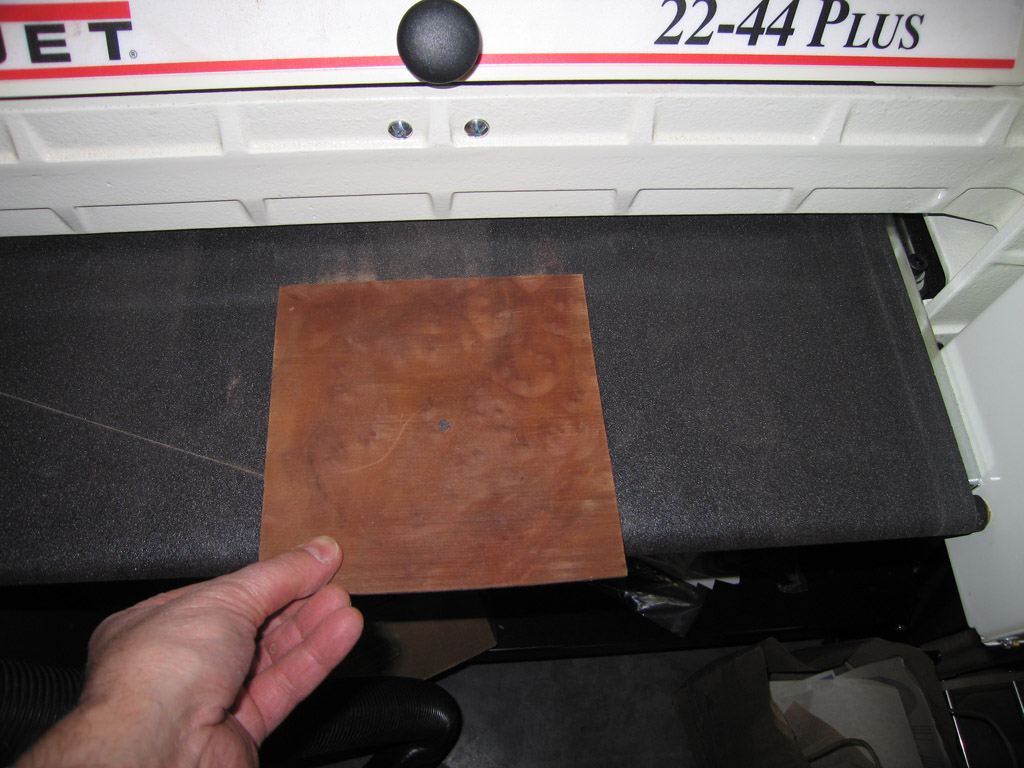
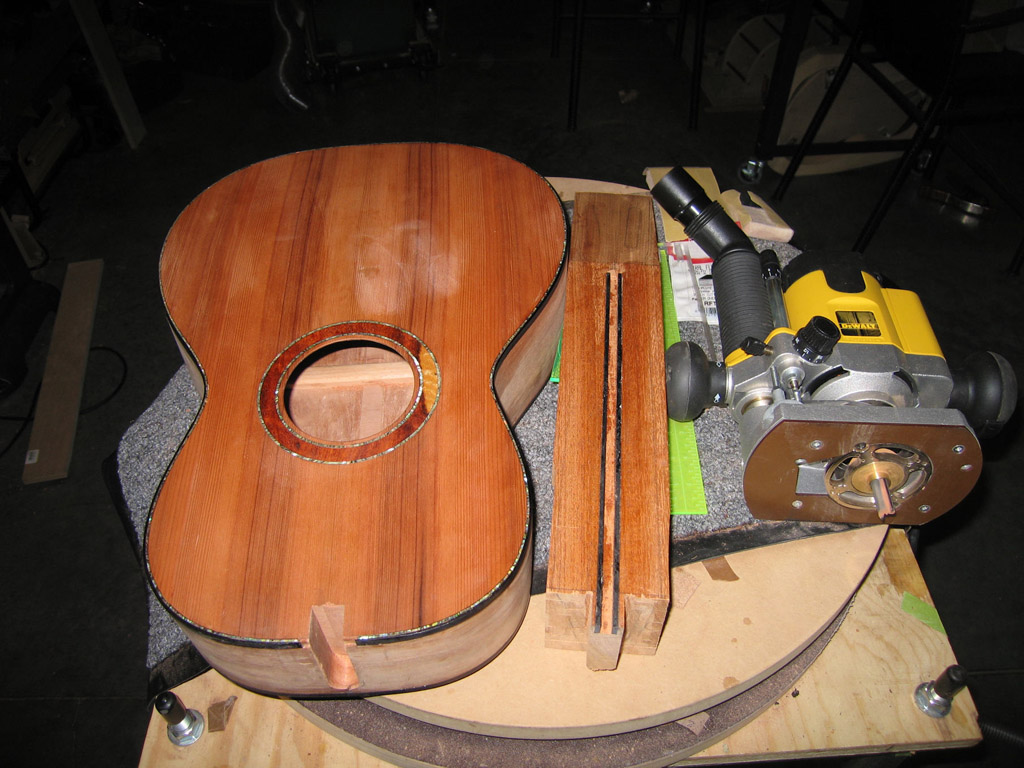
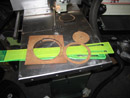
I used a Bishop Cochran plunge router base
to route out the rosette ring and the rosette channel in the top.
|
|
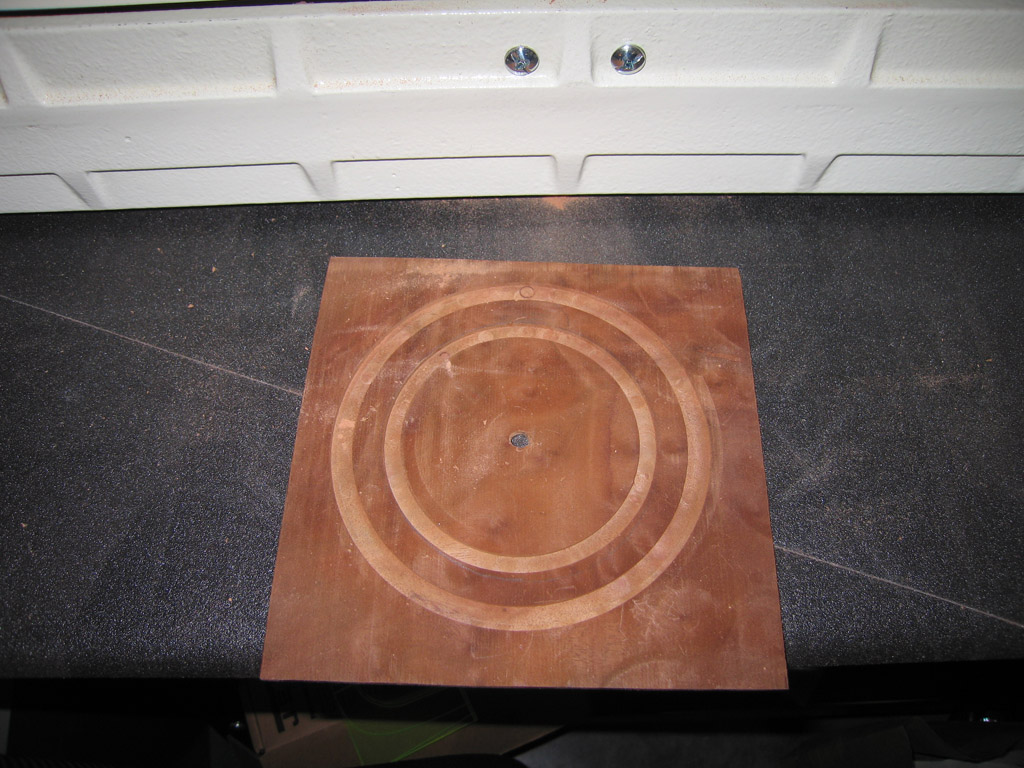
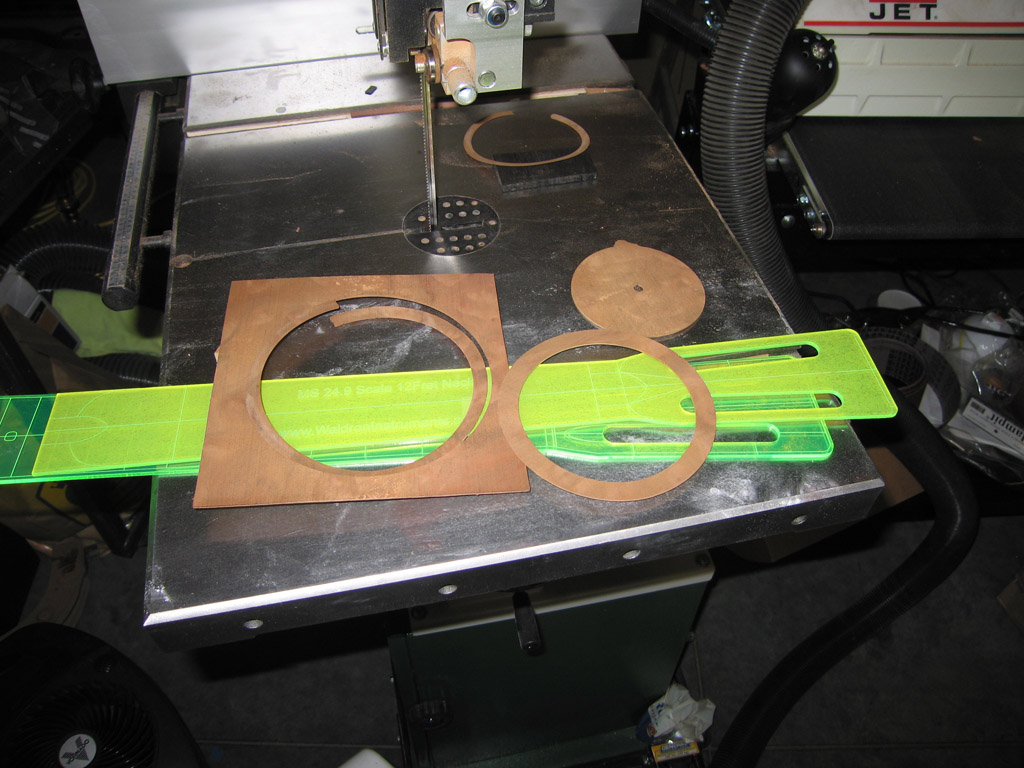
I route the rosette ring to the depth that matches the disired final thickness.
|
I then can run it upside down through my thickness sander until it drops out.
|
|
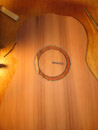
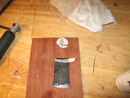
A completed rosette ring.
|
|
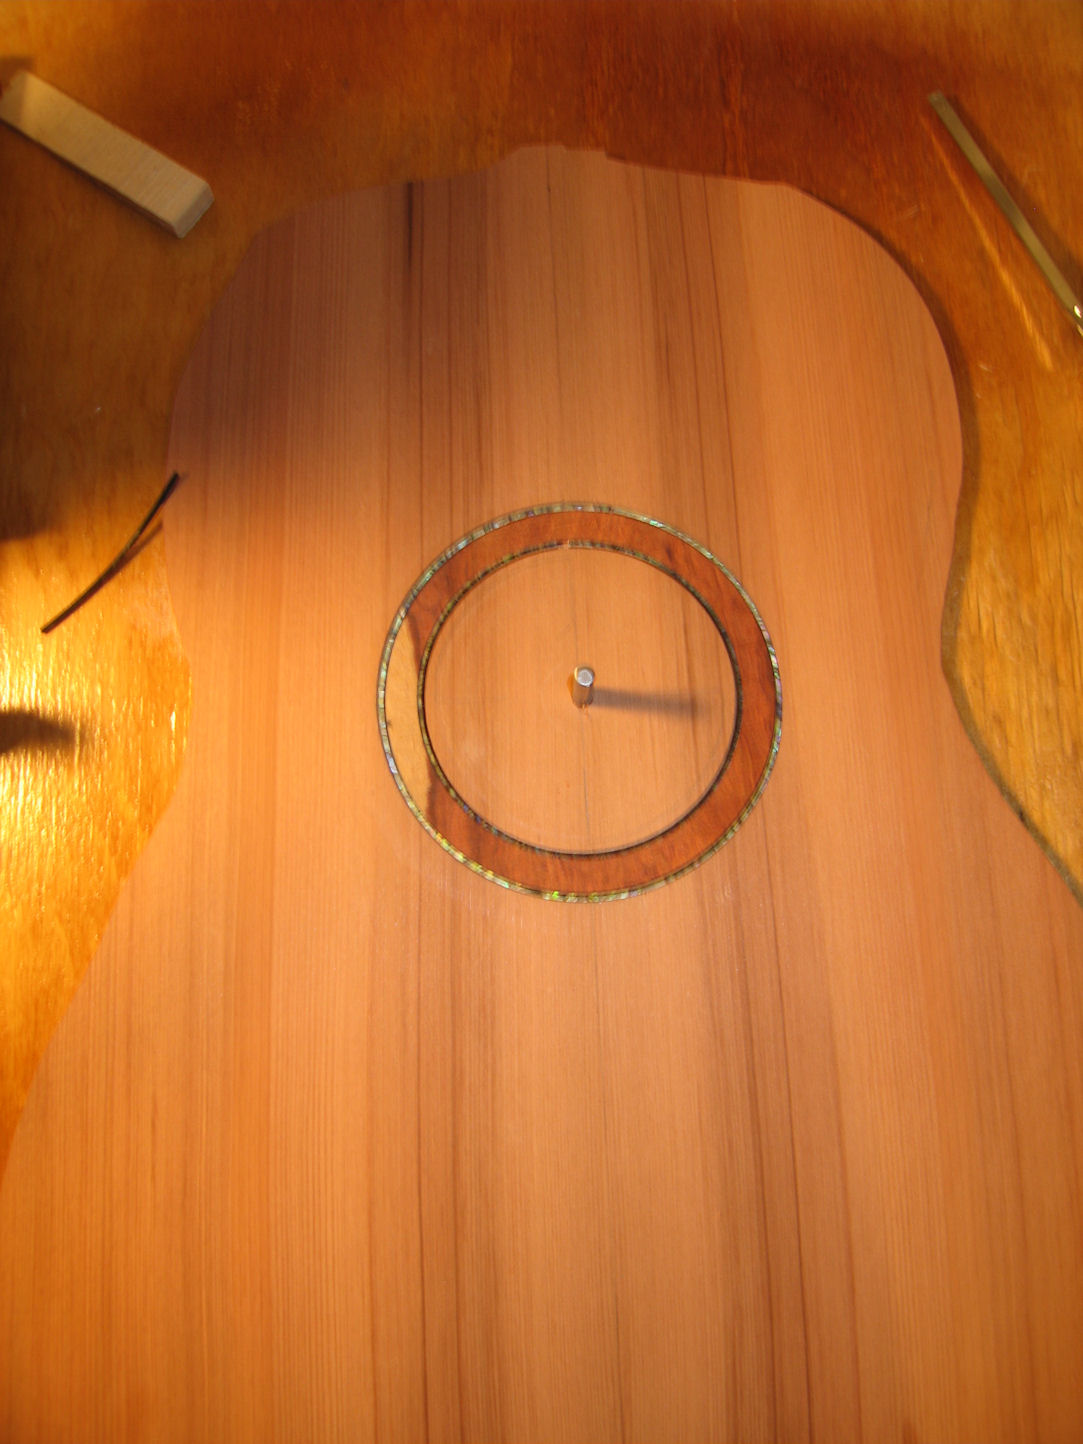
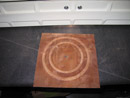
Completed rosette using figured Makore ring. The pearl purflings are AST ZipFlex. At this stage the top was run through my drum sander to clean up the rosette.
|
gluing in end block
|
|
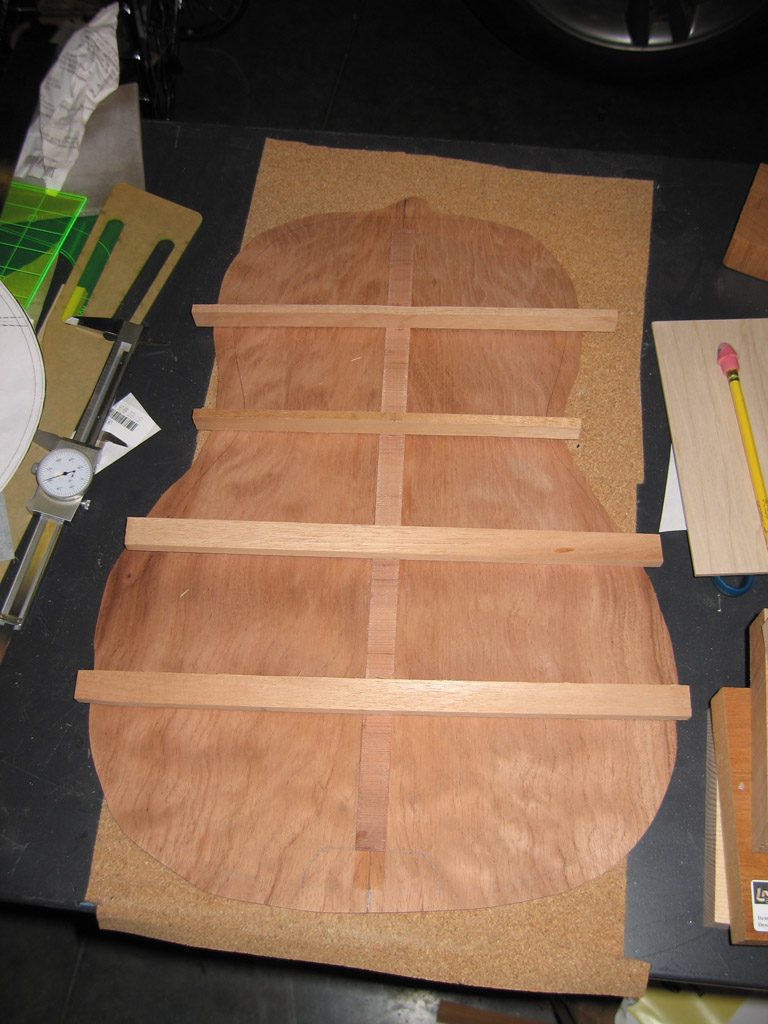
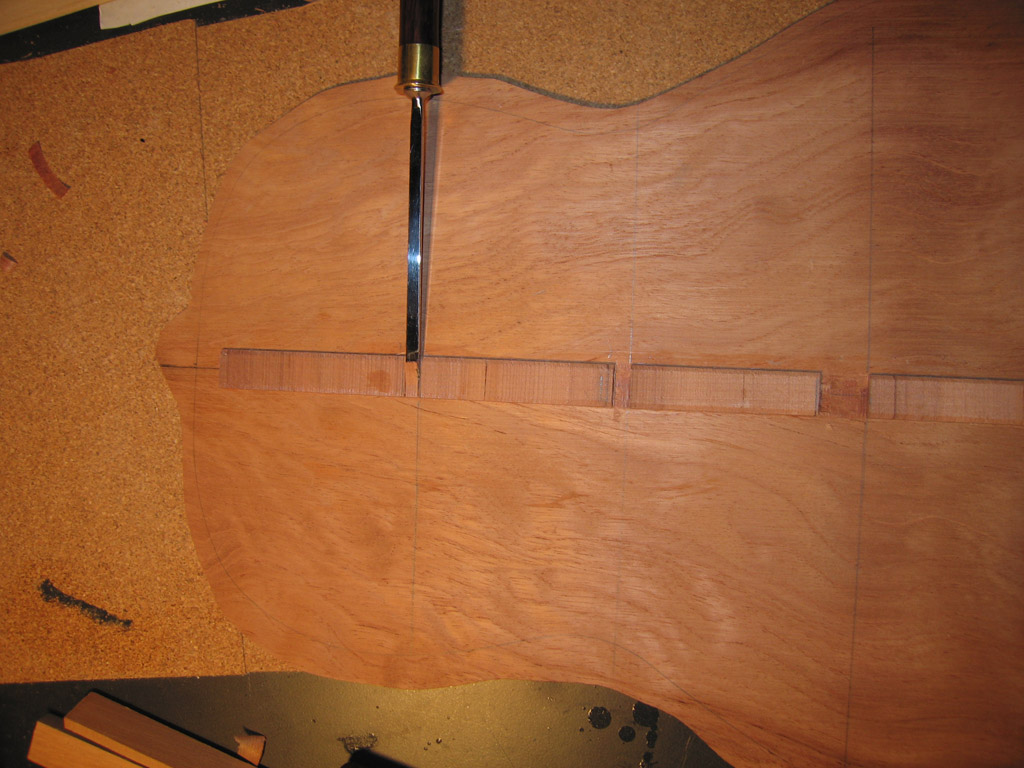
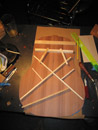
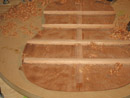
cut back braces
|
|

cut inlets for the back braces.
|

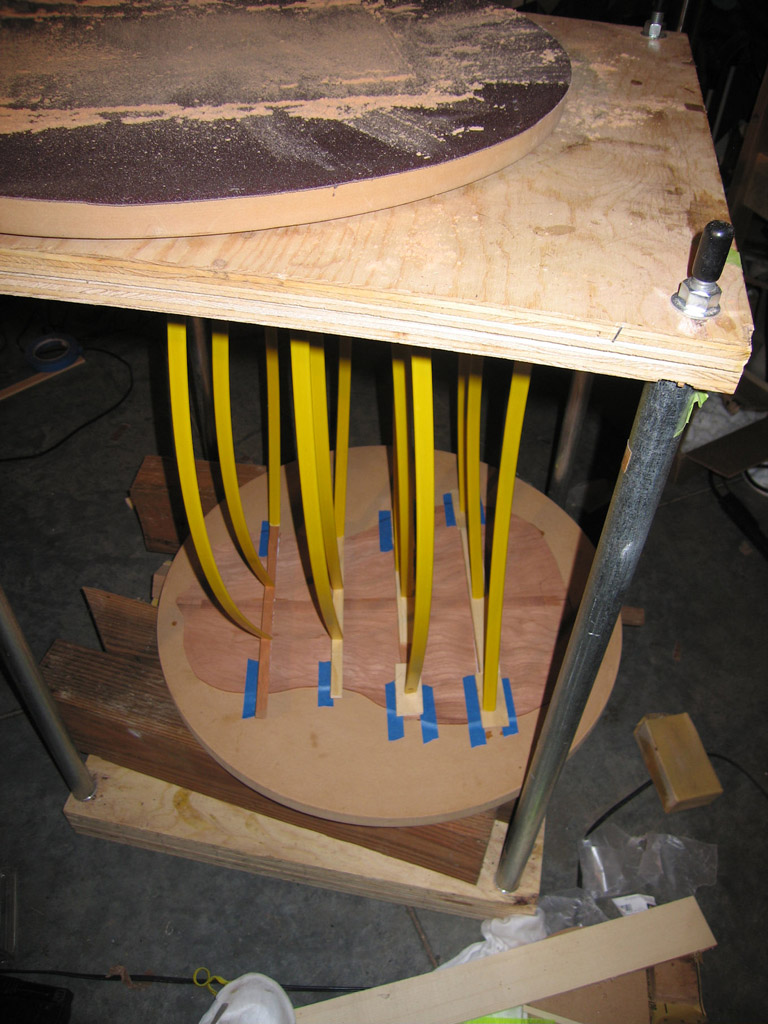
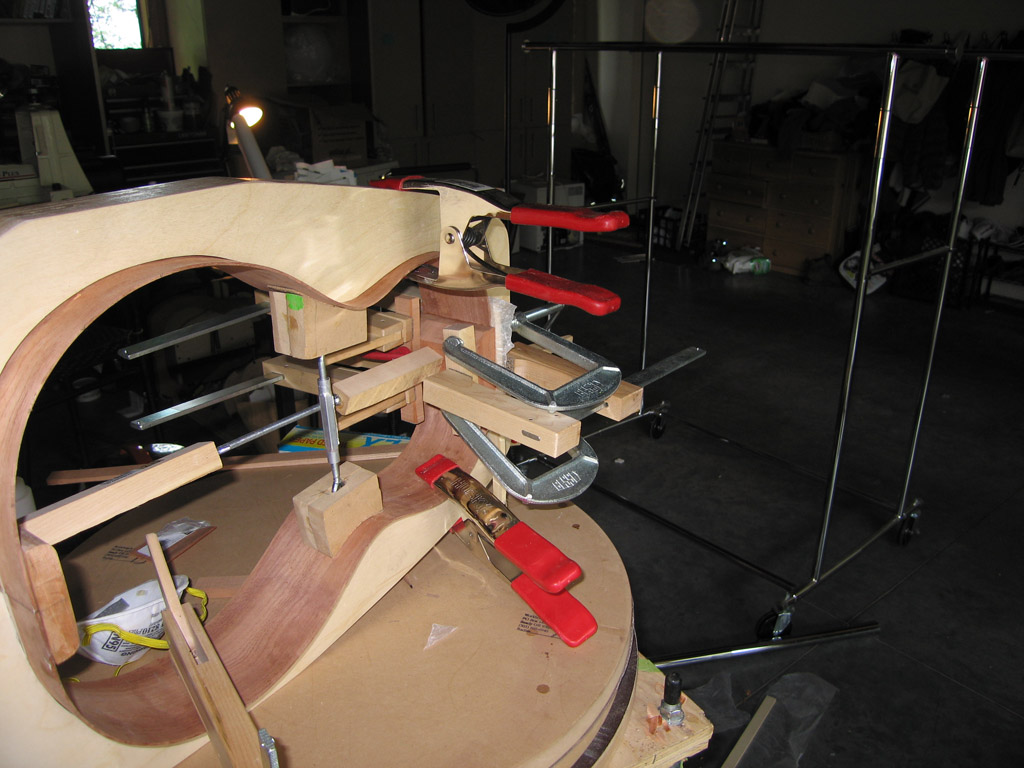
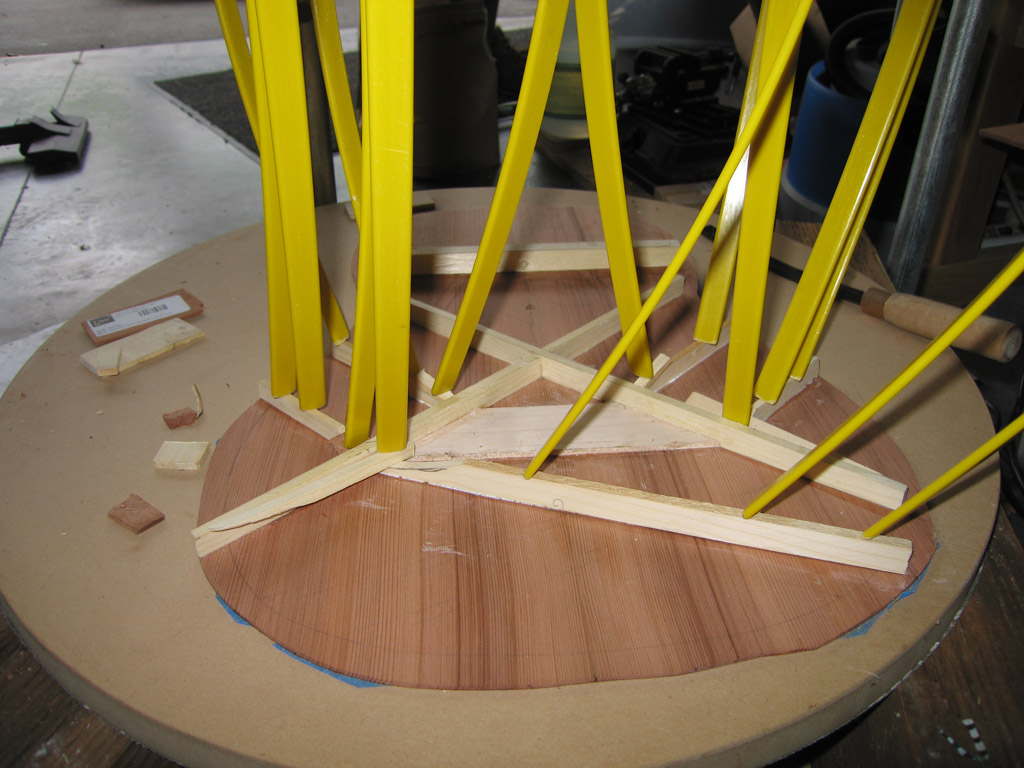
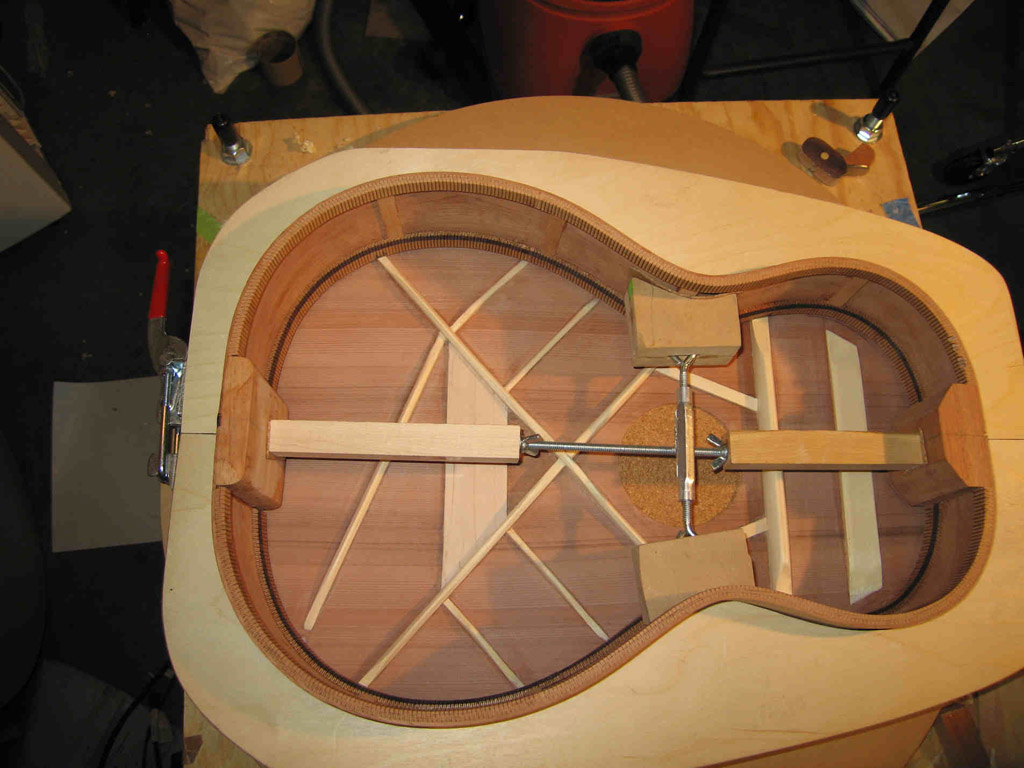
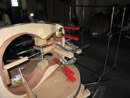
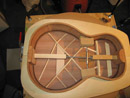
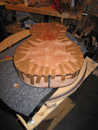
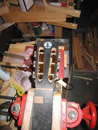
Used the gobar deck to glue in the back braces.
|
|
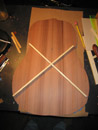
cut x brace for the top.
|
|
cut remaining top braces.
|
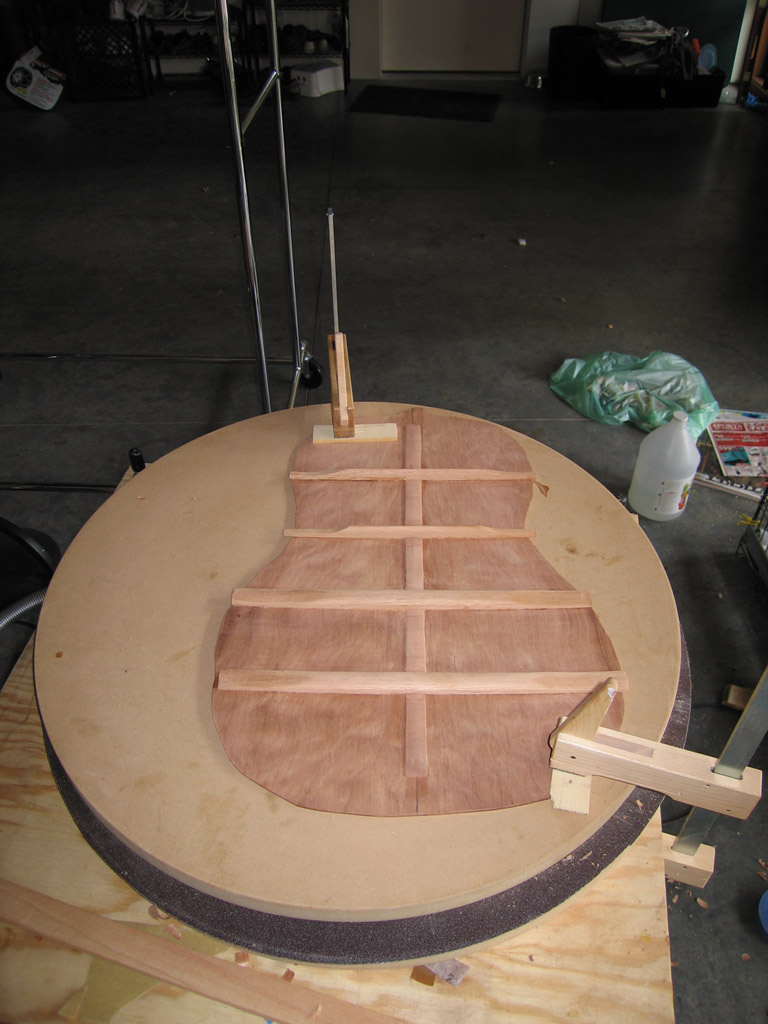
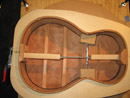
Starting to shape the back braces
|
|

Working the back braces to the correct height.
|
|

completed back
|
gluing in the heel block.
|
|
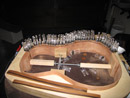
Gluing in AST A4 kerfling
|
|
Checking for glue squeeze out and properly clamped kerfling
|
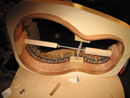
Gluing in top braces.
|
|
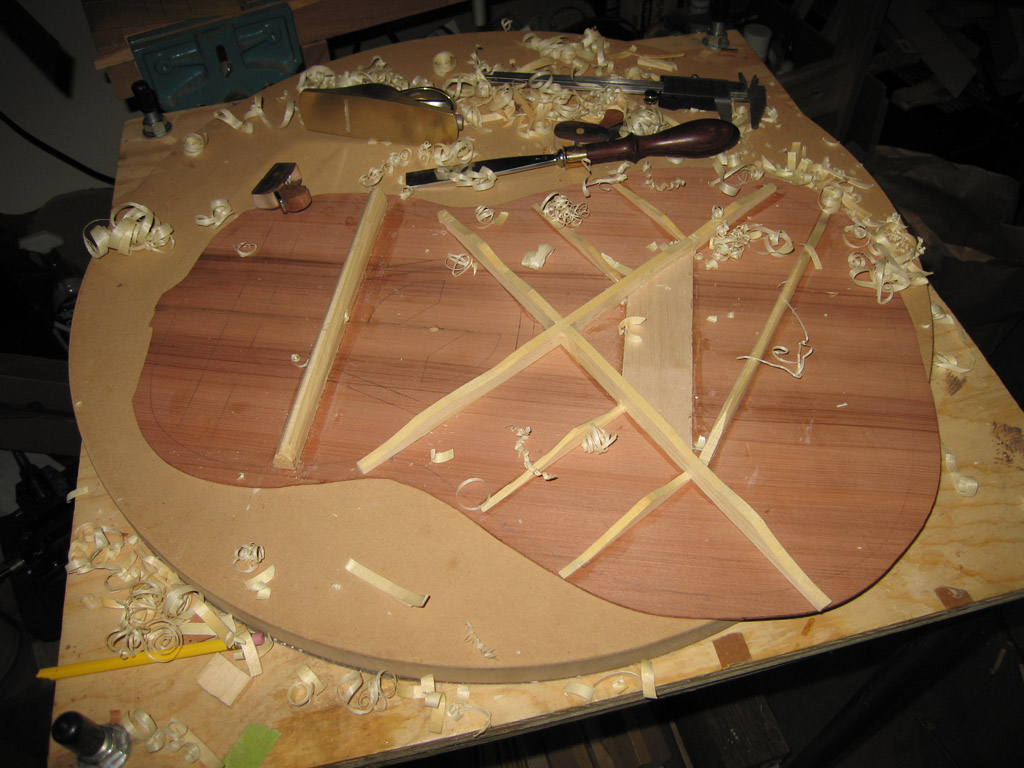
shaping the top braces
|
|
roughly shaped top braces and tone bars.
|

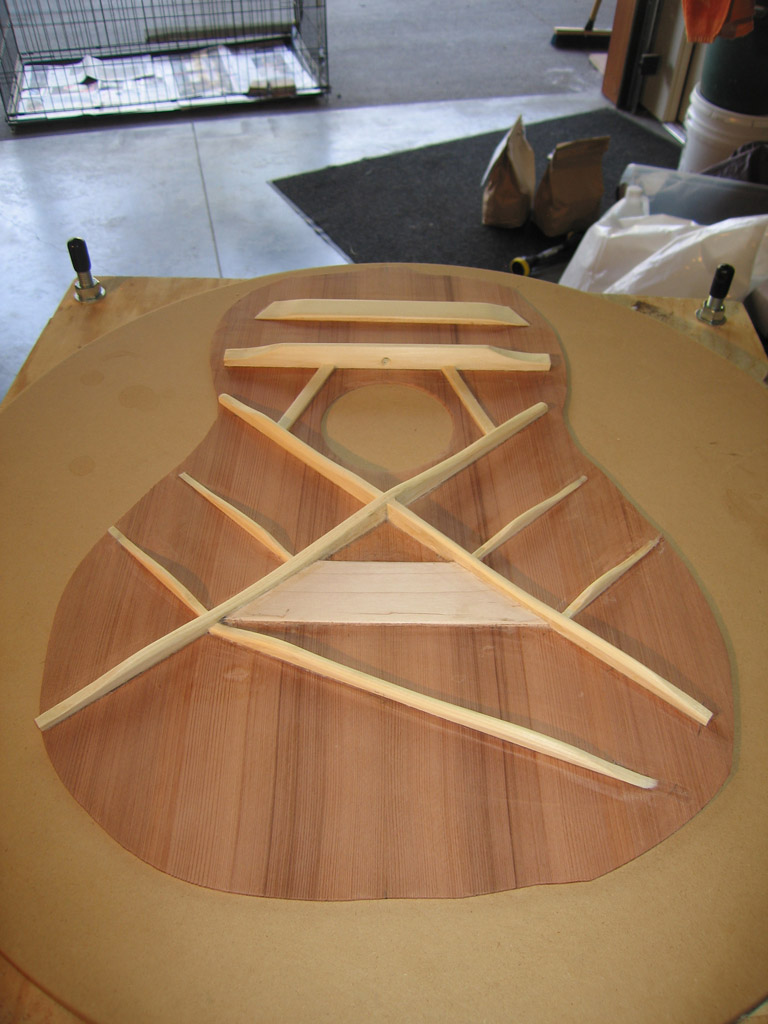
completed top.
|
|
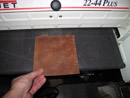
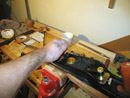
end graft glued in. I wiped a bit of naptha on the side to get a feel for how it will look.
|
|
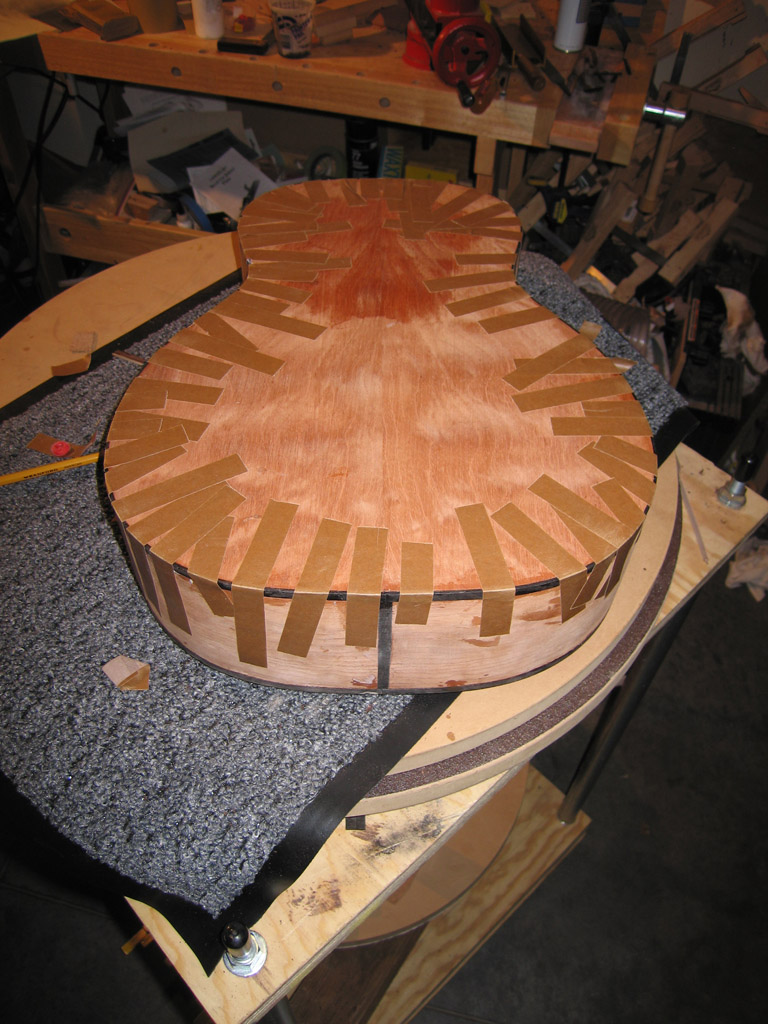
fitting top to the rims
|
fitting back to the rims
|
|

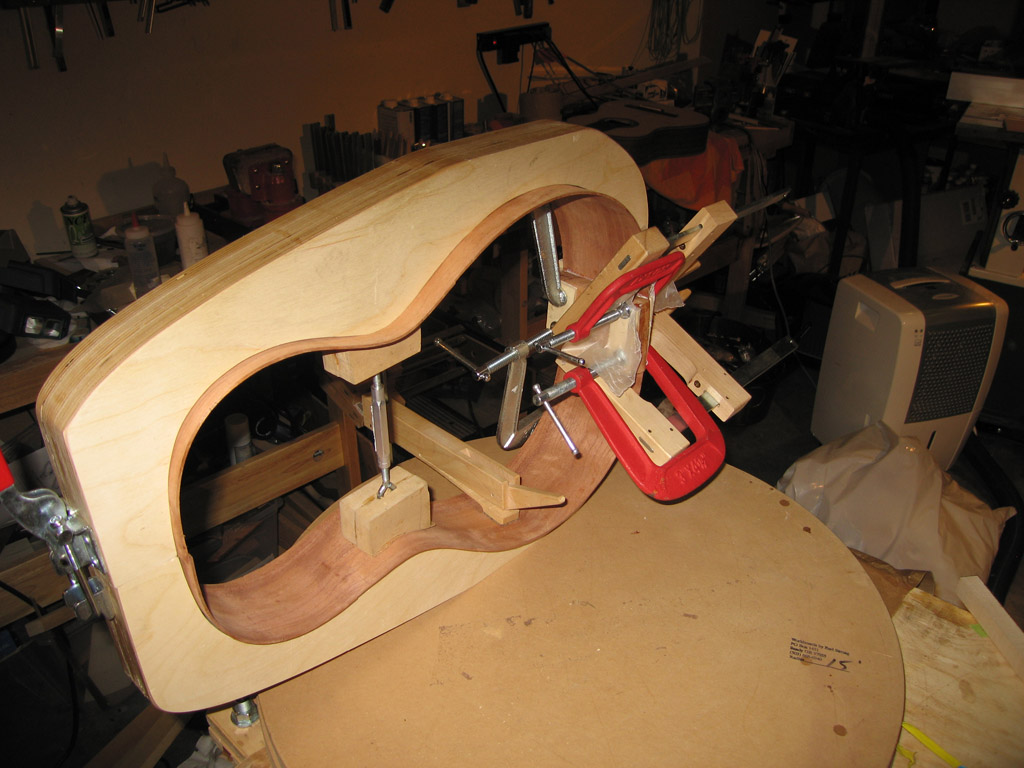
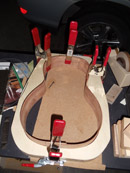
Gluing on the top in a go-bar deck. This is the first time I have used a go-bar deck for gluing on the top or the back.
It went well but I never was comfortable that I had the top aligned on the rims correctly.
|
|

Gluing on the back.
|
top and back glued on and flush trimed. Ready to route the binding channels.
|
|
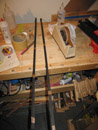
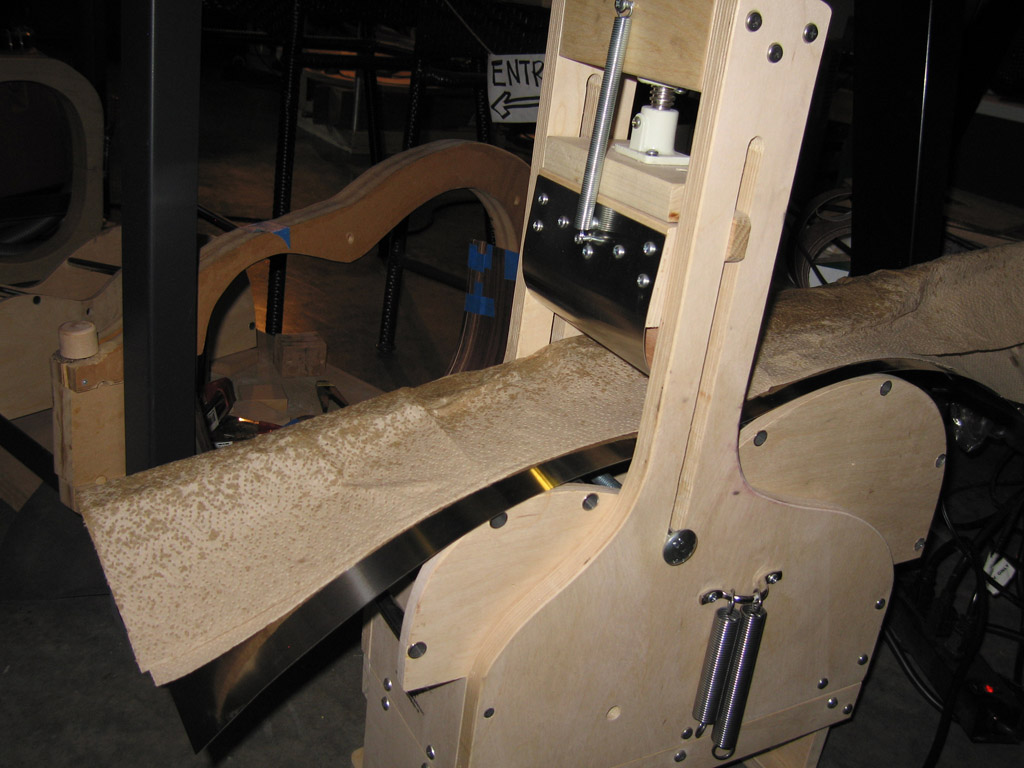
Ebony bindings ready for bending.
|
|

binding bent in a fox style bender
|
Binding ready for instillation.
|
|
Top with ebony bindings and ZipFlex purflings.
|
|
Back binds being glued, clamped with tape.
|
completed bindings
|
|
As this is going to be my first slotted head stock I built a prototype first. I used the
LMI Headstock slotting and drilling jig to make the prototype.
|
|
Top with mortise cut and back with tenon cut. I used a 1/2 end mill and a
Luthier Tool Company neck angle jig to cut
the mortise and tenon.
|
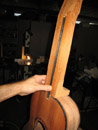
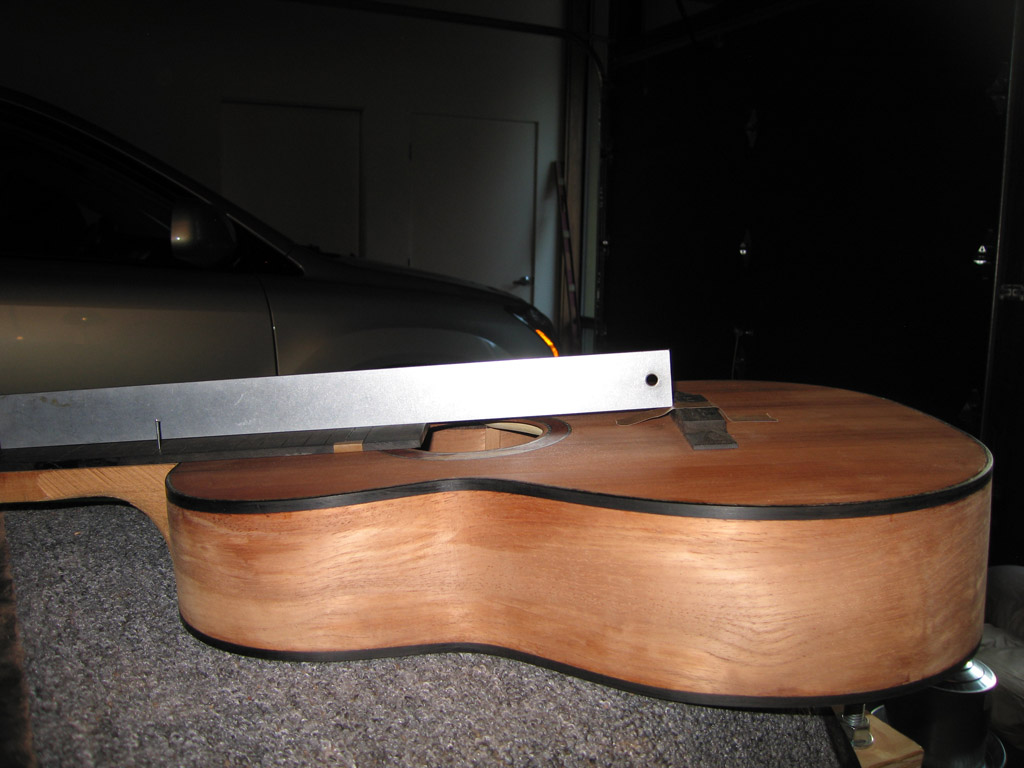
Checking neck angle.
|
|

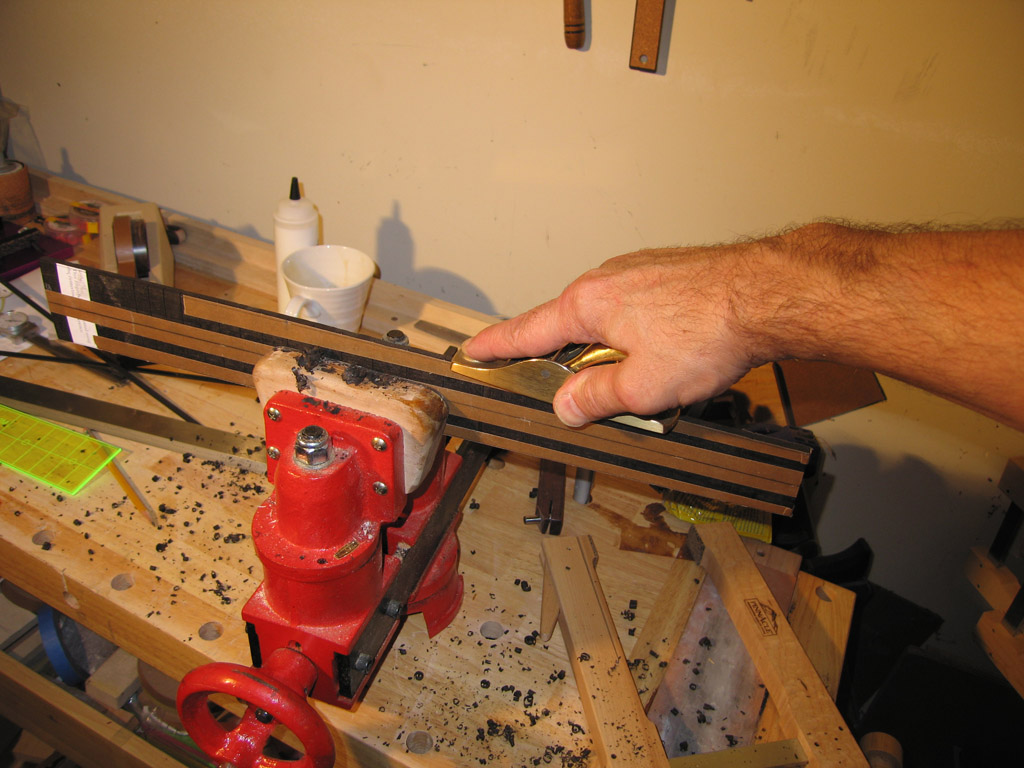
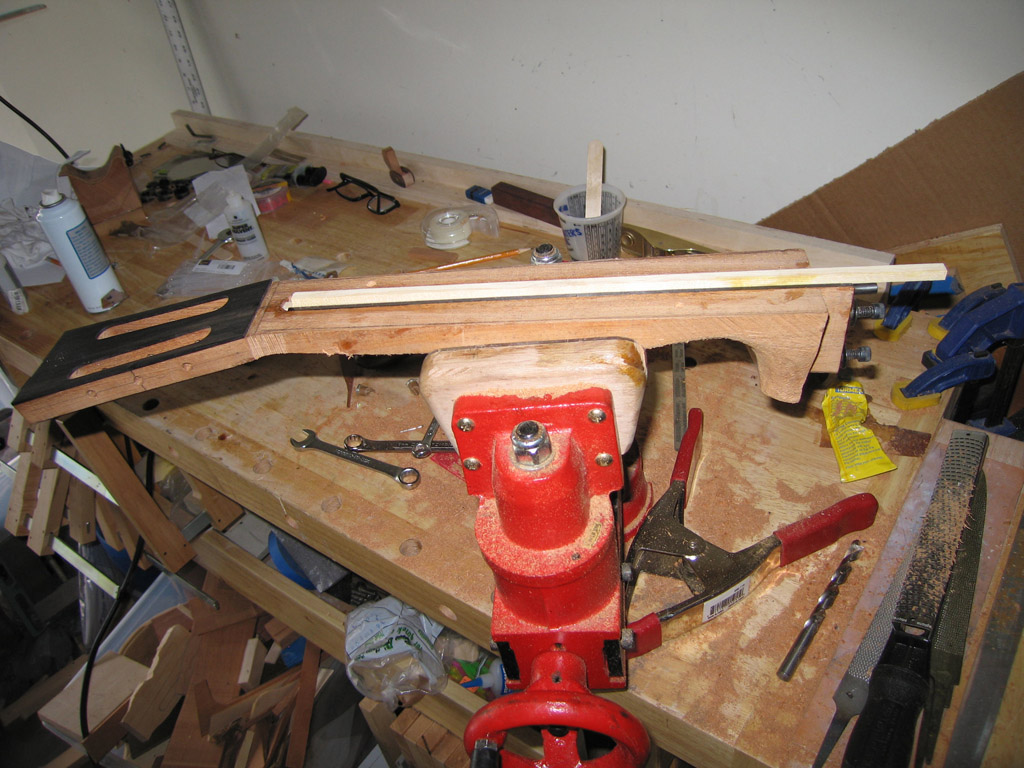
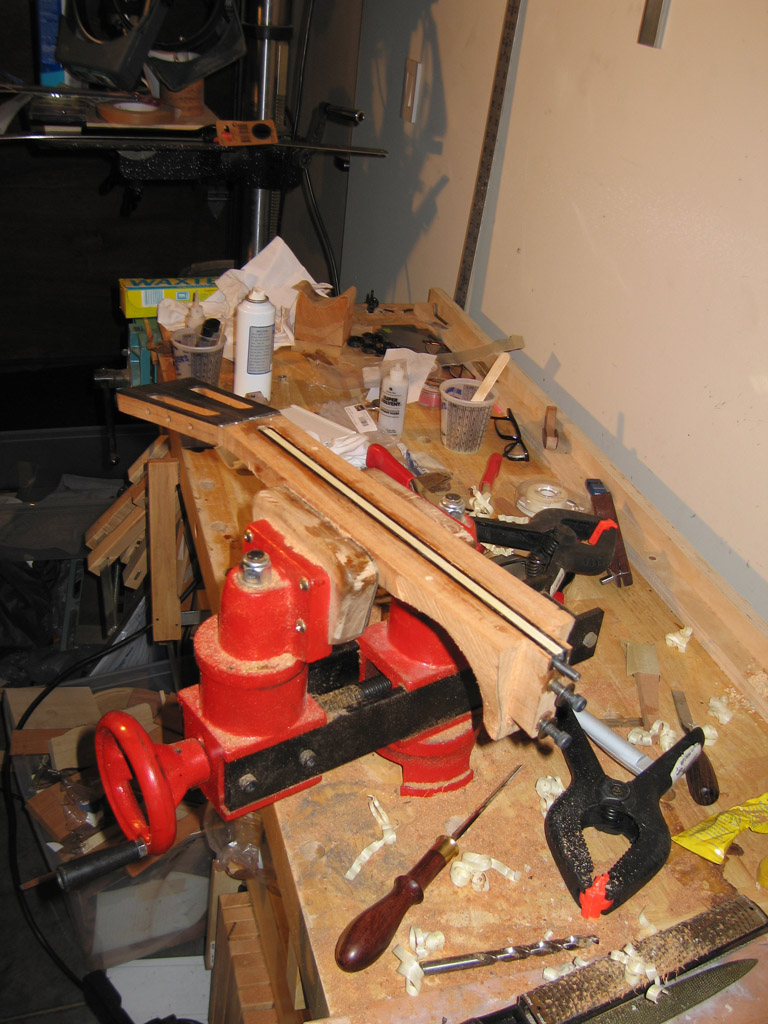
Tapering fret board using a LN block plane.
|
|
tapered fret board and ebony bindings.
|

Make shift jig to glue on binding. I used thin CA.
|
|

gluing on ebony head stock veneer.
|
|
neck with head stock veneer.
|
Thinning head stock veneer to correct thickness.
|
|
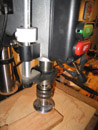
Using a
Wagner Safe-T-Plane to take headstock to final thickness.
|
|

Triming neck closer to profile.
|
Used my LN block plane and scrapers to get the head stock to the correct profile.
|
|
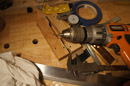
Using the LMI Headstock slotting and drilling jig to
drill the tuner holes.
|
|
Holes look good
|
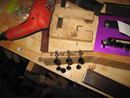
Test fit of tuners looks good.
|
|
Oh No! I wanted to make the slot slightly narrower than my prototype but I put a smaller template guide in
rather than the next larger template guide. This route went past the veneer into the head stock. I took a deep breath,
placed this neck to the side and repeated all of the above steps to make a completely new neck. I had more practice!
|
|

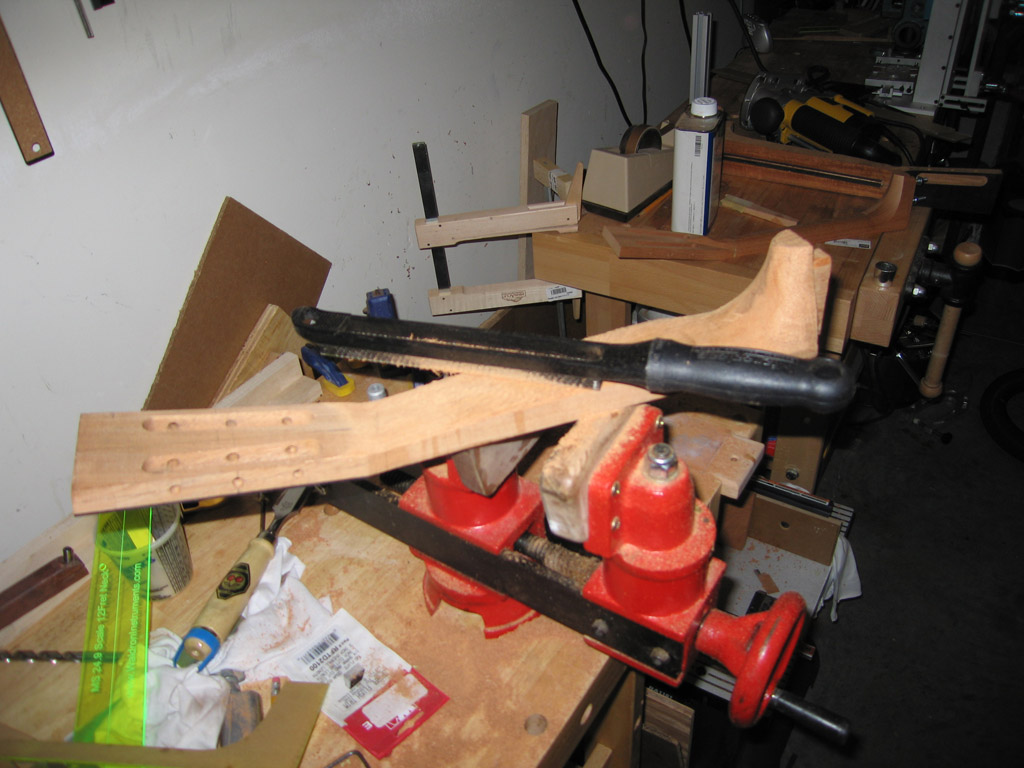
I complete all of the above steps on the new neck and started to shape the neck using a microplane rasp.
|

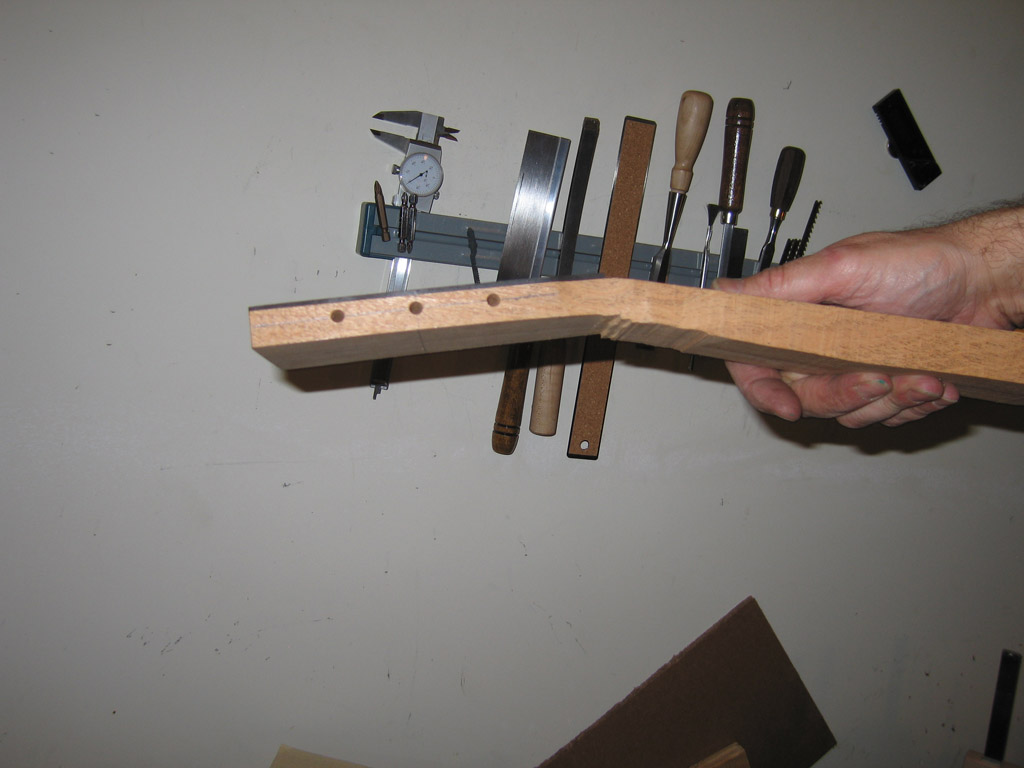
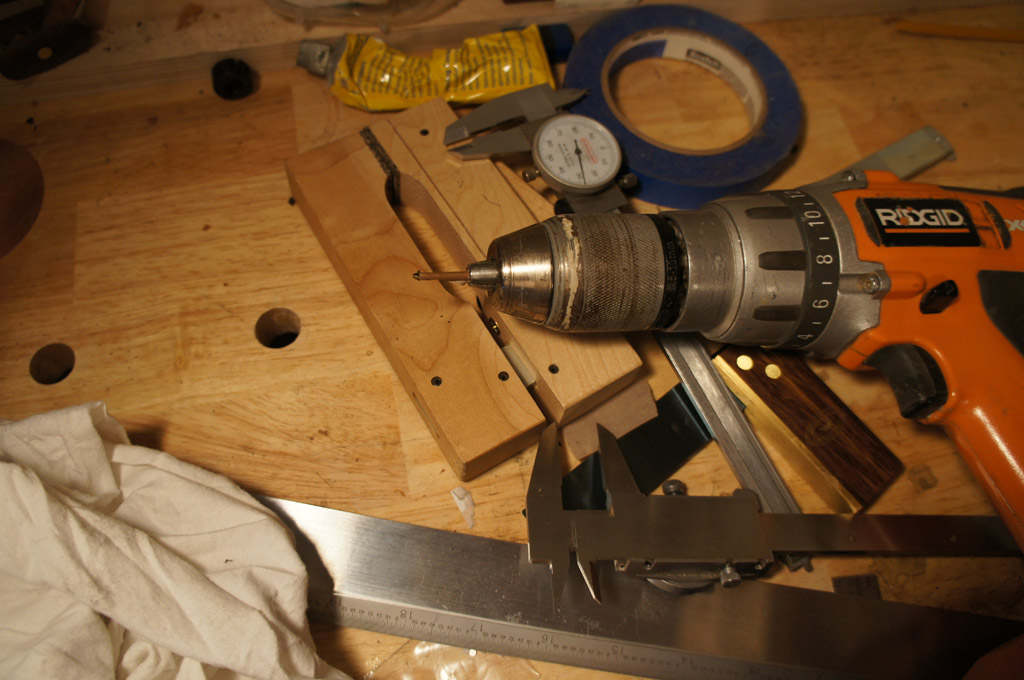
Drilled the holes into the neck tenon for the blolt on neck. In this picture I am showing hole centers that I used
to transfer the hole pattern into the heel block in th body.
|
|

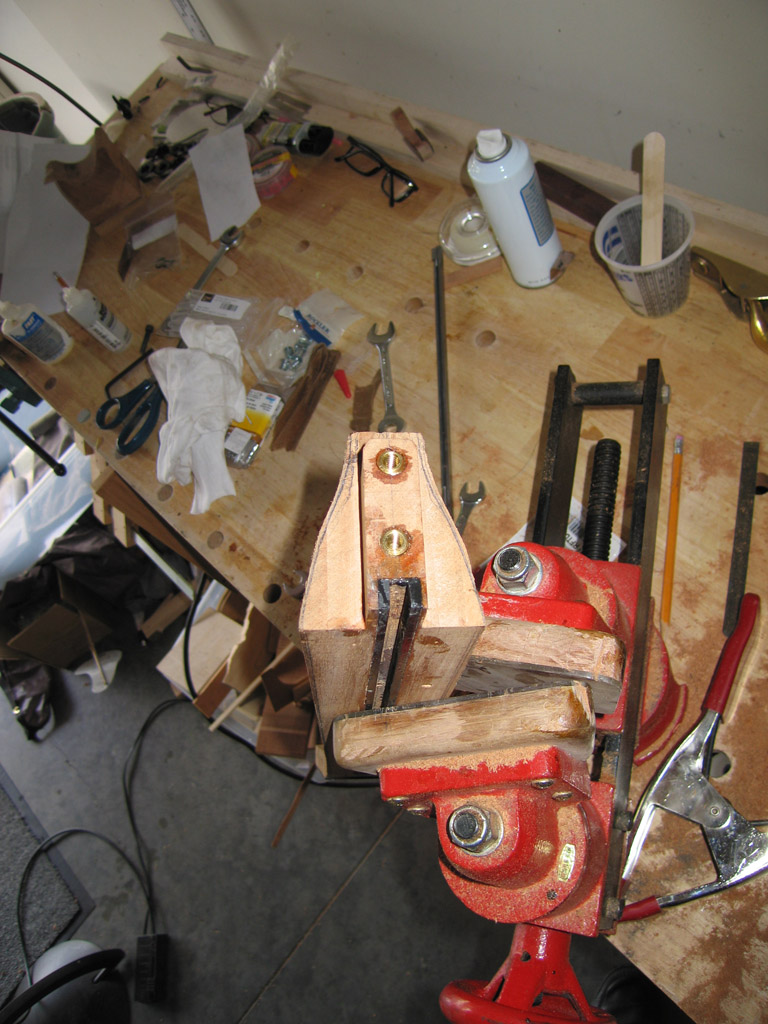
With hole centers in the tenon holes I aligned the neck and pushed the neck into the body
to trasfer the hole location.
|
|
Neck bolt holes drilled into the mortise.
|

brace inserts for the neck bolts installed
|
|

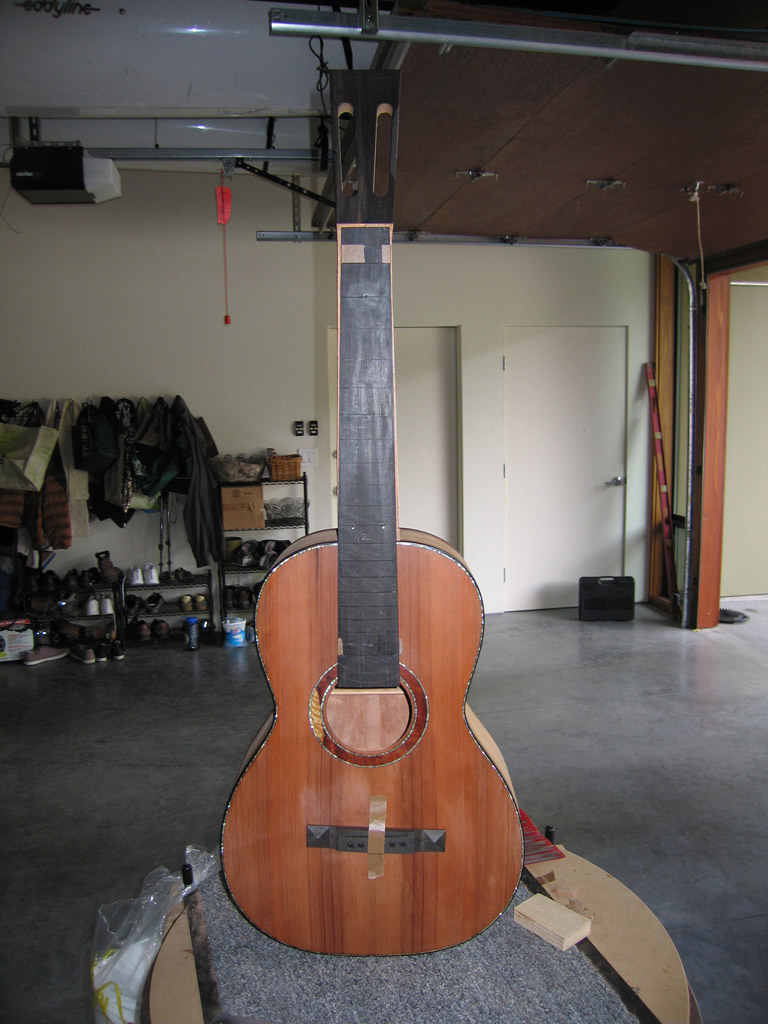
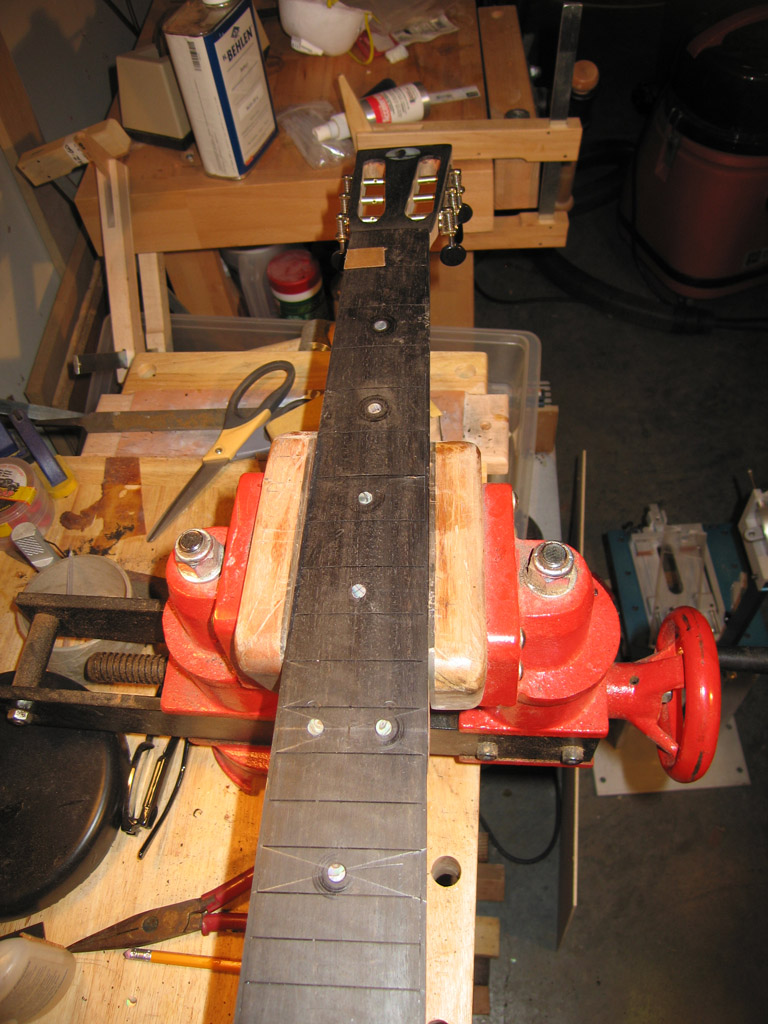
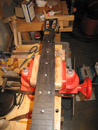
With the fret board is taped on to the rough carved neck and theh neck bolted to the guitar,
the neck neck angle is checked side to side and front to back.
|
|

Rough neck and taped on fret board.
|

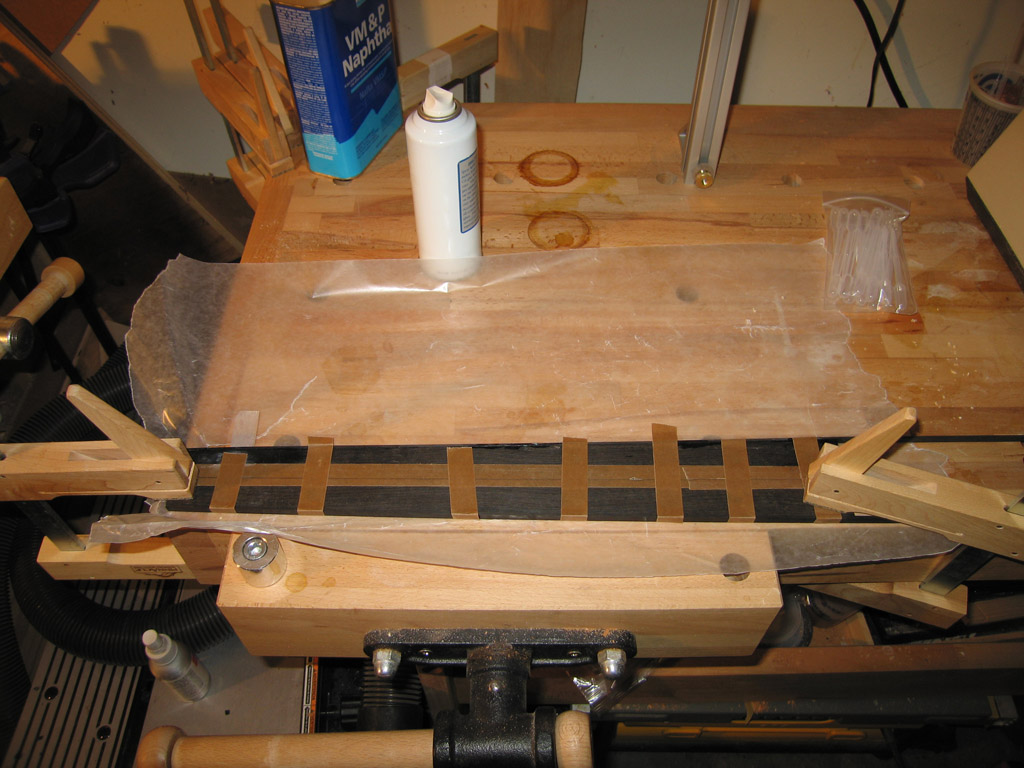
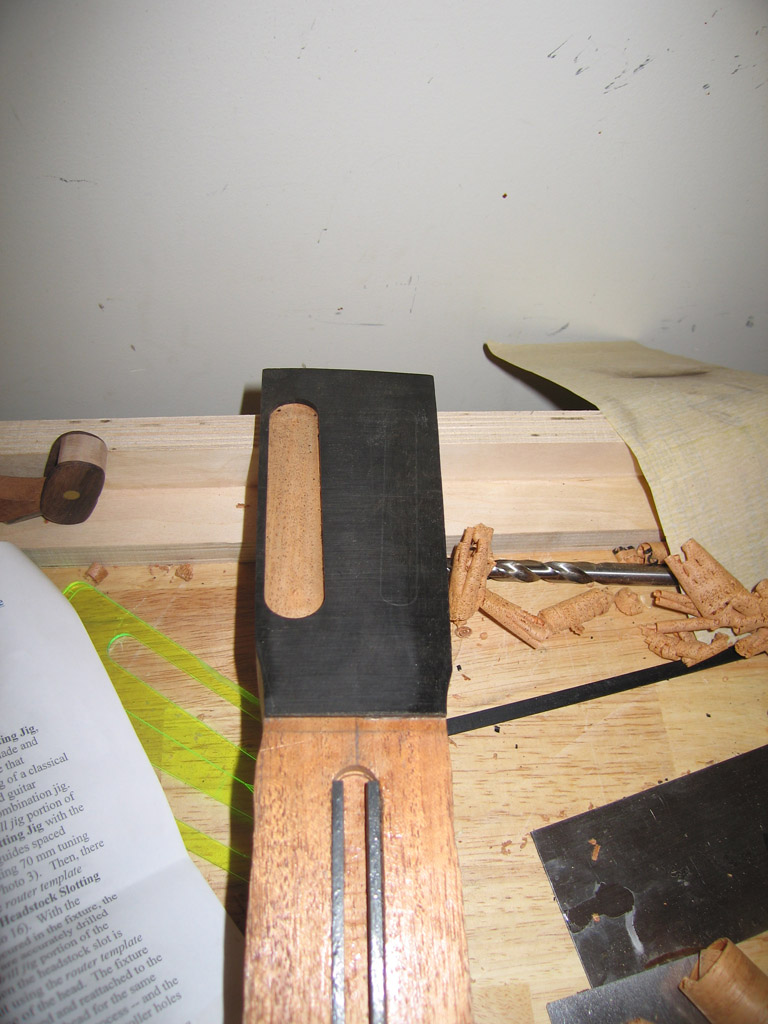
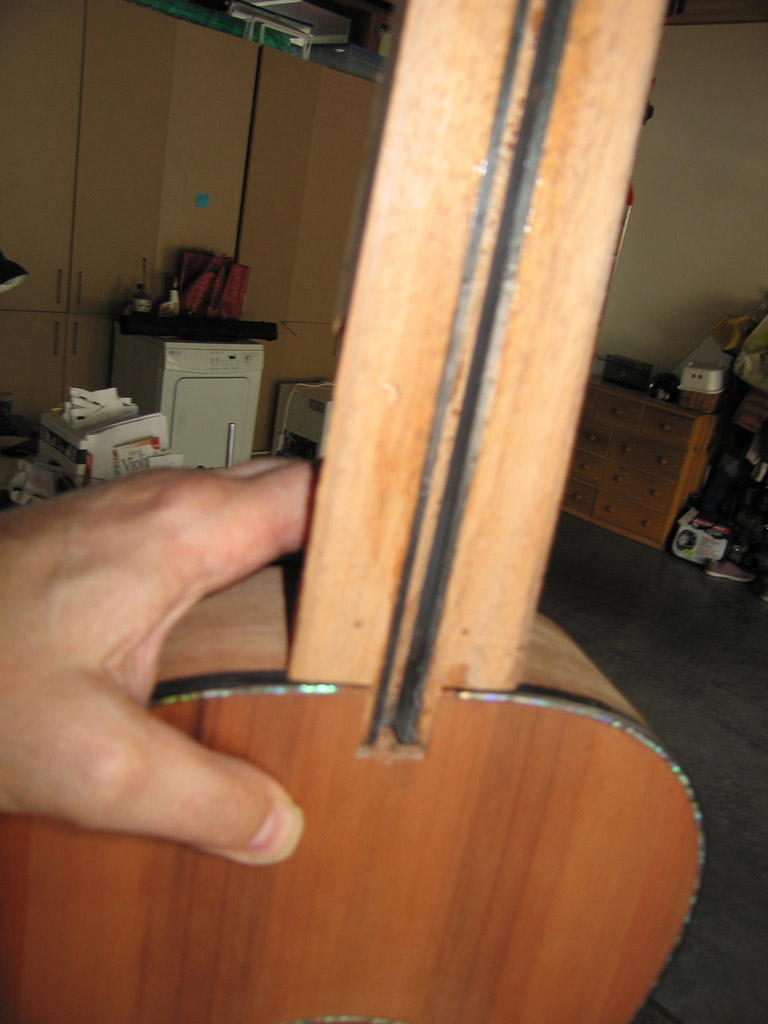
To install the truss rod I epoxied in a 1/4" thick strip of spruce. An extra piece I cut for bracing.
|
|
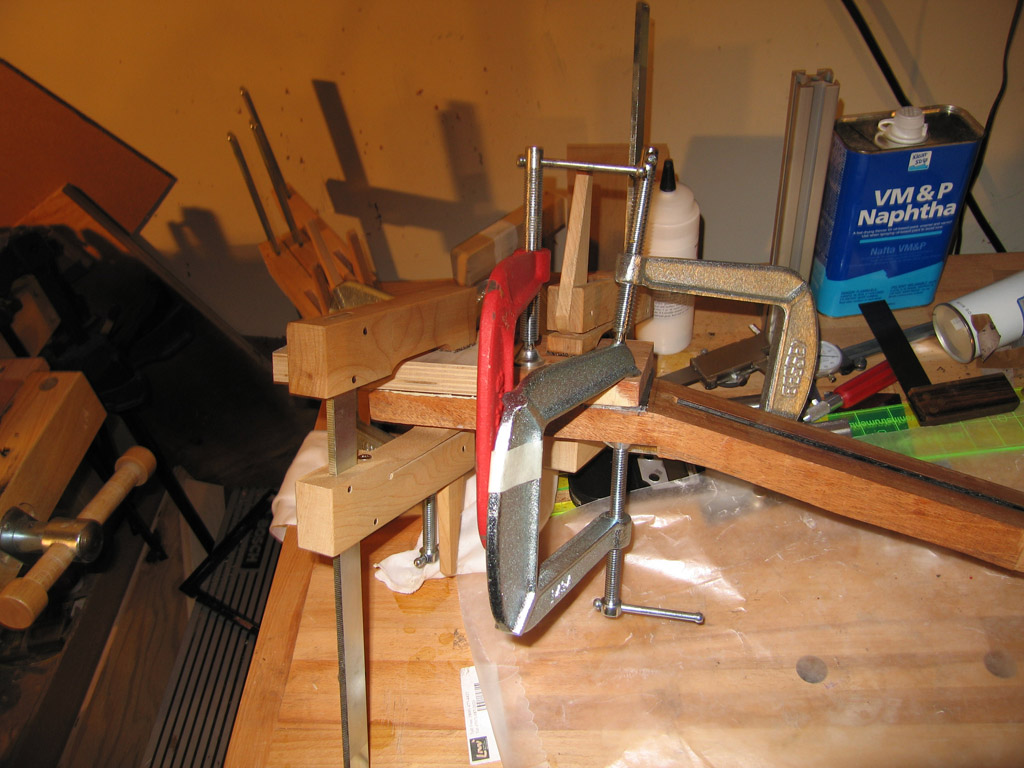
Spruce truss rod cover epoxied into the truss rod slot using 20 minute epoxy.
|
|
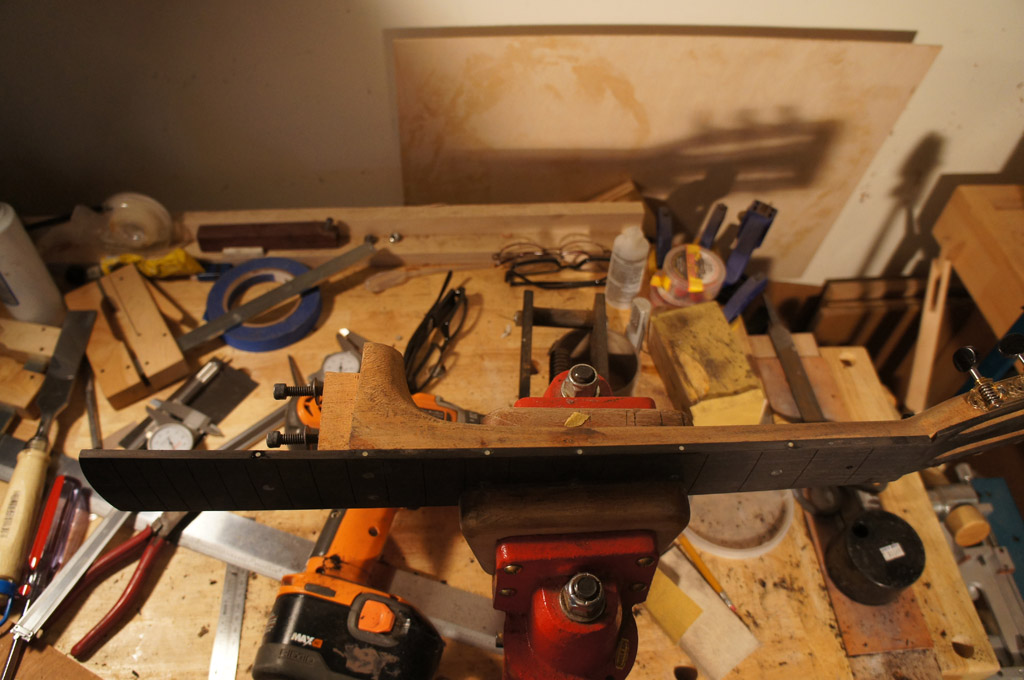
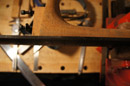
Trus rod cover planed flush.
|
Checking the neck angle again.
|
|

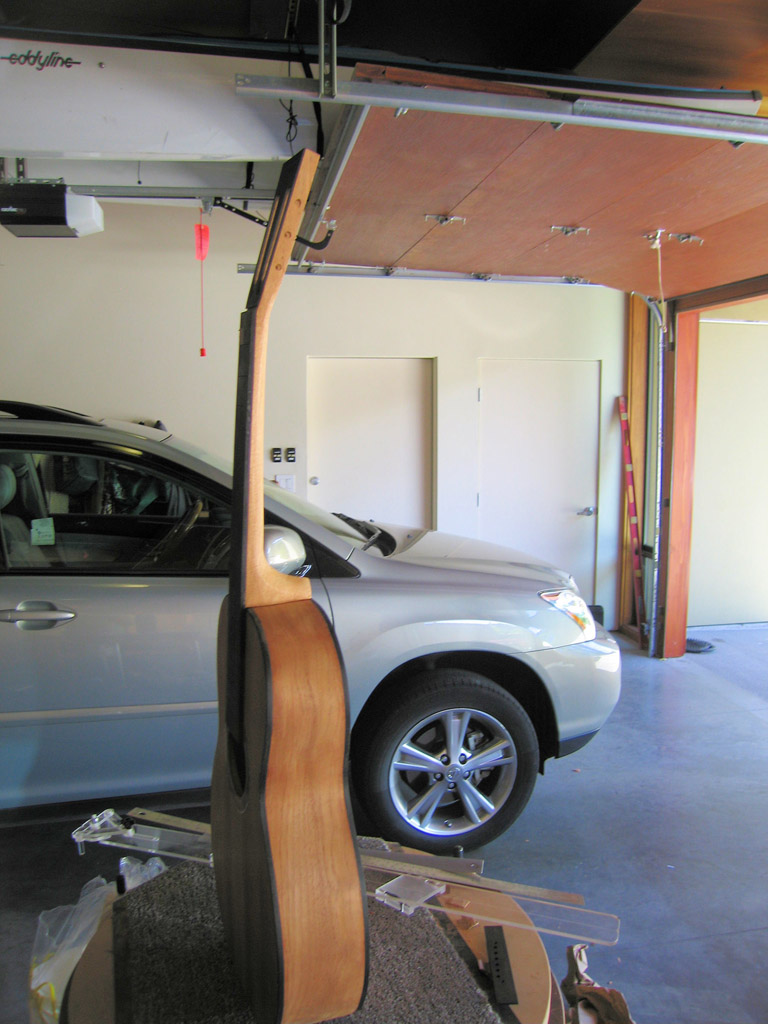
shaped neck with body.
|
|

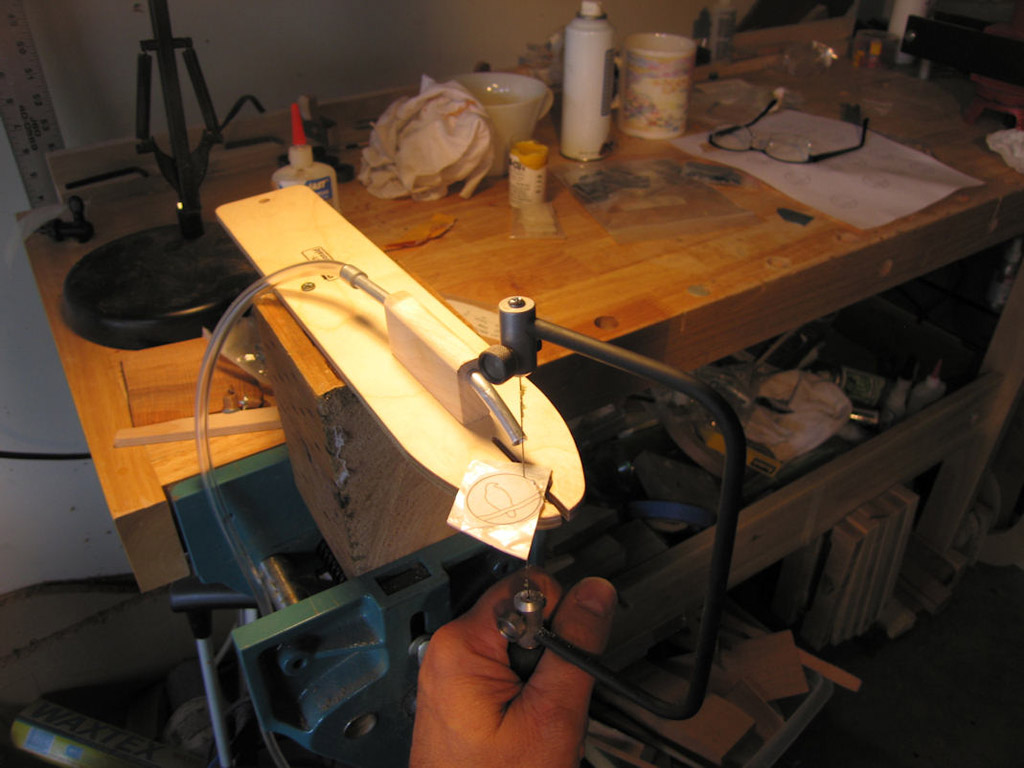
The next sequence of photos, show me cutting out my logo from white and black MOB and a bit of ebony. I ended up doing this twice, as I installed it on the
head stock off center. I ended up removing the damaged head stock veneer and remaking the logo.
|
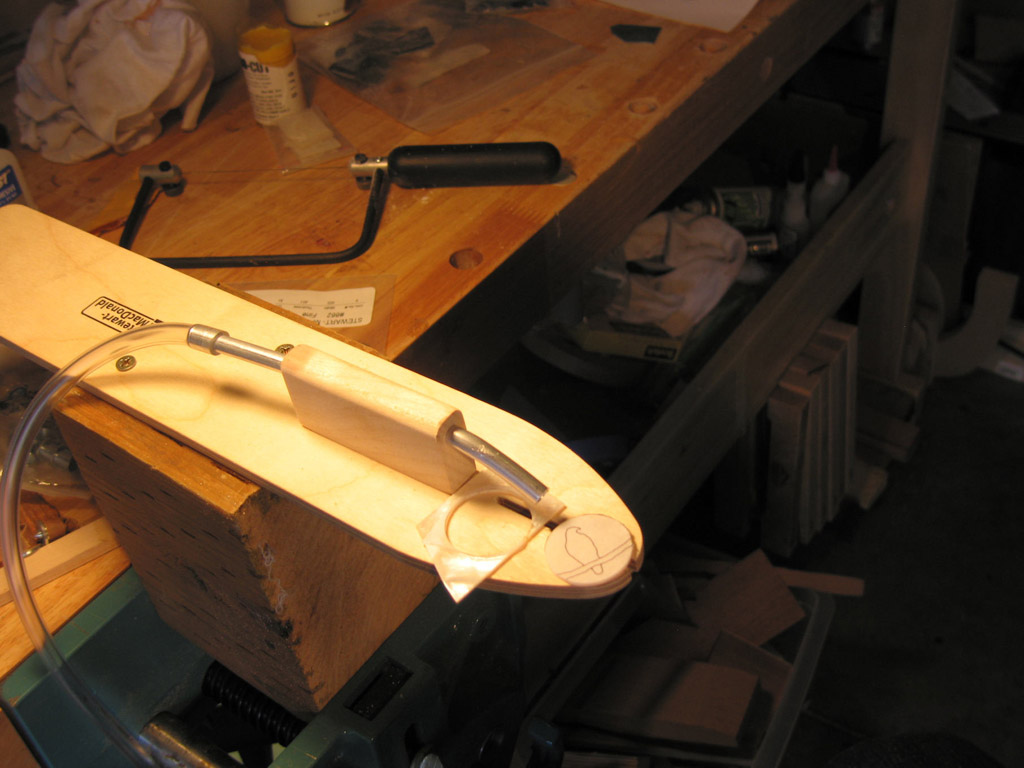
cutting out the moon.
|
|
cut out moon.
|
|

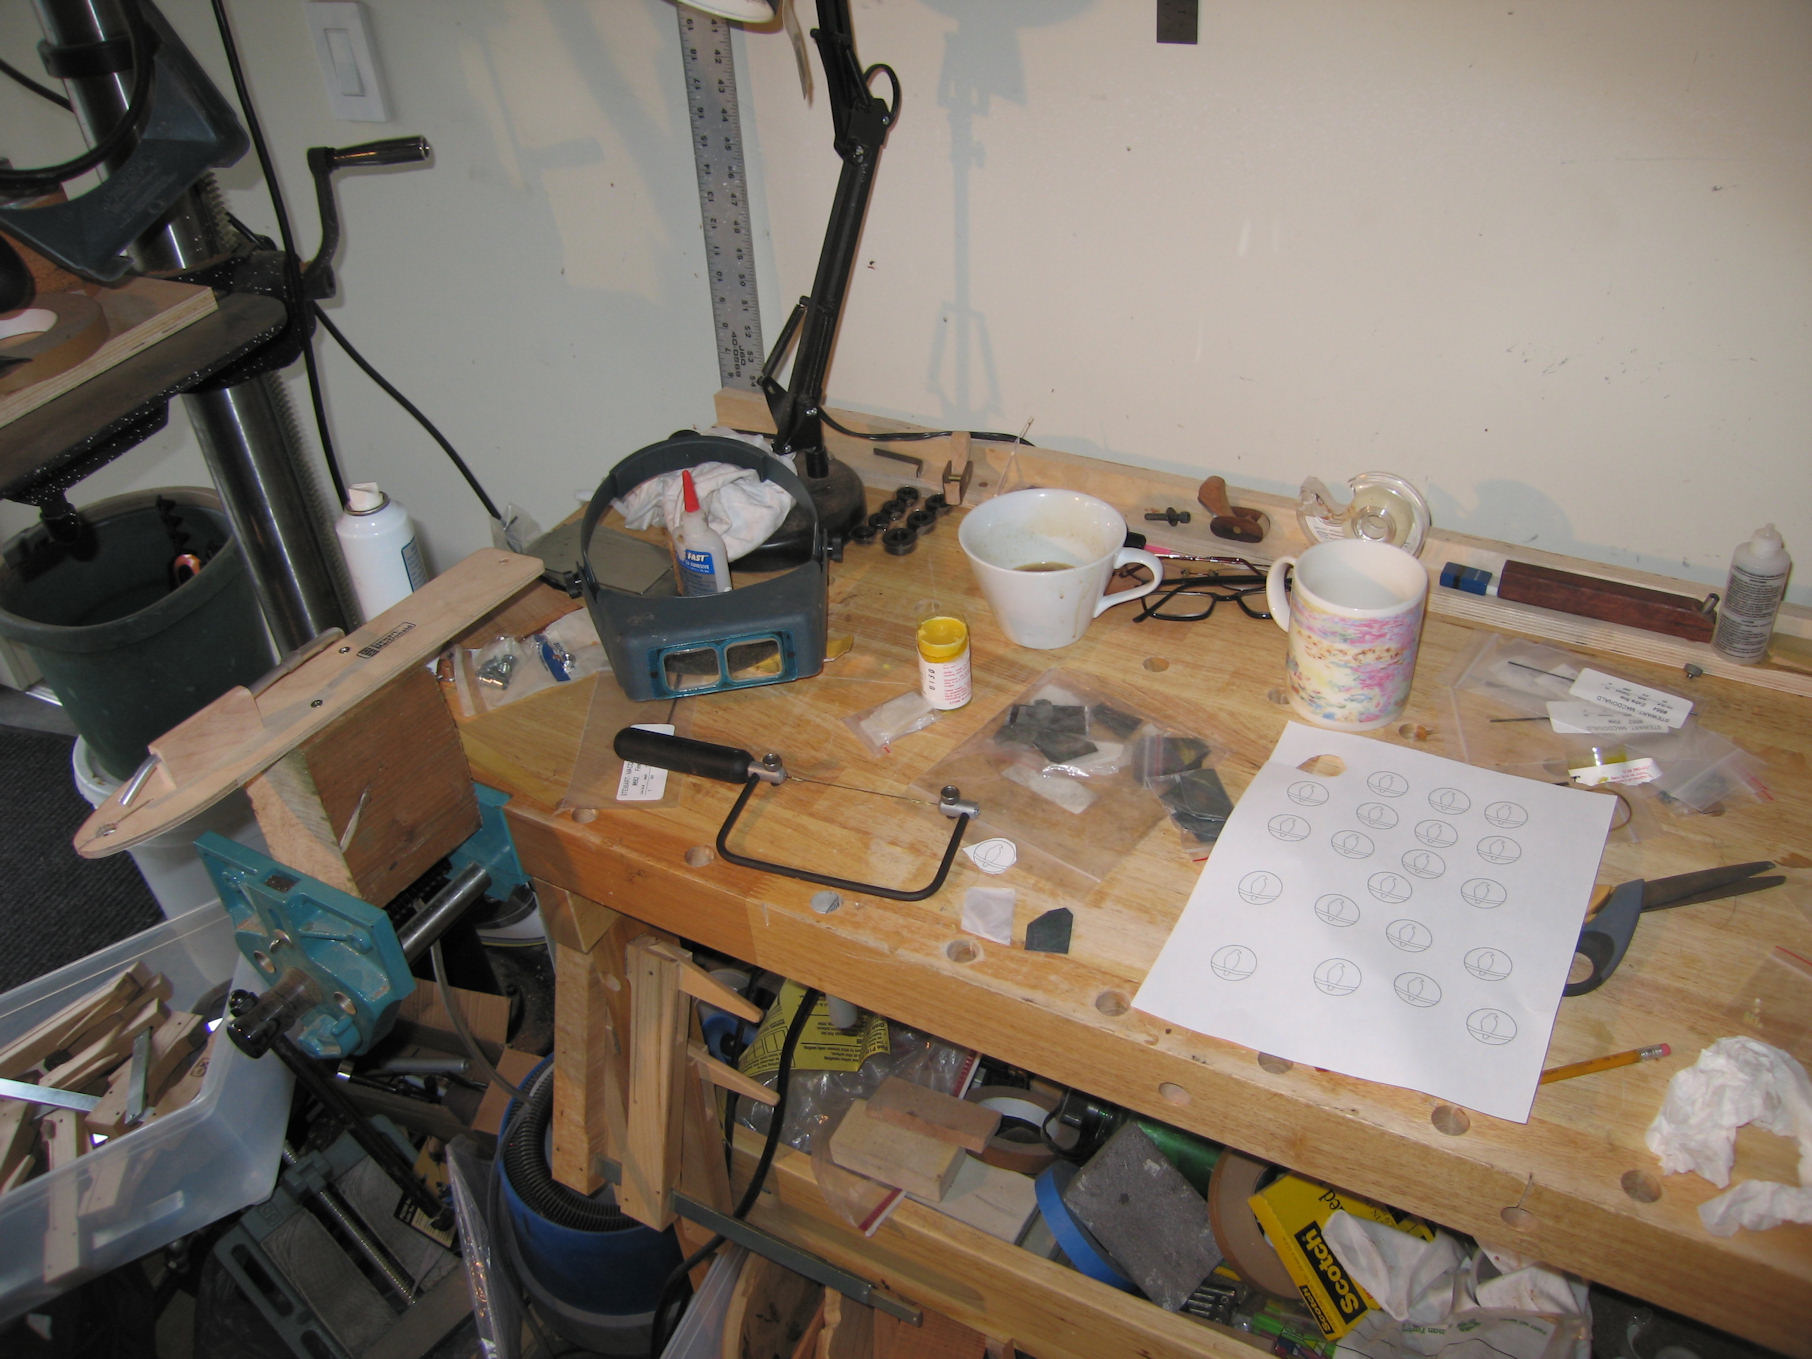
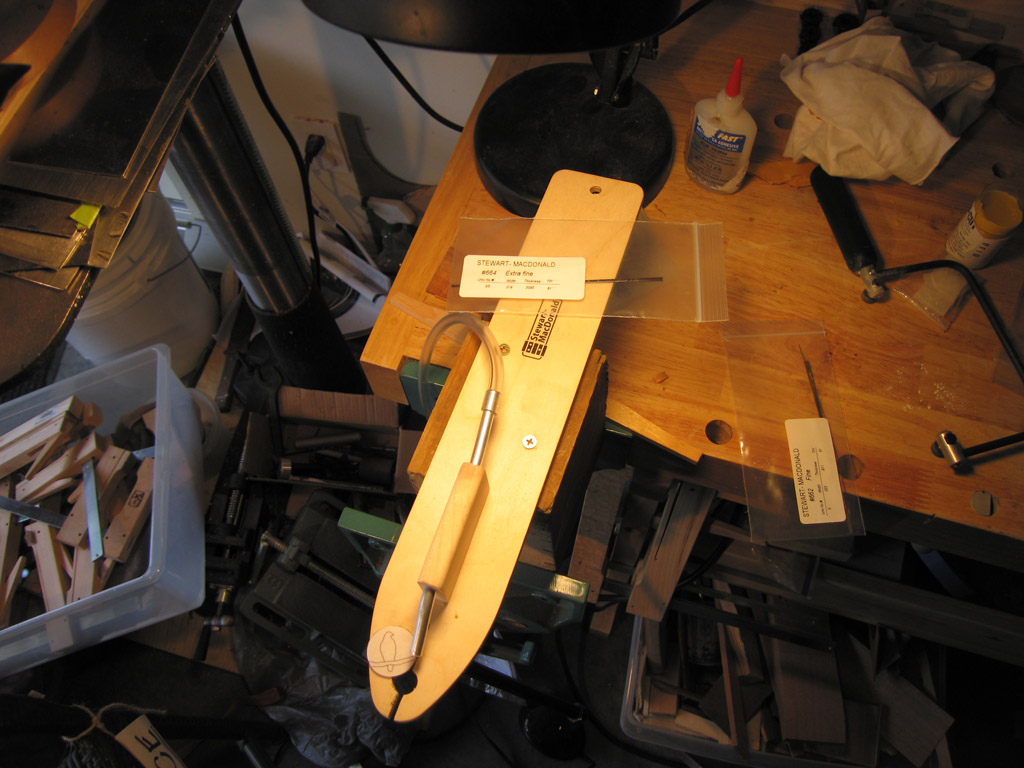
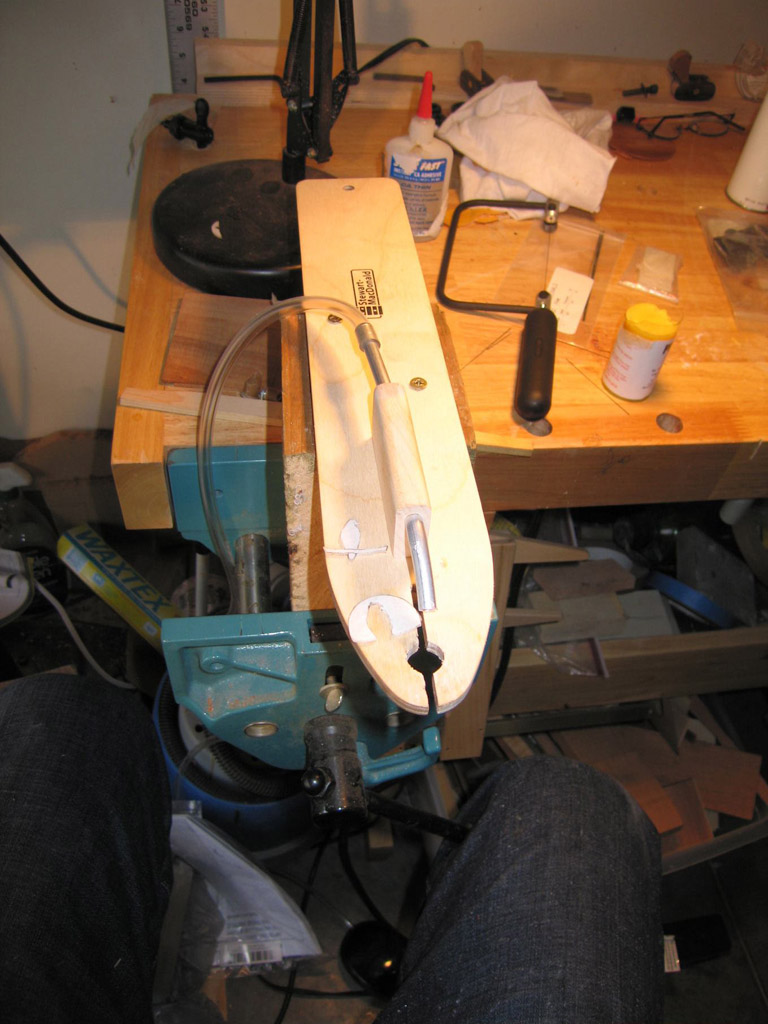
My pearl cutting setup.
|
The hawk and branch waste cut out of the moon.
|
|
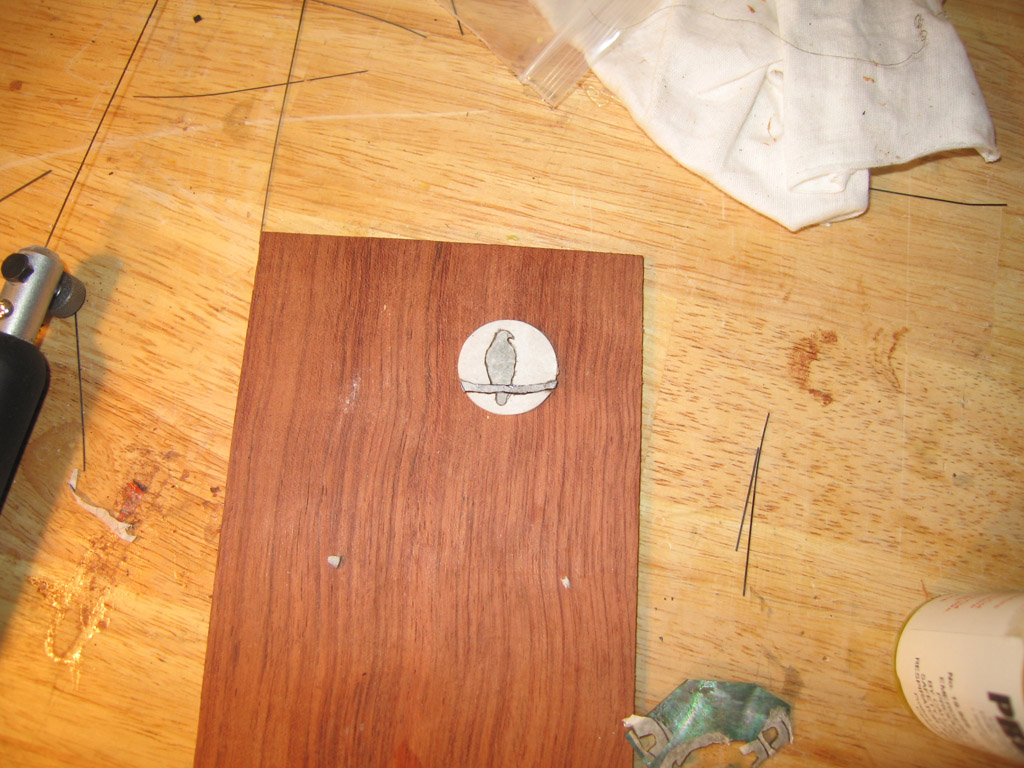
completed moon.
|
|
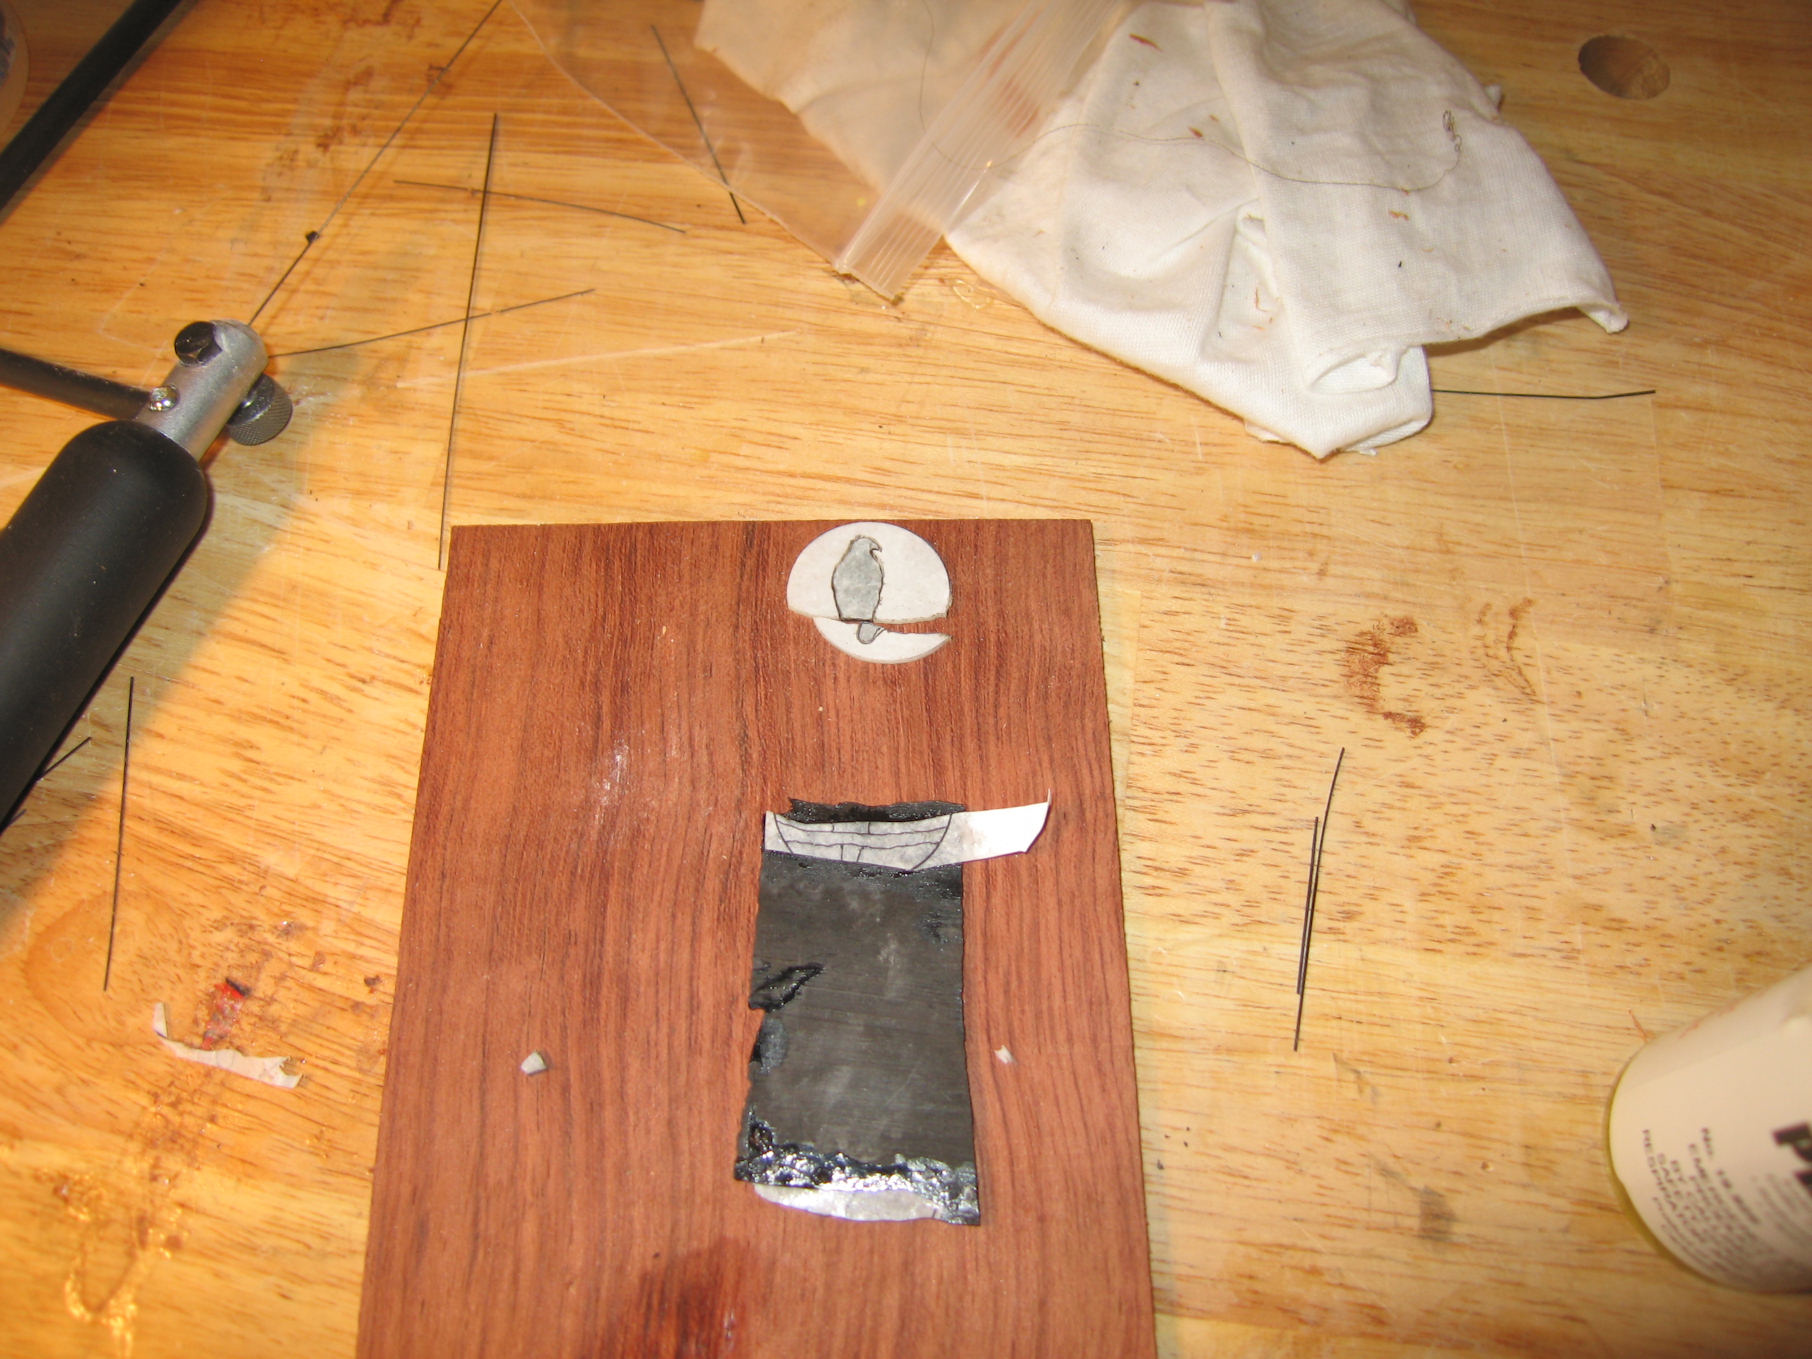
Hawk and Hawk tail cut out of black pearl. Preparing to cut out branch from ebony.
|

Completed logo pieces.
|
|
Logo inlaid into head stock. Also the string ramps have been shaped.
|
|
Inlaid all of the fret markers.
|
Hard to see, but the holes from the fret edge markers are drilled.
|
|
Drill setup to drill edge fret markers.
|
|

Installed fret markers
|

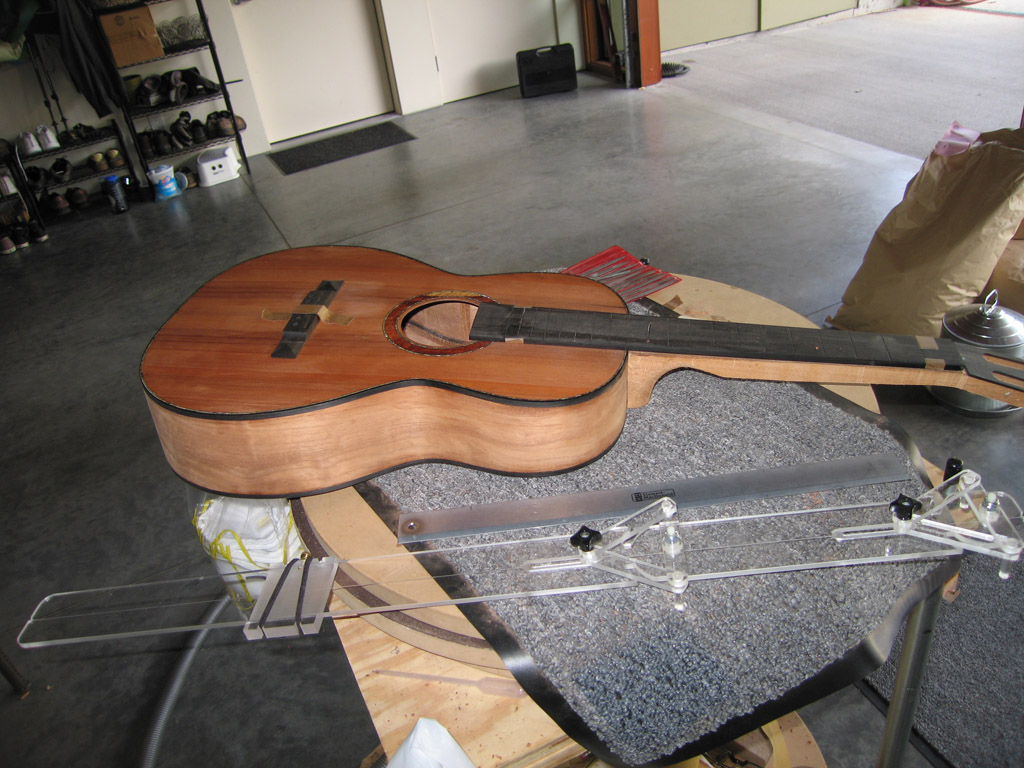
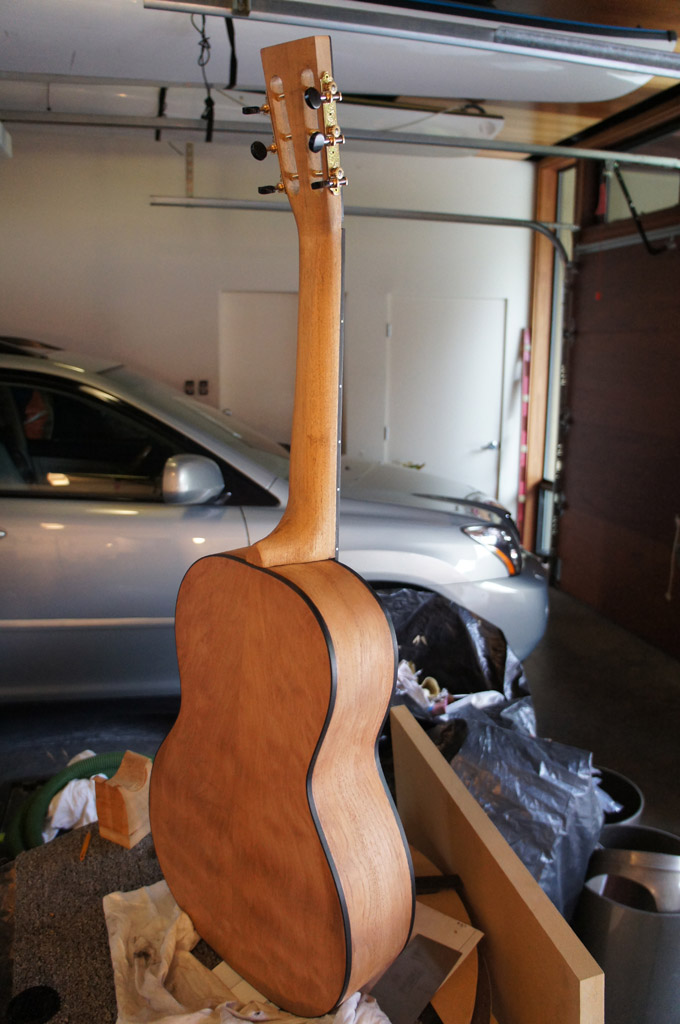
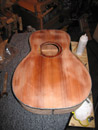
completed guitar in the white.
|
|
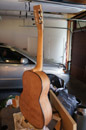
Completed guitar in the white
|
|
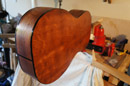
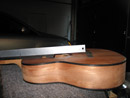
Starting epoxy fill on back and sides.
<
|