|
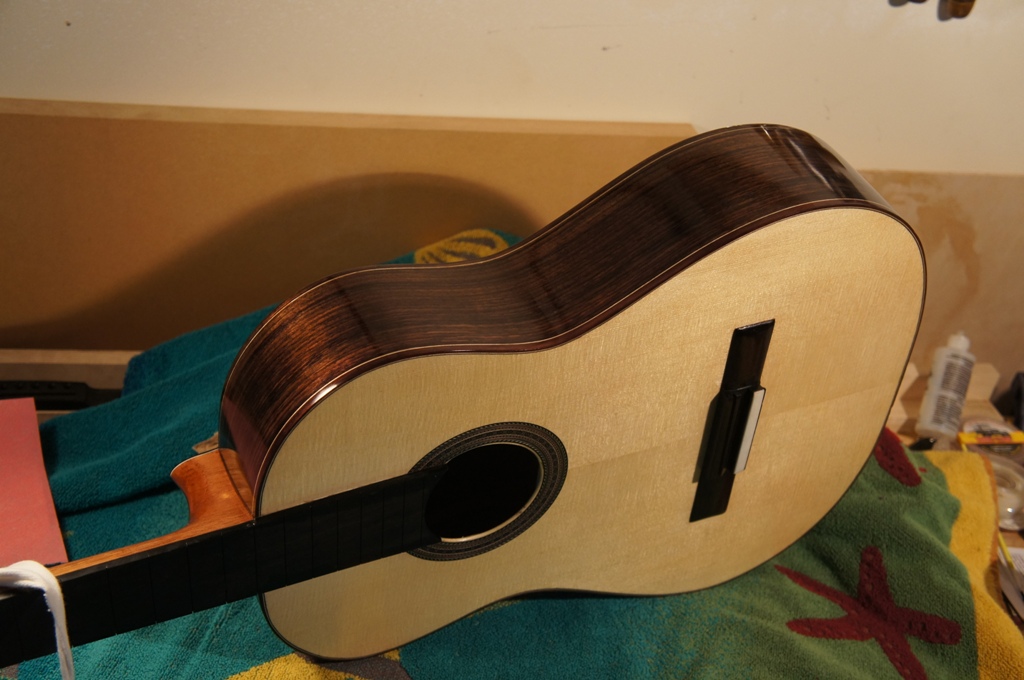
Englemann spruce top
|
|
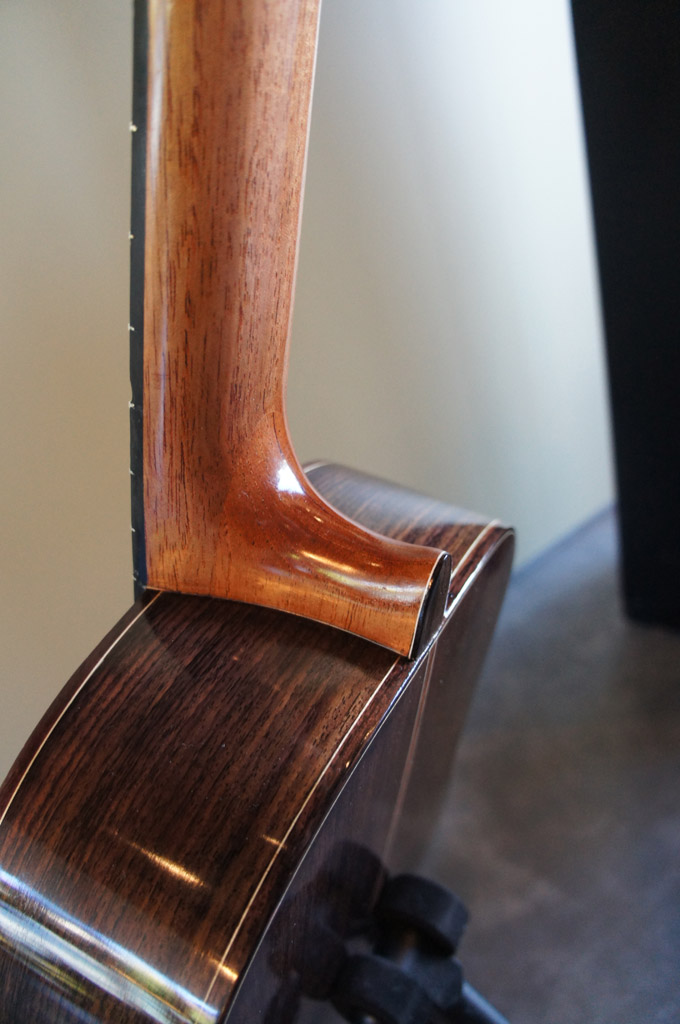
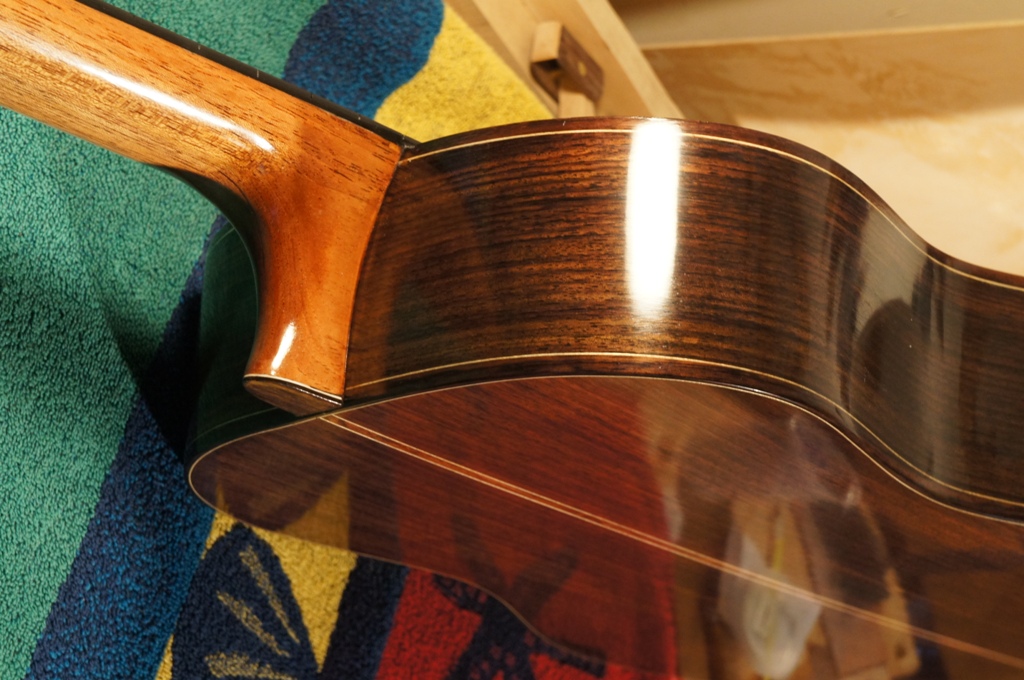
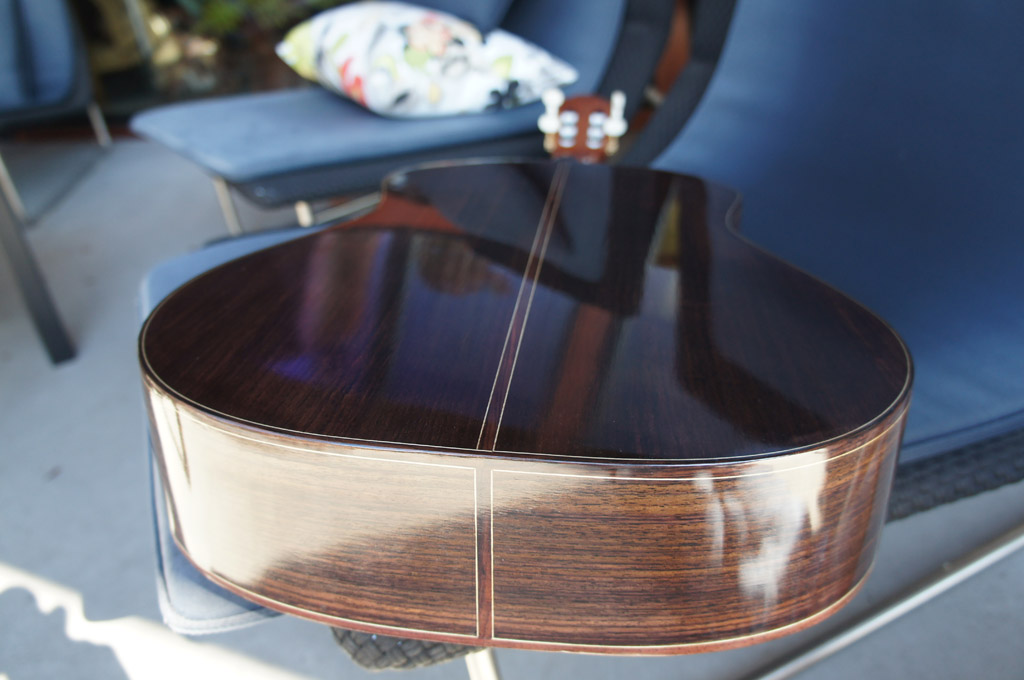
East Indian Rosewood Back and sides
|
|

Spanish cedar neck
Englemann spruce top
|
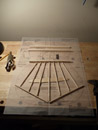
Built from a Hauser 37 plan
|
|
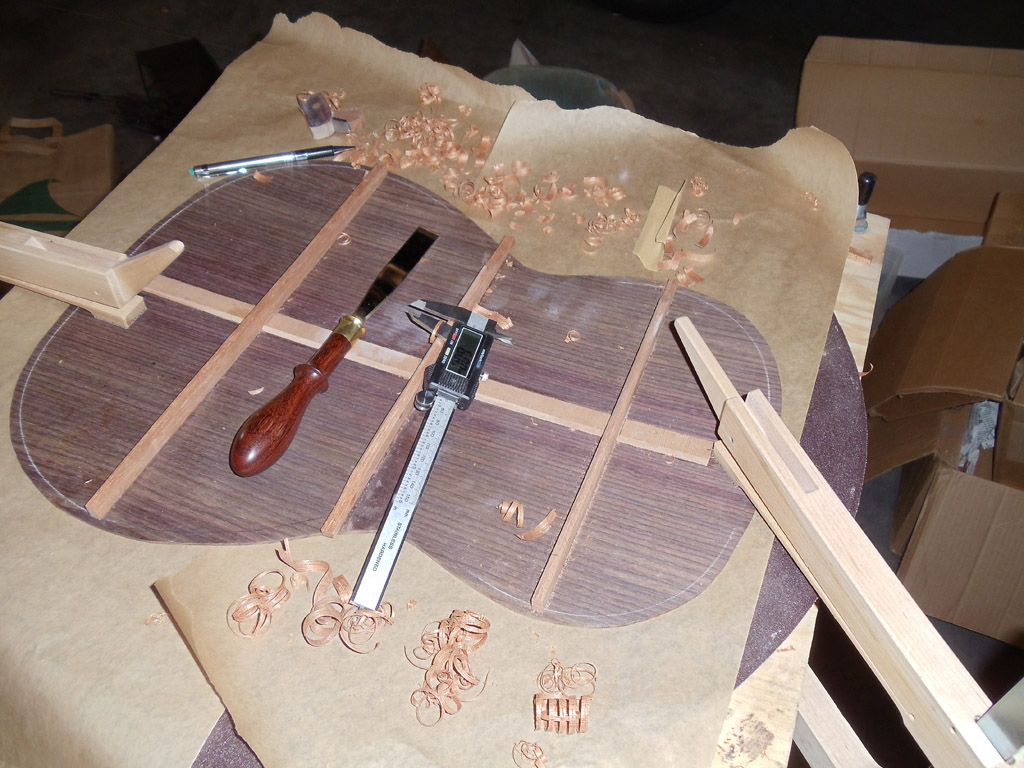
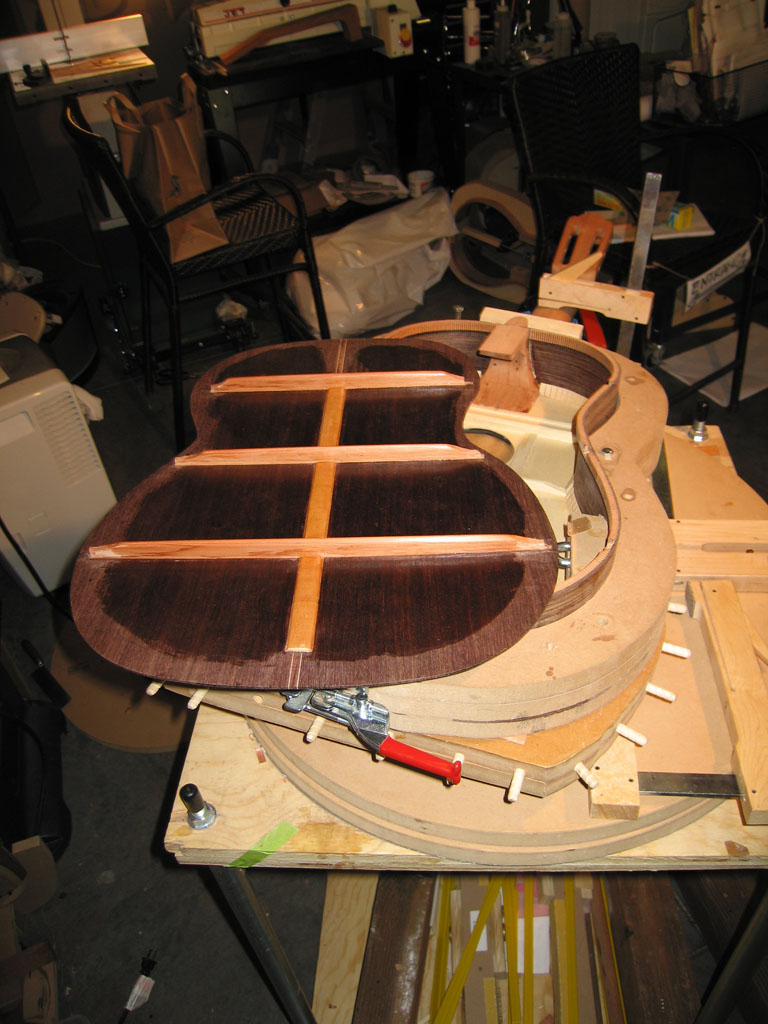
Top braces were all cut from Engelmann spruce brace wood
|
|
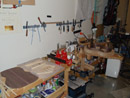
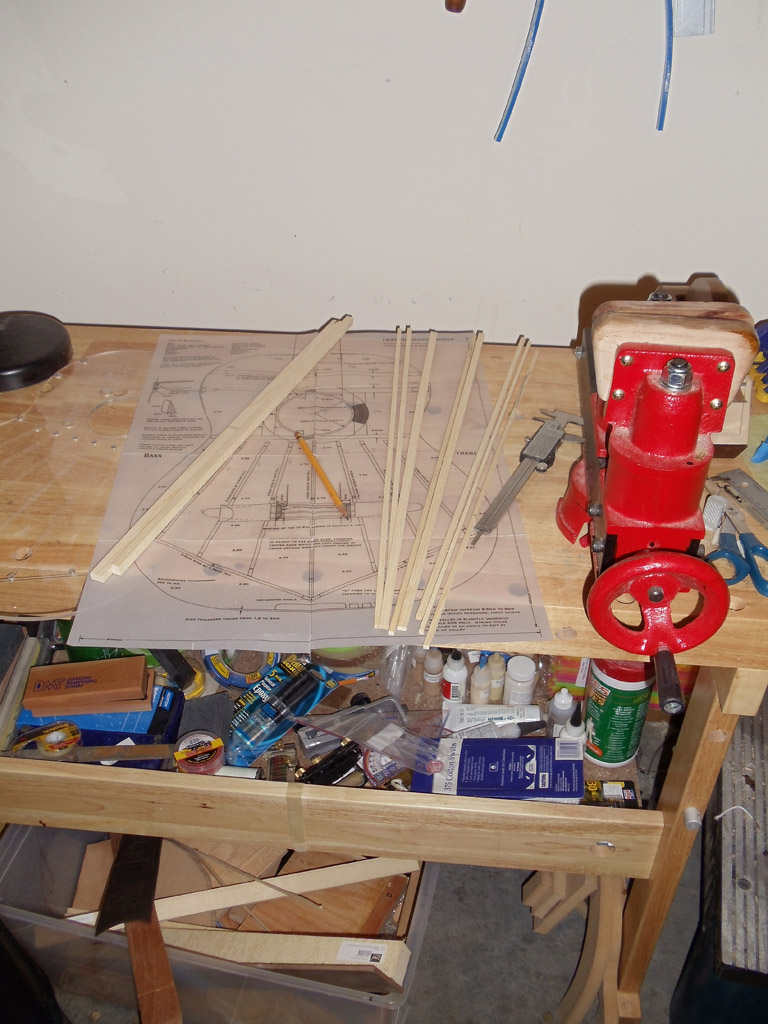
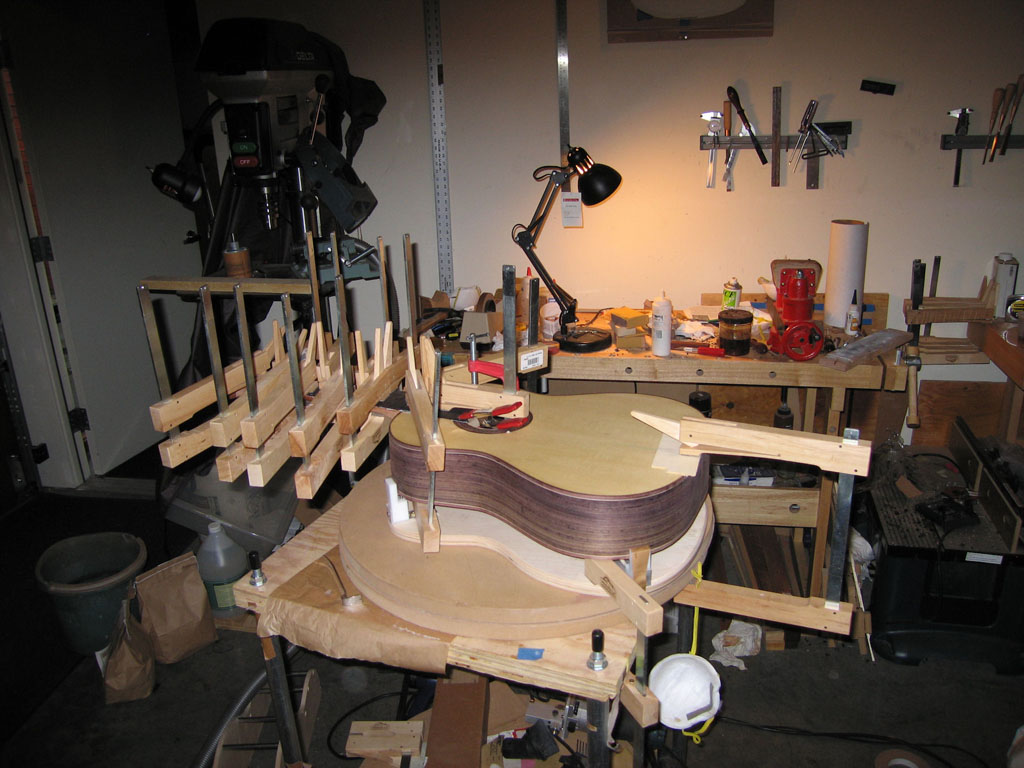
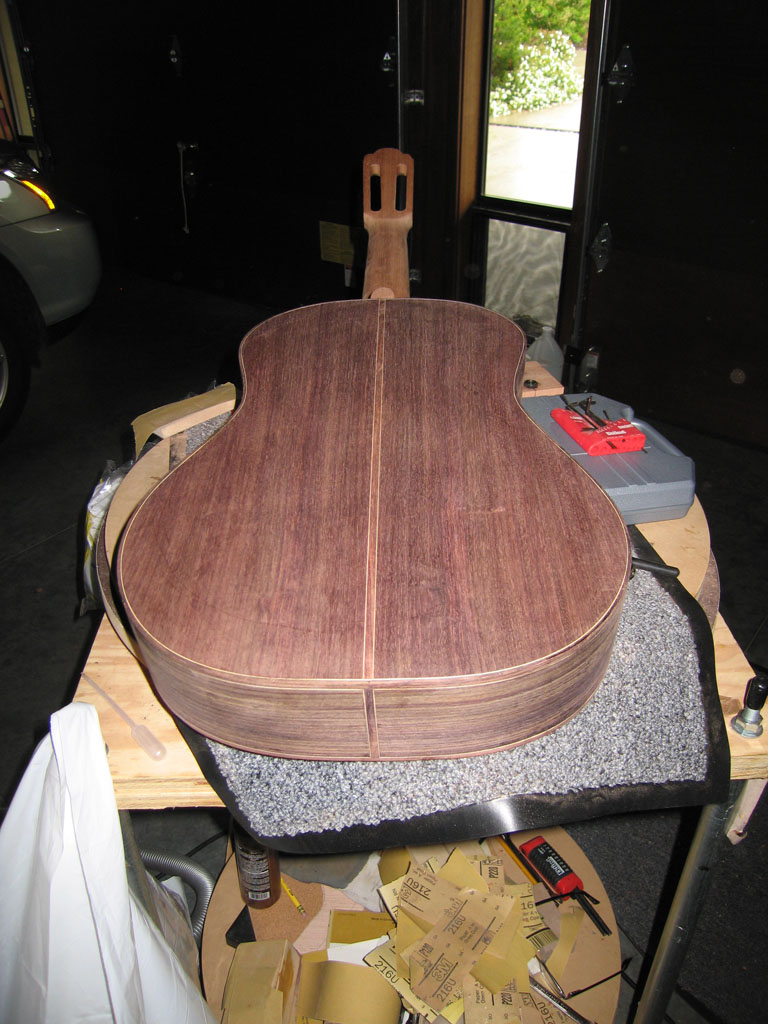
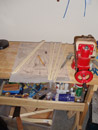
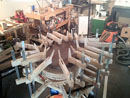
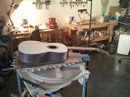
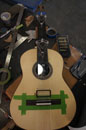
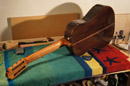
picture of my work space in the garage.
|
Back braces are spanish cedar
|
|
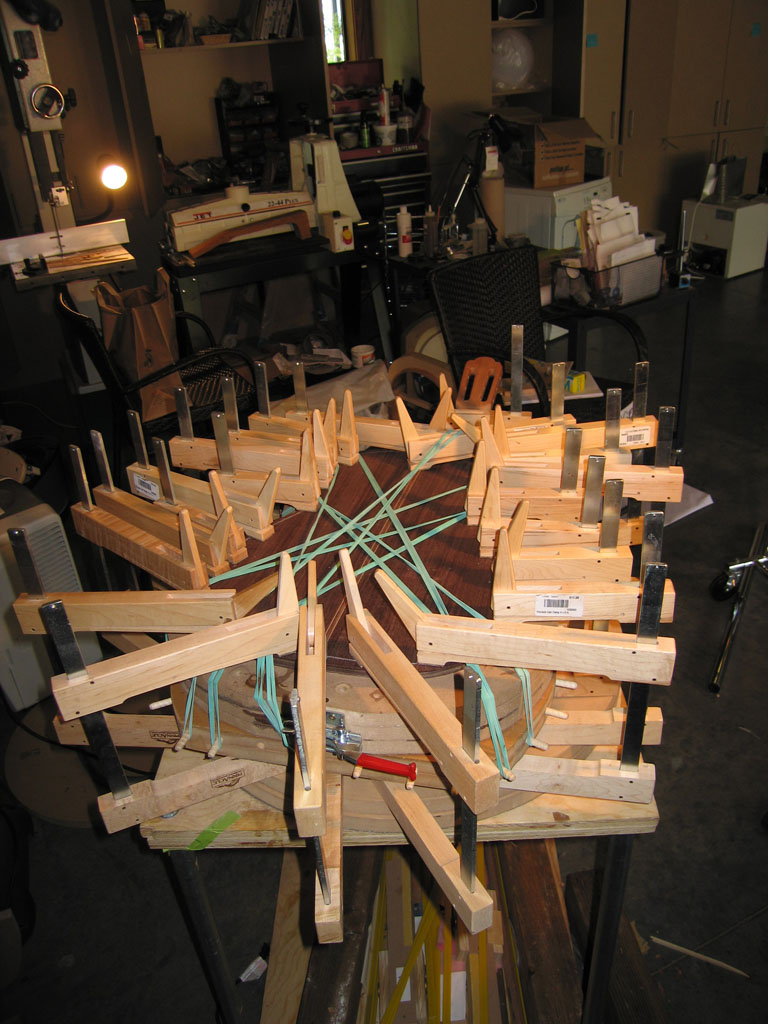
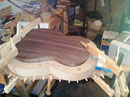
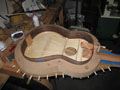
Completed Top
|
|

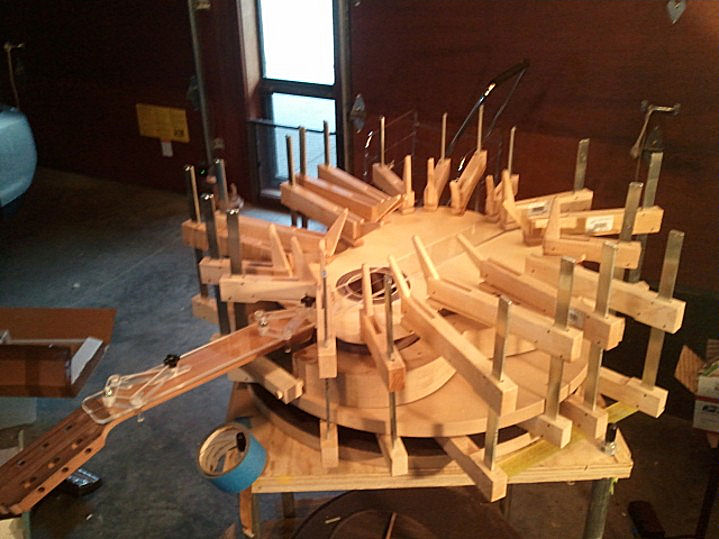
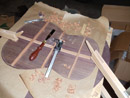
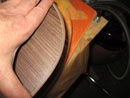
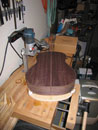
Gluing on the top. This was a bad wayto do it. I should have glued the top in the solera. The neck angle is slight off.
|
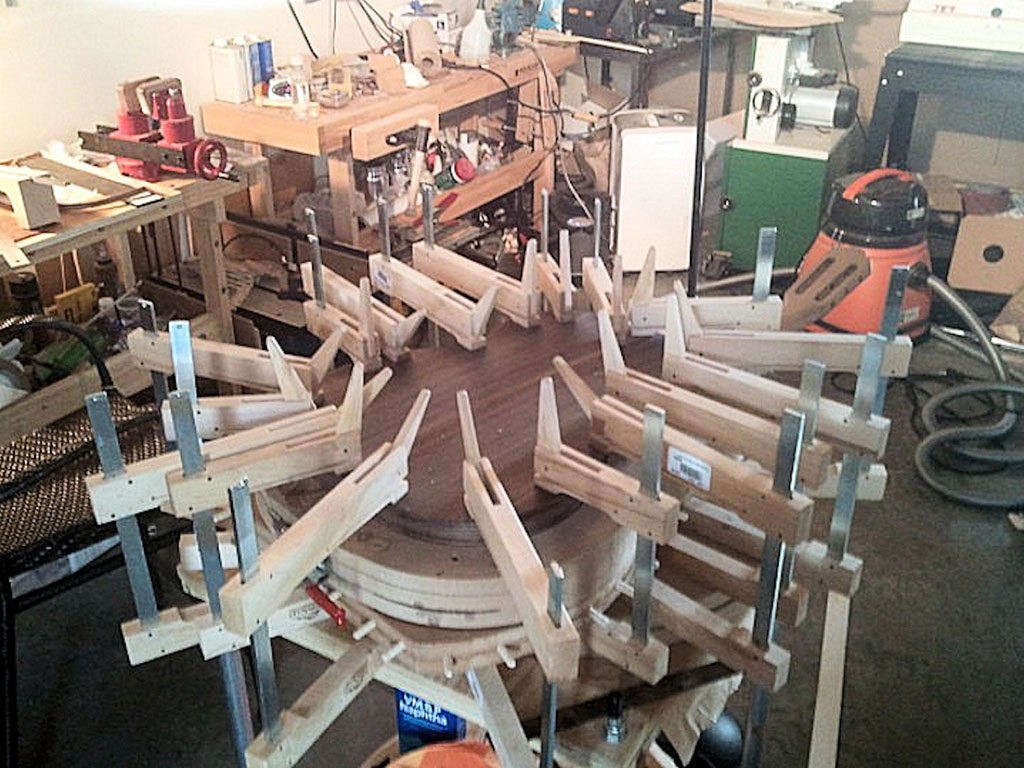
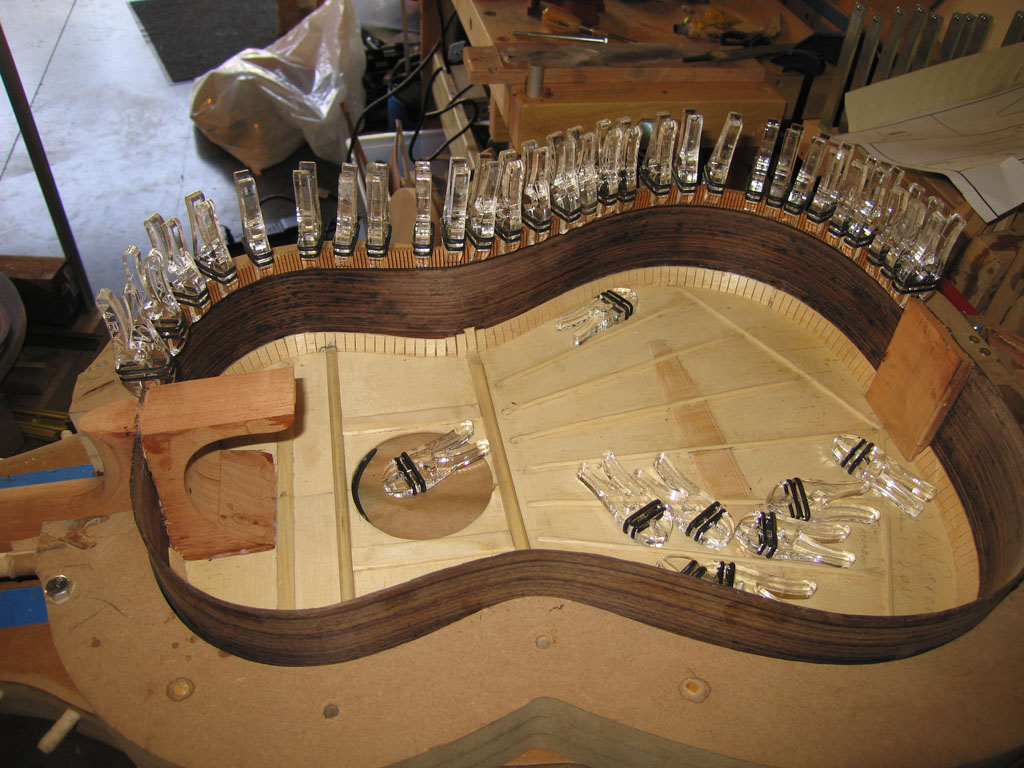
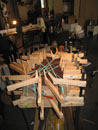
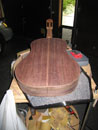
No problem gluing on the first back
|
|
continuing clamping on the back
|
|
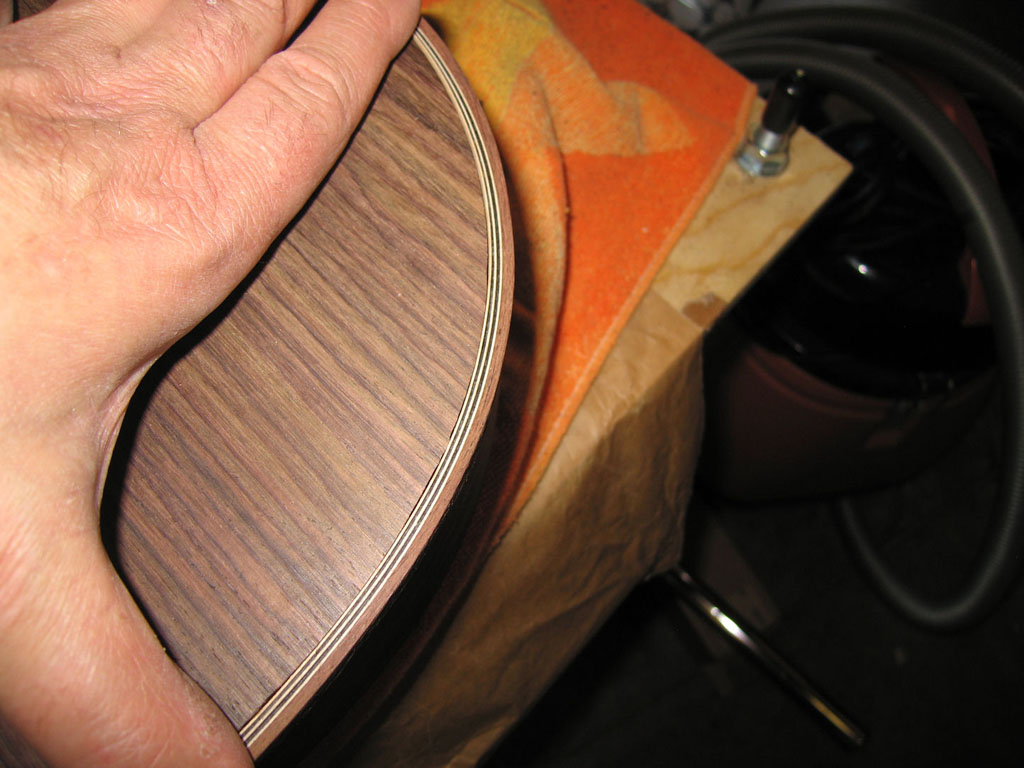
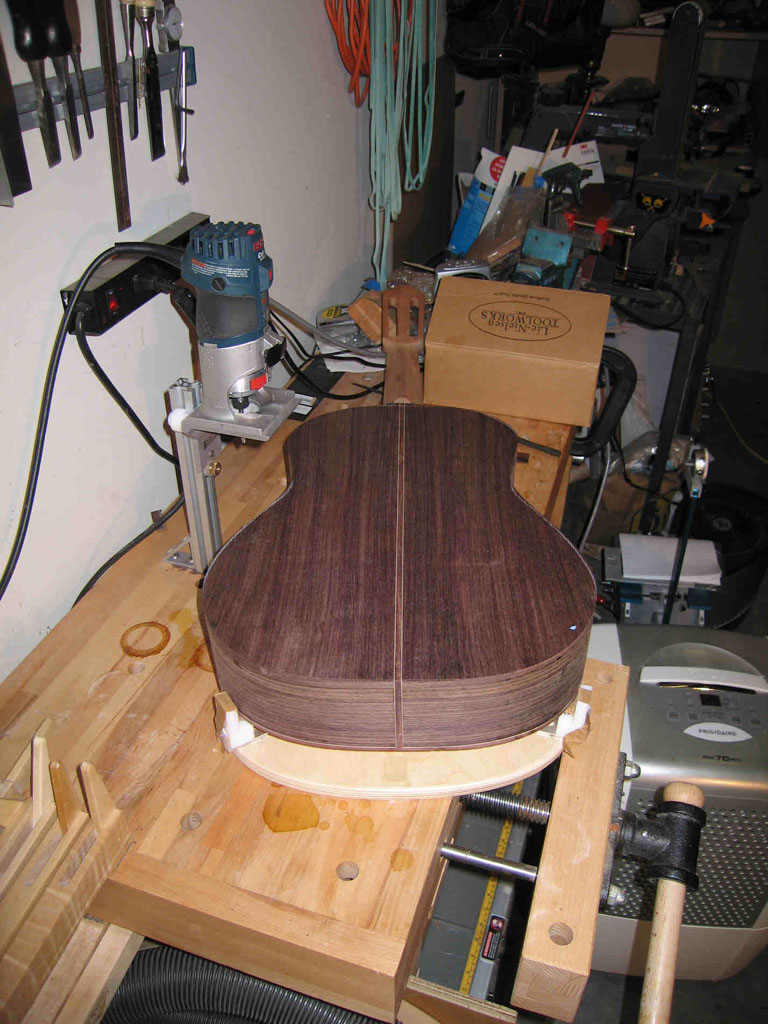
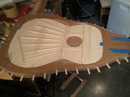
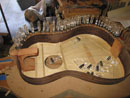
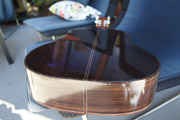
The guitar top and bottom glued and flush trimmed.
|
This is the first guitar that I used my fancy Luthier tool binding jig. I did
great on the top, but tipped the router on the back. Resulting in a deeper ledge into the back.
|
|
I fixed it up with a facier purfling scheme that worked out OK.
|
|

It was a little hard to keep track of so many bands of wood.
|

All and all gluing on the bindings and purflings went OK
|
|

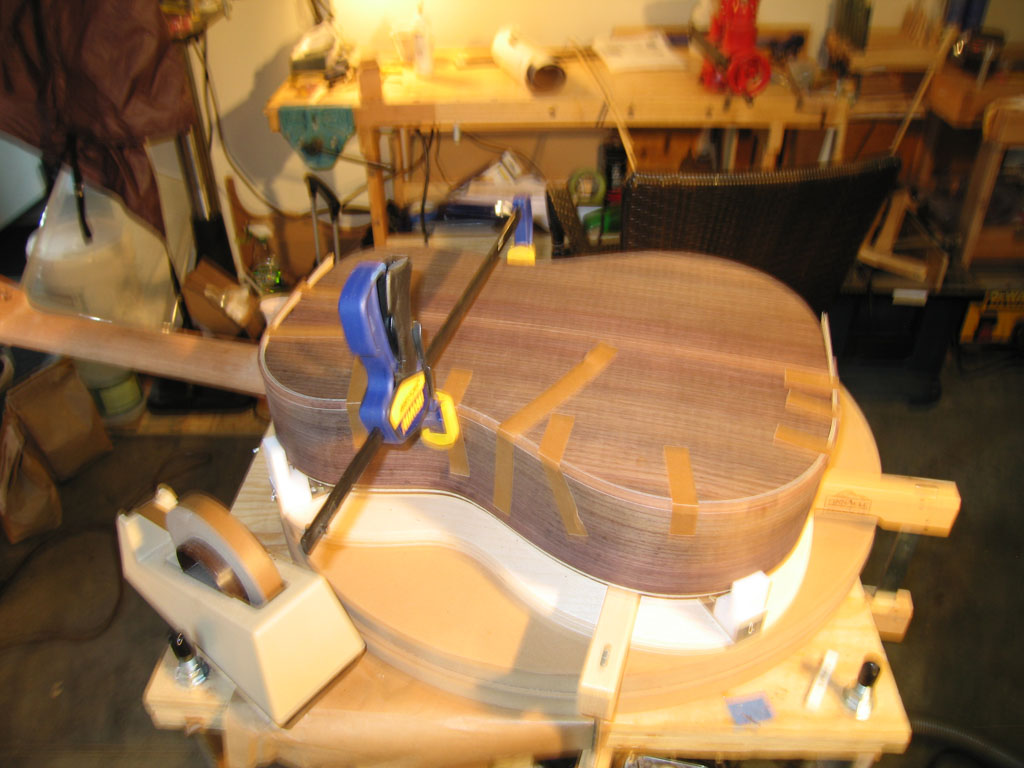
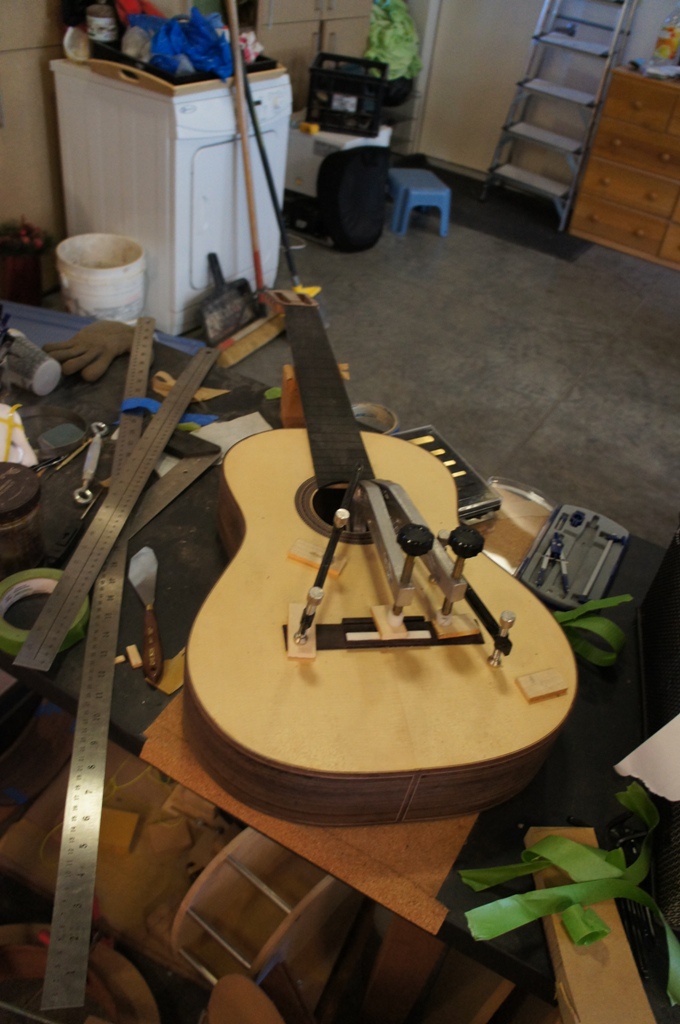
Note the clamp on the bottom of the guitar, I first clamped on the fretboard without this
clamp and the weight of the clamps pulled the guitar of of the table and crashed to the ground.
|
|
Unfortunatly the back was damaged and I had to remove and replace it.
If I was not so angry I probably could have saved it.
|
I chiseled off the old kerfling and got to repalce it with
AST A4 kerfling
using their fancy clamps.
|
|

I shellaced the inside of the new back.
|
|
Gluing on the new back.
|
This time I used a Steward MacDonald TrueChannel Binding Router Jig to route the binding ledge.
|
|
The binding and purflings channels were cut and the glue up went well. For the frst time I had perfect alignment of the back to the tailgraph. What I am learning is to set things up so the
I can see them when doing any gluing.
|
|
I used my handy dandy centering jig The Simple CenterLine Finder
to set the bridge location. All of the tape is to keep the bridge from sliding as I clamp it on while gluing.
|

Once the clamps were on for about 10 minutes I removed the tap and cleaned up the glue squeeze out.
|
|
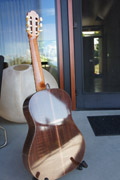
Back, sides and neck were pore filled with zpoxy guitar after a wash of Amber shellac this is after the first french polish session.
|
|
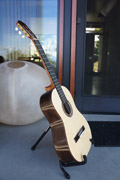
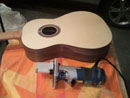
Final French polish.
|

Final French polish.
|
|

Final French polish.
|
|
Final French polish.
|
|
|