|
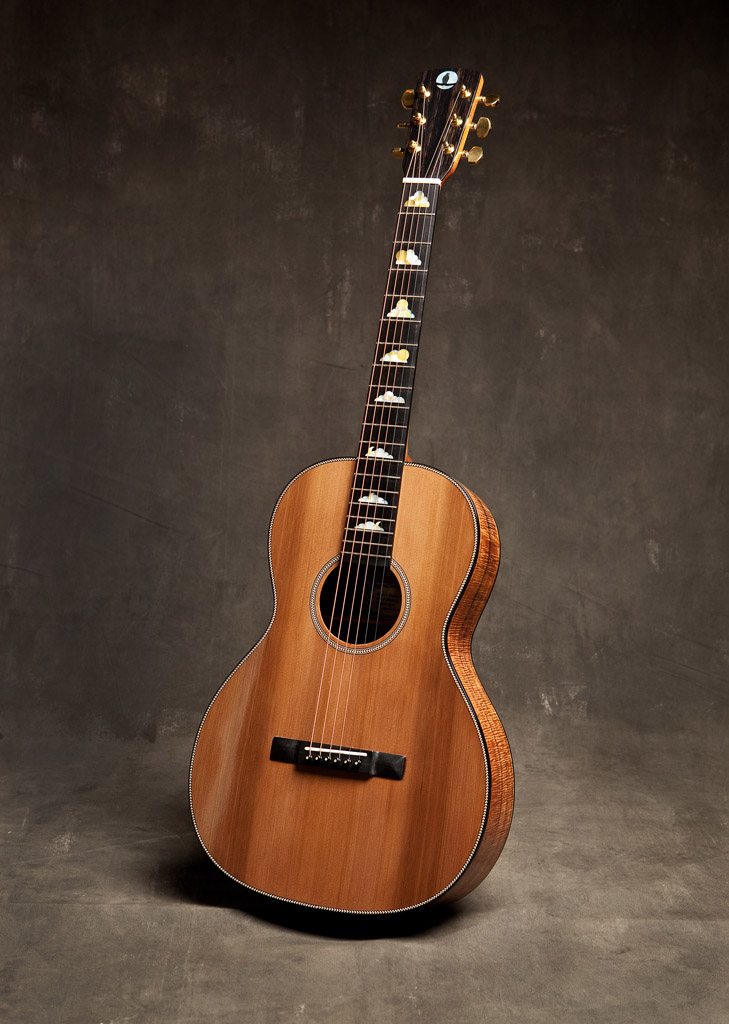
Hawaiian Koa Parlor Guitar 1
This is my first scratch built guitar. I built the guitar as part of an intermediate guitar building class offered by Rick Davis at
Sound Guitar Workshop in Seattle. The guitar is an O sized Martin style parlor guitar. I built this guitar for my daughter as she was moving from electric guitar to acustic guitar playing.
|
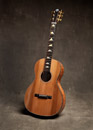
Western Red Cedar Top
|
|

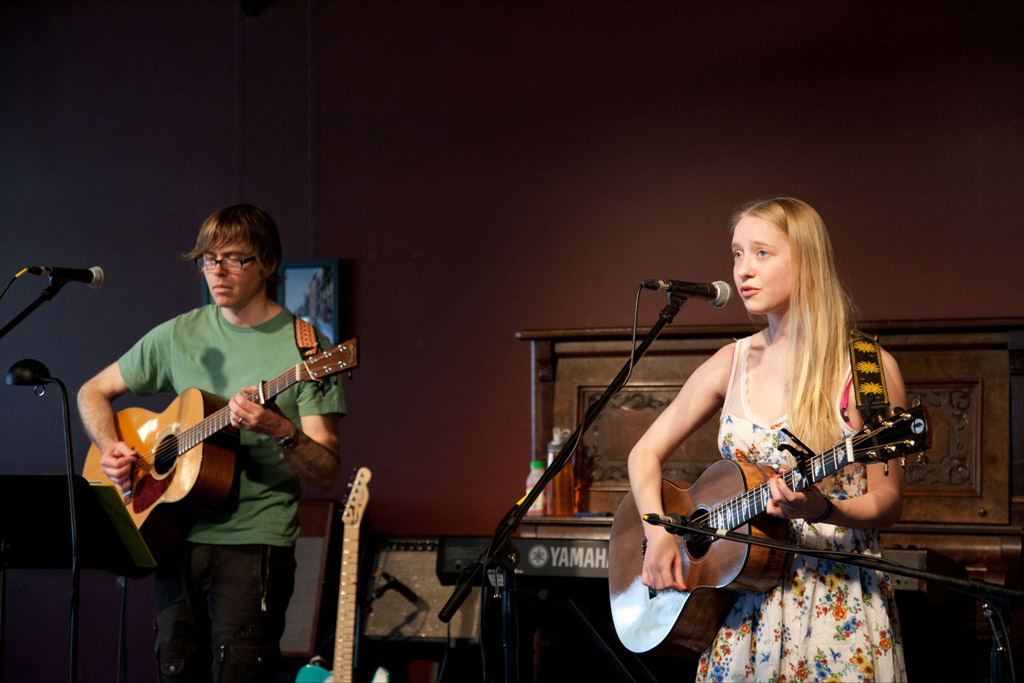
Made for my daughter
|
|

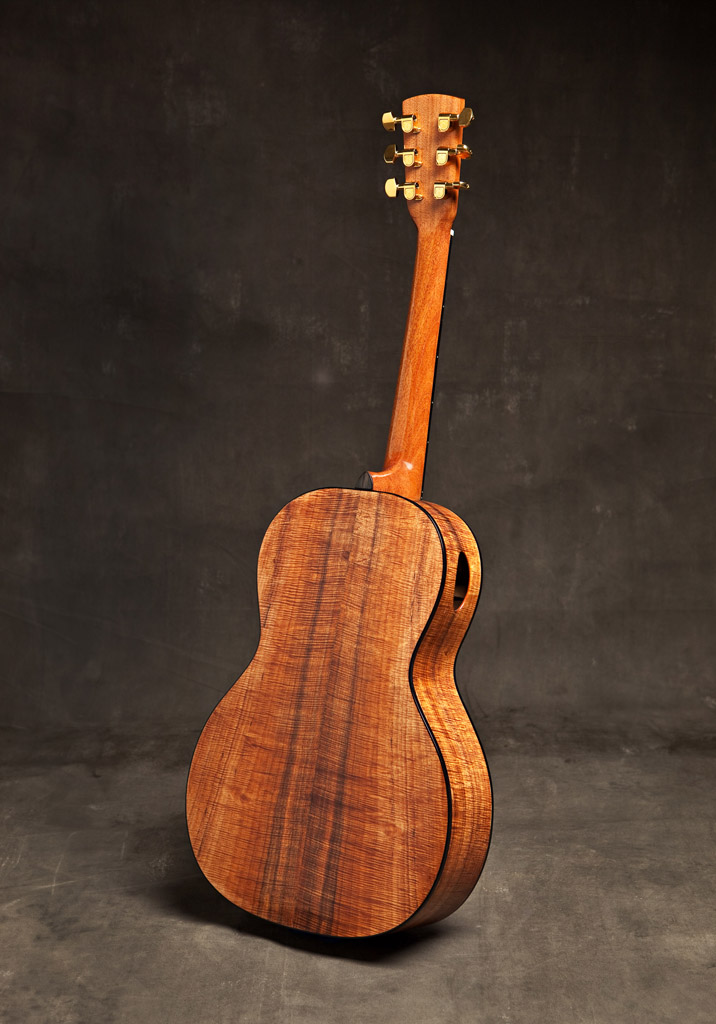
Hawaiian Koa back and sides
|

Logo is white and black MOP and ebony
|
|

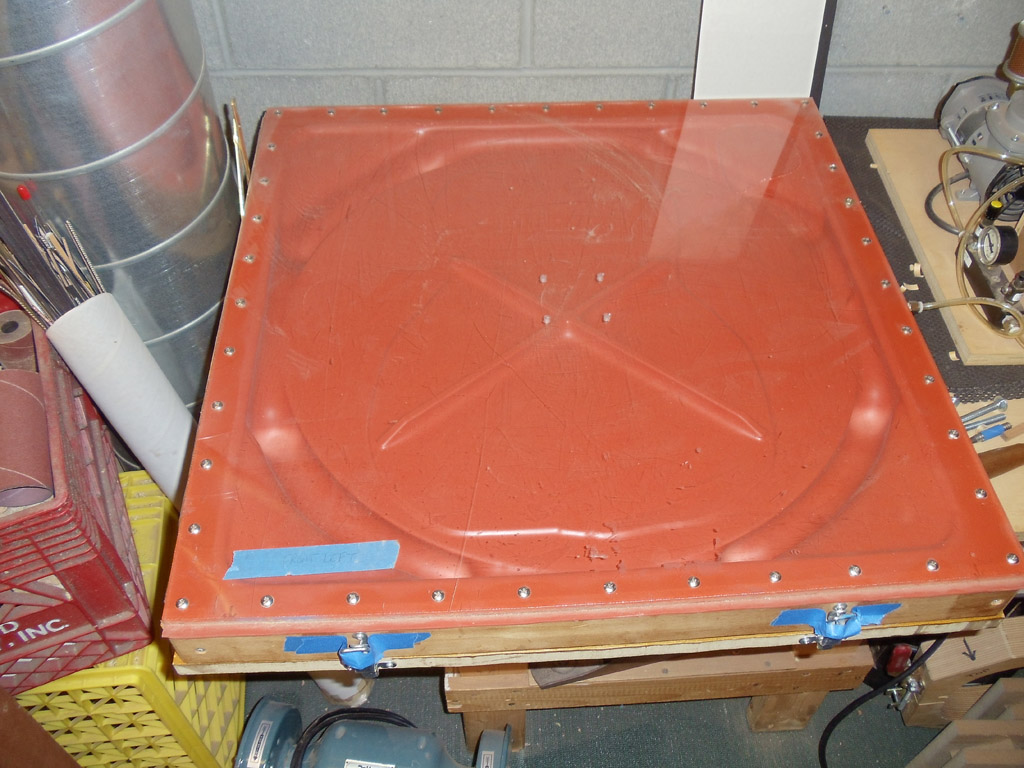
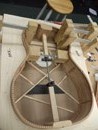
Used a vacuum clamp at Sound Guitar Workshop
|
|
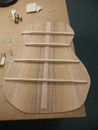
Back braced with spruce
|

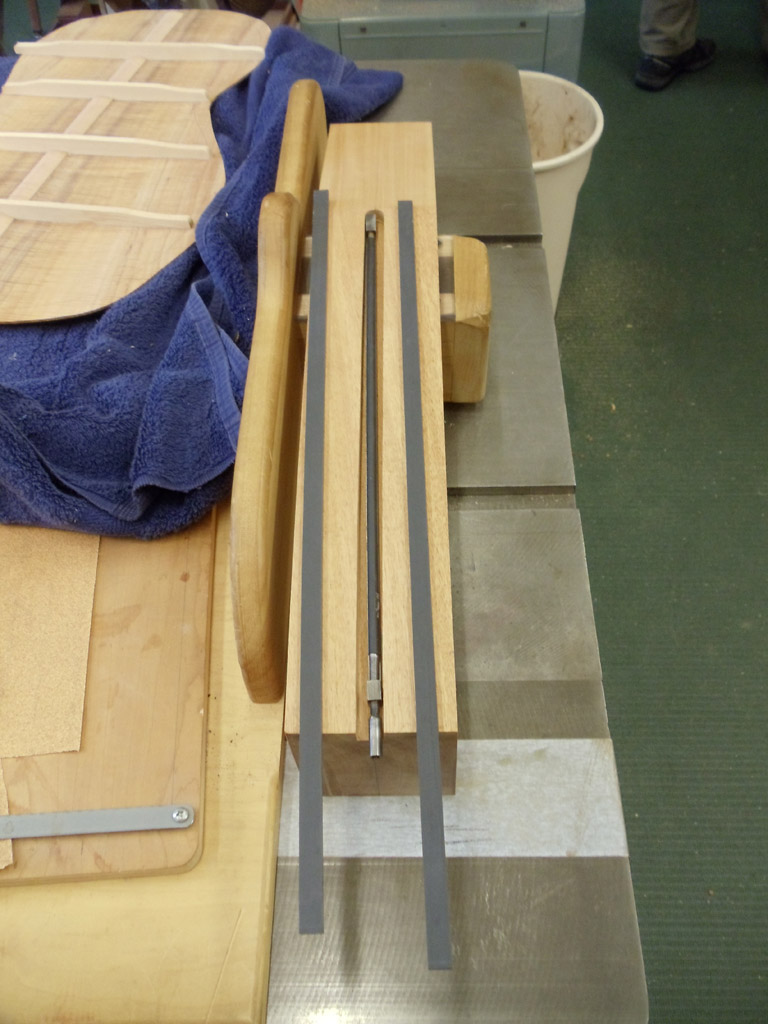
neck has carbon rods inserted on each side of the truss rod
|
|

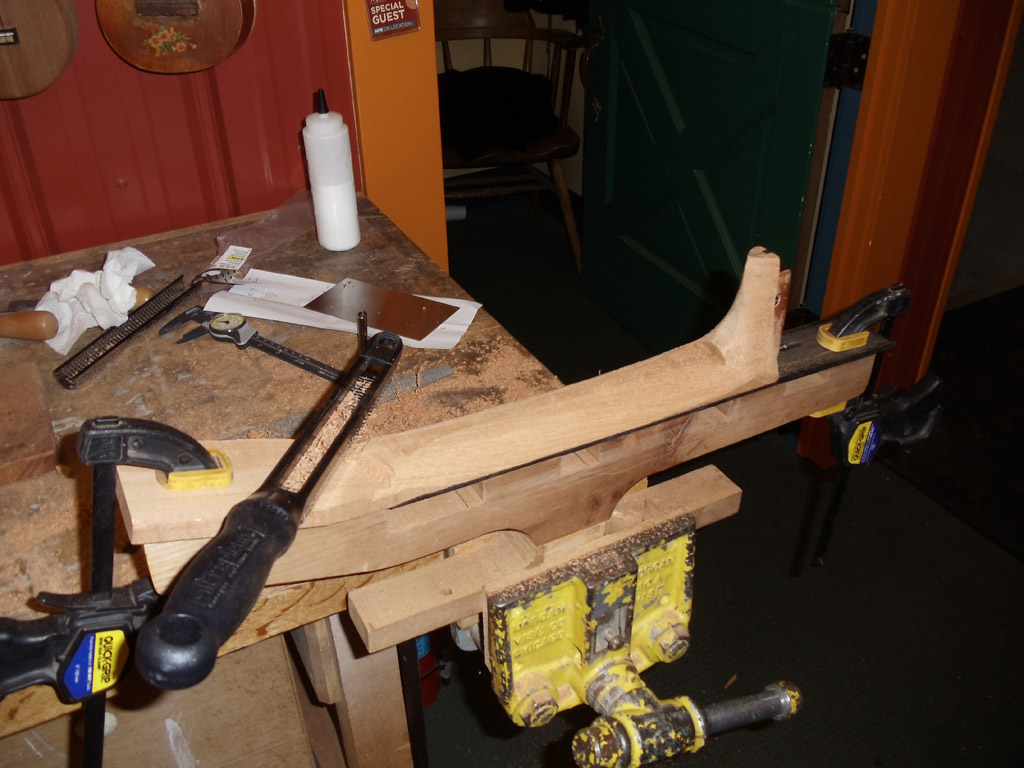
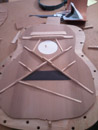
gluing in end and heel blocks
|
|
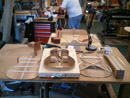
top, back and sides
|
Older forward style Martin bracing pattern
|
|
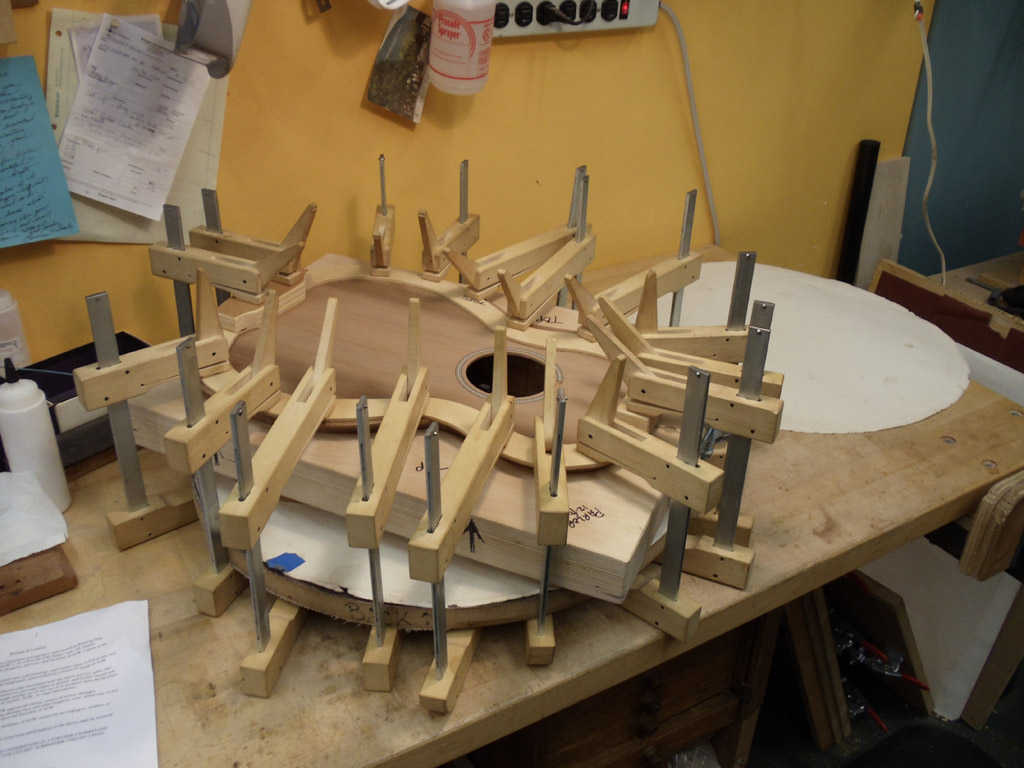
Gluing on top
|
|
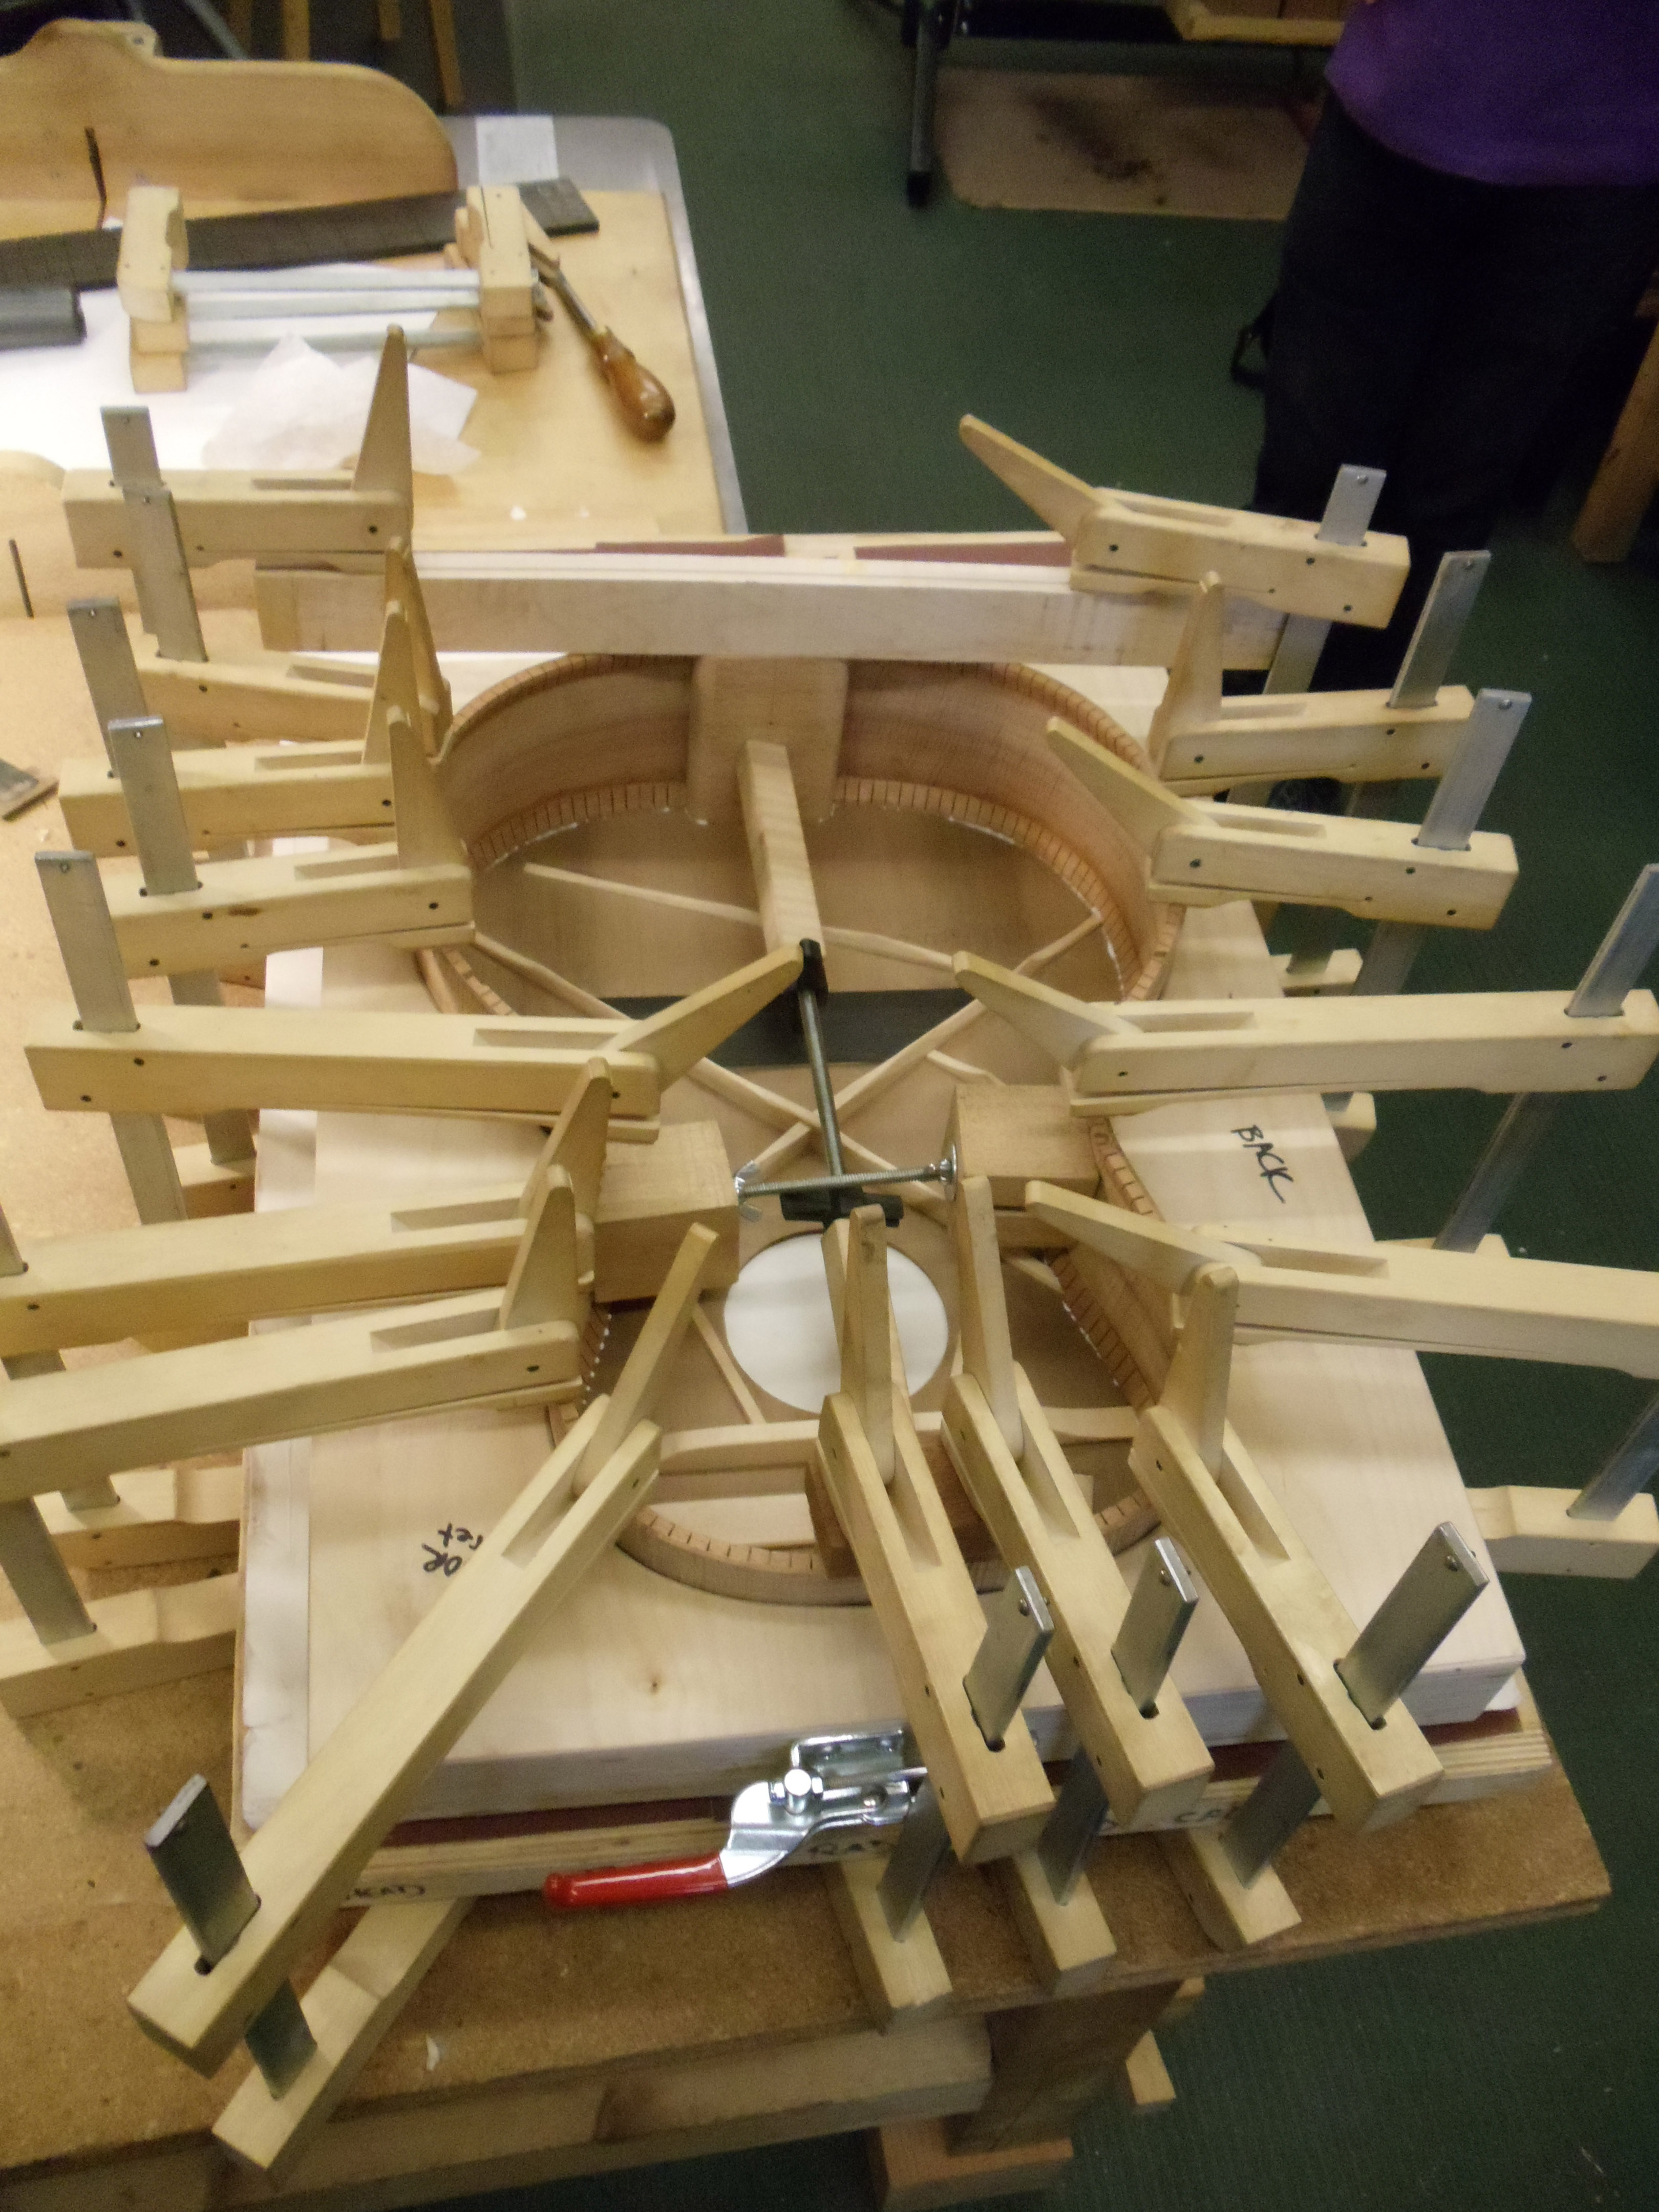
getting ready to glue on the back
|

gluing on the back
|
|
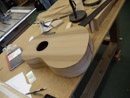
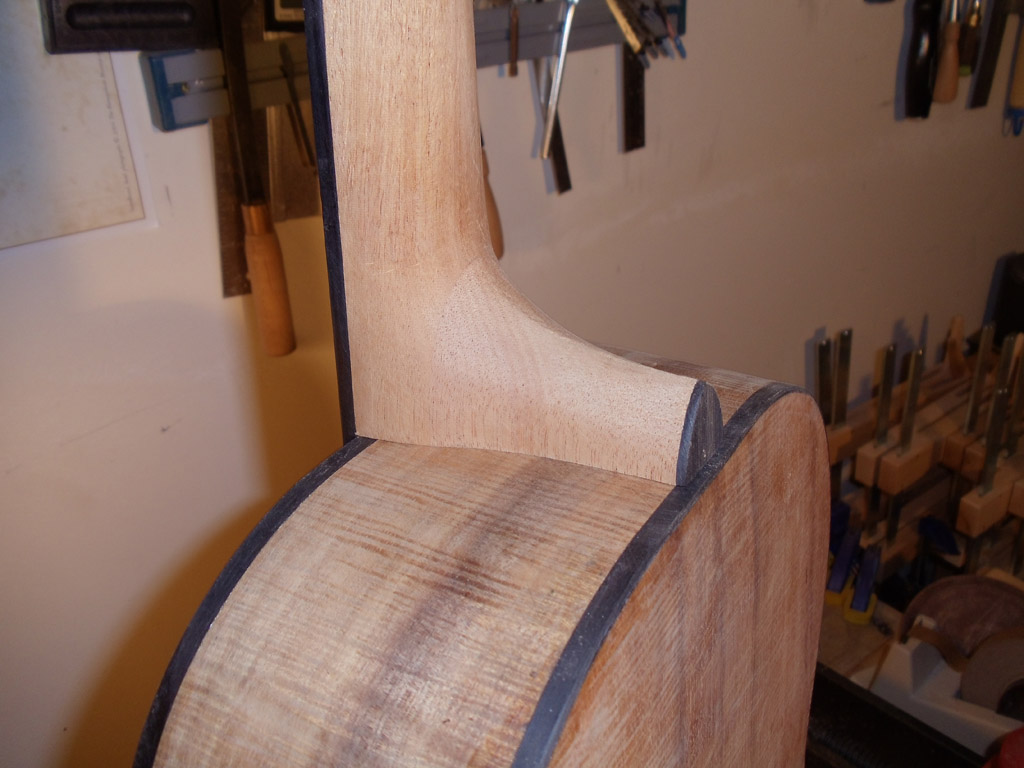
back and top overhang trimmed with flush cut router bit
|
|
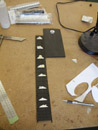
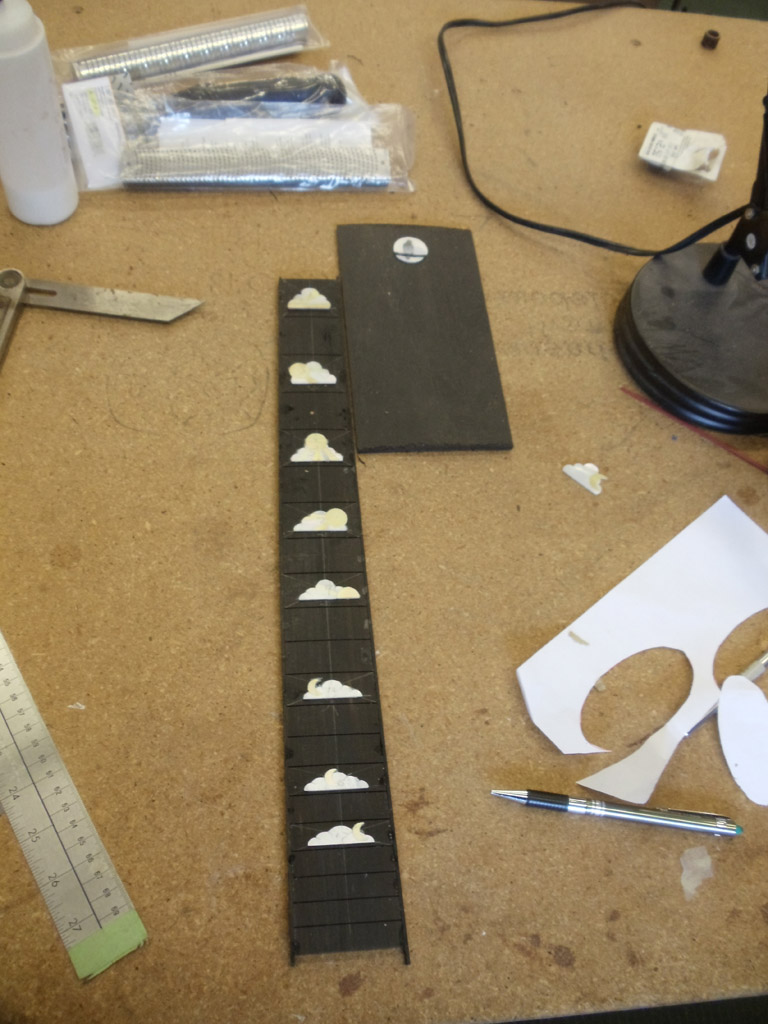
laying out inlays
|

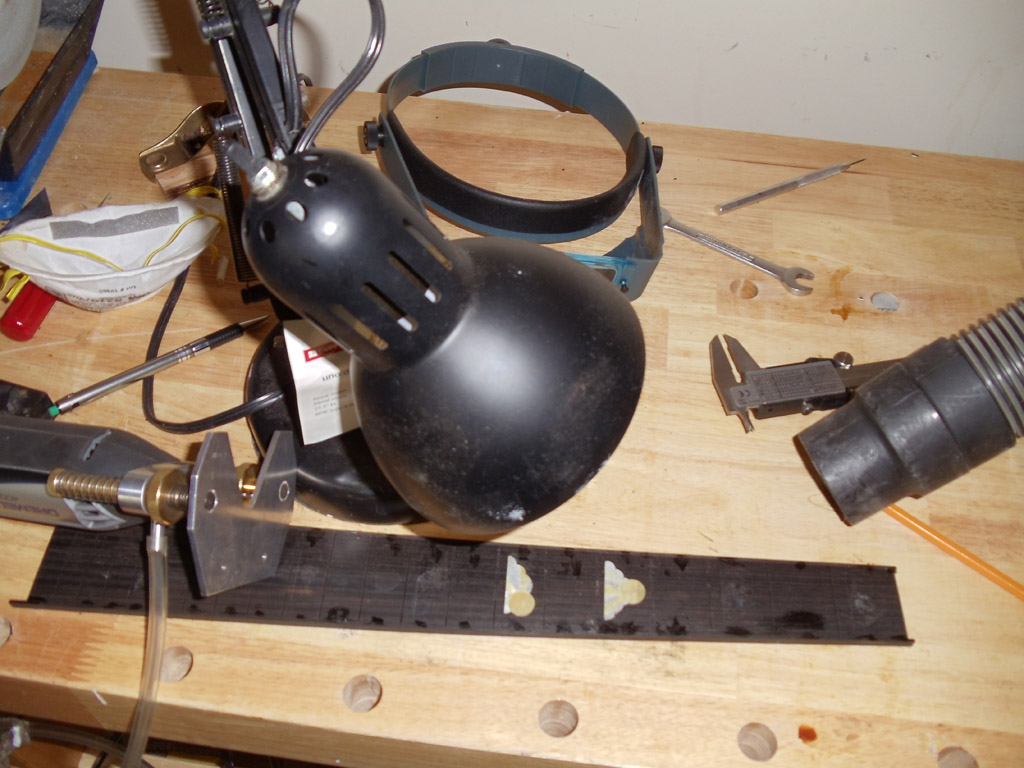
Routing for inlays
|
|

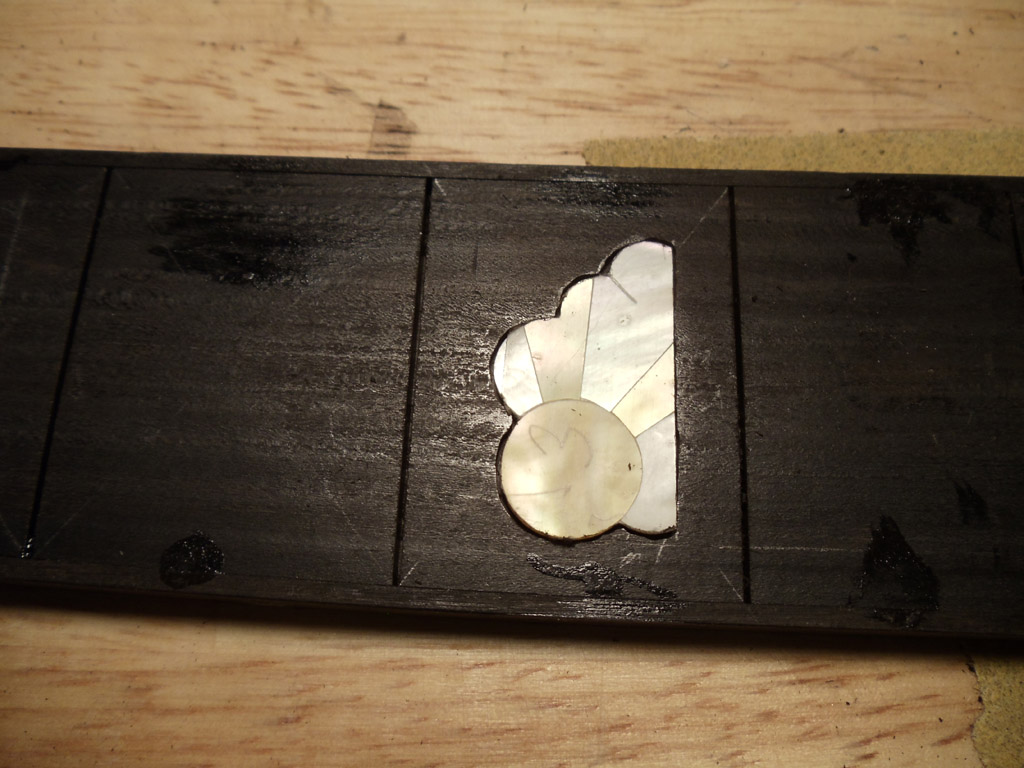
One inlay routed
|
|
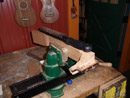
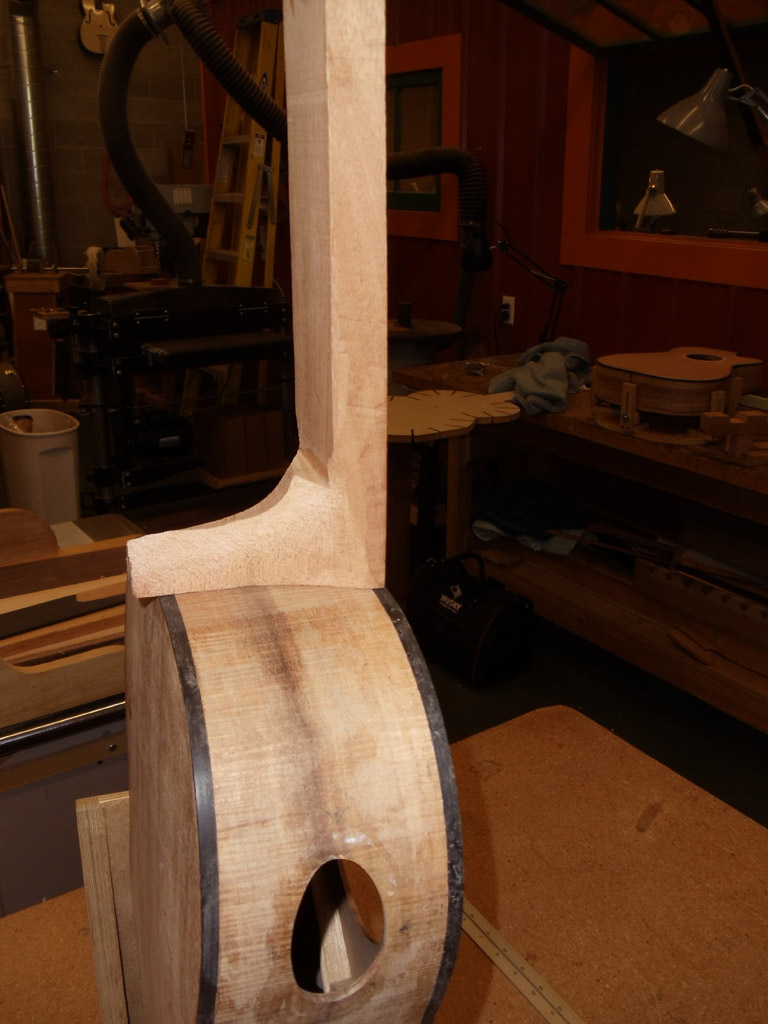
Using rasp to carve neck
|

With the neck close to completion, working on neck angle
|
|

continuing to shape the neck
|
|

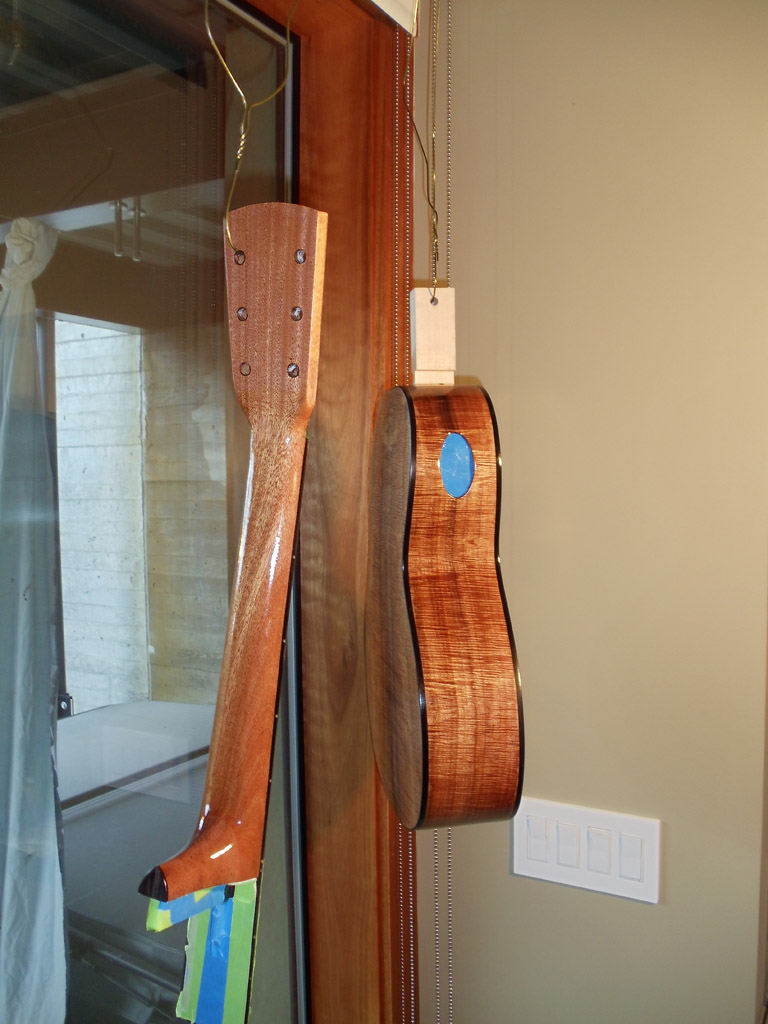
guitar ready to finish
|

Back, sides and neck were pore filled with zpoxy guitar sprayed with ColorTone water base lacquer. (EM6000)
|
|
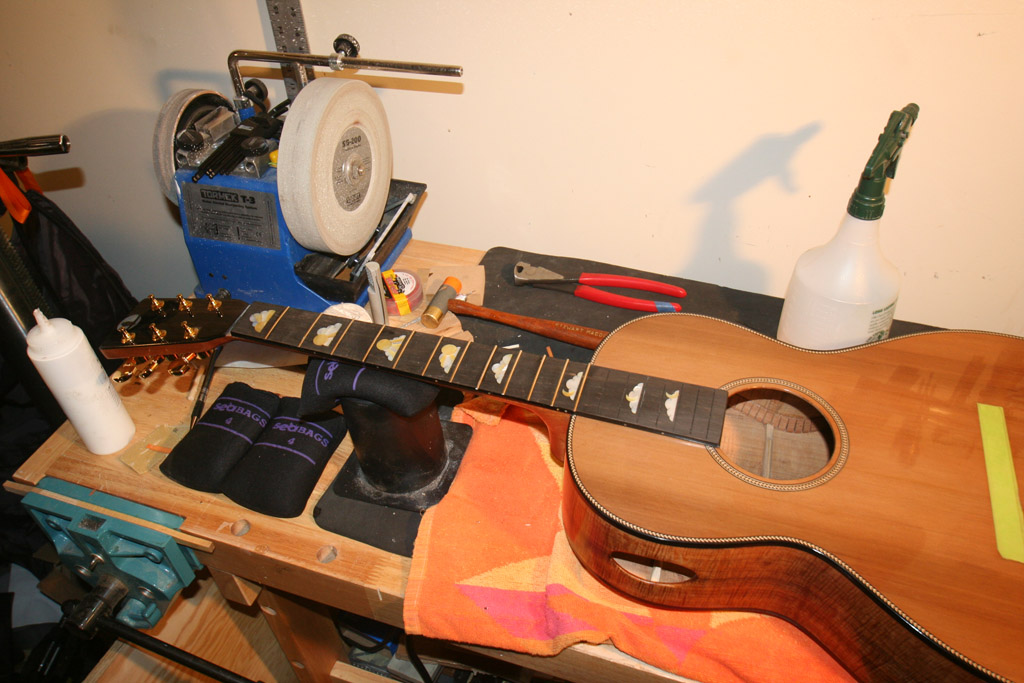
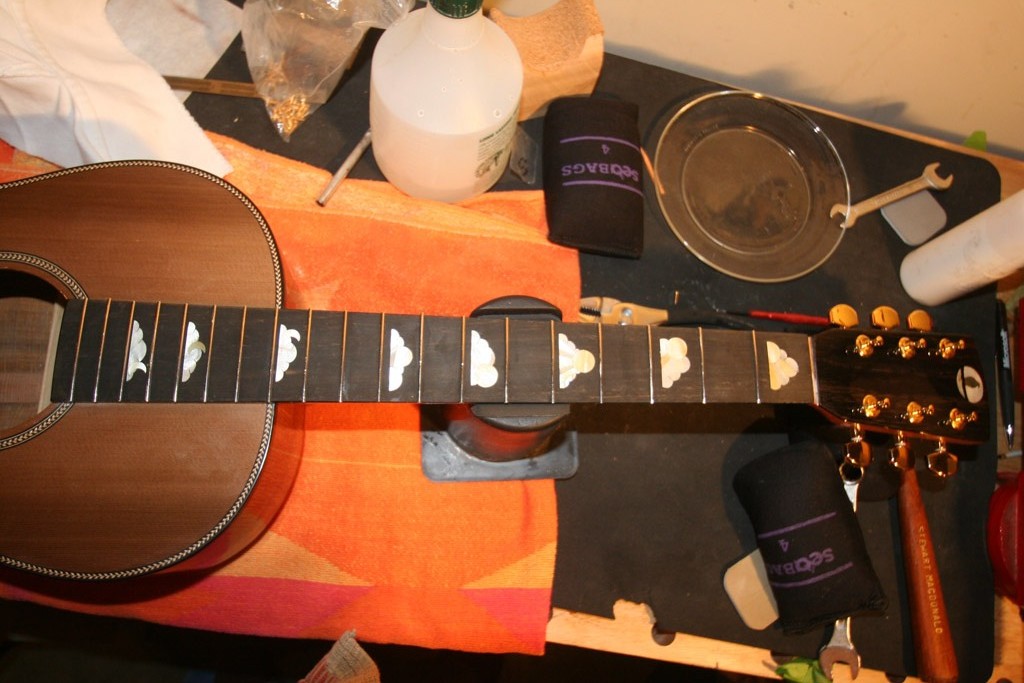
Bolted on the neck and glued on fret board to the body.
|
|

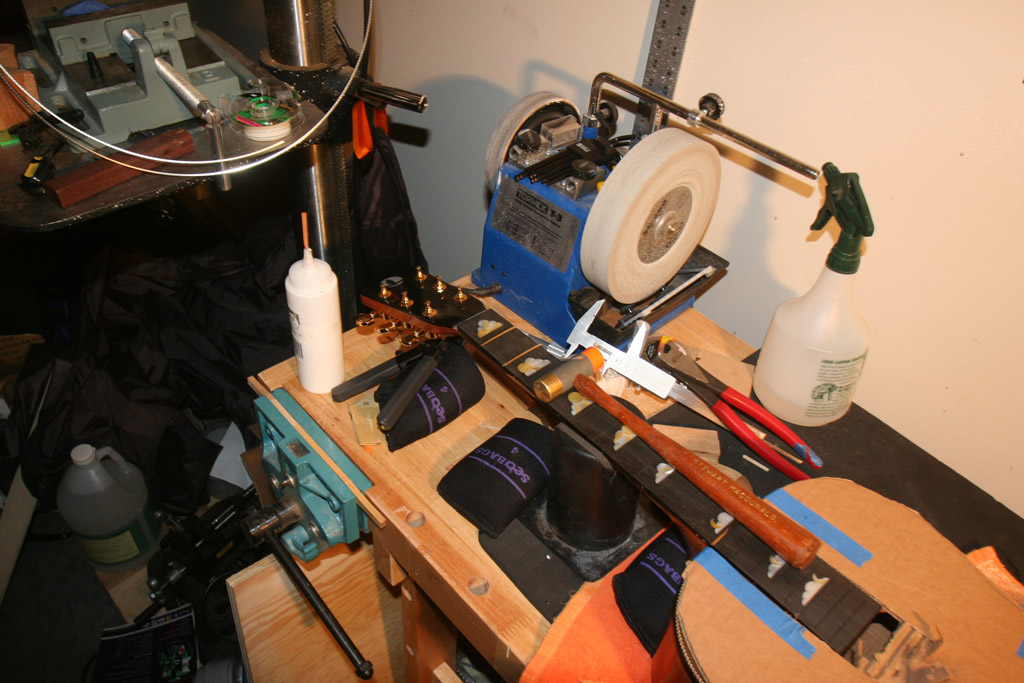
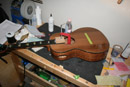
Pounded in the frets. Some steel string guitar builder put the frets in before gluing it on the fret board.
|

To pound in the frets on the sound board I backed up the fretboard using the 4 pound soft diving weights shown in the picture.
They are filled with lead shot.
|
|

Almost ready for strings but first I need to glue on the bridge. I do not have photos but I use one of
my favorite tools the Kenneth Michael Guitars "Bridge Setter" . It is a tool that aligns with the frets and
centers on the fret board for a perfectly placed bridge. It also holds the bridge in place when drilling
the outside holes. The two outside holes can be used with the fox style bridge clamp that he also sells.
|
|
|
|
|

|
|
|