|
First Classical Guitar Kit Build
This was my first guitar project. This was built from a serviced LMI kit. The kit
included a Robbie O'Brien dvd on building a classical guitar. I followed this dvd, the R. E. Brune
Hauser 1937 plans for all of my measurements and also the book classical Guitar making by John S. Bogdanovich. I used the book mainly
for infomation on making a solera and a mold. I applied a tradition french polish, including a pumice and shellac pore fill. The guitar
came out amazing well, with very good sound. I still use this guitar for my day to day playing.
|
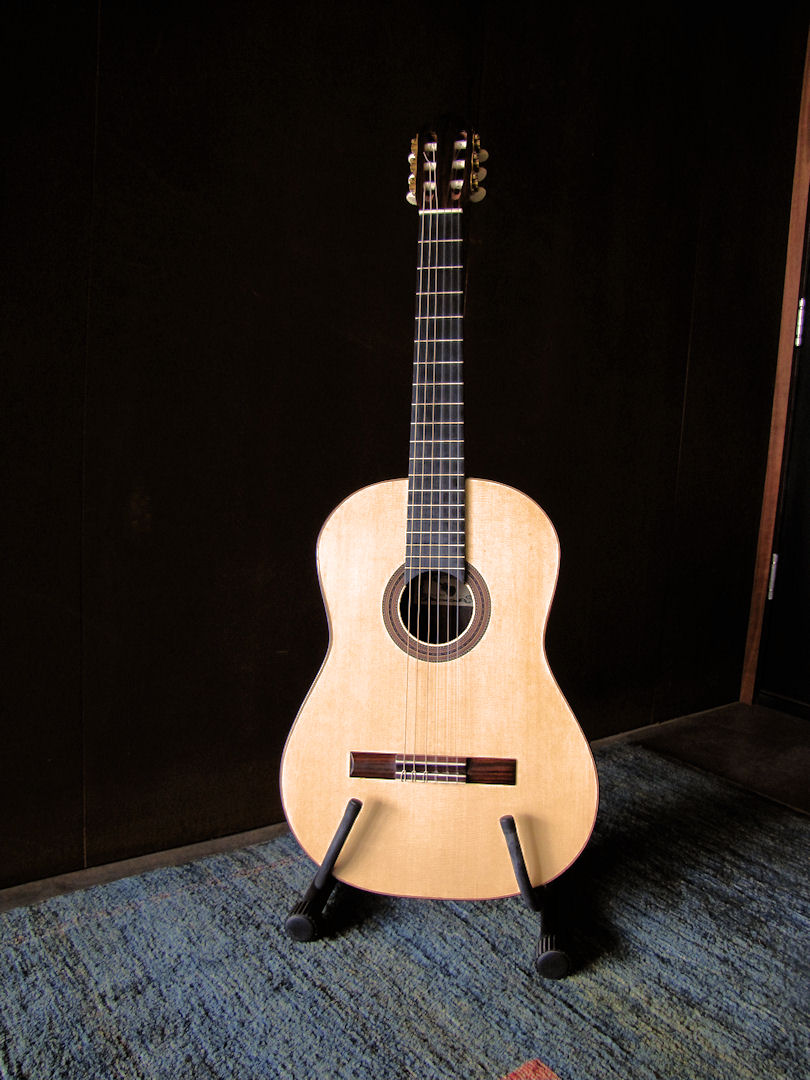
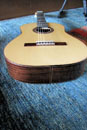
French Polished Englemann Top
|
|
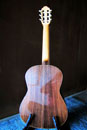
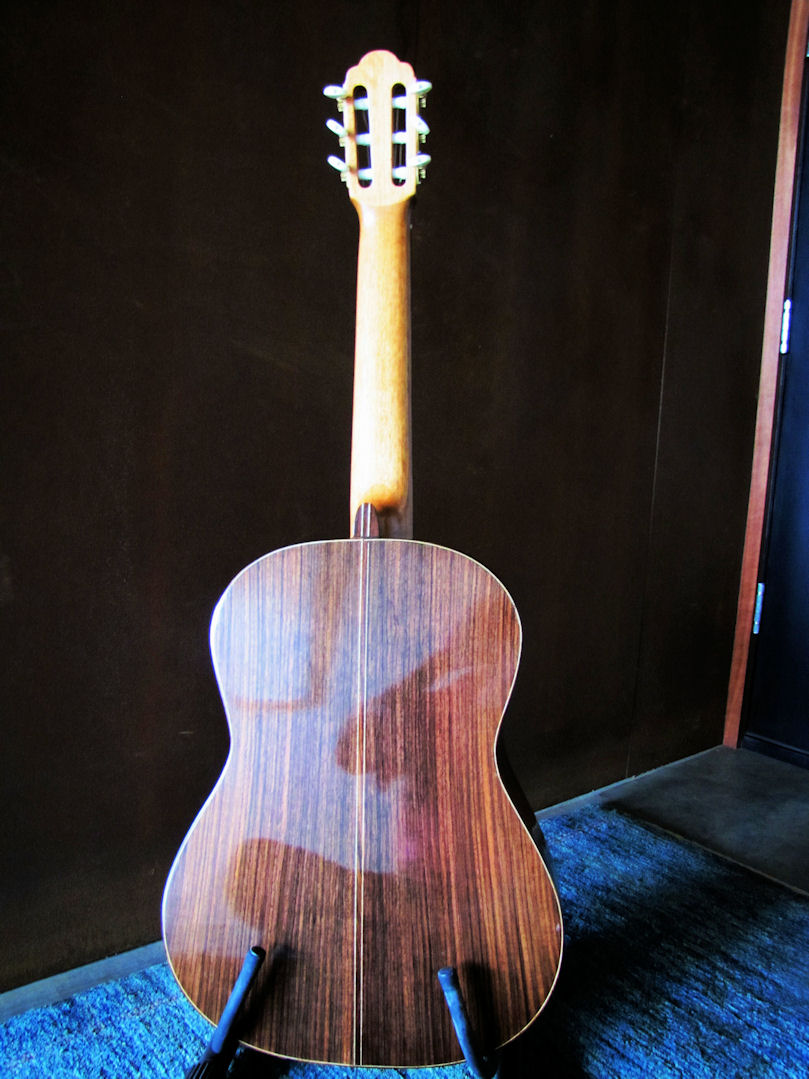
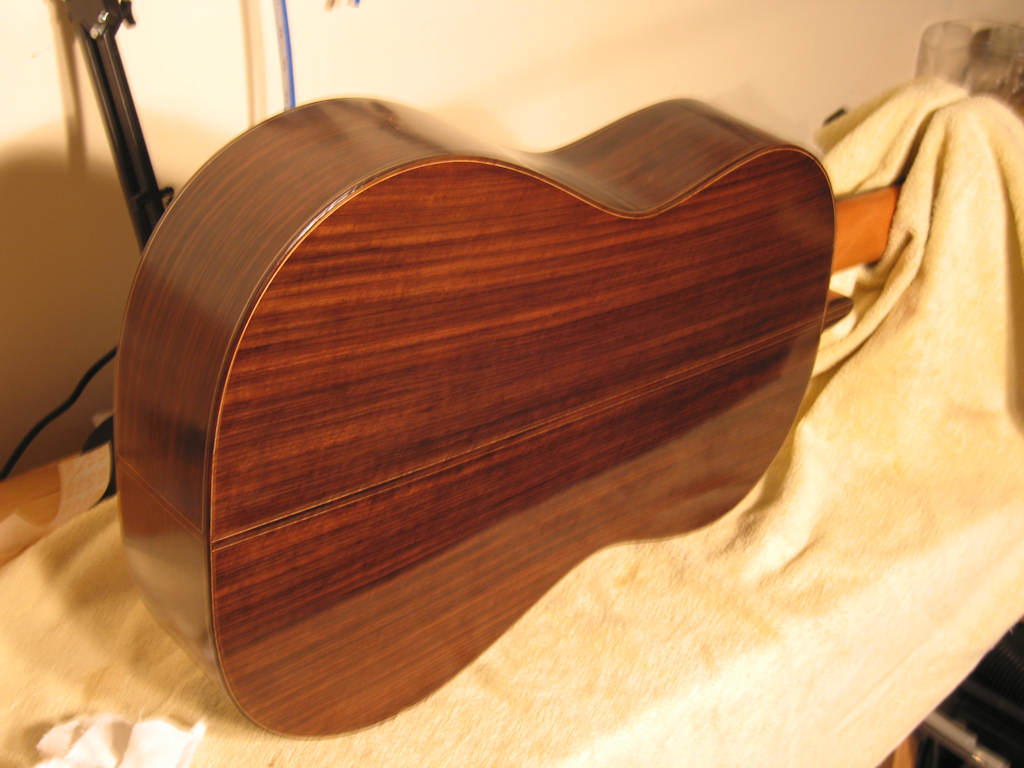
French Polished East Indian Rosewood Back
|
|
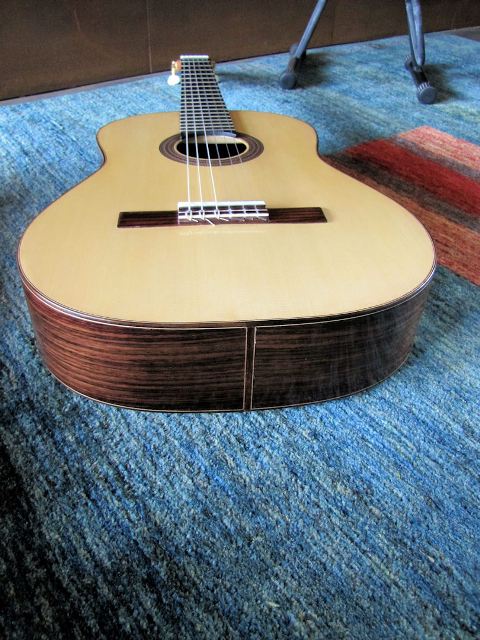
East Indian Rosewood sides
|

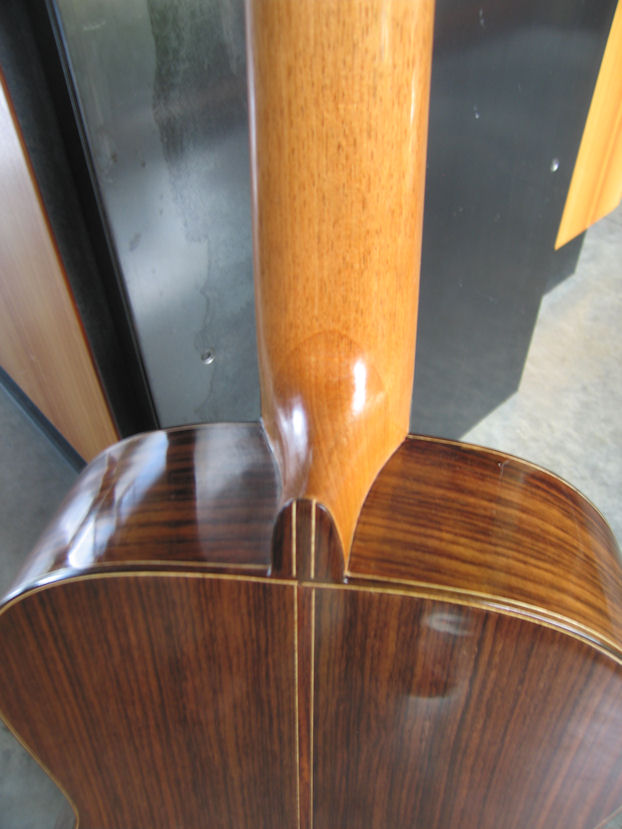
Spanish Cedar Neck
|
|
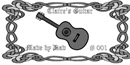
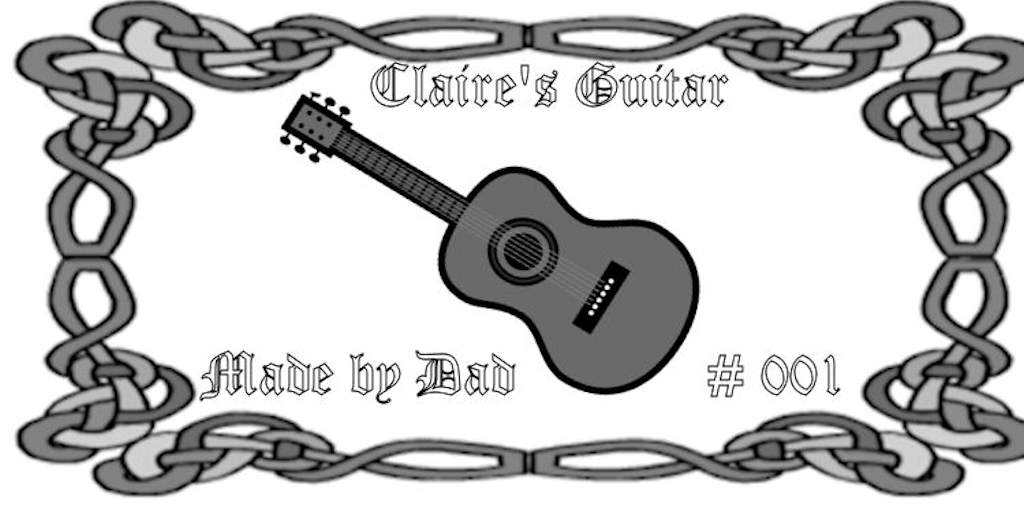
Guitar Label
|
|
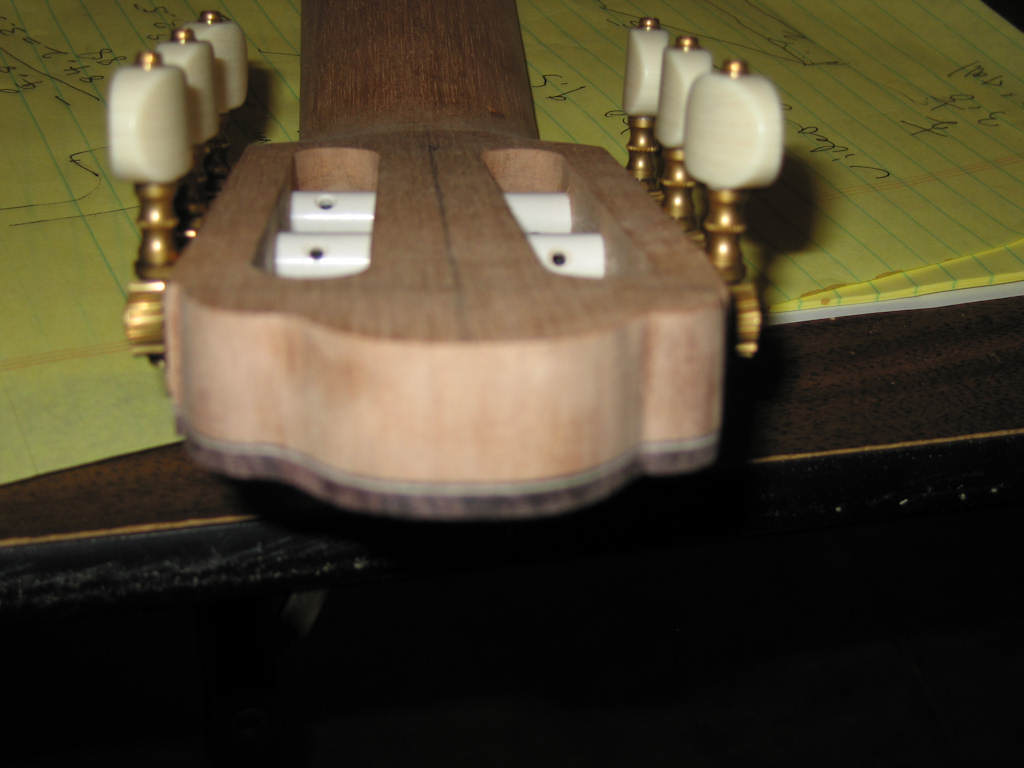
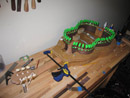
First task - shaping the headstock
|

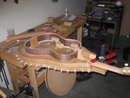
Made a solera
|
|

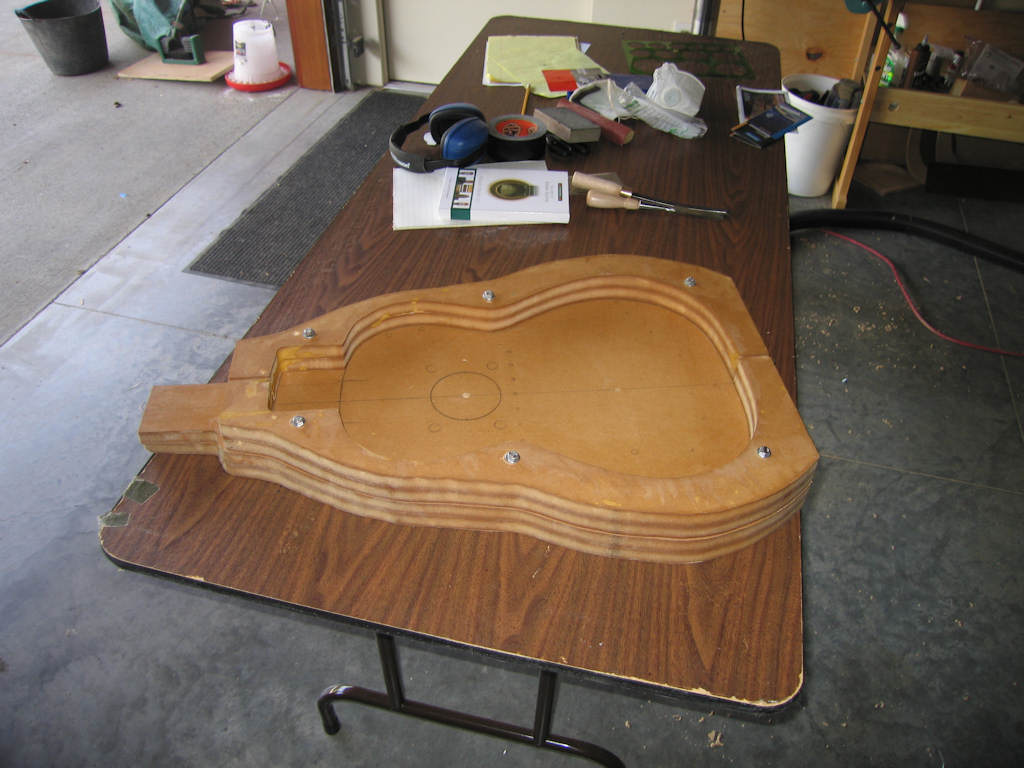
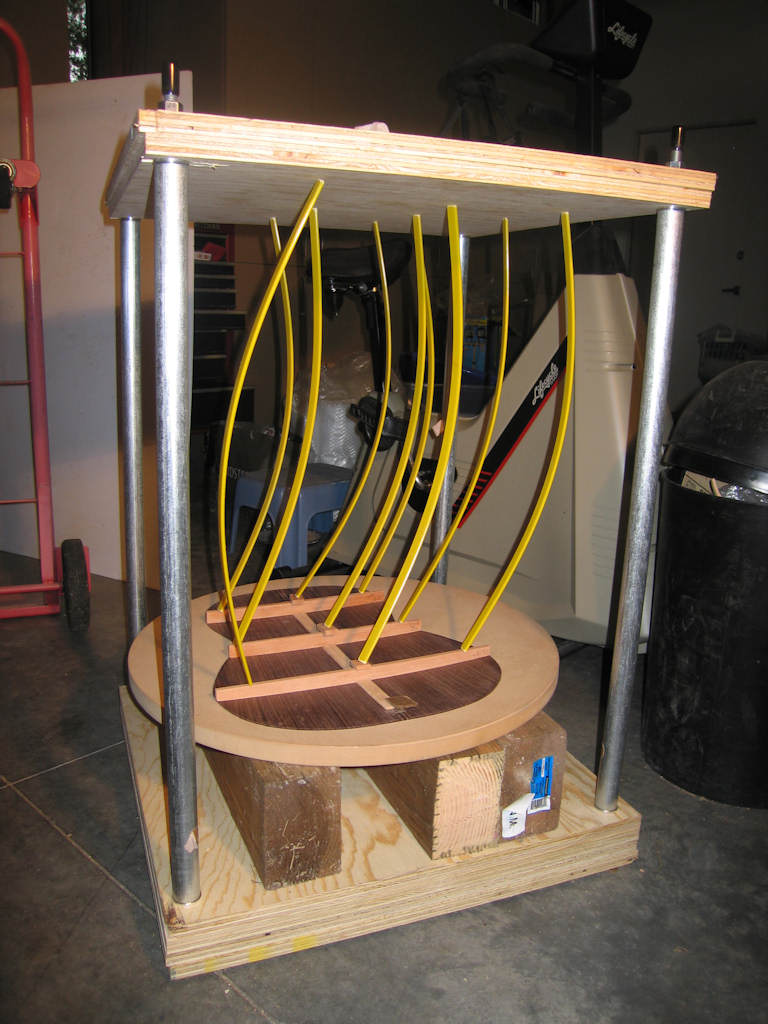
Built a removable mold for the solera
|
|

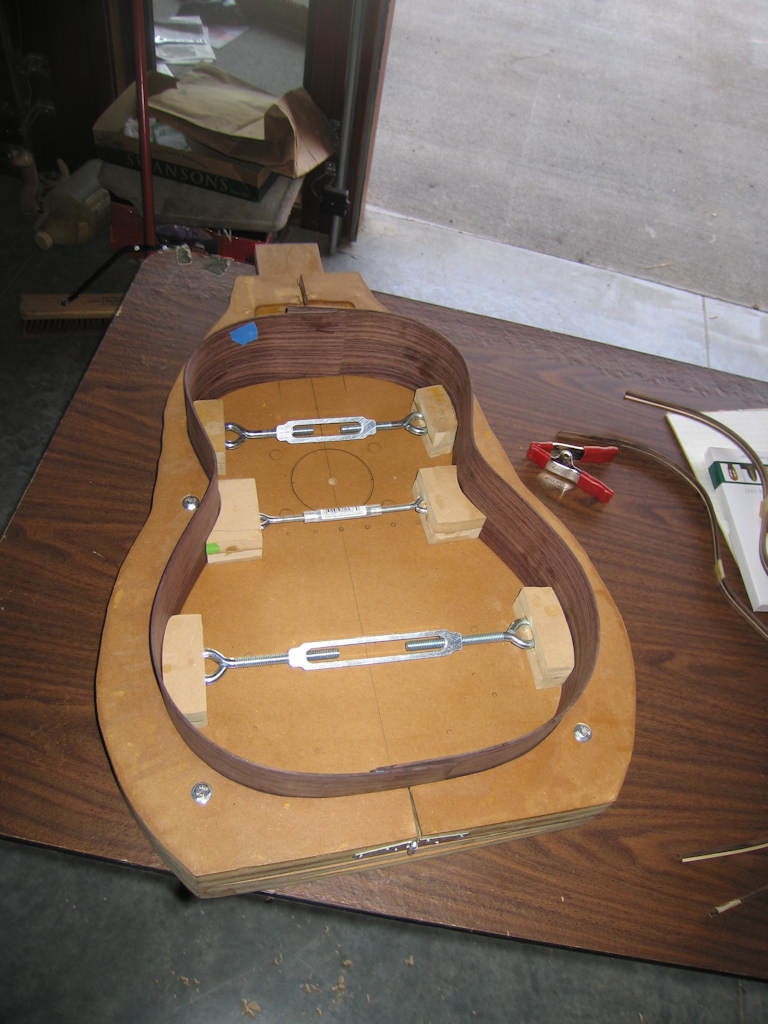
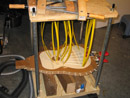
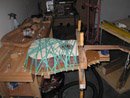
Sides in mold with spreaders
|
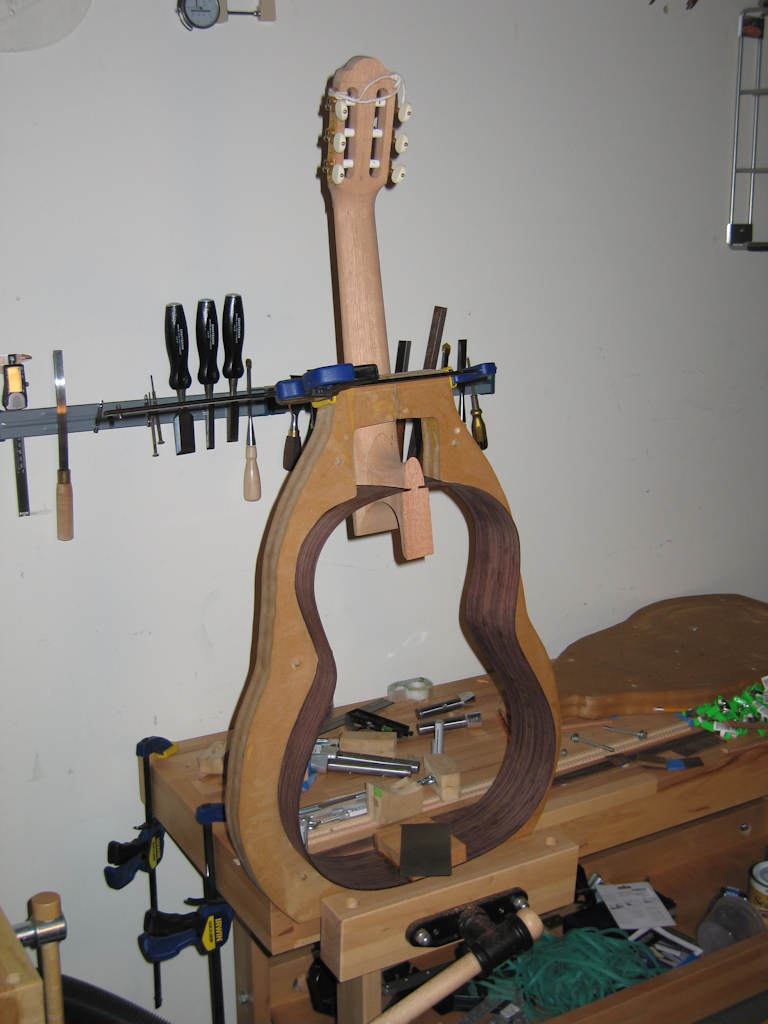
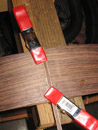
Glued sides to neck
|
|

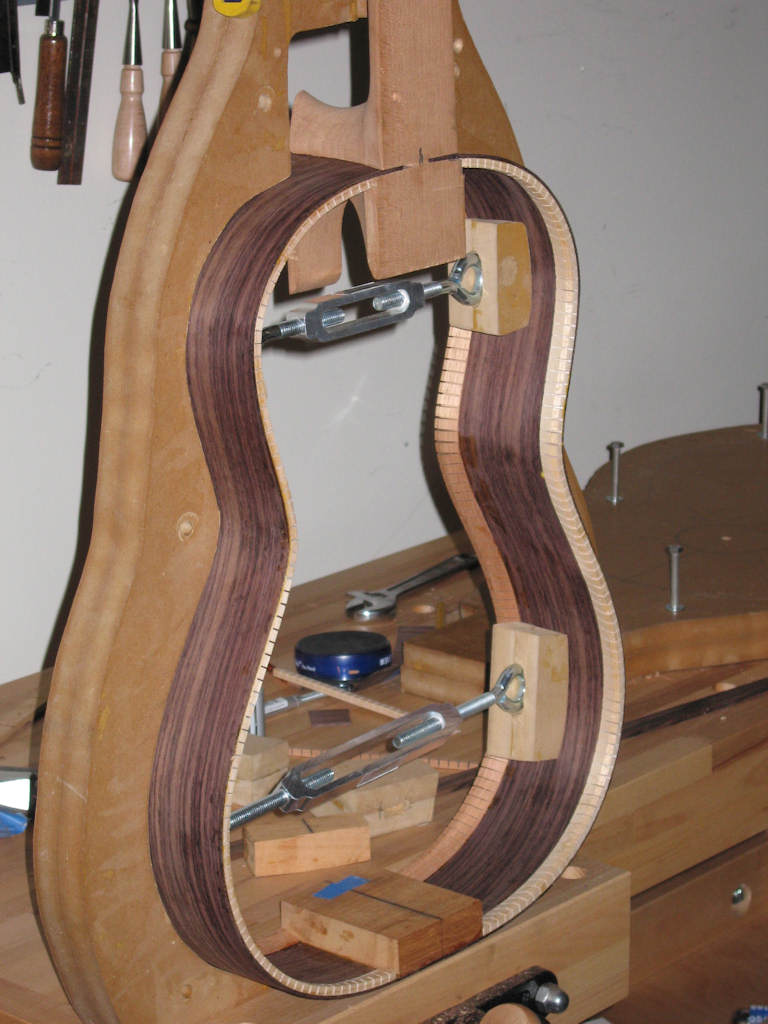
prepare for end block
|
|
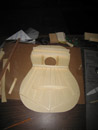
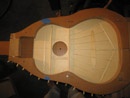
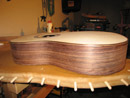
Looking like a guitar
|

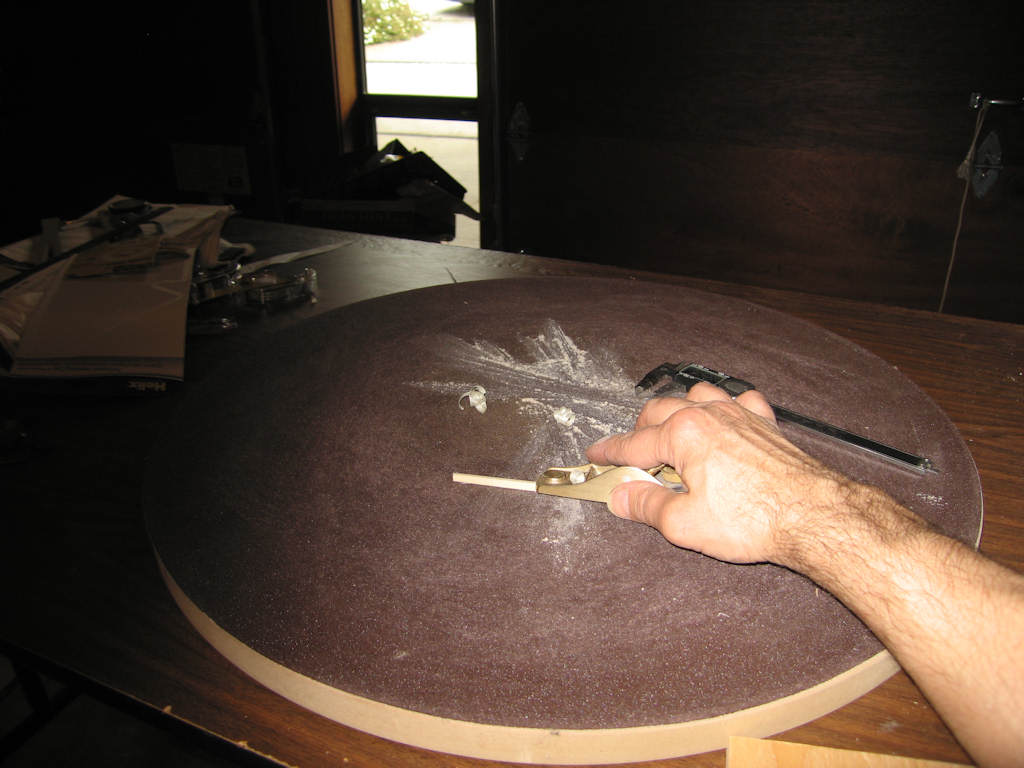
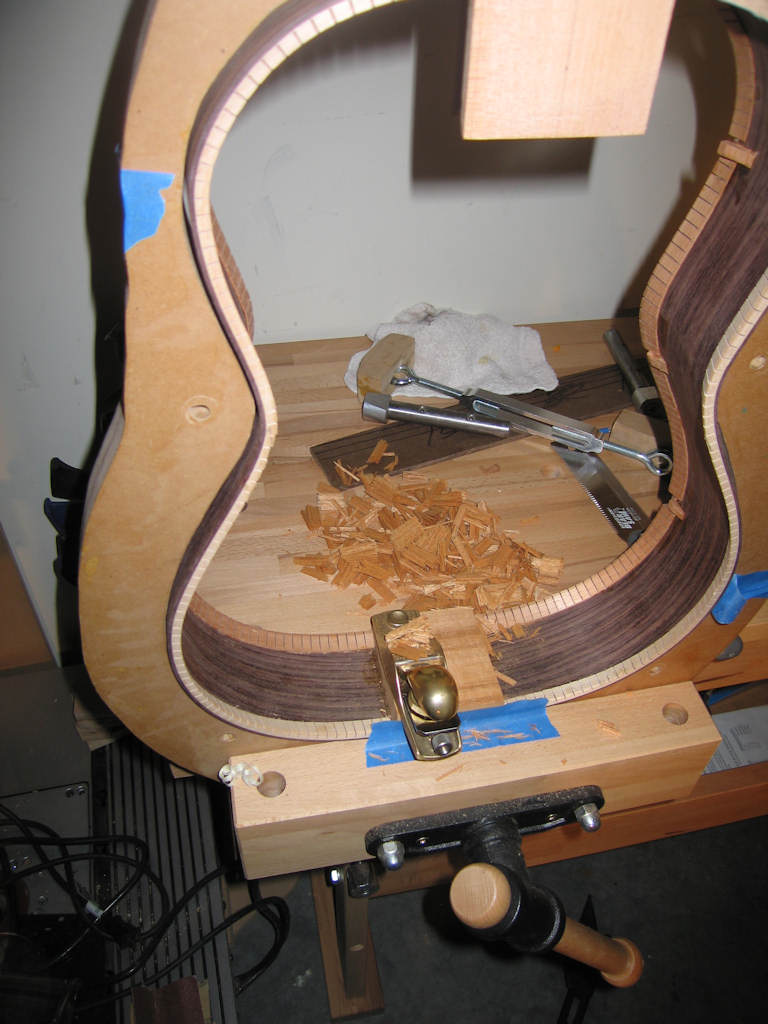
Scraped inside of rim
|
|
Gluing kerflings
|
|

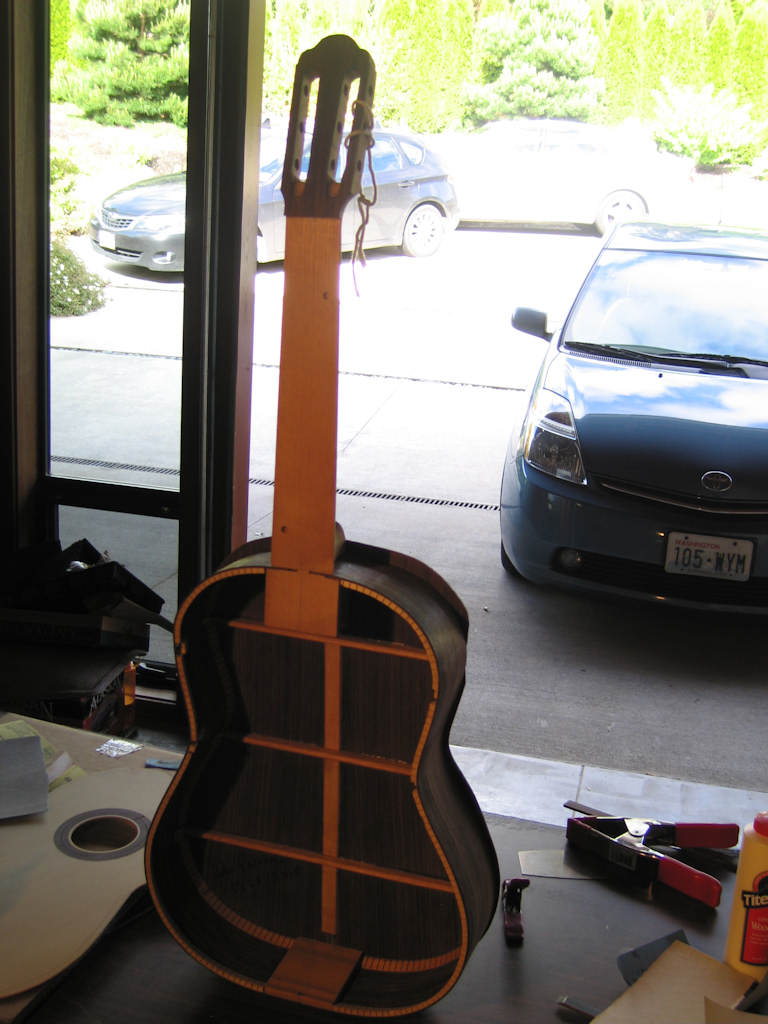
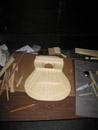
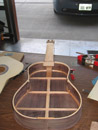
Body with kerfling. Note mistake spanish heel flush and kerfling flush with neck. No room for the top
|
Mold opens for neck
|
|
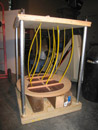
Mold mounts in vice
|
|
Gluing back braces
|
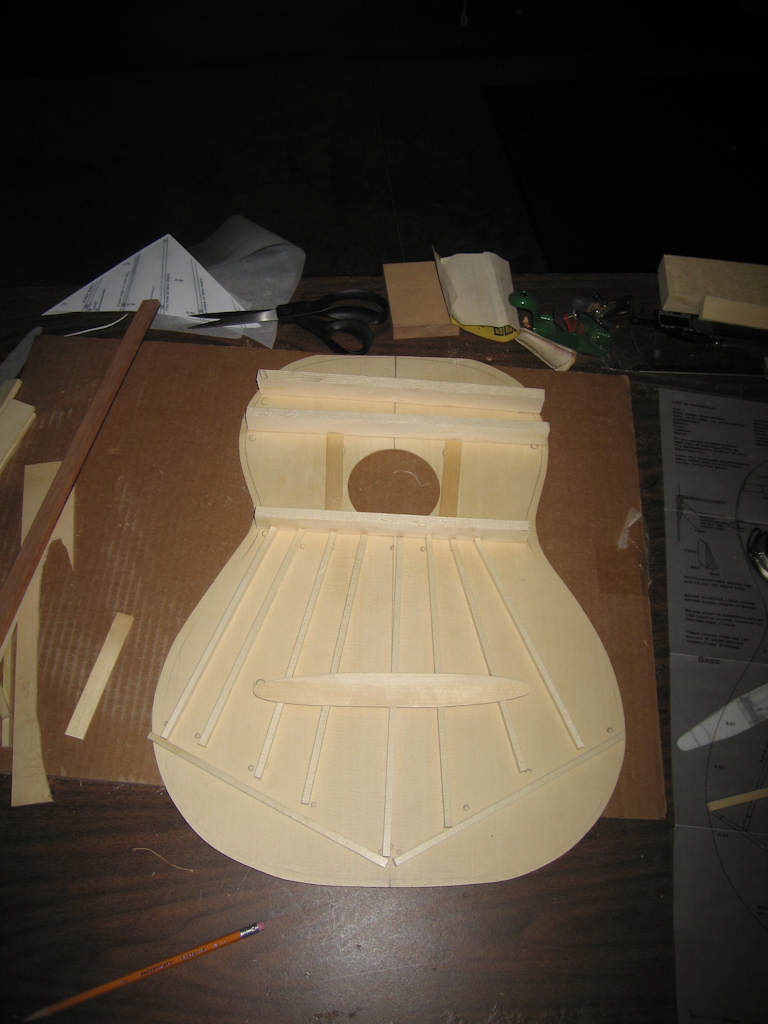
preparing top braces
|
|
top braces
|
|

Used radius board to hold small braces while planing
|

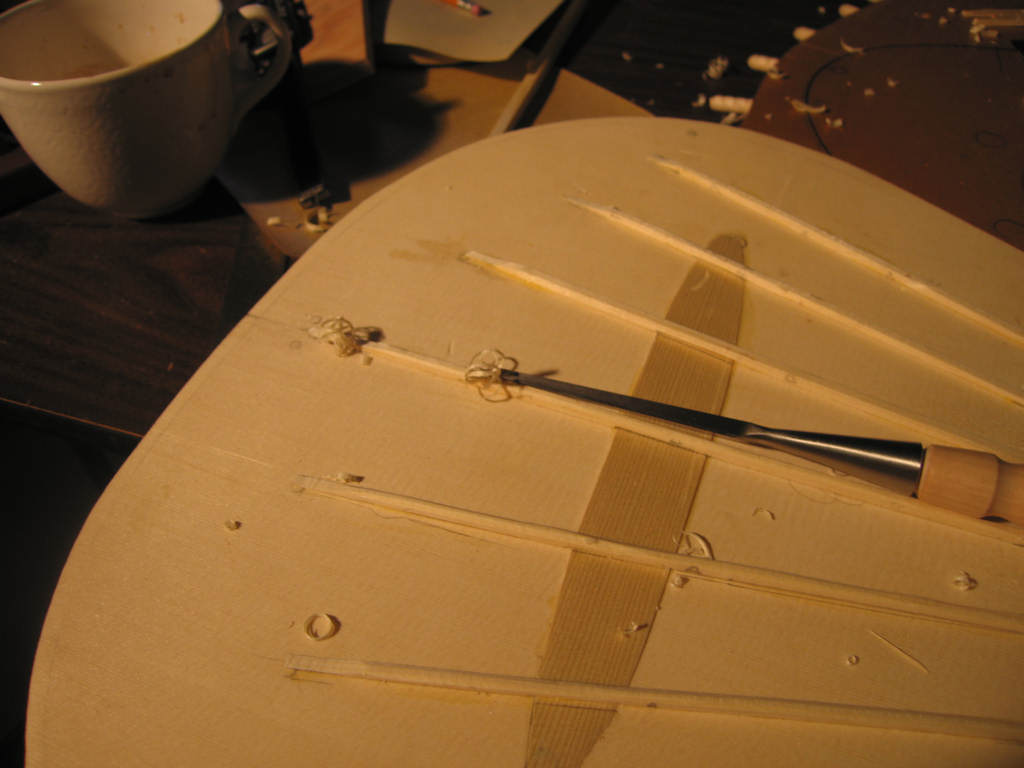
gluing fan braces
|
|

shaping fan braces
|
|
gluing remaining braces
|
End block was too deep
|
|

fitting top
|
|
gluing in end graft
|
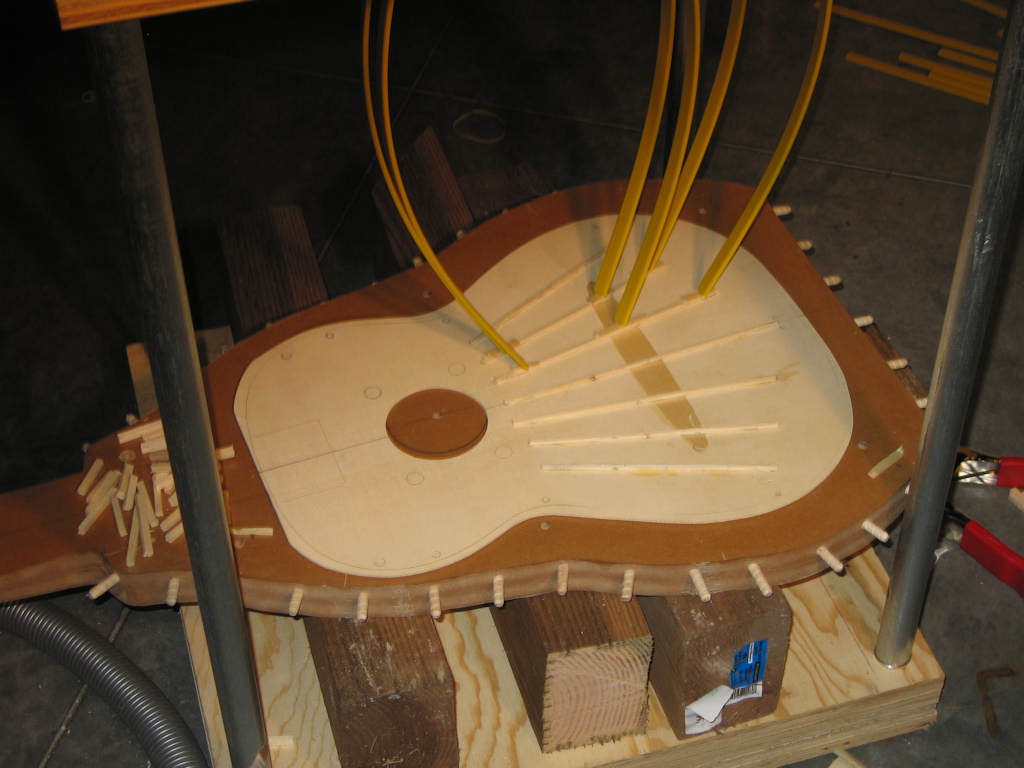
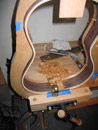
top in solera getting ready to glue on the back.
|
|

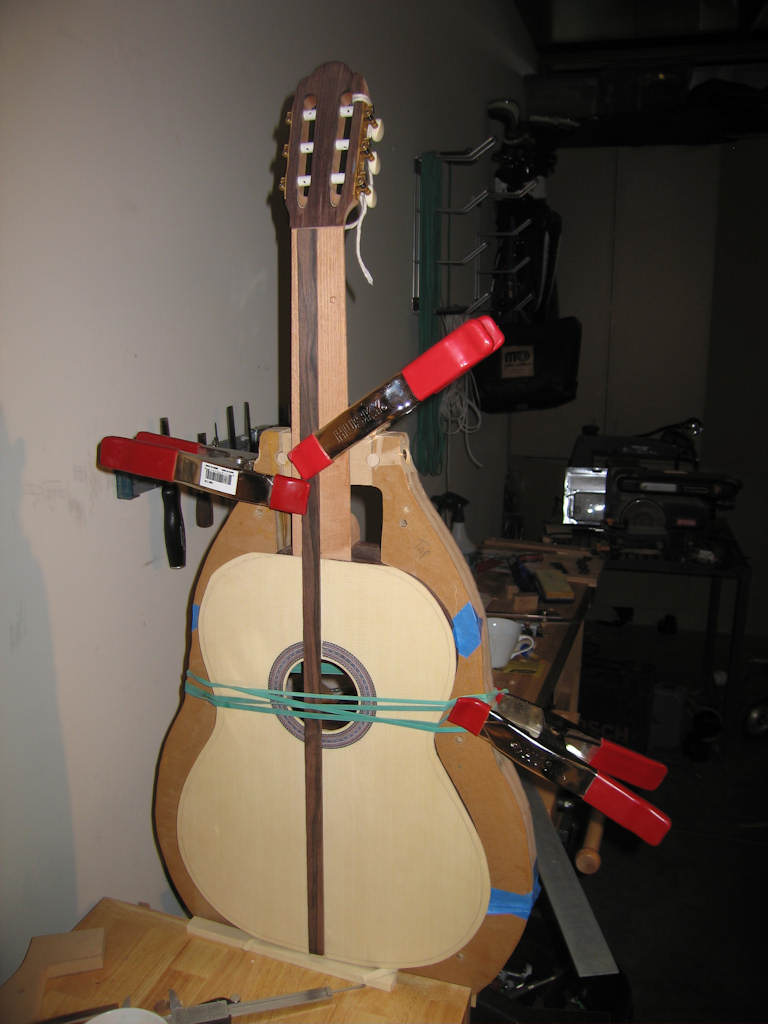
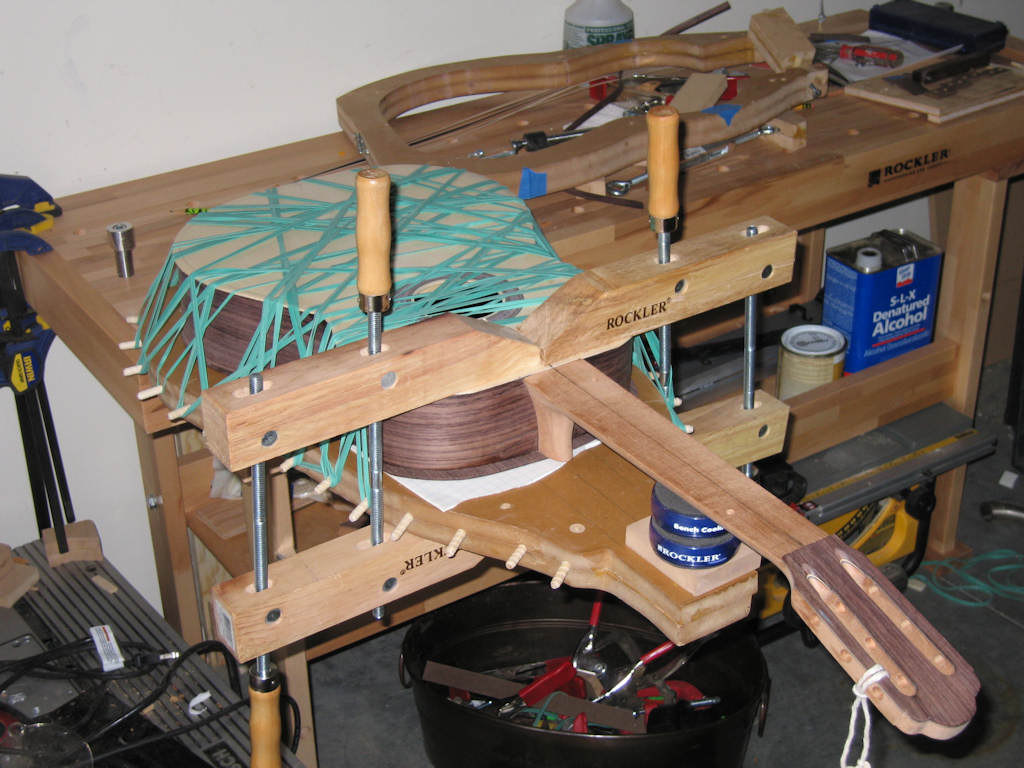
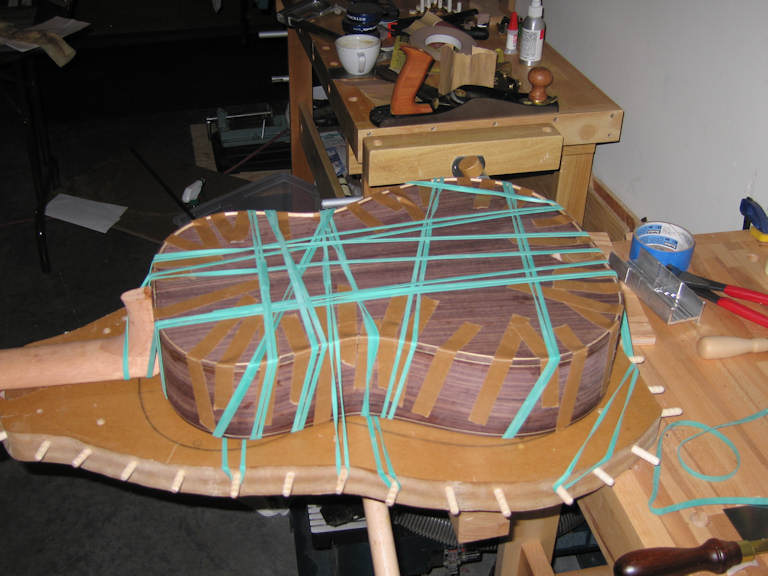
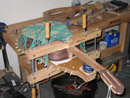
gluing on back, weight, rubber bands clamps!
|
|
went OK but out of alignment with end graft.
|
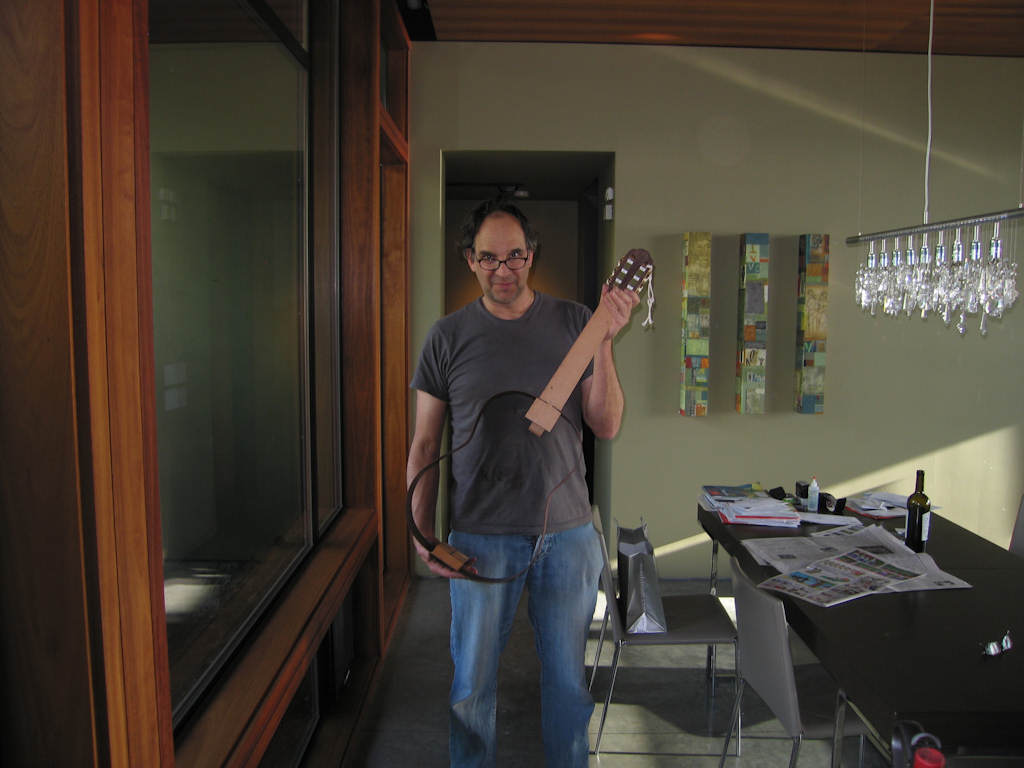
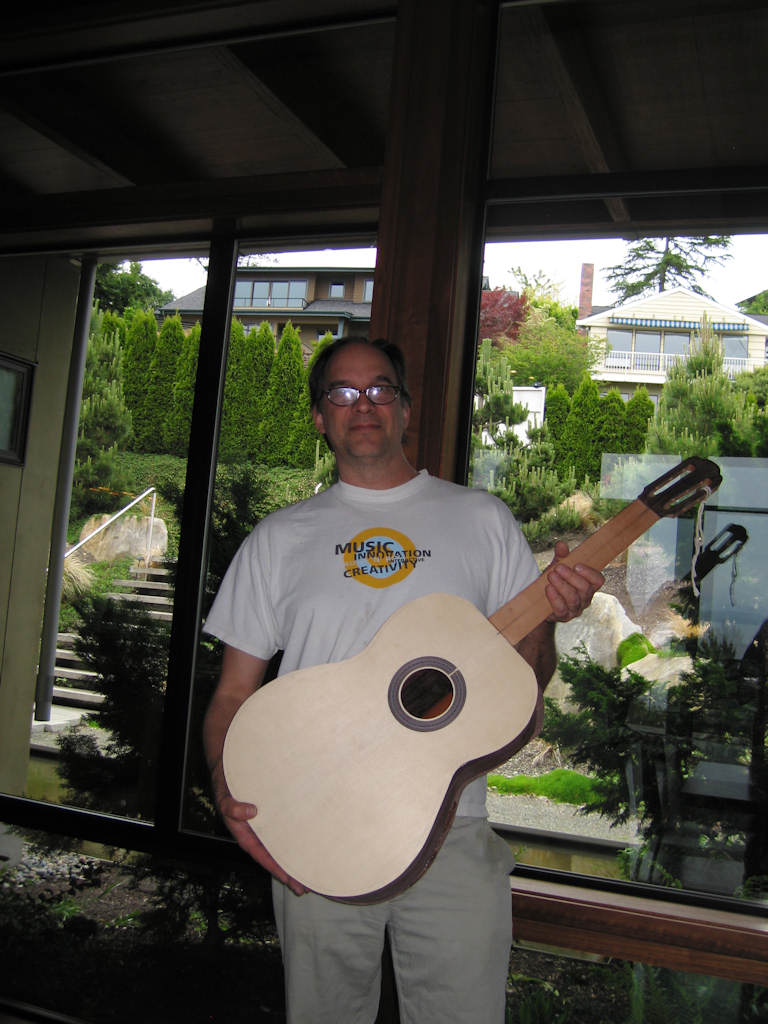
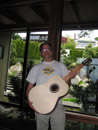
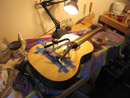
admiring my work
|
|
gluing on top
|
|
Gluing on top
|
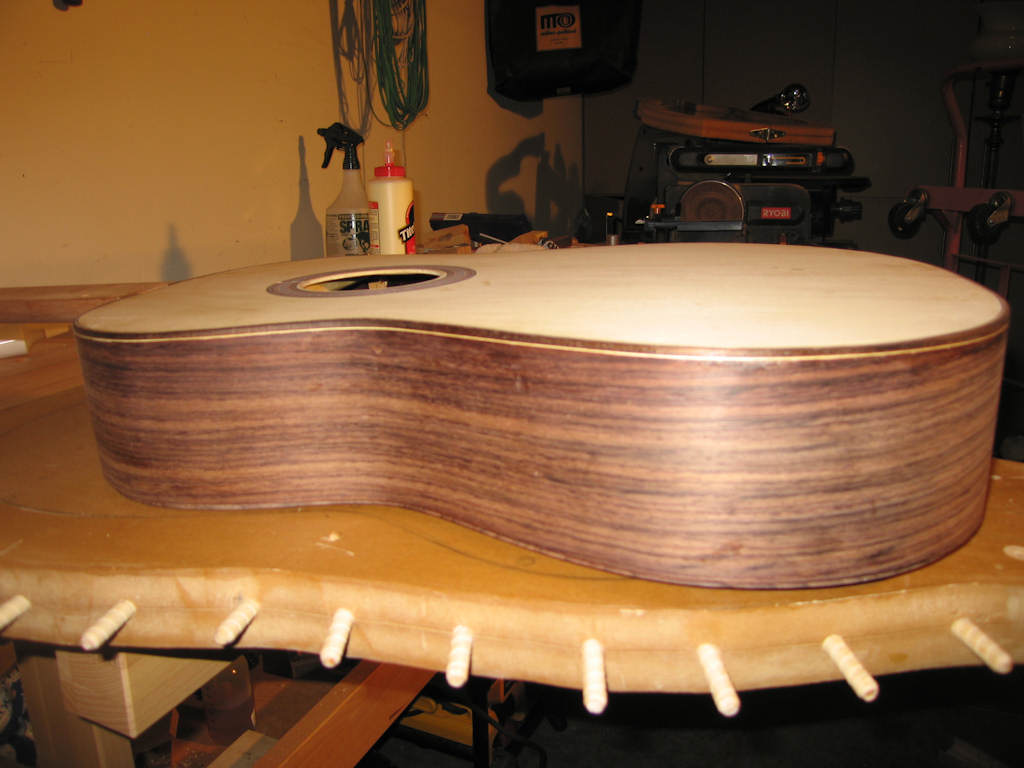
right after top and bottom glued on.
|
|
used colt router to route the binding channel
|
|

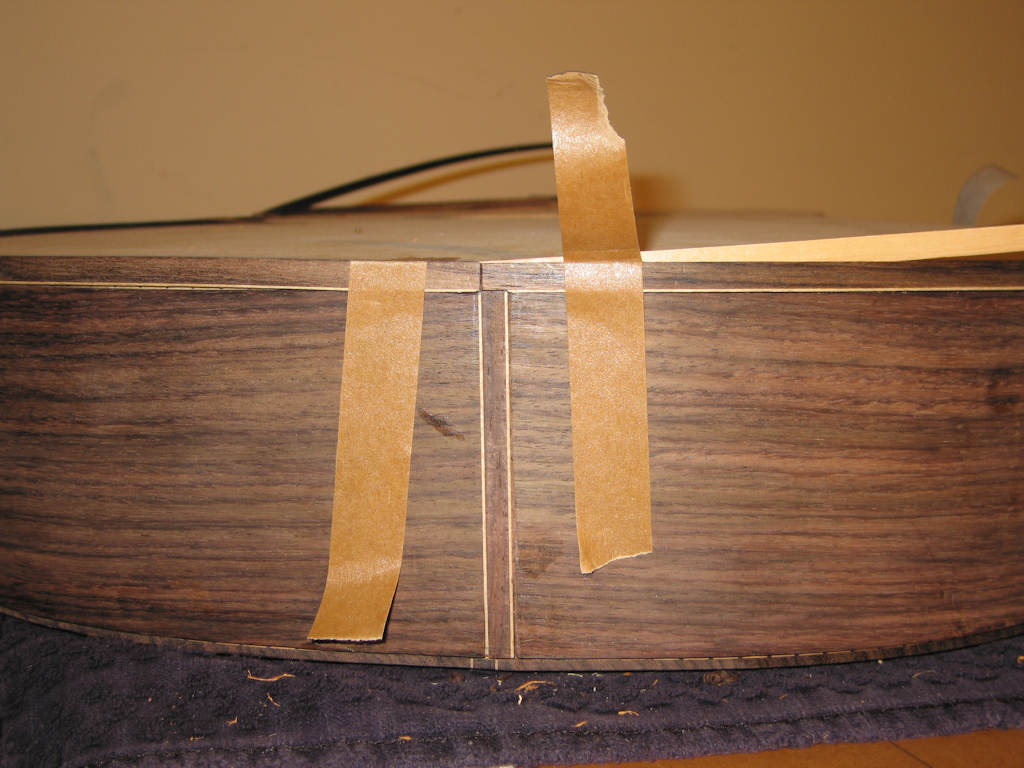
test fit of the binding and purflings. Note end graph not aligned.
|
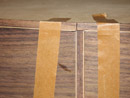
Mitered purfling lines
|
|
Top bindings and purflings in
|
|

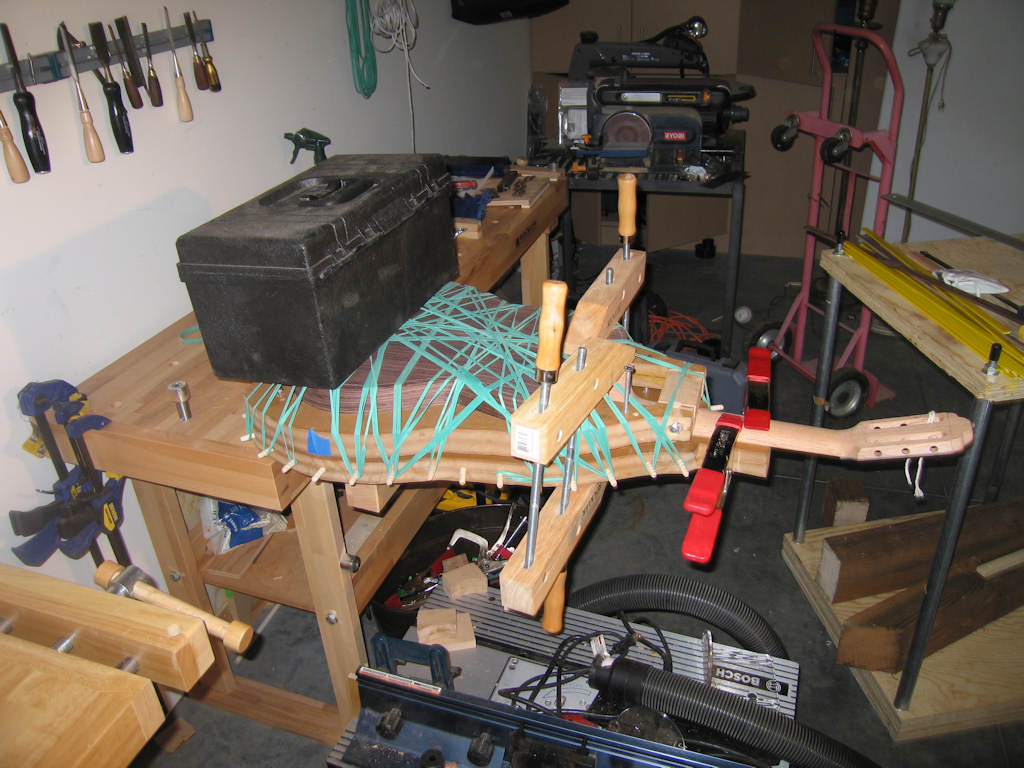
gluing back purflings. Used tap and rubberbands to hold bindings tight.
|

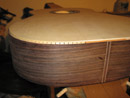
Top and back bindings in.
|
|
gluing on fret board.
|
|

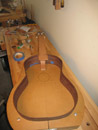
French polished top
|
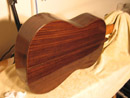
french polished back and sides
|
|

Frets hammered in.
|
|
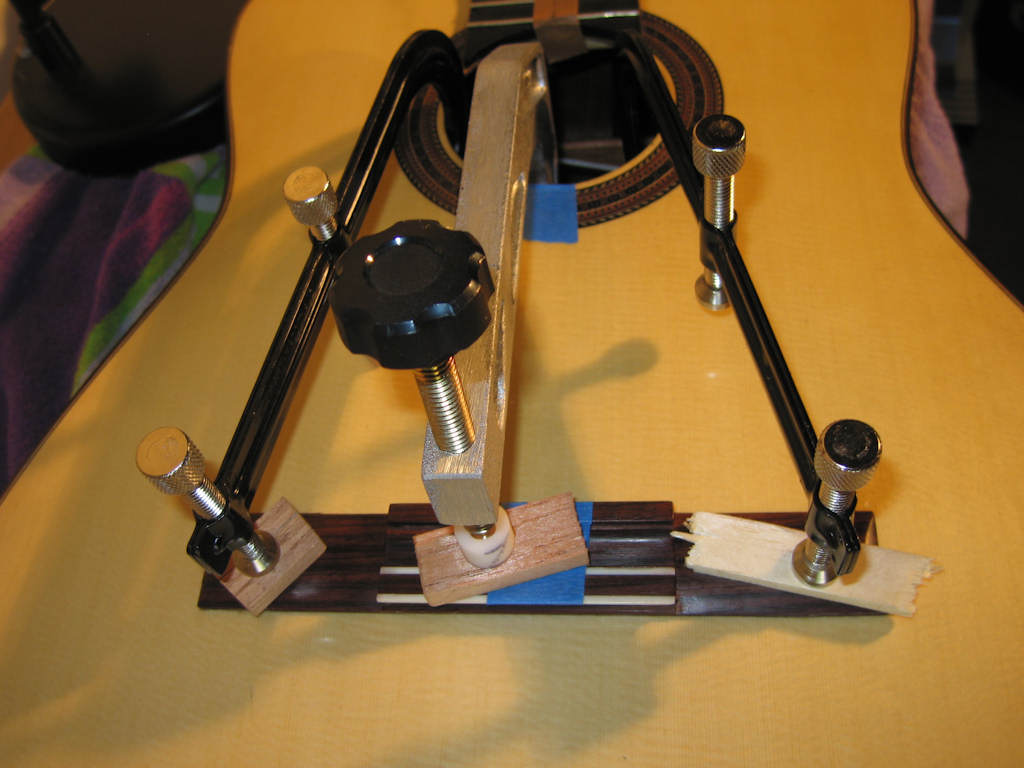
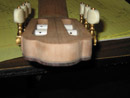
gluing on bridge
|

bridge clamping
|
|
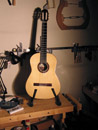
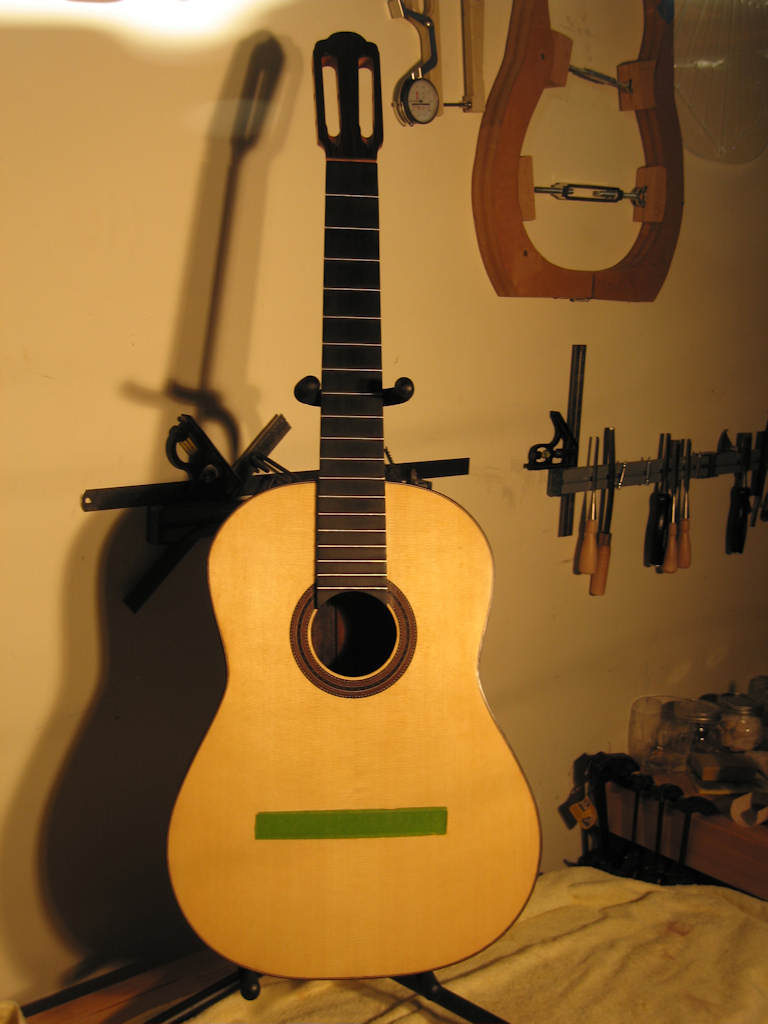
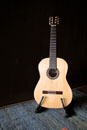
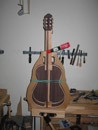
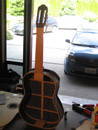
Finished guitar!
|
|
|
|

|
|
|
|
|