African Blackwood Classical Guitar
April 7th 2013
While I was joining the plates and installing the rosette for my Martin 00 I also joined the plates and put a rosette into an Adi top and jointed Afreica Rosewood back. I was going to build the two at the same time, but no I am not that good, so after many months I pulled the wood down this weekend and started the classical guitar for real.
In between I had a two day course with Jeffery Elliott about voicing a classical guitar top. It was a watch only course, but I learned a ton. Luckily I took good noted and pictures so I can put it into place today.
One of the interesting ideas I saw, from him is that he indexed all of the components that mattered up front. He has index holes in his solera for the saddle location, matching template to index the bridge, Index holes near the heel block and a complete story board with matching index holes for the saddle, rosette center 12 fret, nut ... What I like is that he actually places his bridge before he even makes the body.
Jeff made his story board, but on the Waldren Instrument site, I saw that one can buy a whole package of neck templates for any instrument. This package includes a full length story board.
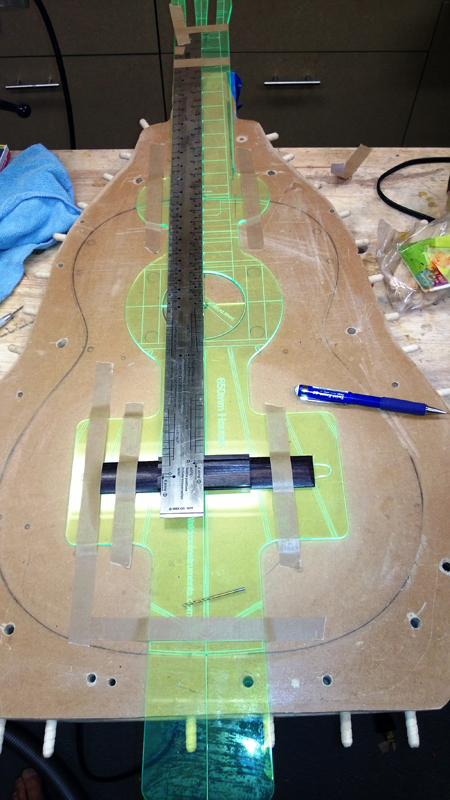
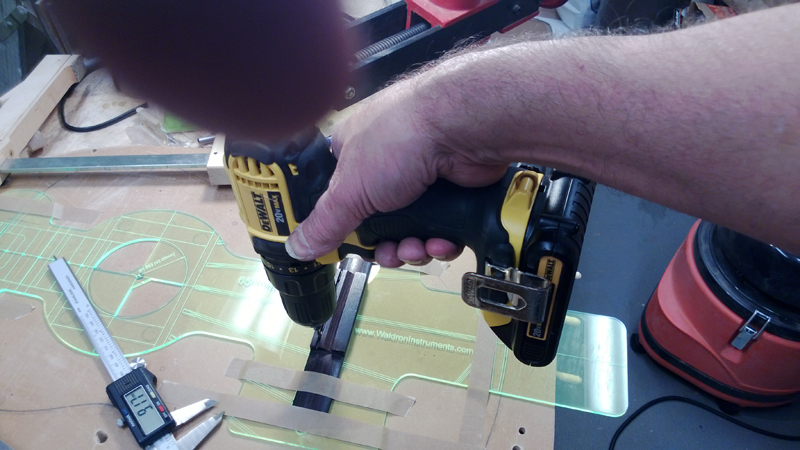
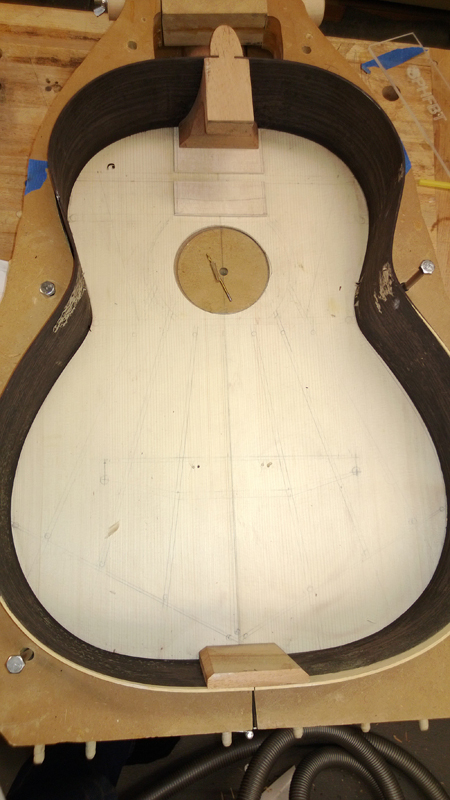
As you can see in the pictures below. I located the proper saddle location on the story board and drilled index holes in the story board, the bridge and my solera. I used the story board to drill index holes in the top as well (second try, need to remember inside and outside.) I will also drill matching index holes in a neck template to use on the neck and fret board and a bridge template that I have to mark the saddle location. With all of these templates I should be able to achieve some constancy. But I have also already set the location of the top, saddle, and the neck on the top. I made the rough top braces before Jeff Elliott's class. The neck is an LMI neck I had for a couple of years.
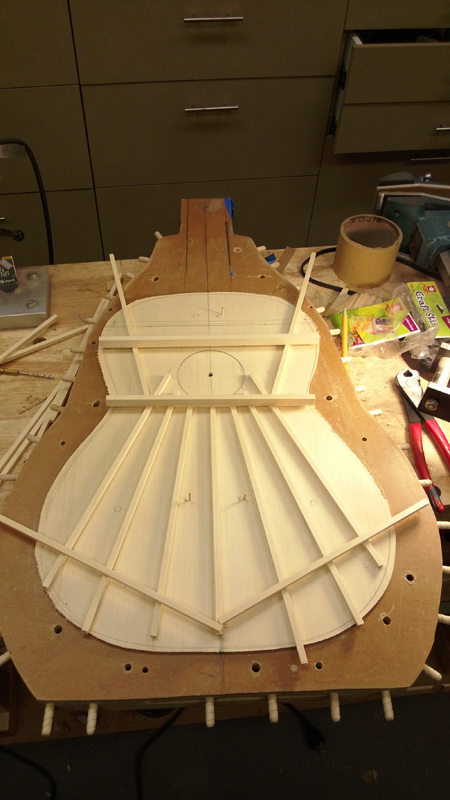
To finish the evening I thicknessed the back and thicknessed and profiled the sides. I could have probably bent the sides but I turned in for the evening.
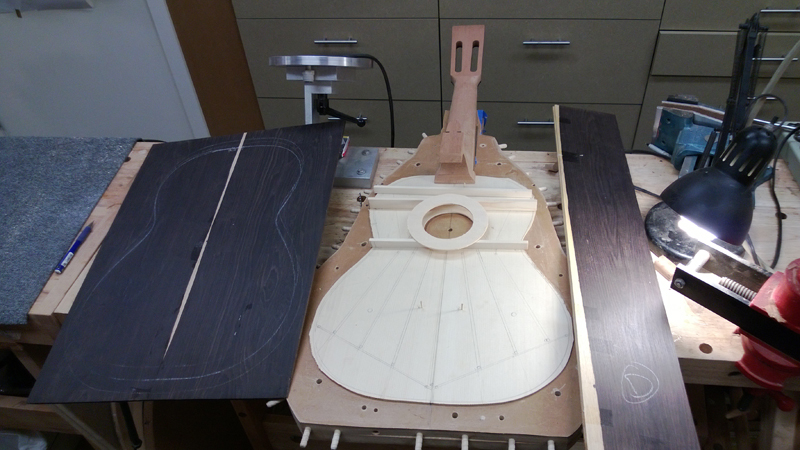
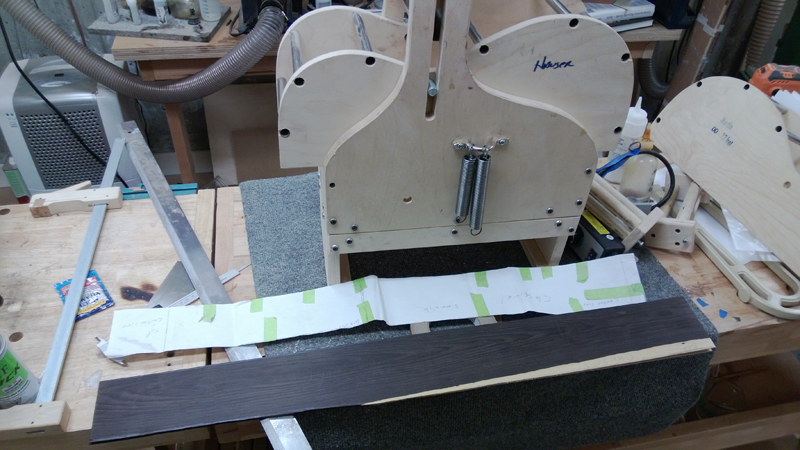
April 21st 2013
I did get the sides bent without any issues. I was not in any hurry so I let them set in the mold a bit and ended up with nicely bent sides with little spring back.
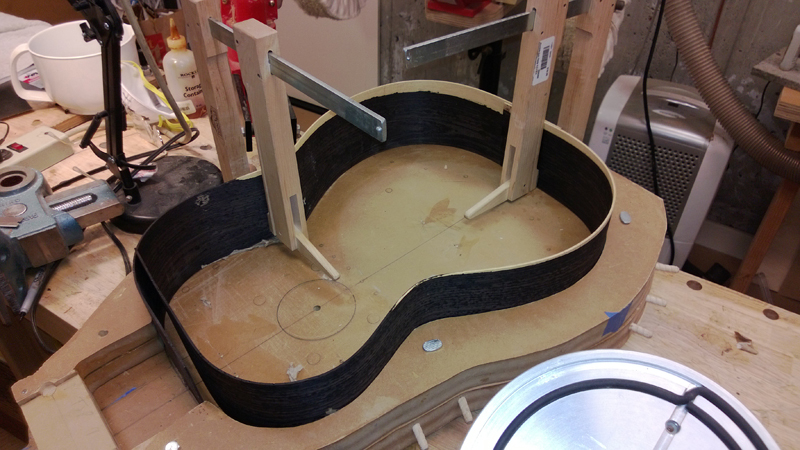
After that I made the bridge patch 1 mm thick and a fret board patch 2.4 mm thick. Some luthiers do not use either patch. There are a lot of fine guitars with cracks along the fret board, so given that the area under the fret board does not really contribute to the sound I like to use one. Given that I have a fret board and the top of the guitar as to be level with the with the face of the neck where the fret board glues on, I needed to plane 5 mm off of the top side of the Spanish heel. Some use a router for this but I have a nice plane for this operation. When planing work both sides stopping toward the middle or you may blow out an edge.
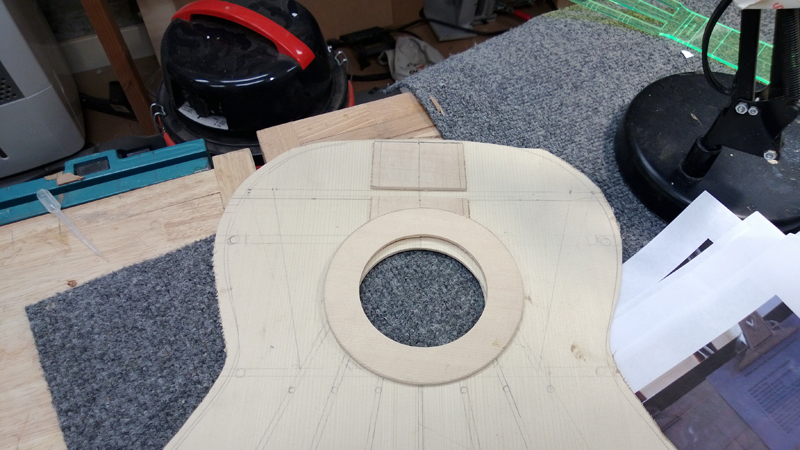
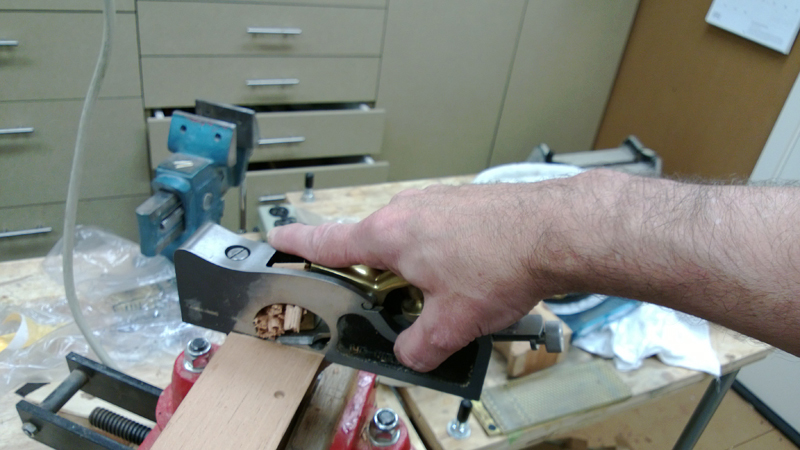
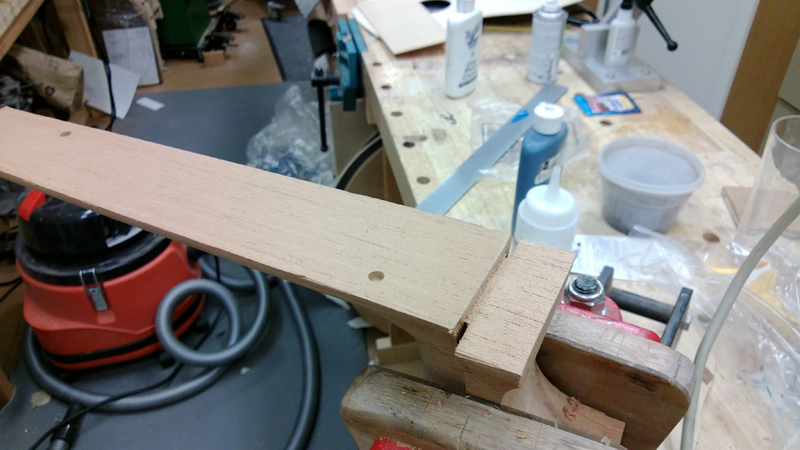
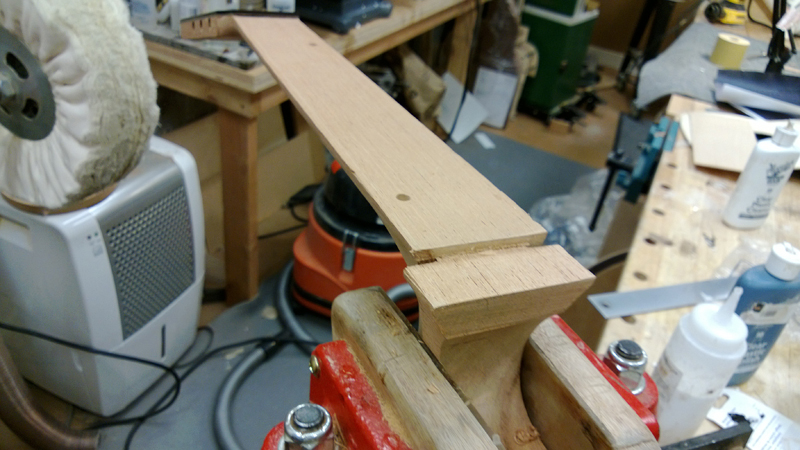
Testing the depth using the top and some of the same sheet I made the bridge patch with.
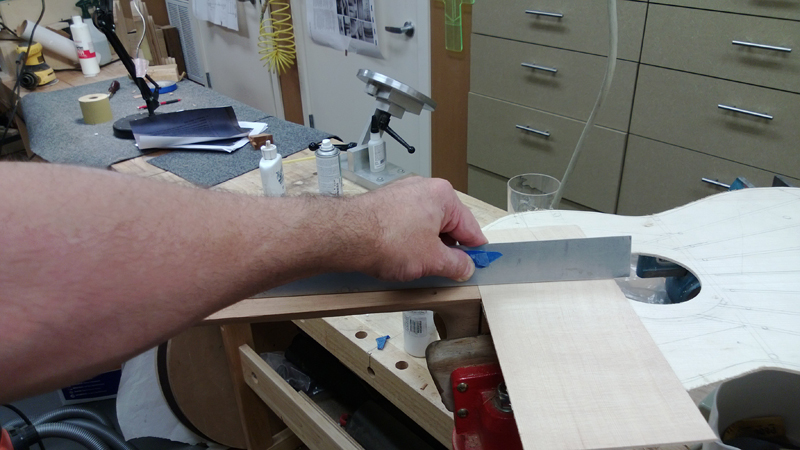
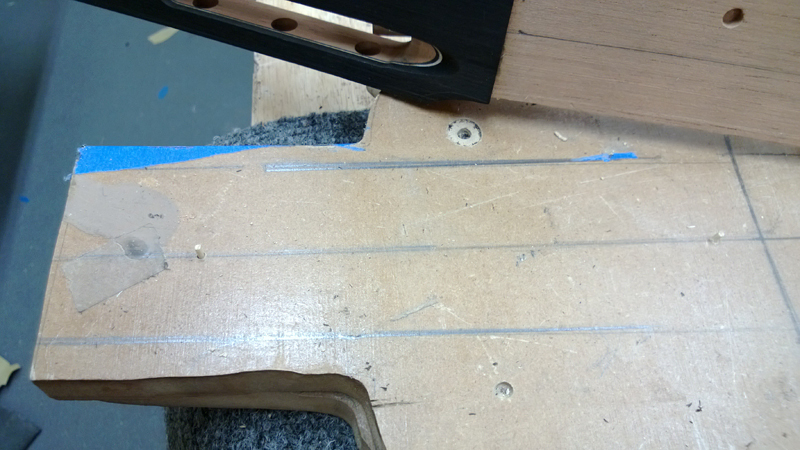
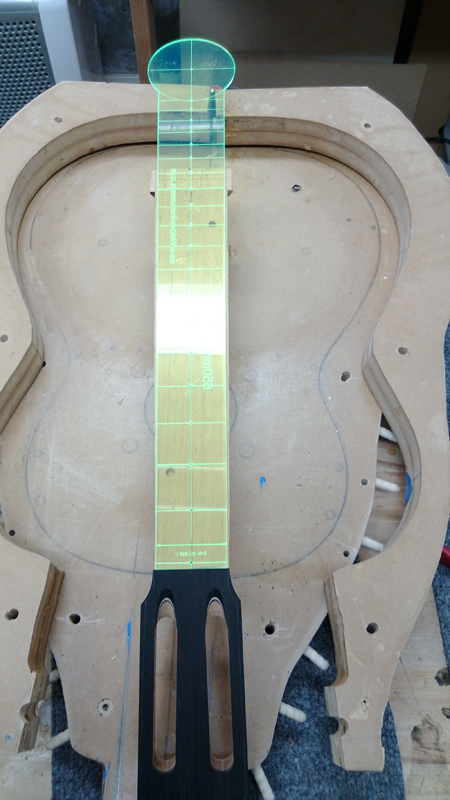
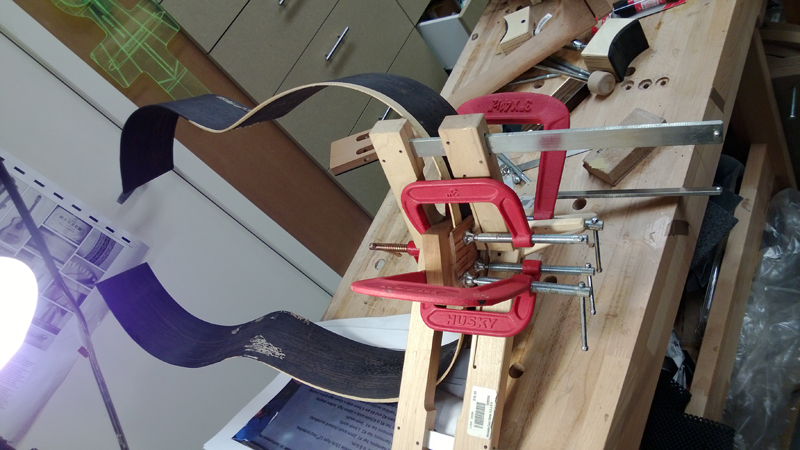
To make sure the neck ends up in the right place I index the neck using a template. Below you can see the previously drilled neck Index holes with small bamboo pins. I used a matched template to drill the holes indexing off of the nut location and the center line of the neck.
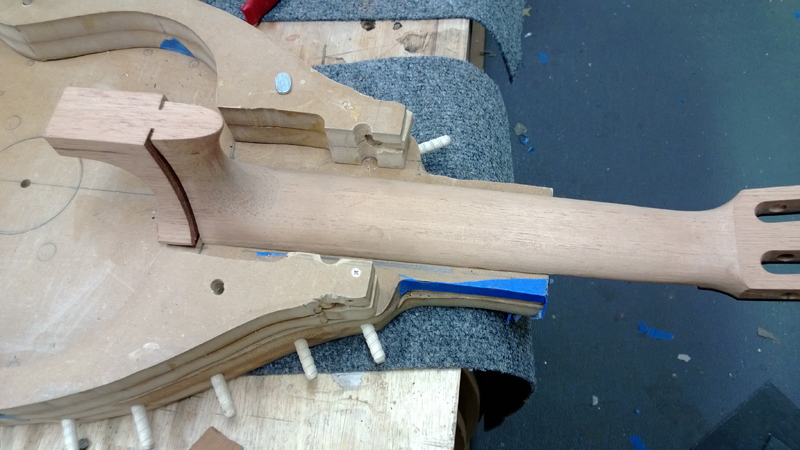
After that I cut the sides to the right length. The tail works just like a steel string guitar. Cut both sides square from the top side on the center line. Cutting the heel end of the sides took a little more work as I needed to fit in the slots in the Spanish heel. I am using an LMI neck which cuts the slots in at an 80 degree angle. That is the remaining wood in the slot is narrow in the back and wider on the top side. I first cut them just like a steel string right on center. Then I marked off the distance from the center for each side on the top and the bottom and roughed in a cut on the band saw on the resulting line. I played with each side to fit perfectly using my belt sander.
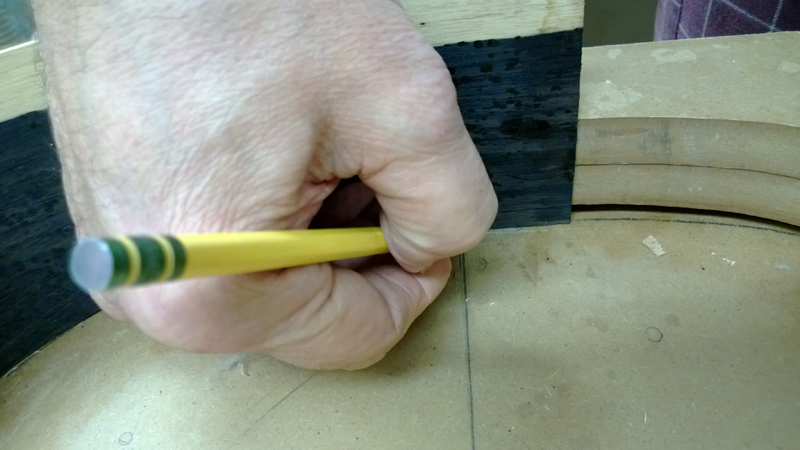

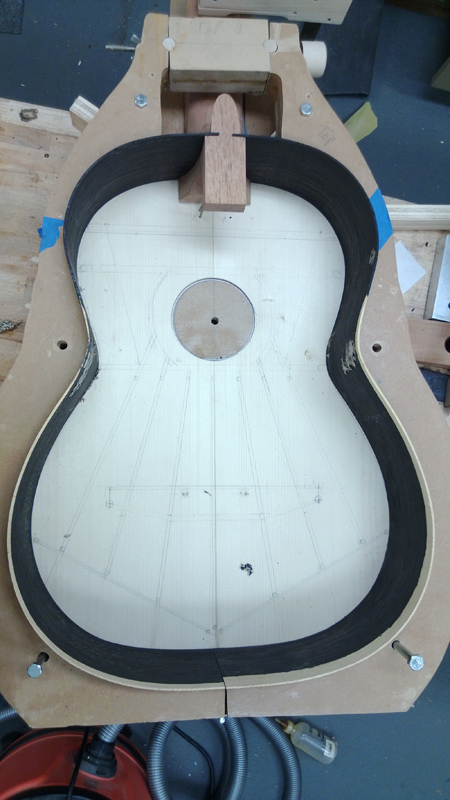
With the sides cut to the right length I felt ok about gluing on the end block. I start the gluing in the mold so that I can be square and on center. After I clamp on half of the block on I remove the sides from the mold and clamp the other half.
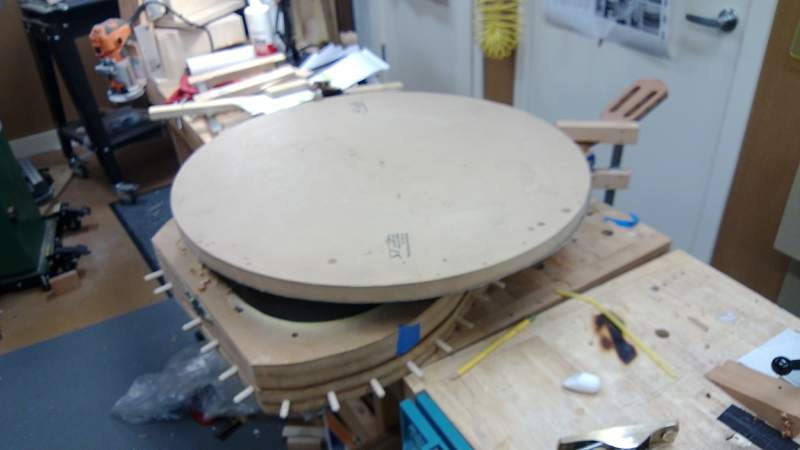
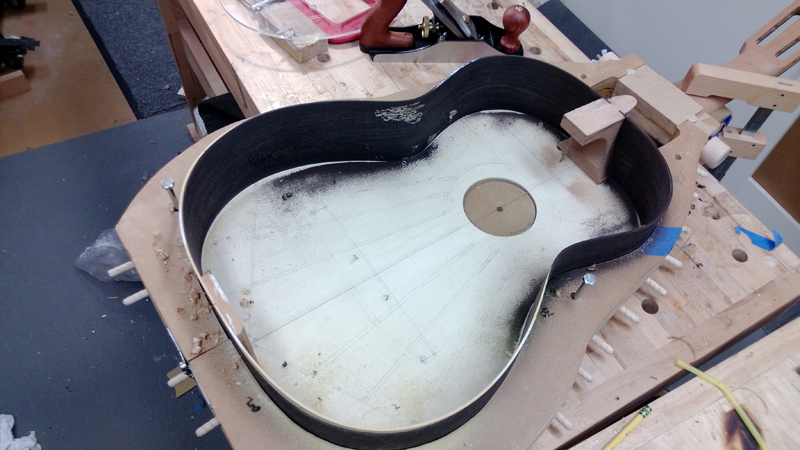
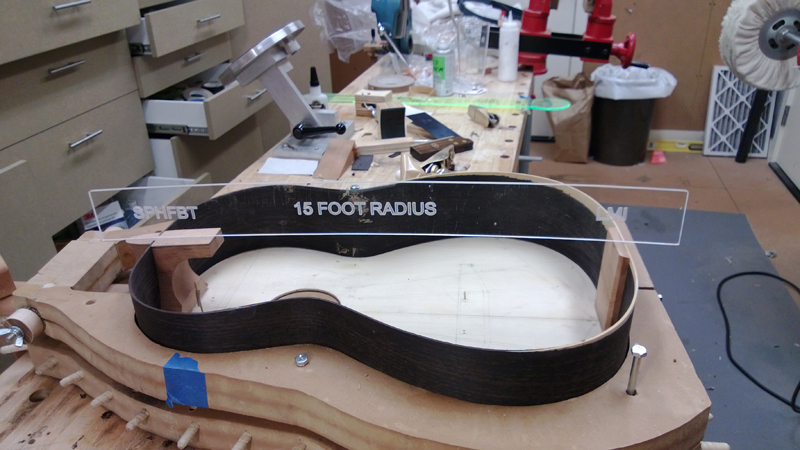
I have a relatively accurate thin card board template for the profiled sides. I used that template to mark the sides and did 90% of the profiling with a block plane. When I was close I used a 15 degree template to mark the Spanish heel foot to make sure I maintained the curve on the foot. When I was very close I finished the process with a radius board. Note through all of this mess I had the sides sitting on the top. I wanted to make sure I maintained all of the proper angles, especially the neck. I still glue the neck dead flat. Some of the better luthiers tilt the neck toward the top a bit (opposite of a steel string). I like it flat as it is easier to glue on the fret board. To effectively get the same angle I plane the angle into the fret board so that it is 1 mm or more thicker at the nut than at the 12th fret. If I had tilted the neck I would have had to thin the fret board extension from the 12th fret on to match the angle of the neck.
On to bracing the top and back!
May 24th 2013
Back from Turkey and Greece ready to spend Memorial Weekend on my classical guitar project.
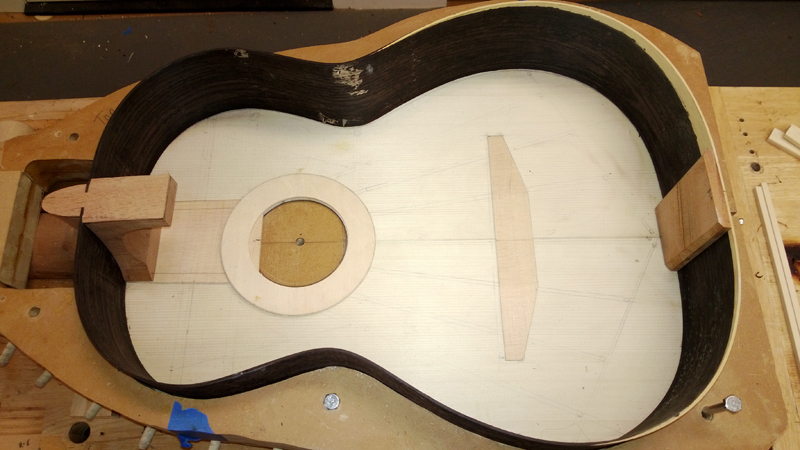
My plan is to finish the rims by adding the kerfed lining and start to brace the top. Having previously prepared the fret board patch the sound hole doughnut and the bridge plate. I am moving on to preparing to brace the top.
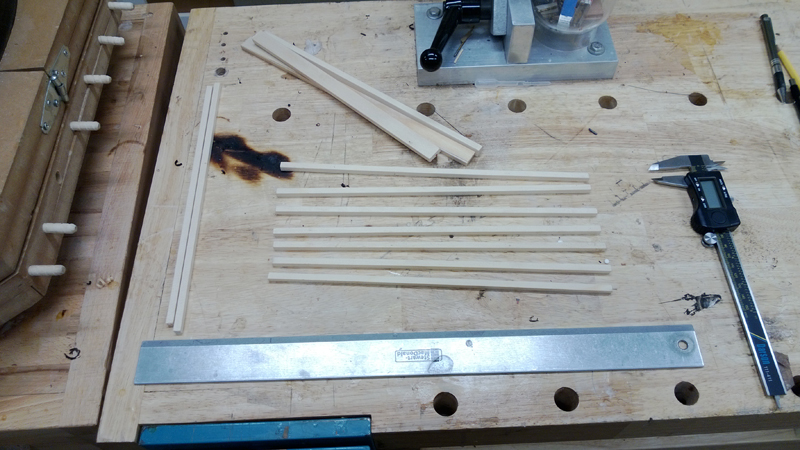
I made sure I had a complete set of rough dimensioned braces for the top. My fan braces at this point are all exactly the same length and 6x6 mm. I sorted the set of braces by stiffness about 3 or four times. The Idea is to put the stiffest brace in the center the next two stiff braces on either side of the center until I end up with the least stiffest fan braces on the outside. In a small way this provides some symmetry and provides the most stiffness where the top needs the most support. Also this method is complementary to the edge thinning of the top that classical guitar makers often do. I will further enhance this process when carving the fan braces, by leaving the center brace height at 6 mm the two on either side of the center at 5mm the next two outside braces at 4 mm ... and the out side braces at 3 mm.
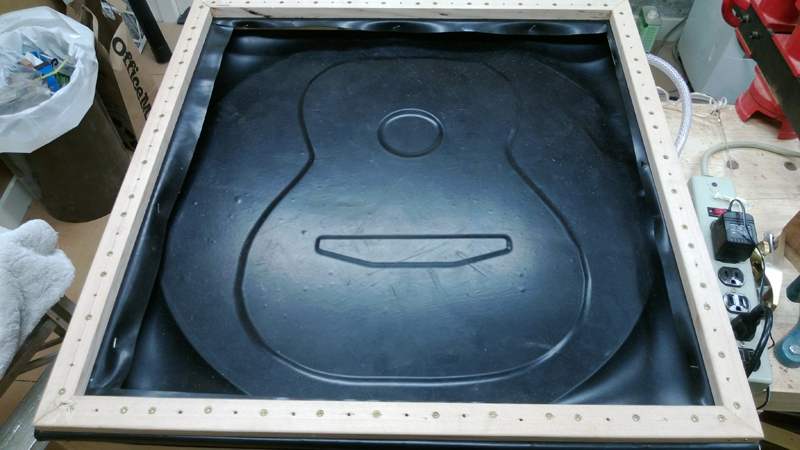
Before fitting the fan braces I needed to glue on the bridge plate giving me an opportunity to try out my new vacuum box for the first time.
Next Page
| 
