Note — November 2025 I gave this guitar to a grandniece after playing it for over ten years. I need to build another one like this.
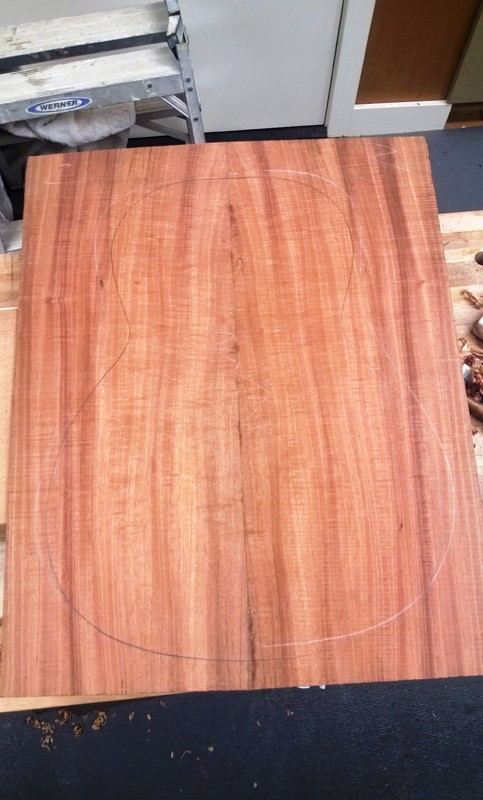
I am starting a Western Red Cedar and Koa Martin-sized 00. This guitar is for me, so there is no stress and the option to take risks. For this project I will do my first cutaway and install an arm bevel using Kent Everett’s method of building it in from the start. The guitar will also have a sound port. The other thing I’ll be doing through this build is to measure and document the characteristics of the tone wood using the techniques in Trevor Gore and Gerard Gilet’s Contemporary Acoustic Guitar Design and Build books.
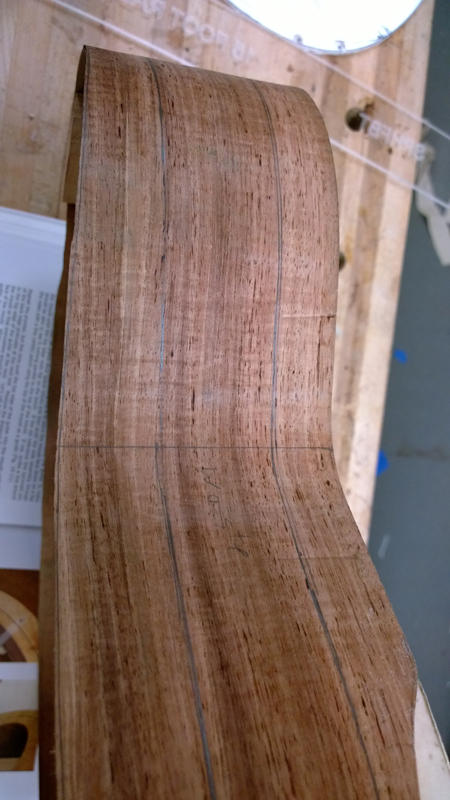
This Koa is pretty figured. The back and sides should be wild.
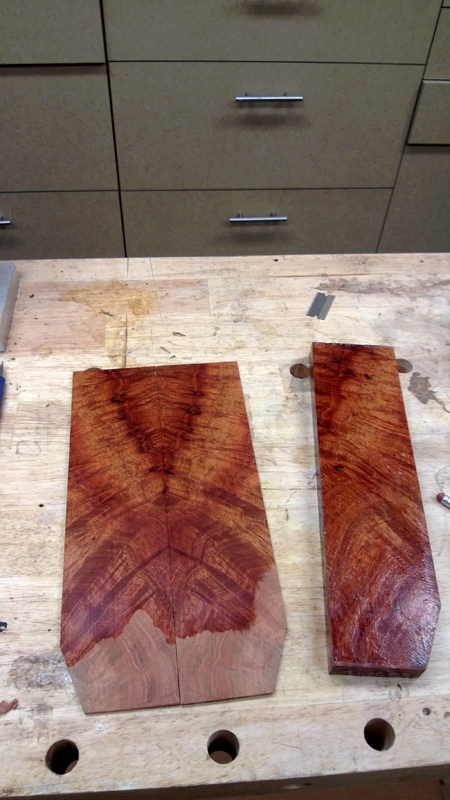
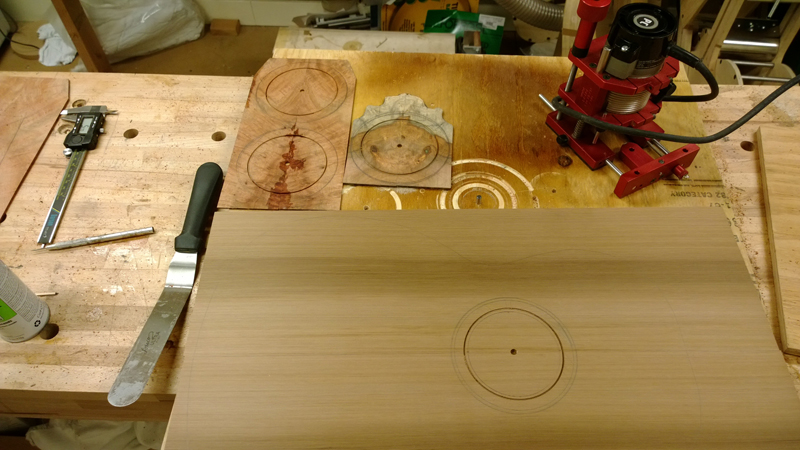
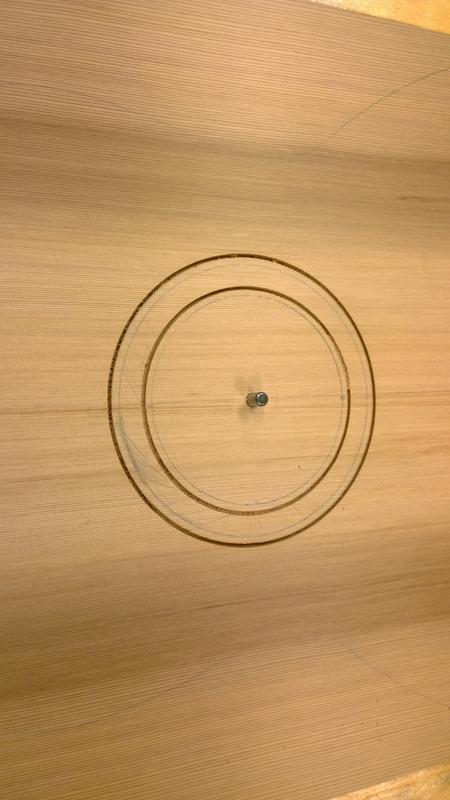
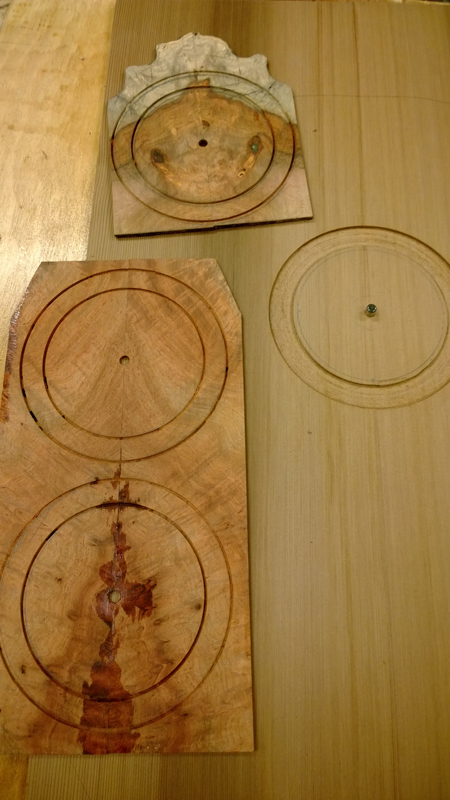
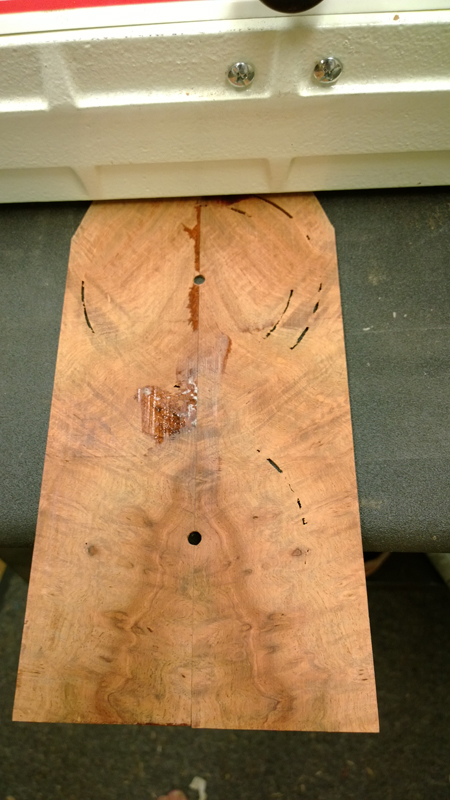
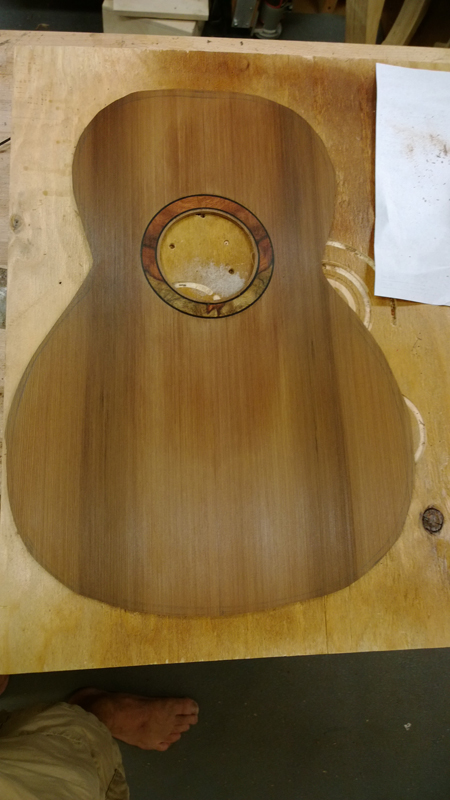
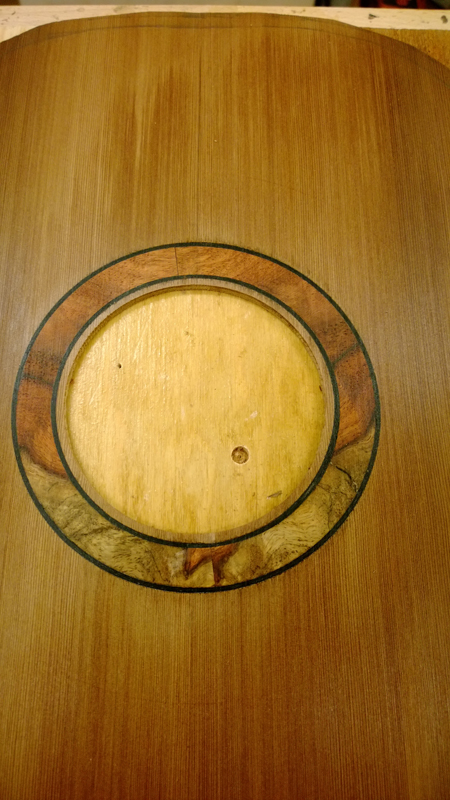
I found a couple of scraps of some sort of wood at the woodworking store for the headstock and rosette. I think the small plank I resawed was Amboyna Burl — the colour looks right.
The rosette came together nicely. Several people on the forum loved the burl rosette choice — one even said “give it to me.”
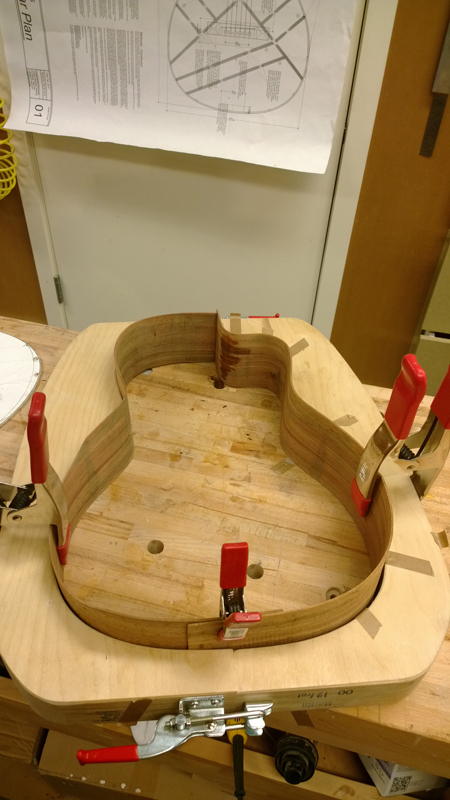
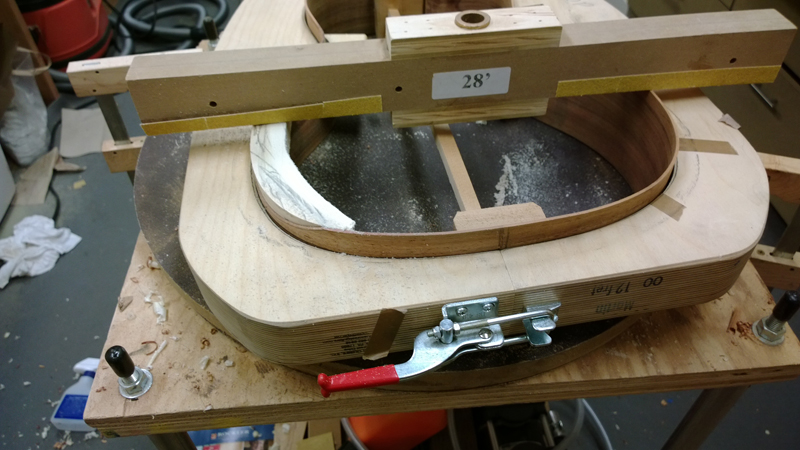
Sorry it has been a while since I updated this blog. I have slowly been making progress on the rims. Being my first cutaway and my first guitar with a bevel, I have been slower than normal. Also, I announced my retirement after 25 years at Microsoft and have been dealing with the fallout on both sides. I have been planning it for a while but once I finally went ahead there has been a lot to deal with.
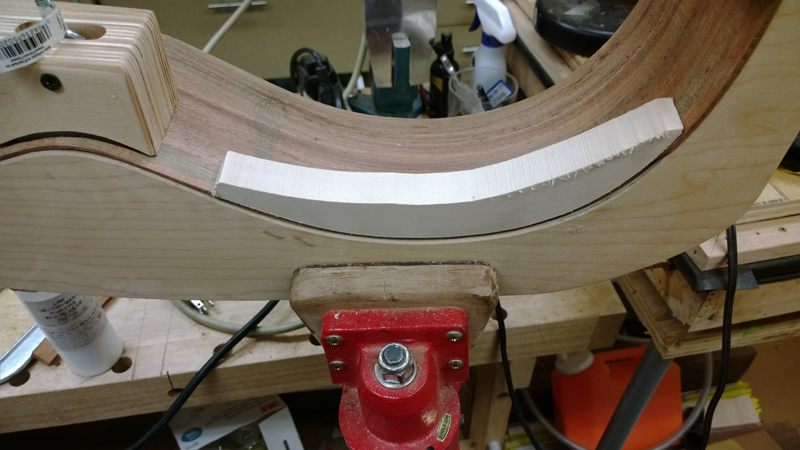
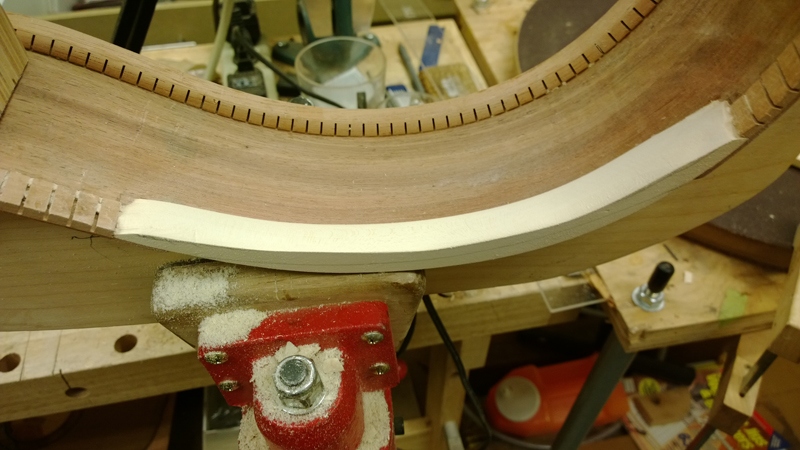
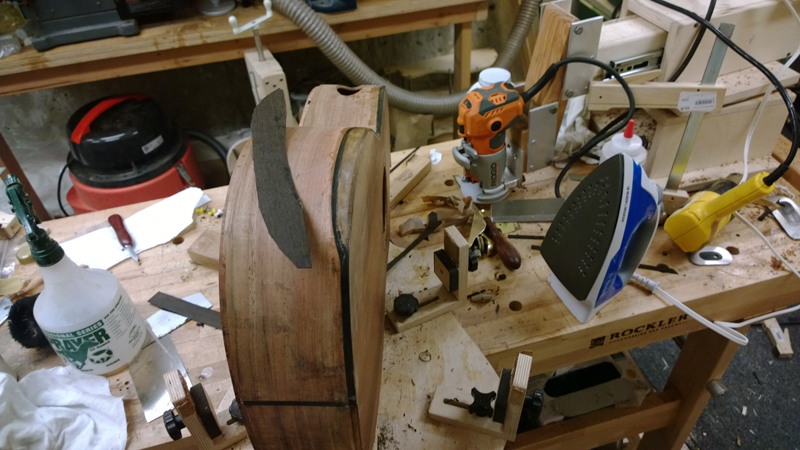
The arm bevel is built into the rim from the start using Kent Everett’s method. The idea is to shape the bevel area of the rim before assembly, then veneer over it later for a seamless look. It sounds simple but there are a lot of steps to get right.
Bevel MethodTim asked if it would have been easier to cut the bevel after the top was on. The honest answer: yes, probably. But I was unsure where I wanted the bevel to end on the top, so I worked the top first and then sized it. Sometimes the harder path teaches you more.
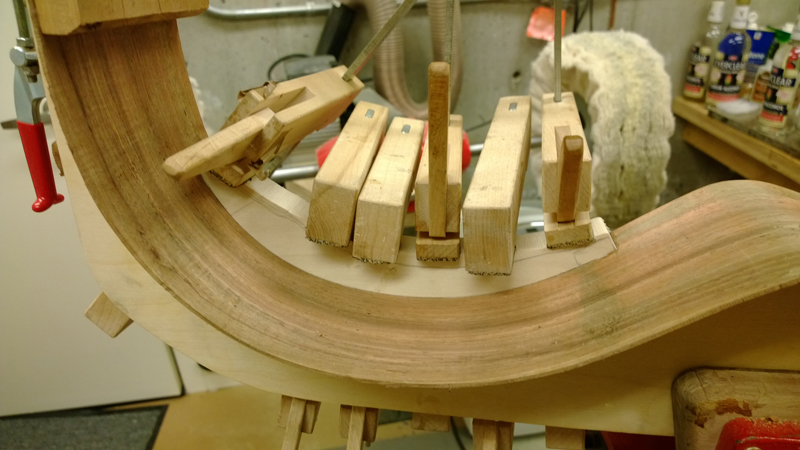
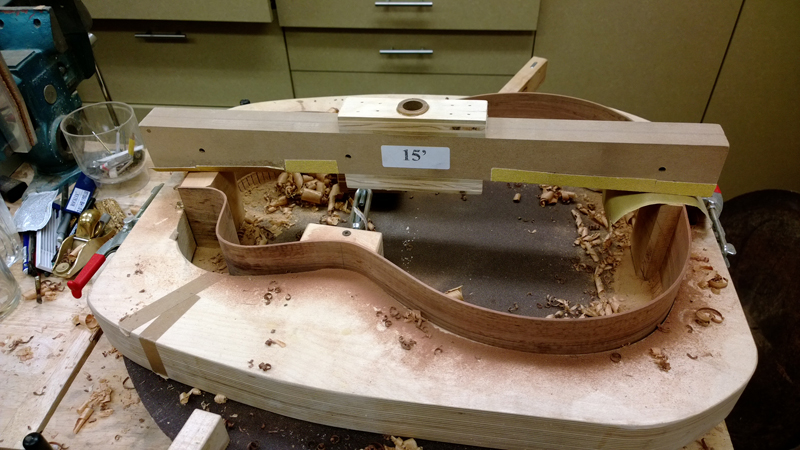
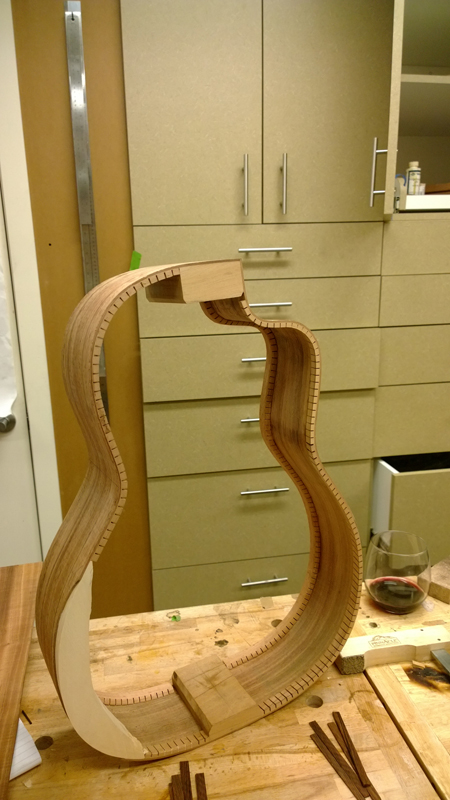
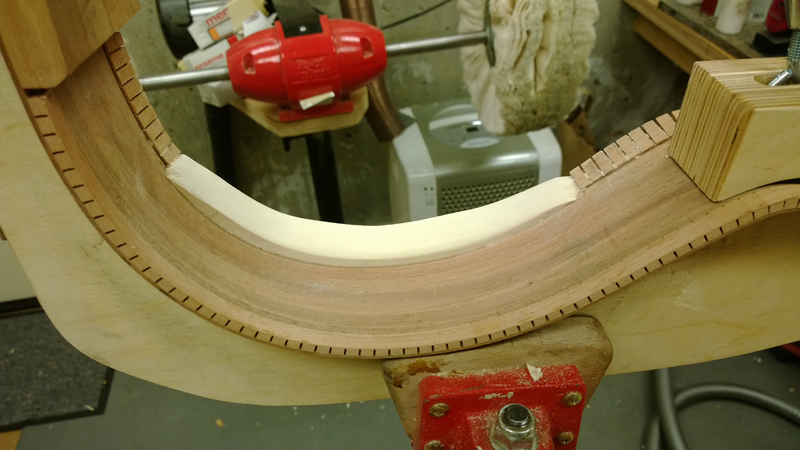
The cutaway bending was the most challenging part so far. Koa is dense and the cutaway radius is tight.
Arm Bevel Kent Everett’s method builds the bevel into the rim structure from the beginning rather than carving it after the box is closed. The advantage is a cleaner, more integrated result. The trade-off is that you commit to the bevel geometry early in the build.
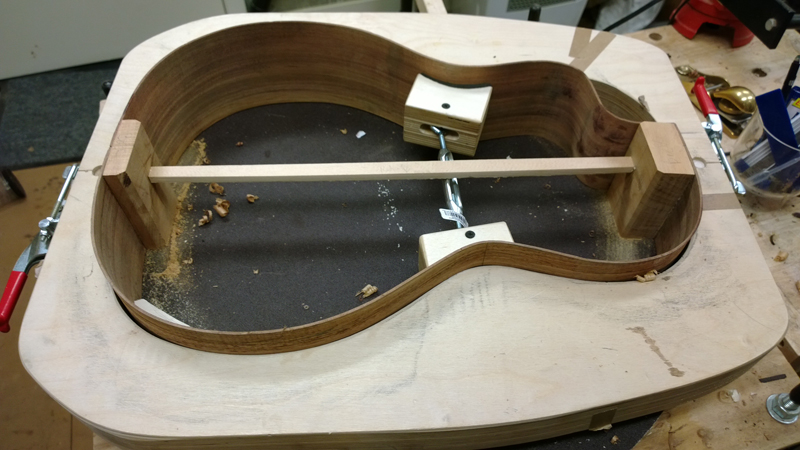
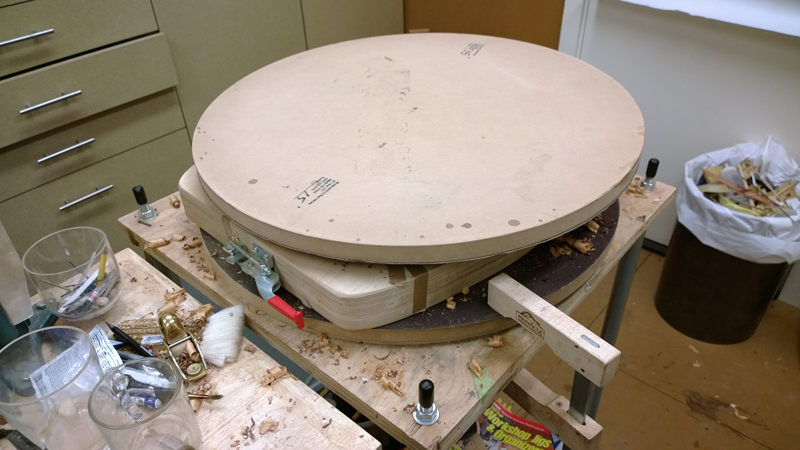
Little by little I am making progress. To get in practice for my retirement I’ve been taking a bunch of saved-up vacation time and have been traveling. I’m about ready to close the box on this guitar.
I’m throwing caution to the wind on this instrument. Although this is a 00 with the arm bevel, the top is closer to the size of an 0 guitar, so I braced it more like an 0 with a single tone bar. Following the Gore/Gilet contemporary techniques, I’m measuring and documenting everything.
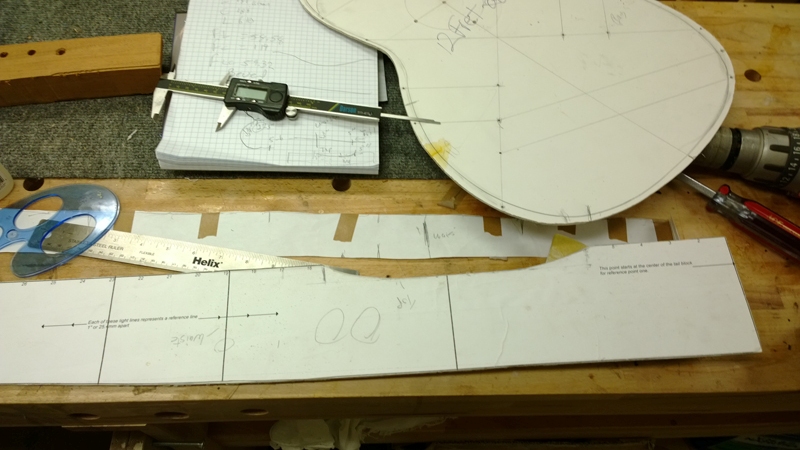
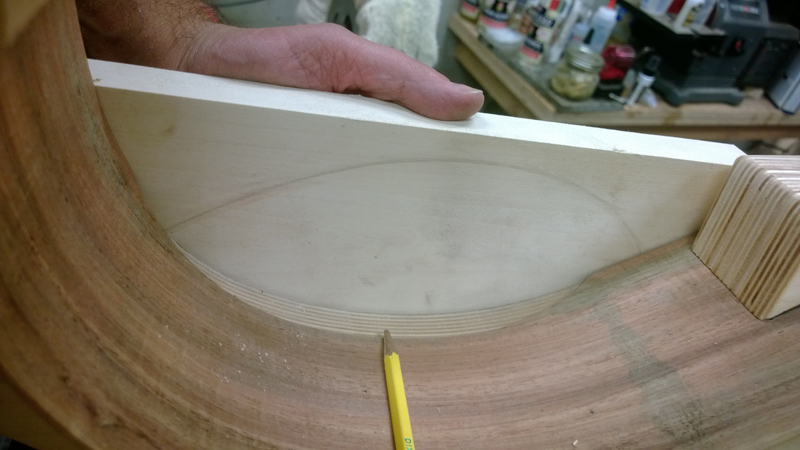
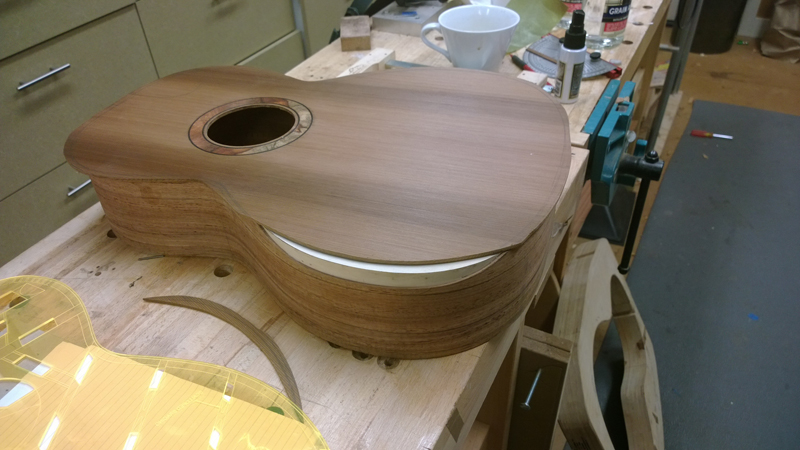
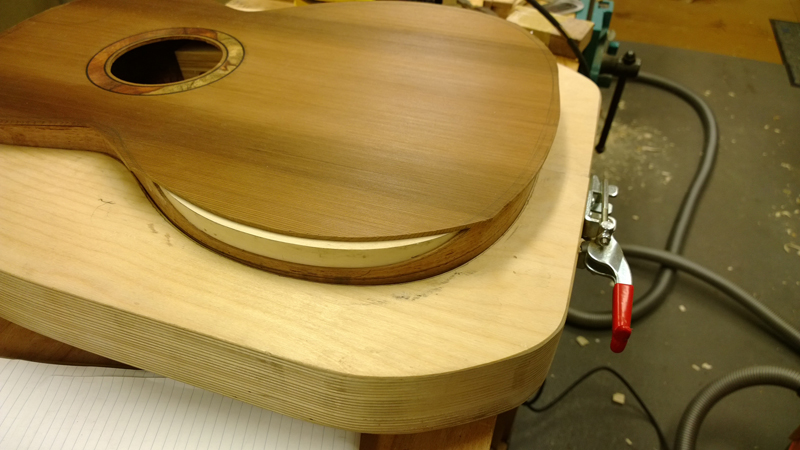
Before I glue on the top I make sure the rims are correctly profiled so that when the top is glued to the rims I have the correct angle for the fretboard extension. I like to be able to roll a 2.5mm drill bit under the straightedge and have it stop at the saddle location.
I used fish glue for the first time to glue down the top. Once I smelled it, I was sure I had used it in elementary school. I followed the clamping with a slightly damp cloth as it is water-soluble.
Fish Glue Lonnie asked about fish glue and the clamping setup. Fish glue has some of the repair qualities of hot hide glue but with a longer open time and a two-year shelf life. I mainly bought it because I’m going to be making traditional classical guitar rosettes and it’s a good glue for that.
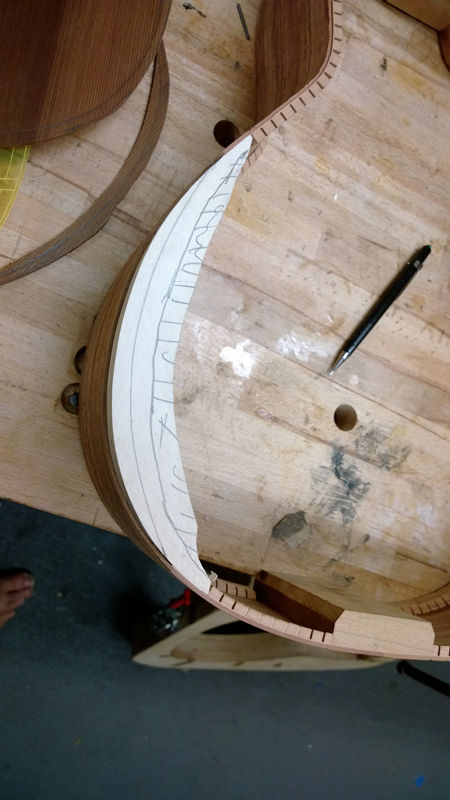
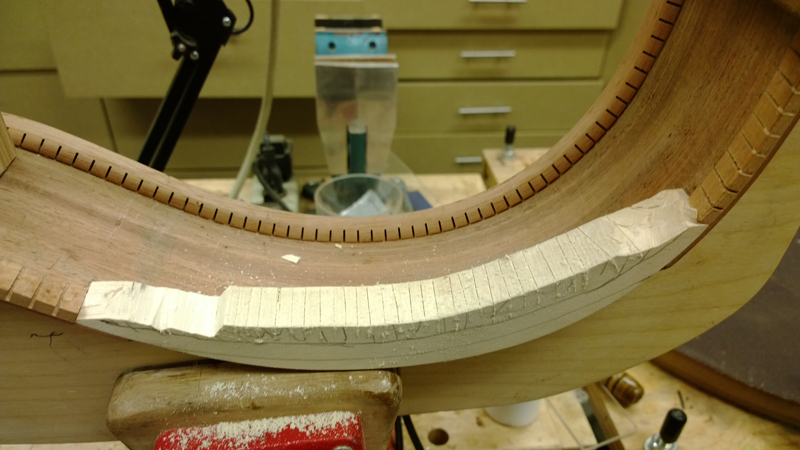
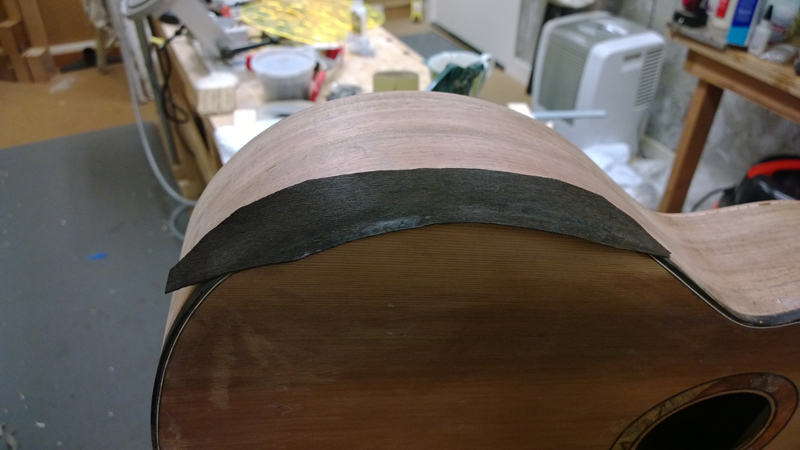
Here is the next step in dealing with the purflings and bindings around the bevel. The top strip of wood — the cutoff from making the top bevel — gets sanded away up to the purflings. Because of the angle of the bevel, this will end up as fill to the purflings.
Ken asked about the veneer approach — why use a substrate and veneer rather than shaping solid Koa for the bevel? The answer is that the substrate can’t be the right wood because it ends up below the top and rims. The veneer gives the visual appearance of a seamless transition between the bevel and the binding, which is what Kent Everett calls a “transition strip.”
Bevel Construction DetailThe goal is for the binding and the veneer to look like one piece of wood forming a smooth transition from the top down the bevel to the side. There is a danger of sanding through the veneer, so I only finish-sand the top surface and accept that the edge of the veneer will show — but that’s OK as it reads as a design detail rather than a flaw.
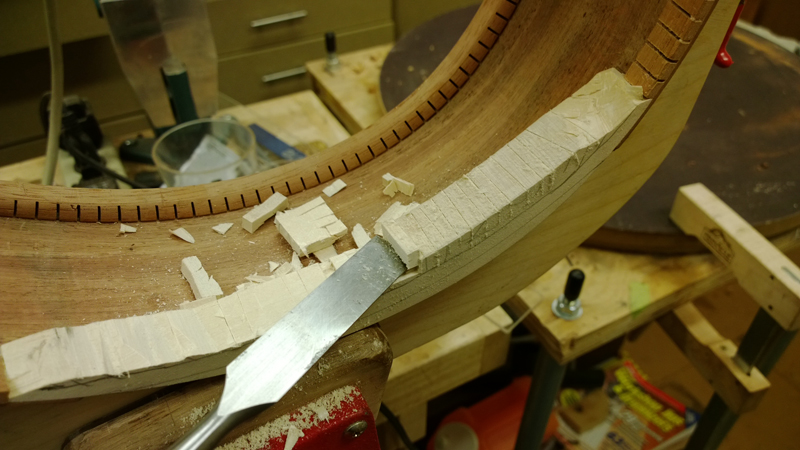
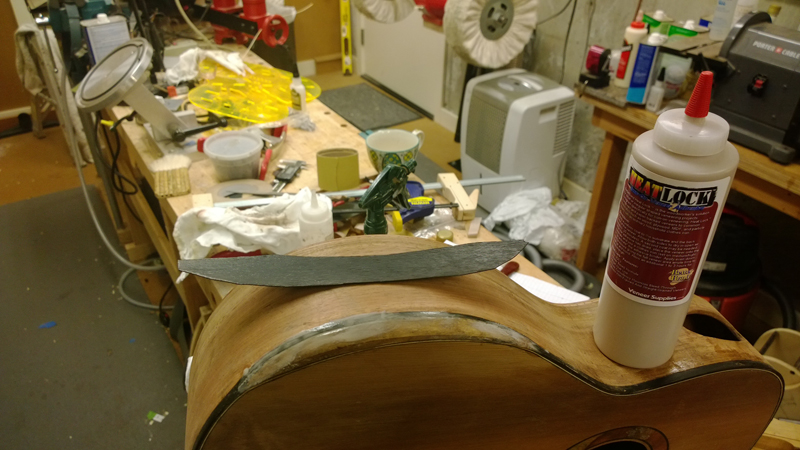
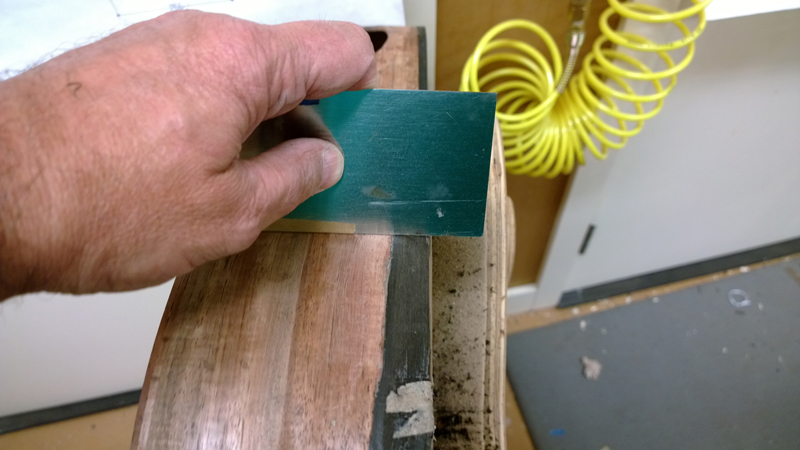
Sorry I have been traveling — sailing in the Grenadines — so it has been a while since I posted. Here is the completion of the bevel. I used rasps, sandpaper, and a scraper to shape it. Here it is really important to get the edges of the bevel next to the top purfling and the rims sanded straight. Do not ask me how I know this, or how many tries it took before I learned it.
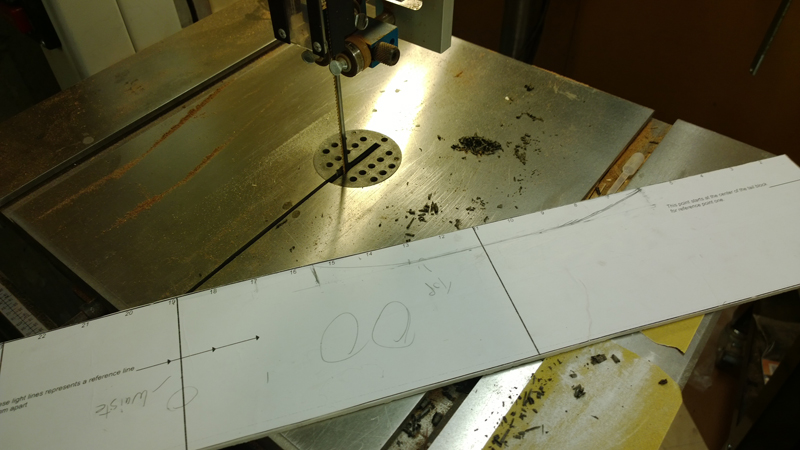
I also finished up binding the guitar. Making the bindings for the cutaway is hard. I tried using the Fox-style bending machine and bent them OK, but I could not get them out of the unit without the spring steel blowing them apart. I tried some tricks but ended up bending the cutaway bindings by hand with a heat gun.
Safety NoteI made iron-on veneer for the bevel. Important safety tip: do not use your wife’s iron for this procedure.
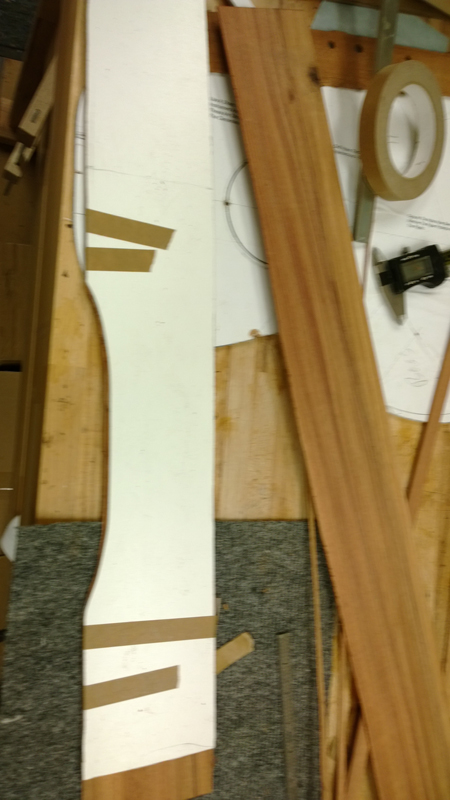
I mostly got the neck rough-carved this weekend. I tried out my luthier tool slotted-head jig for the first time and I have to say that even though it is expensive, it does work well. The jig adapts to almost any reasonable shape, and there is little chance of alignment errors.
Dave noted he never sees blood on my work. Dave, there is blood all over this guitar. I had more small mishaps with tools on this one than on most of my builds. I did learn that if you have a scalpel with a brand-new sharp blade, put it down while messing around moving clamps. The skin provides absolutely no resistance to those blades. That was my first injury where there were actually squirts.
I finally got the fussy work done — the ramps at the end of the fret slots, the fret markers, all the small details that take forever but make the difference.
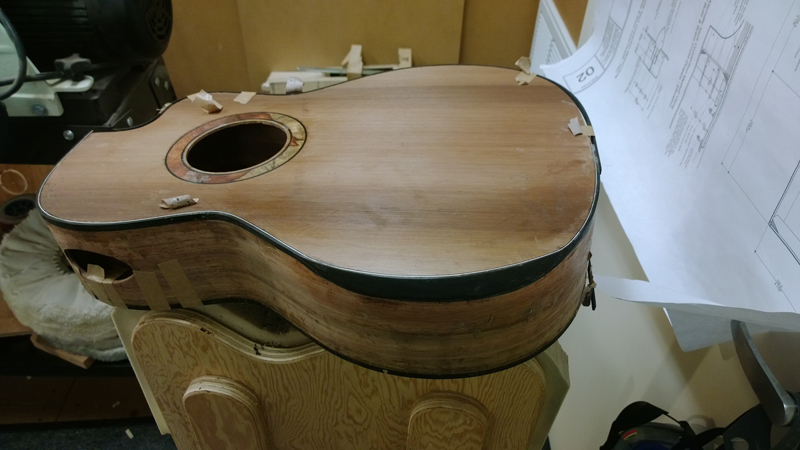
Sorry for so many pictures — I am getting really excited. I pore-filled the back, sides, and neck with Zpoxy and finish-sanded the top. Once I place the bridge, I am ready to spray.
I am getting very close to finishing this guitar. I should have it set up by Friday or Saturday. I could not wait to post a preview from my phone camera.
John Link asked about the Gore/Gilet measurements and whether I had followed through on documenting the wood characteristics. I have the measurements and calculations for the top thickness, and I made a spectrum graph of the box after I closed it. I also plan to get a plot before and after I put on the bridge. At that point I’ll need to tune the active back relative to the top frequency — so a lot of the work is still to come.
Gore/Gilet Documentation One of the goals for this build was to fully document the wood measurements and tap-tone data using the Gore/Gilet methodology. The spectrum graphs and thickness calculations will be compiled once the guitar is strung up and the back is tuned.
I finished stringing up my 12th instrument — a 00-sized cutaway with arm bevel. The guitar sounds pretty good. I still need to do a bit of setup work but I wanted it to sit for a couple of days.
Herman looked and looked but found nothing to criticize. Kevin had been sharing the build pictures with a guitar tech friend who was “completely mesmerized.” Someone asked if all my guitars from now on will have bevels — honestly, after this build, it’s tempting.
The guitar does have a couple of cosmetic flaws that I did my best to minimize, but overall I am very happy with the way it turned out. I was playing it for about an hour and it does sound really good.
Here is a video of a work buddy of mine trying the guitar. He has asked me to build one for him, so I had him over to try this one. He has played all of the others as well.
Specifications
StyleMartin 00 — 12 Fret, Cutaway
TopWestern Red Cedar
Back & SidesHawaiian Koa
NeckMahogany
FretboardBrazilian Rosewood
BindingsEbony
Arm Bevel VeneerEbony
BridgeEbony
Headstock VeneerAmboyna Burl
RosetteAmboyna Burl
BracingSingle Tone Bar — Gore / Gilet
FeaturesArm Bevel (Kent Everett Method) · Sound Port
FinishZpoxy Pore Fill · Sprayed Lacquer
Build PeriodSeptember – December 2013