After a friend spent a week playing my 00, he ordered a Martin-style 00 with 14 frets to the body. He really liked the arm bevel, so that is going in as well. He went through my wood and of course picked my favourite set. He plays well and has migrated to more of a fingerstyle approach — it was a major revelation that a smaller-body 00 is a lot easier to hold and play than a dreadnought.
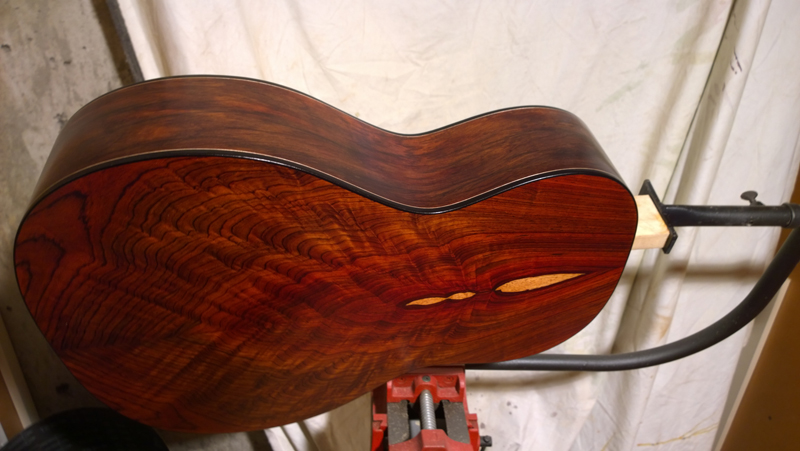
Kevin asked if it was Cocobolo — yes, and I am looking forward to working with this wood. The binding will be Ebony, and I have a large stash of Amboyna Burl for the rosette and headstock veneer. Daniel asked about deviating from traditional bracing — as it turned out, this guitar would change direction mid-build.
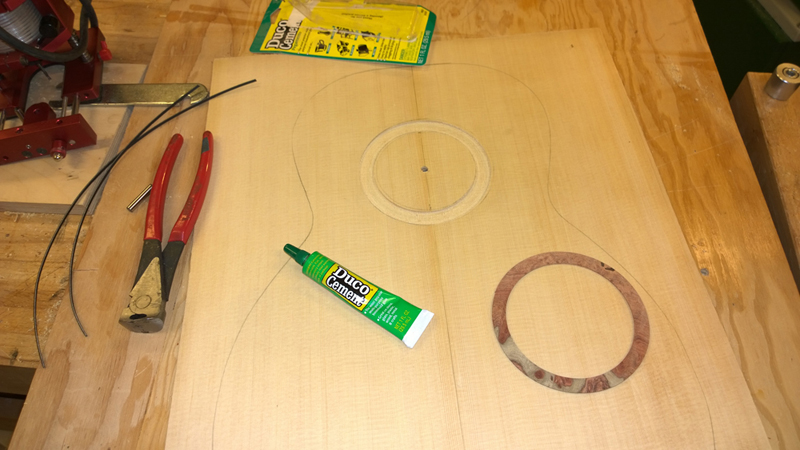
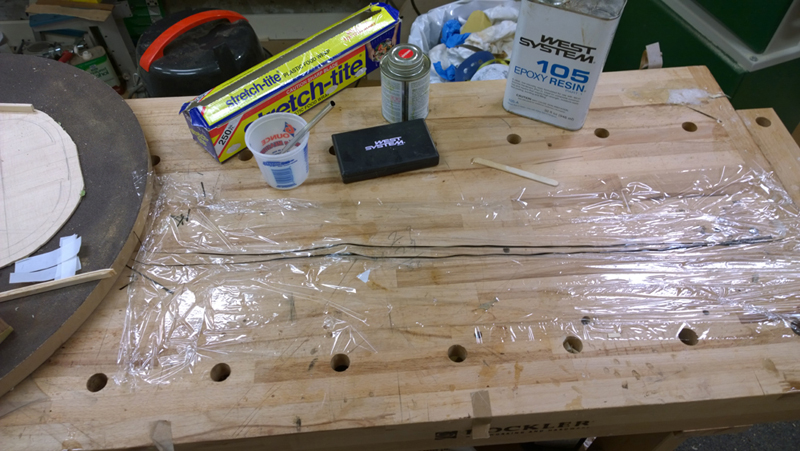
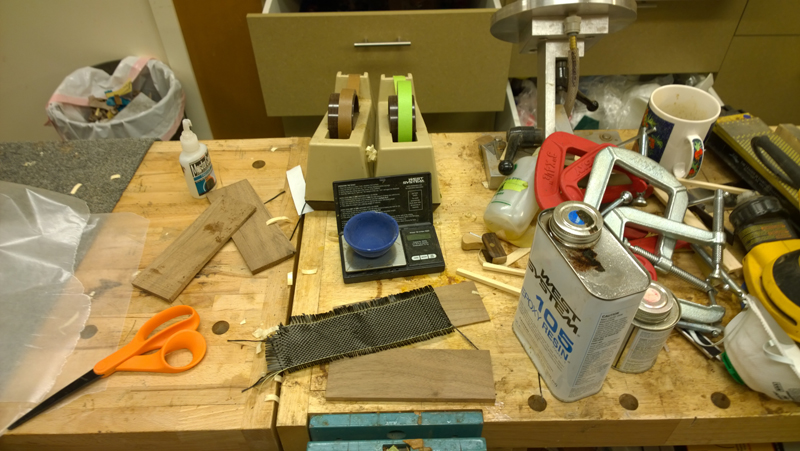
Glue & Cocobolo Cocobolo is notoriously oily and can challenge adhesives. I used LMI glue, which had been bonding fine on my current project with a lot of Cocobolo. The key is to wipe glue surfaces with acetone before any adhesive.
This will be a long post as I have made a bunch of progress. As you’ll read, this project changed as it progressed — I liked the falcate-braced guitar I had just built so much that I decided to try falcate braces on this guitar as well, replacing my original plan for X-bracing.
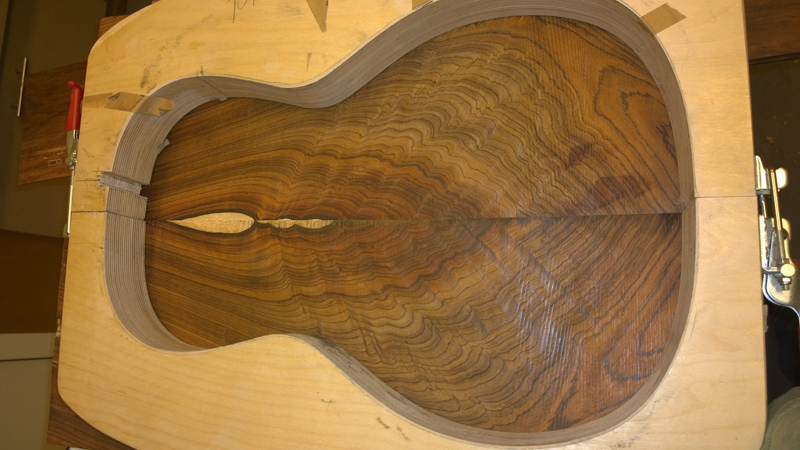
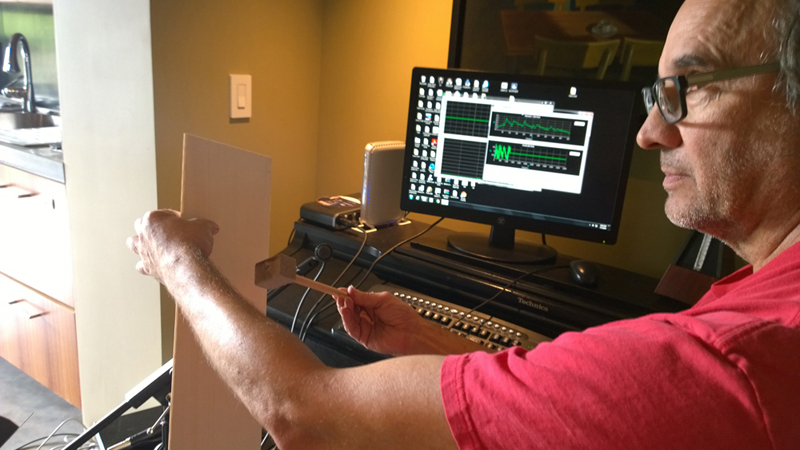
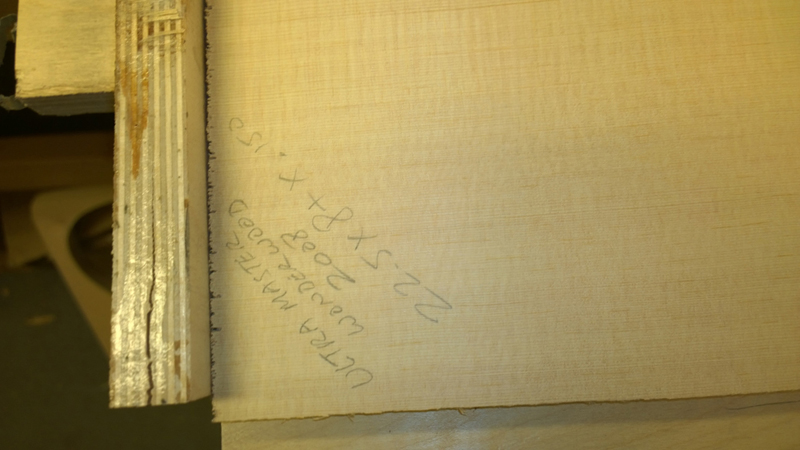
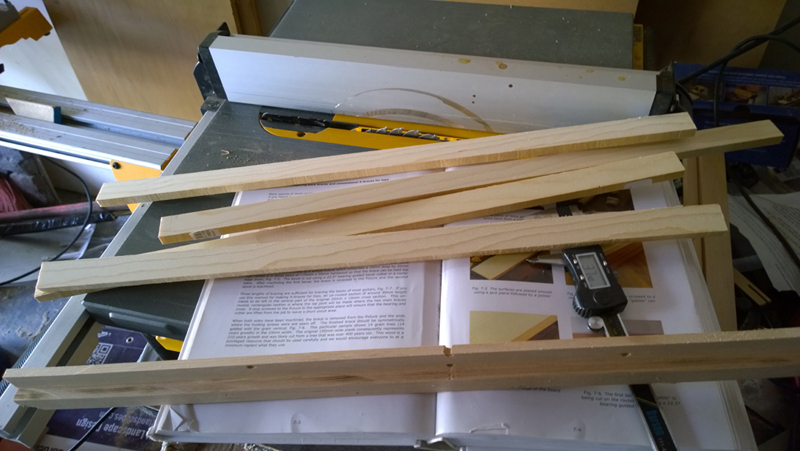
I jointed both plates, thicknessed them, and joined the back. The Lutz Spruce top is a beautiful piece — stiff, light, and clear. I measured the Young’s modulus and calculated target thicknesses using the Gore/Gilet methodology.
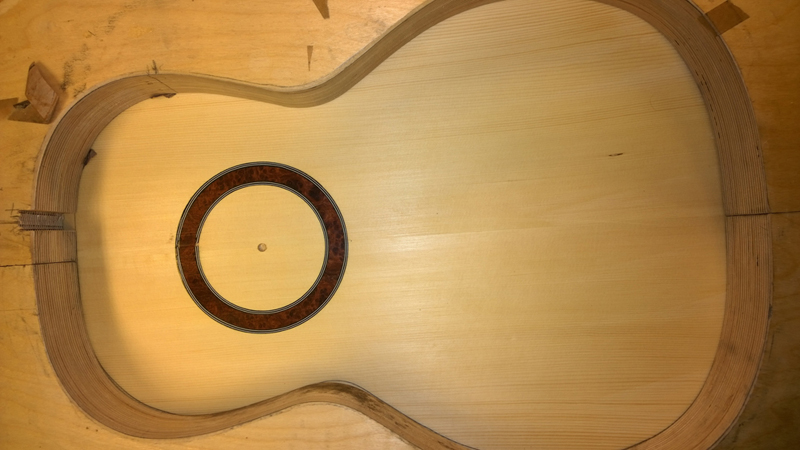
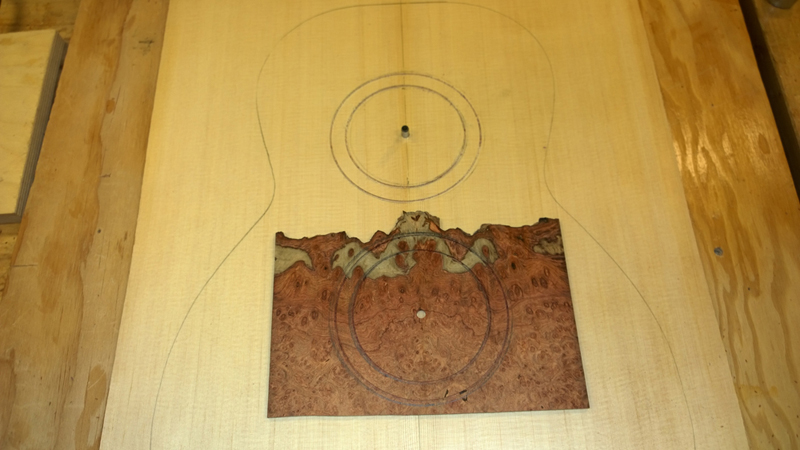
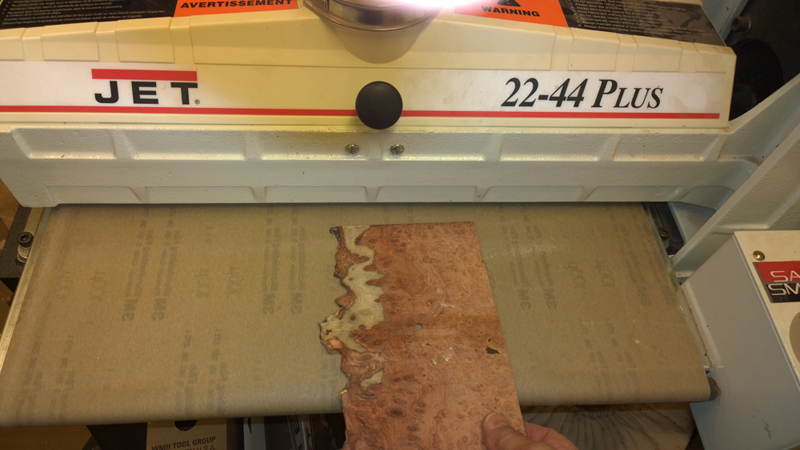
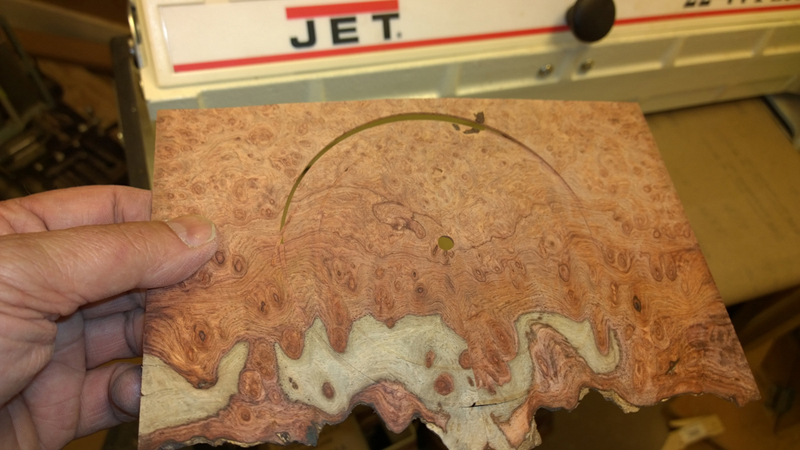
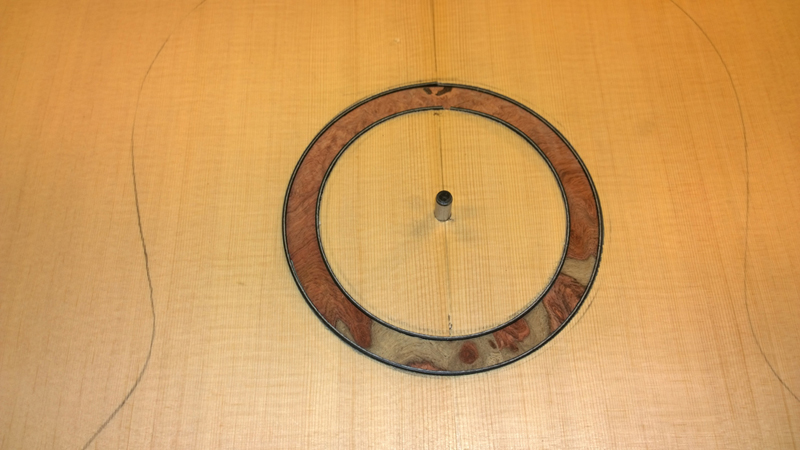
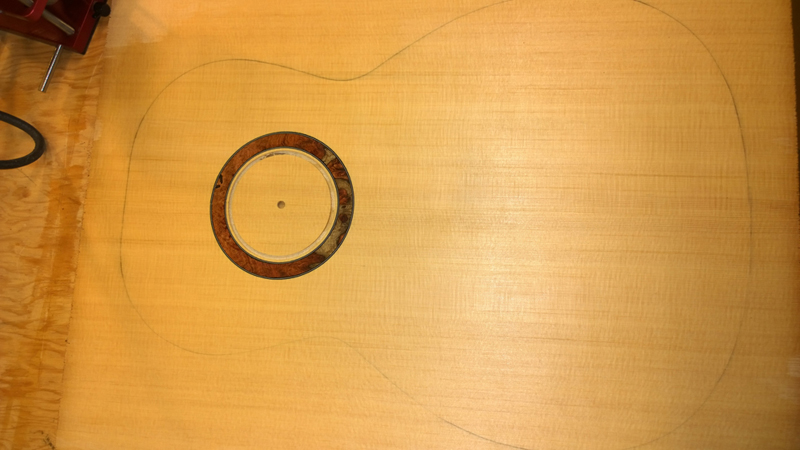
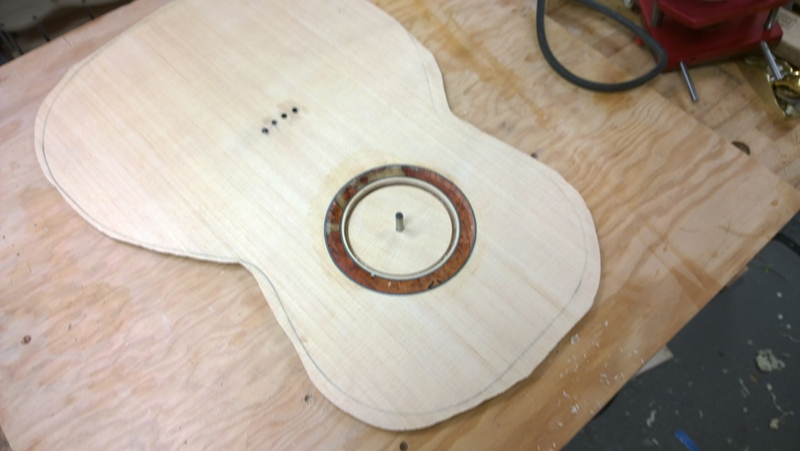
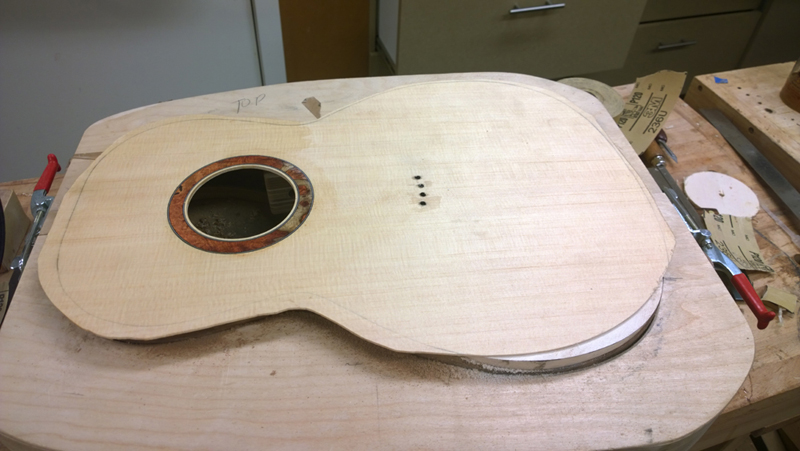
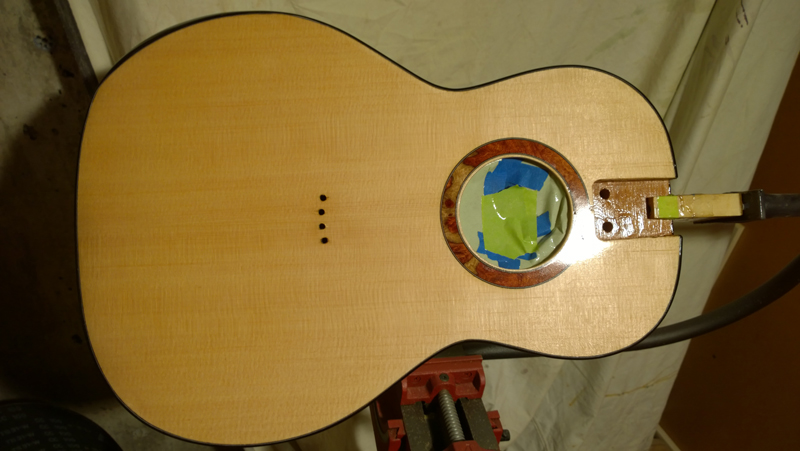
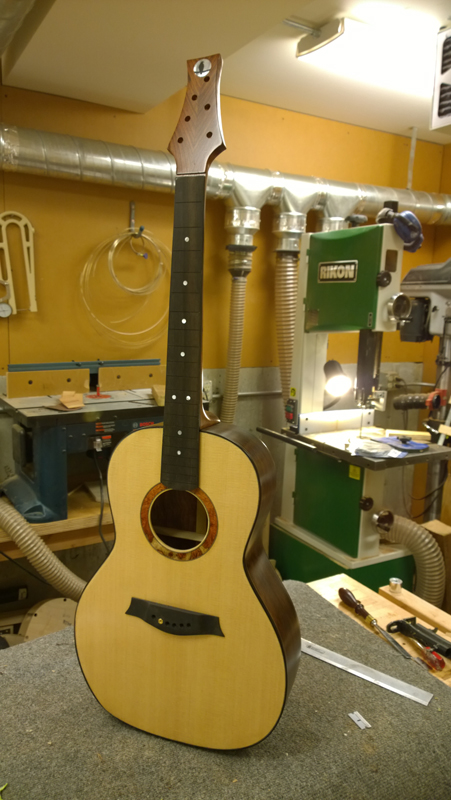
The rosette is Amboyna Burl — a single decorative ring between purfling lines. The burl pops against the light Spruce top.
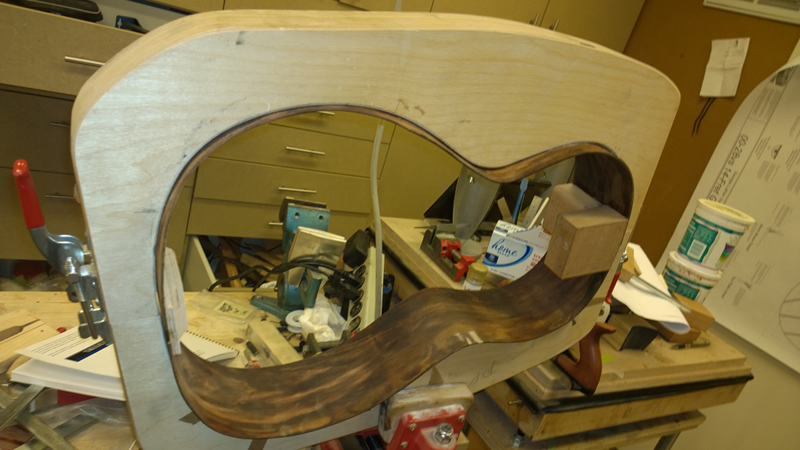
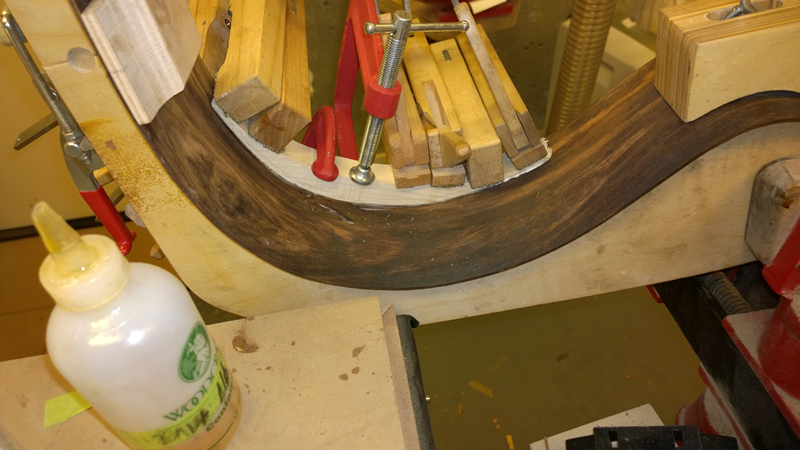
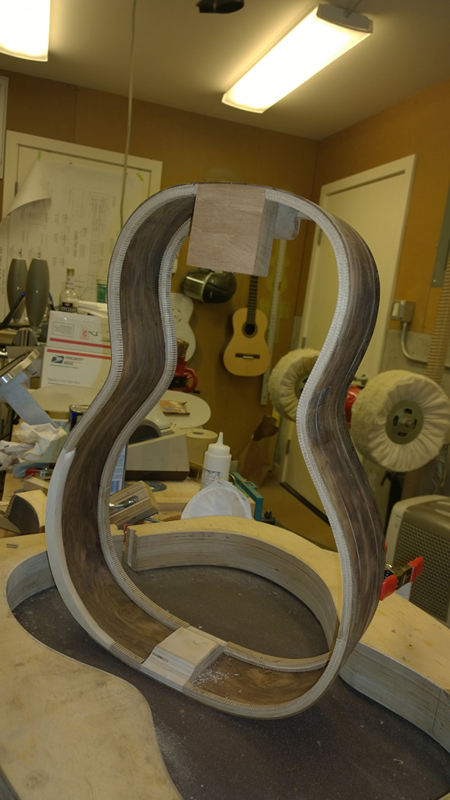
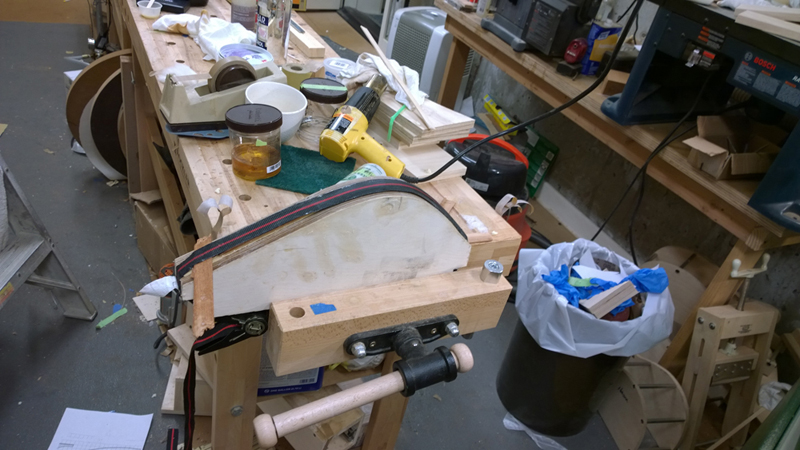
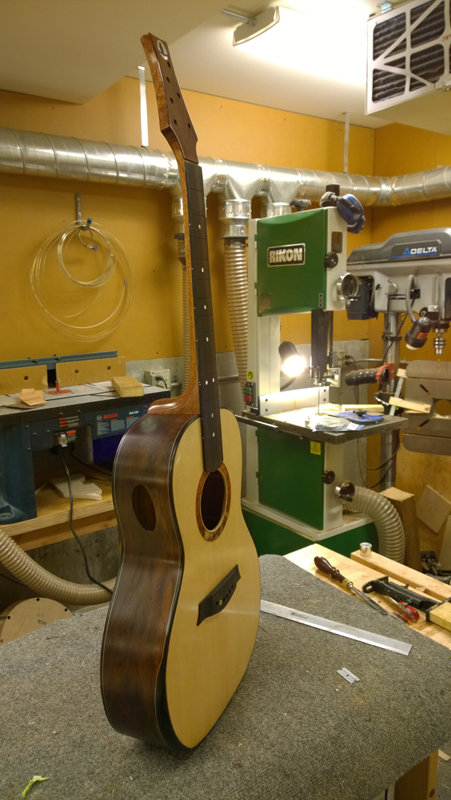
I bent the sides and assembled the rims. The cutaway required careful work on the Cocobolo — dense and unforgiving of mistakes.
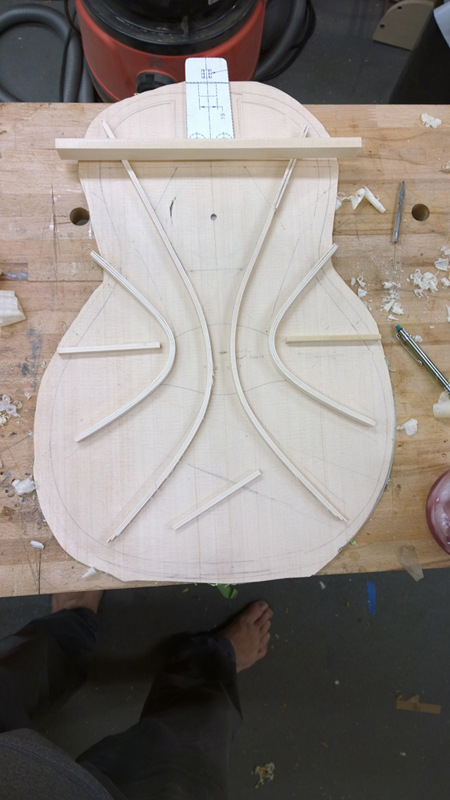
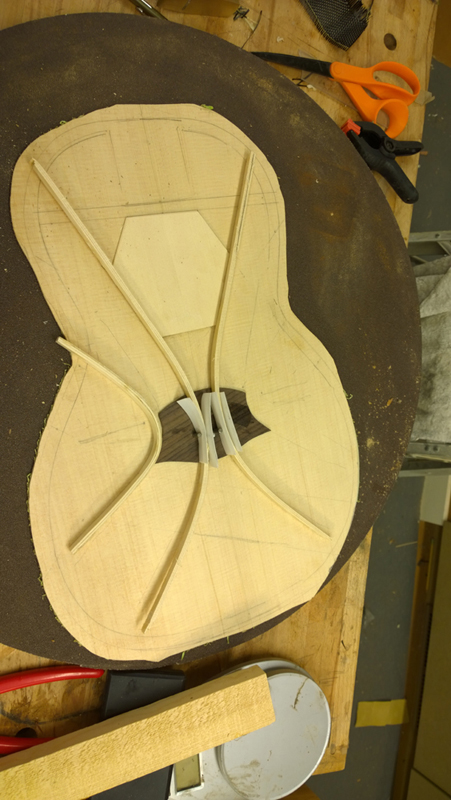
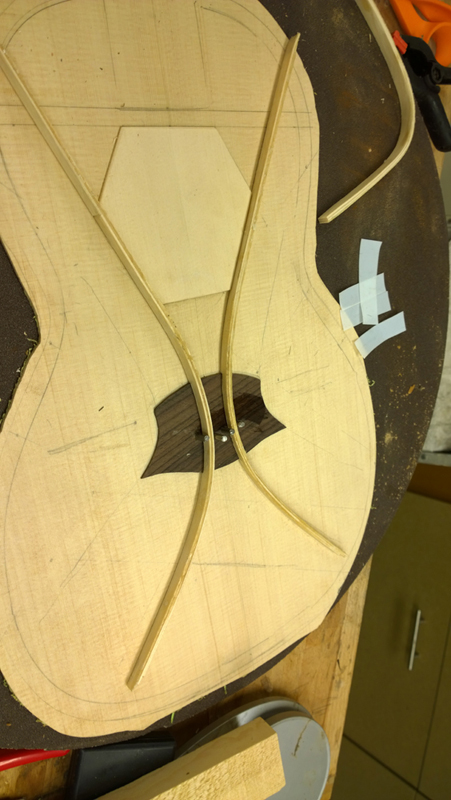
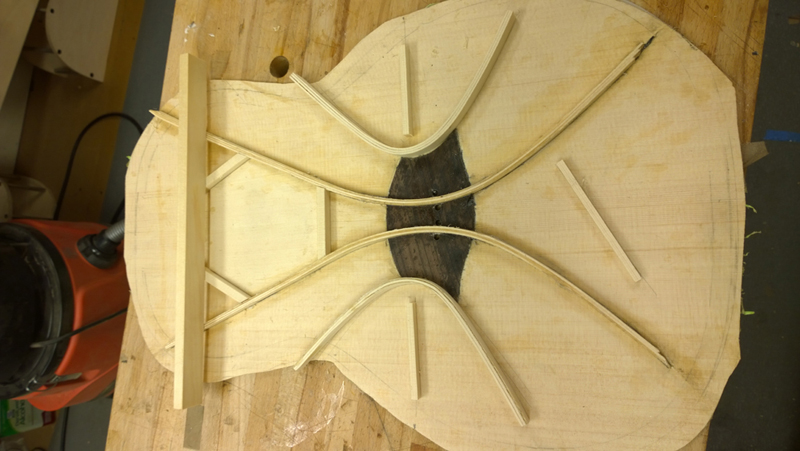
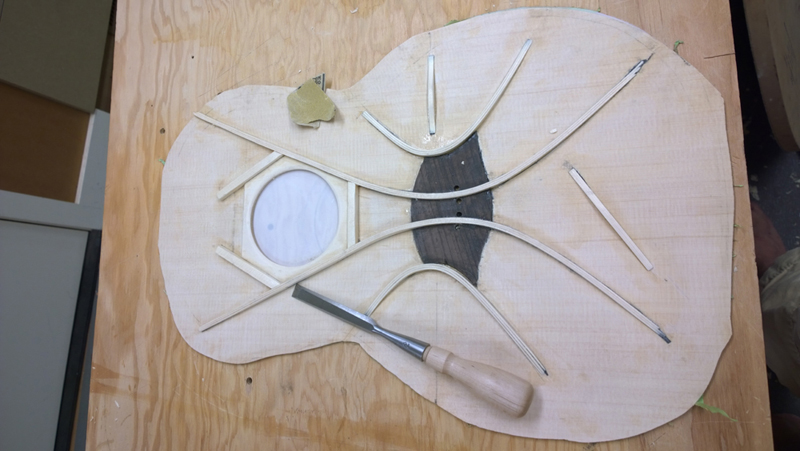
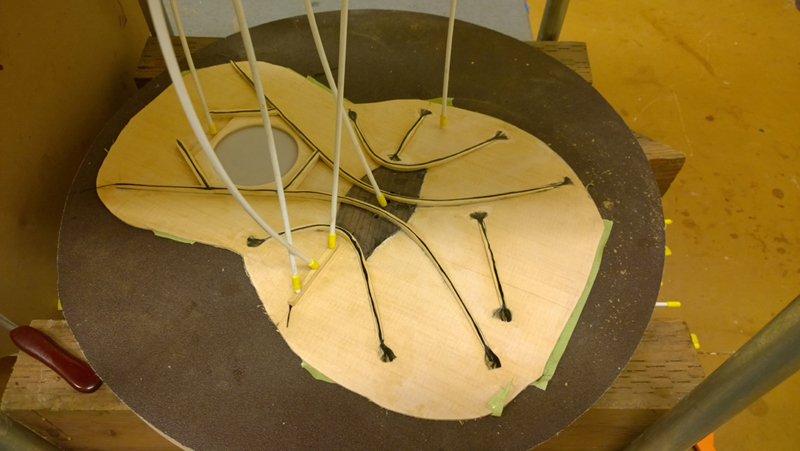
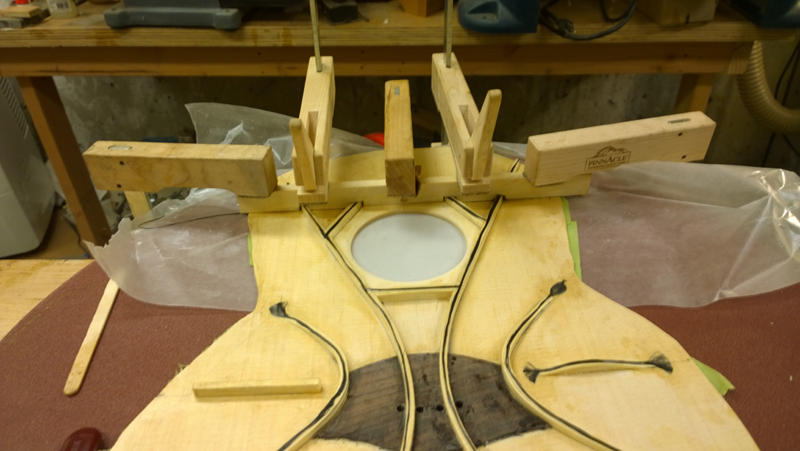
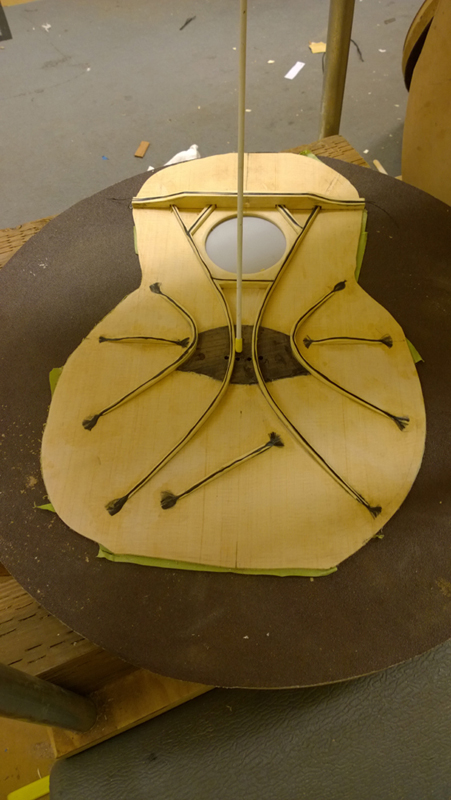
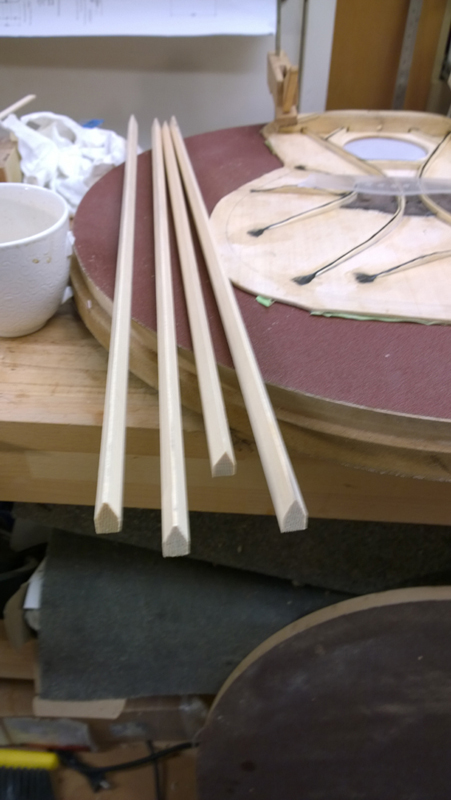
The falcate braces are shaped and carbon-fibre reinforced. This is the Gore/Gilet approach — curved braces following lines of force.
The next morning with the epoxy cured, I carved the brace profiles and put strips of carbon fibre on all of the glued braces. I had to remove one small brace as I somehow managed to glue it an inch from where it was marked. Whoops.
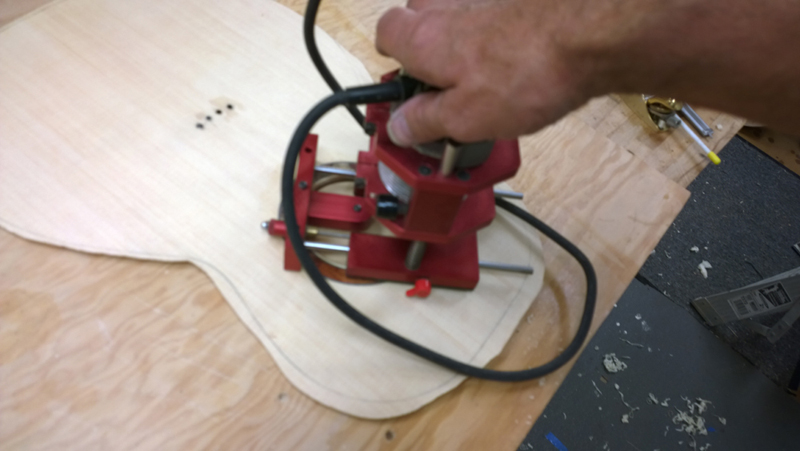
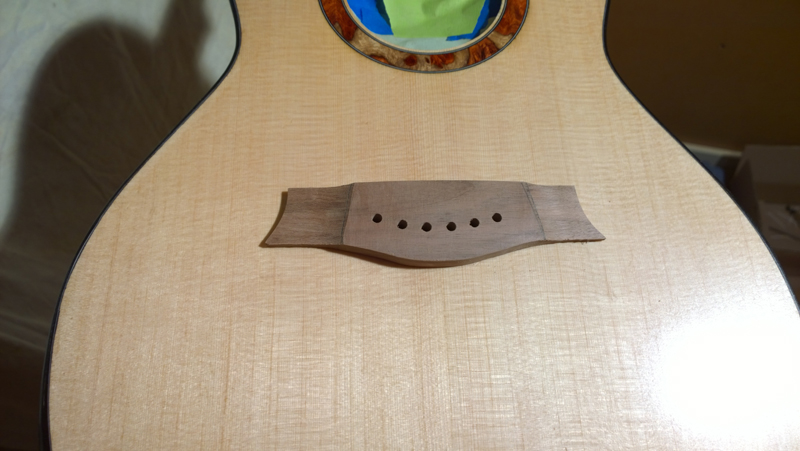
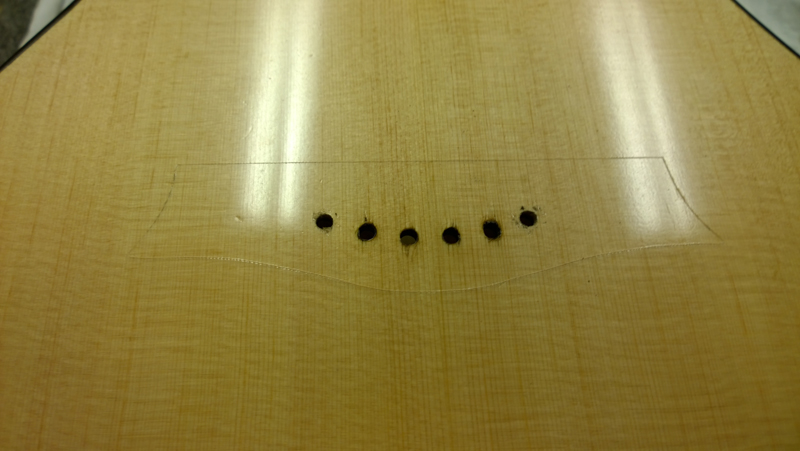
Bridge Pin HolesHerman asked about drilling the bridge pin holes before building the guitar. It’s mostly true that this commits the geometry early, but I can fudge the 14th fret up or down a mm or so without it becoming obvious, and I have about a mm to play with on the bridge regarding saddle position. The positioning locks in the scale length, so everything flows from those initial holes.
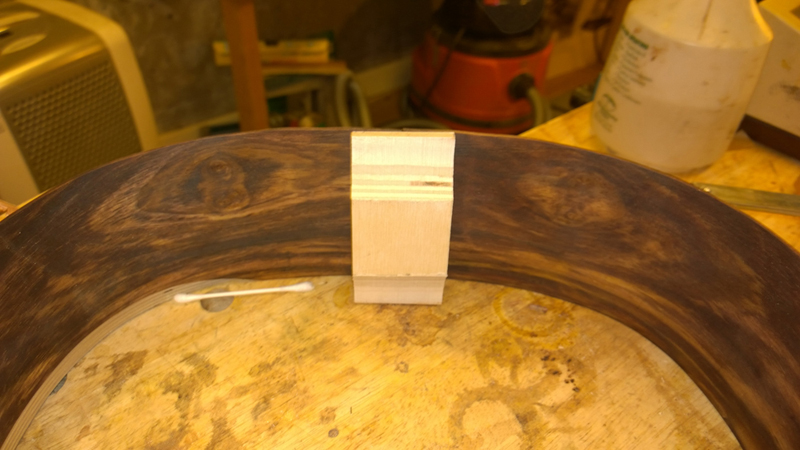
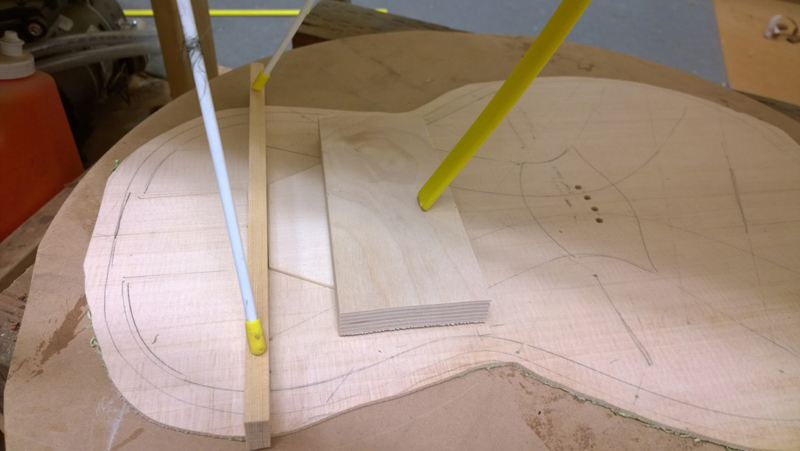
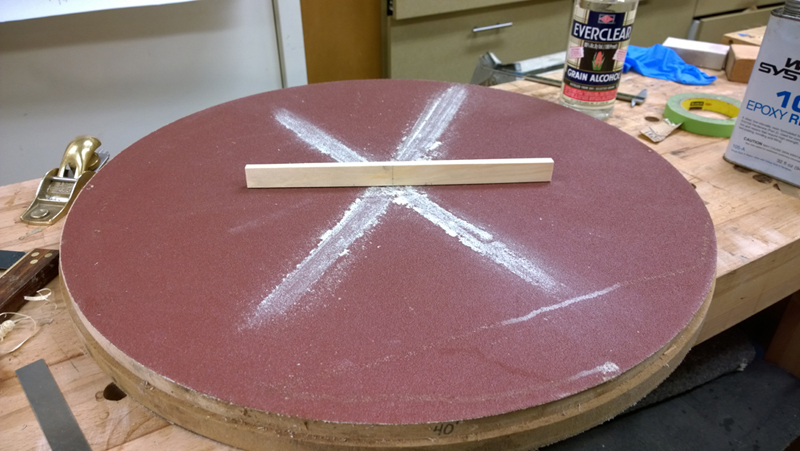
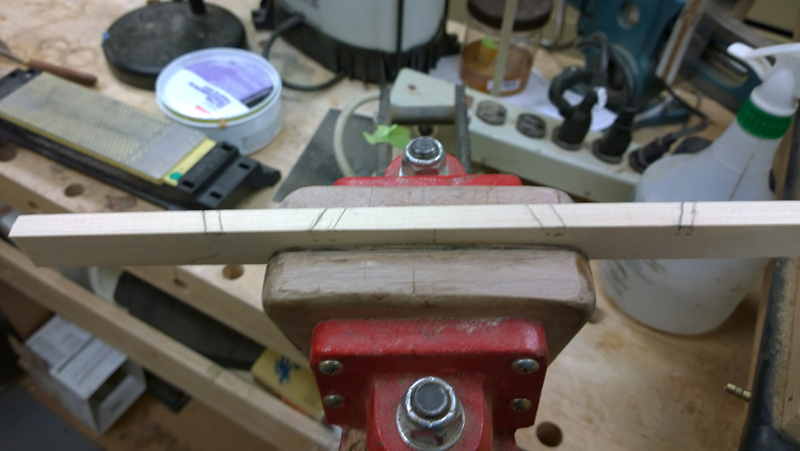
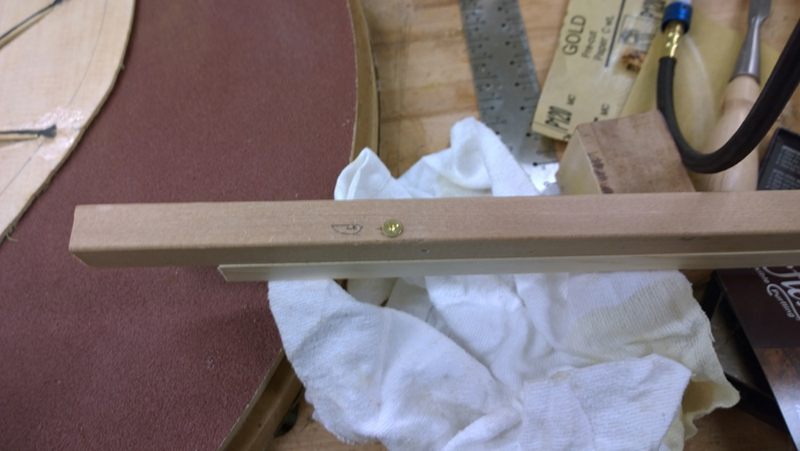
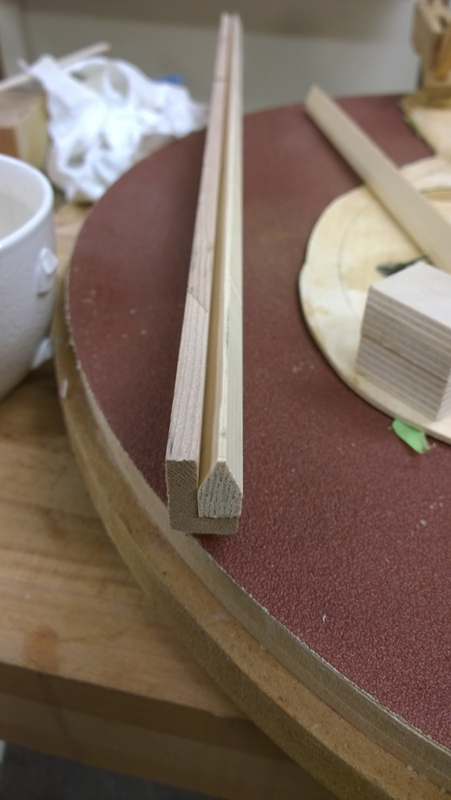
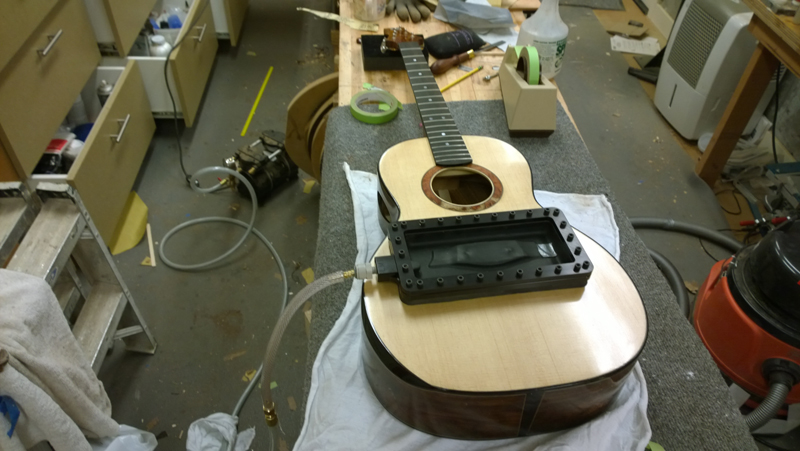
I made a bit of progress — making and epoxying the transverse brace to the top. The top of the rims have been sanded to a 32-foot radius. I put a 40-foot radius on the transverse brace and used a plane to knock down the centre flat for the fretboard extension.
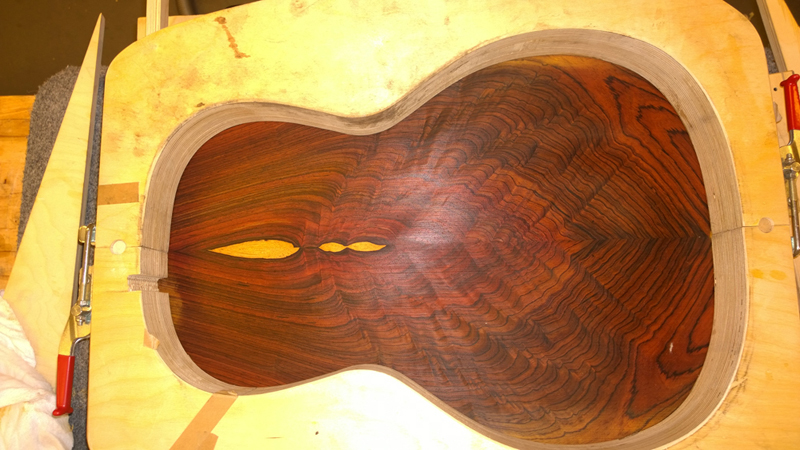
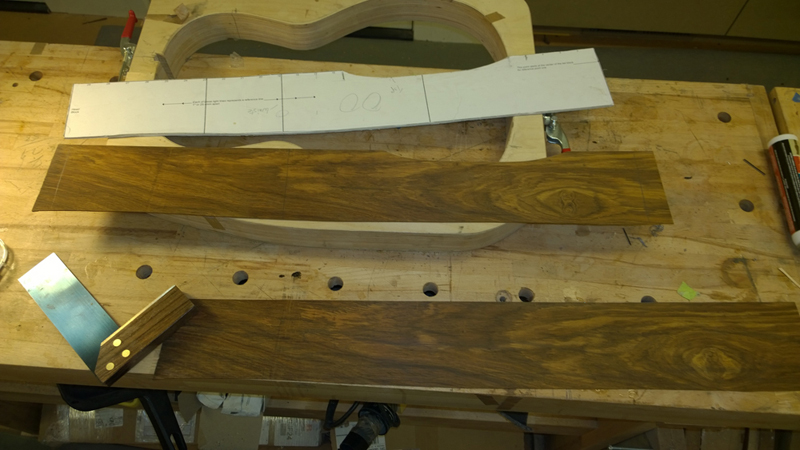
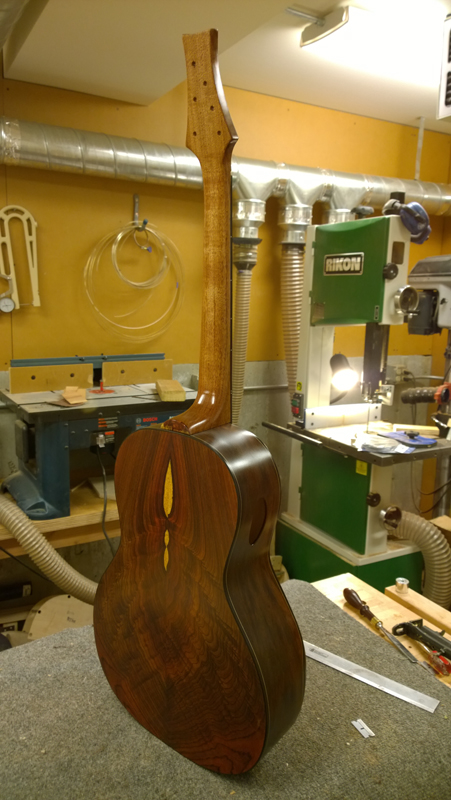
I cut the back braces to length, put a 15-foot radius on them, glued them up in my vacuum box, and tapered the ends. When I trimmed the back, I sort of liked the cutoffs and considered using them for the headstock veneer. A bit of blond shellac sort of pulls things together.
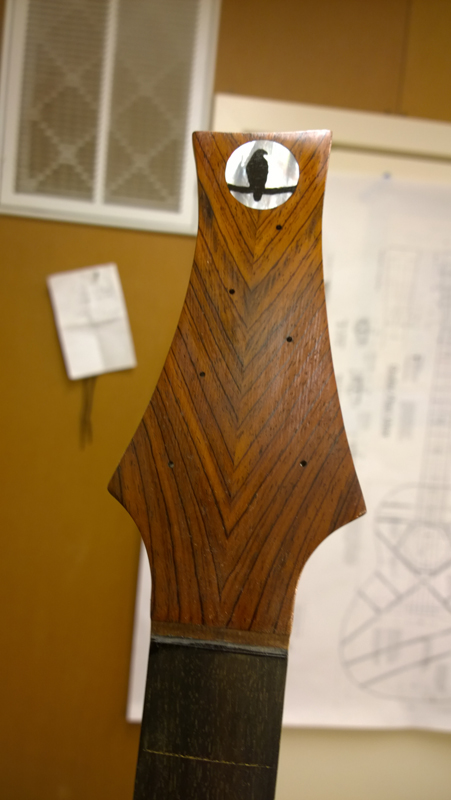
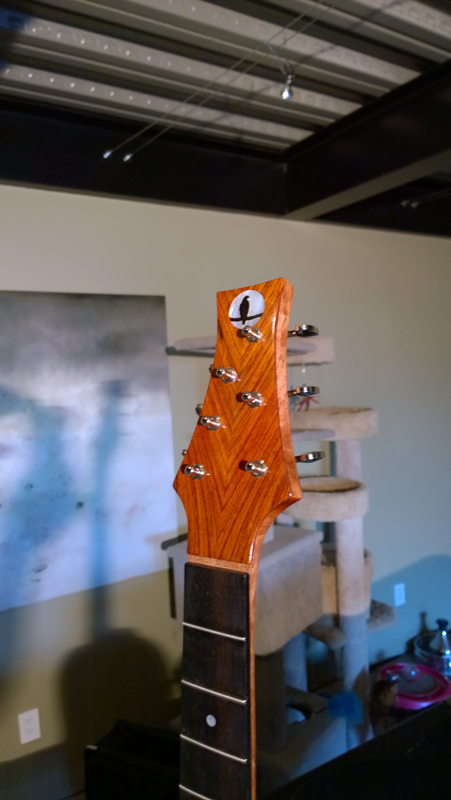
I was leaning toward the burl for the headstock, but the customer really likes the Cocobolo and wants to use the back cutoff, flipped so the V-grain runs up and out. I think it will look good.
I finally have the guitar ready to close. I needed to install the end wedge, side reinforcements, and do final clean-up of the interior before committing.
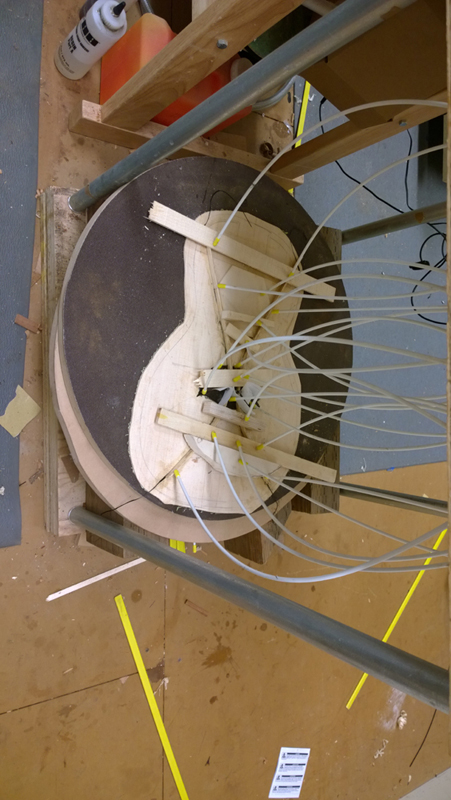
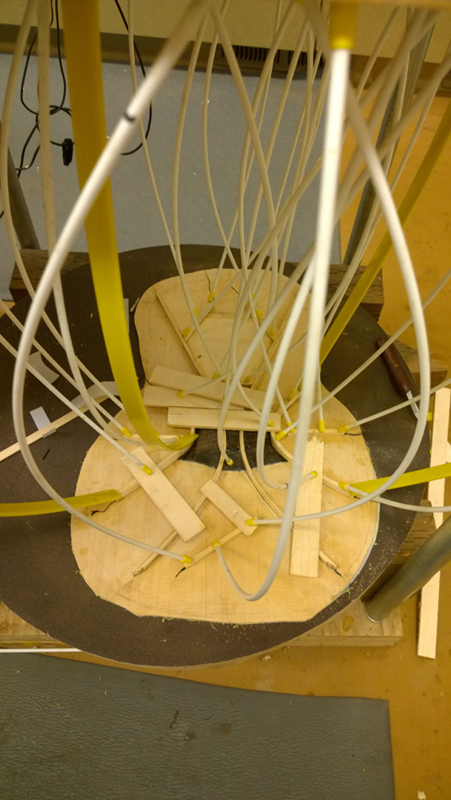
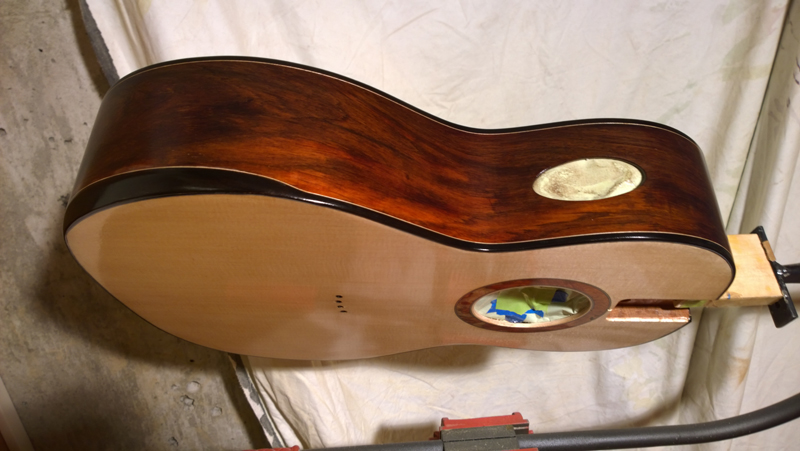
I glued on the top and back using CAM clamps. I glued on the back first and made sure the insides were clean. Before gluing on the top I checked the angle at the neck — getting this right before closing the box saves a lot of pain later.
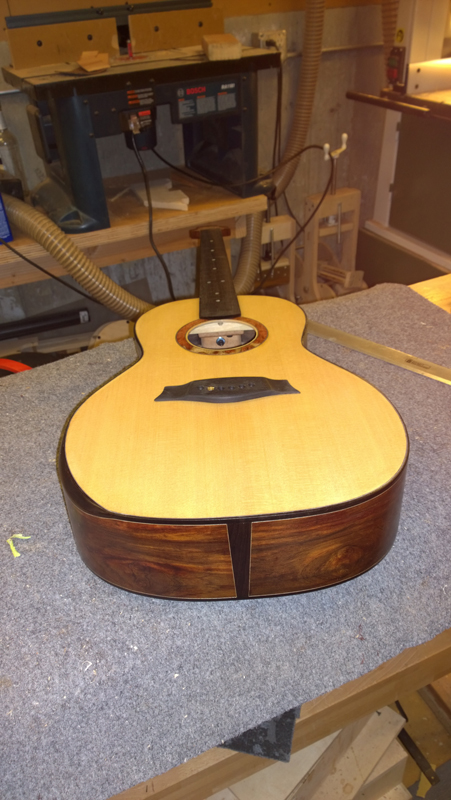
I finished the binding, purfling, and glued on the arm bevel’s Ebony veneer. Once finish-sanded and cleaned up it should look pretty good. My technique is based on Kent Everett’s Transitional Arm Bevel DVD, though I’ve made some changes this time around.
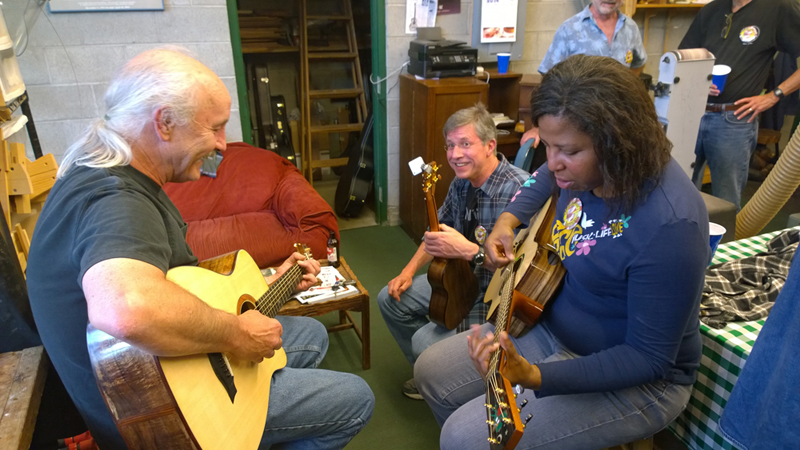
Arm Bevel Evolution Kevin mentioned wanting to find a guitar with a bevel to try. The bevel is one of those features that once you play with one, you wonder how you ever played without it. It changes the way your forearm sits on the body — no more sharp edge digging in.
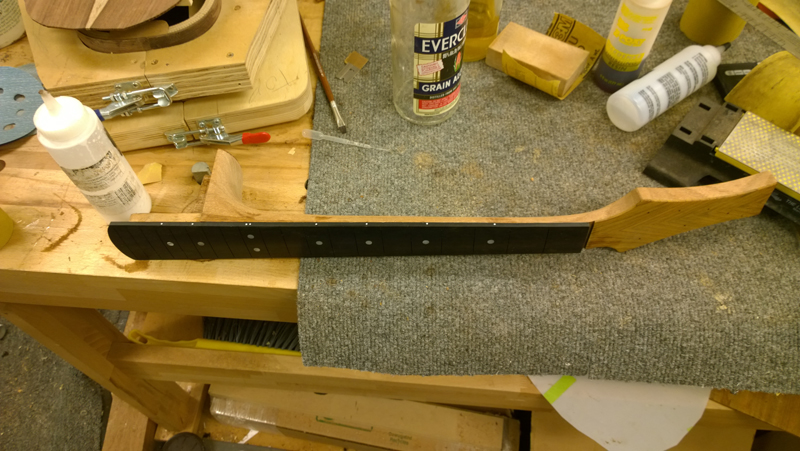
On to the neck. This is going to be a bolt-on/bolt-off neck cut from a solid piece of Mahogany. The headstock shape is like my Gore guitar with the strings in line with the nut — I modified the shape a touch to make sure the tuner placement works with the string angles.
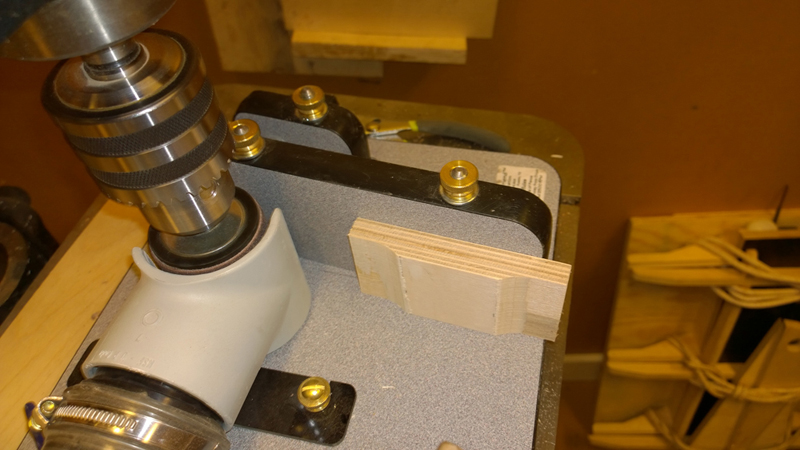
I was able to rough-carve the neck this morning. I need to glue on the fretboard before I can finish the neck, but it is very close. The first step was to design a heel cap that would drive the shape of the heel.
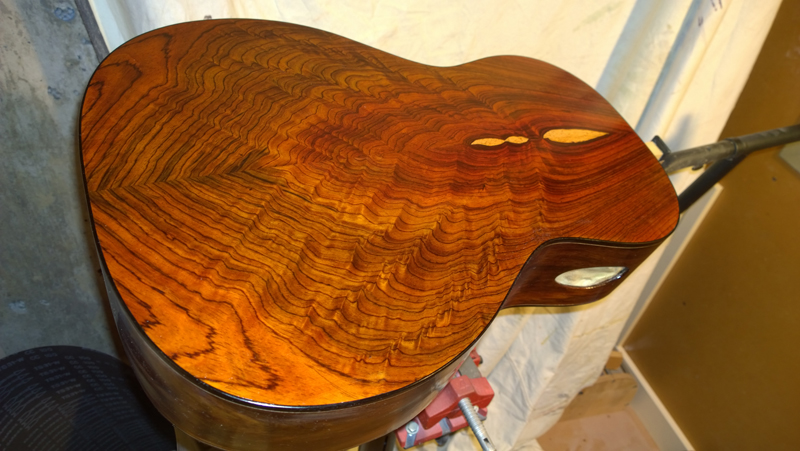
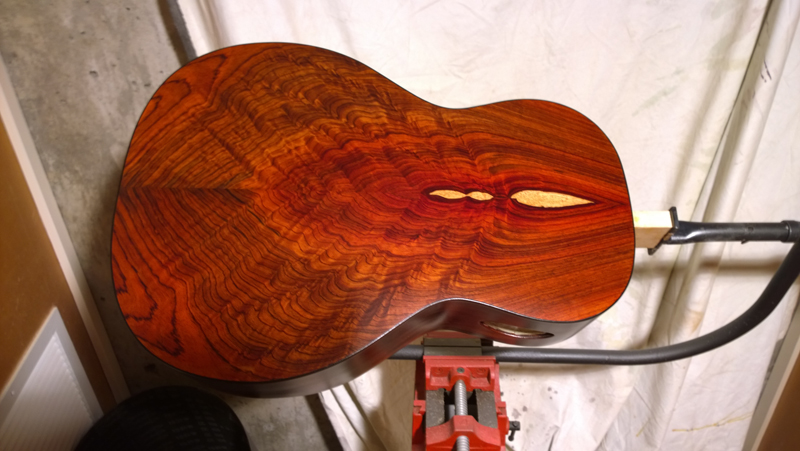
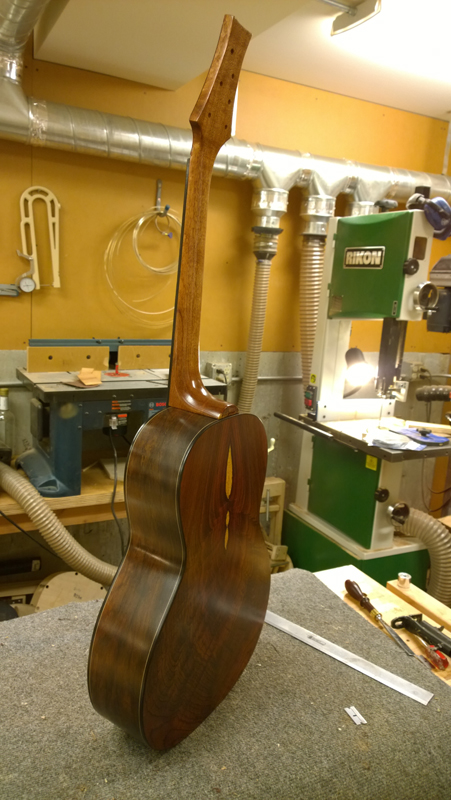
It is always fun when I put the Zpoxy on to fill the pores. I get to see all of the colour and grain pop. I still need to make and install a logo, but I will be spraying this weekend. Whoops — there goes another bottle of Everclear.
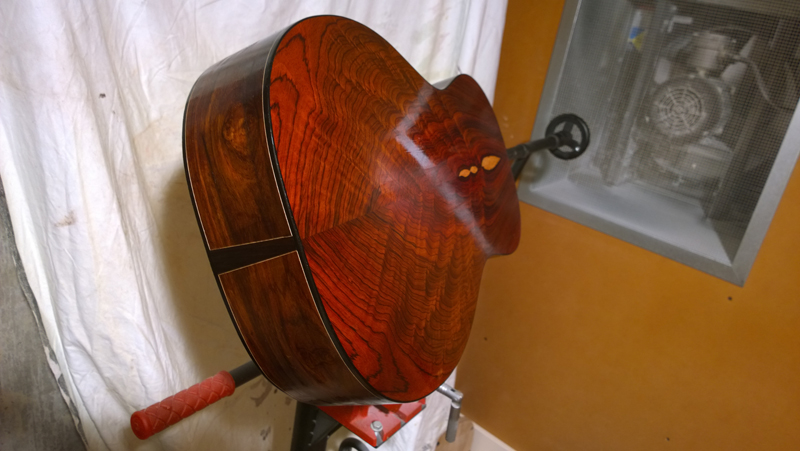
I have only a couple more coats on the back and sides and I am finished spraying. So far it all looks good. After eight coats on the top I filled some gaps near the bindings and around the rosette, leveled the top, and sprayed two more coats. The back and sides were completely leveled during prep and pore fill, so I have not leveled them during spraying.
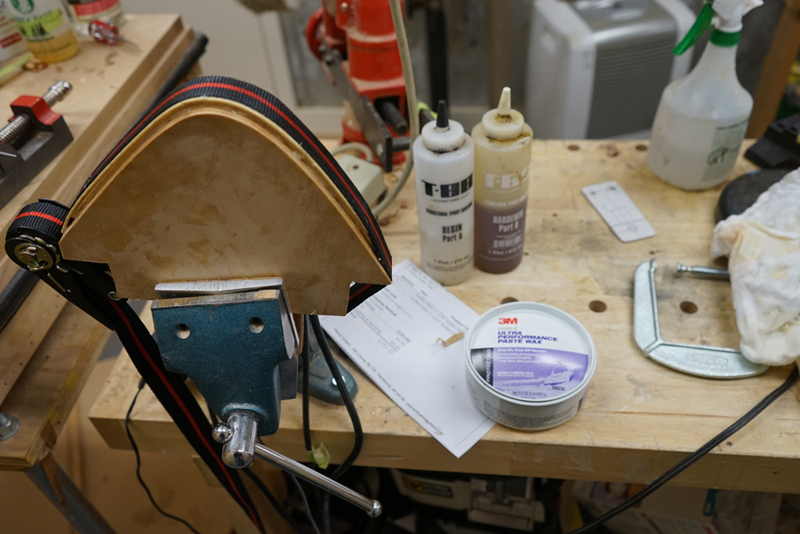
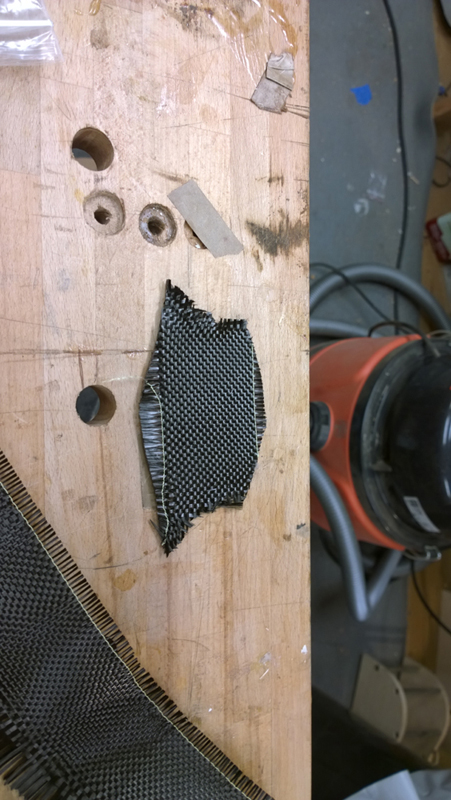
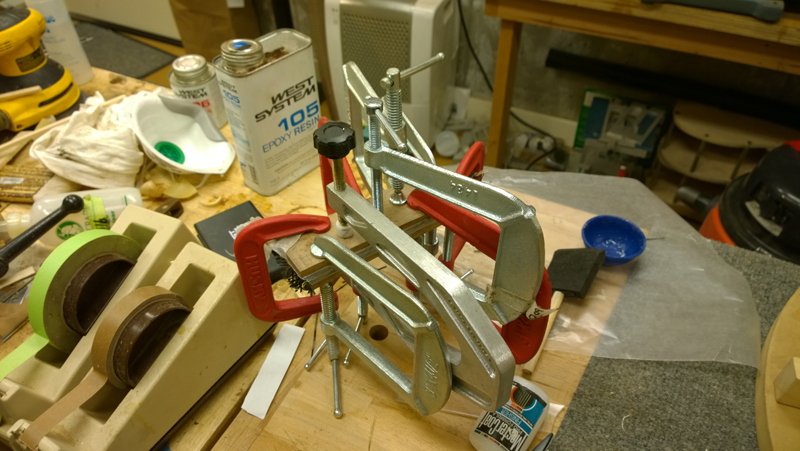
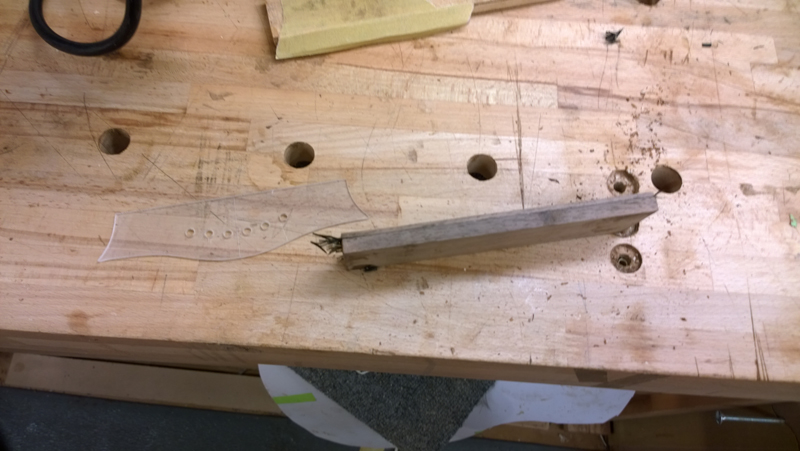
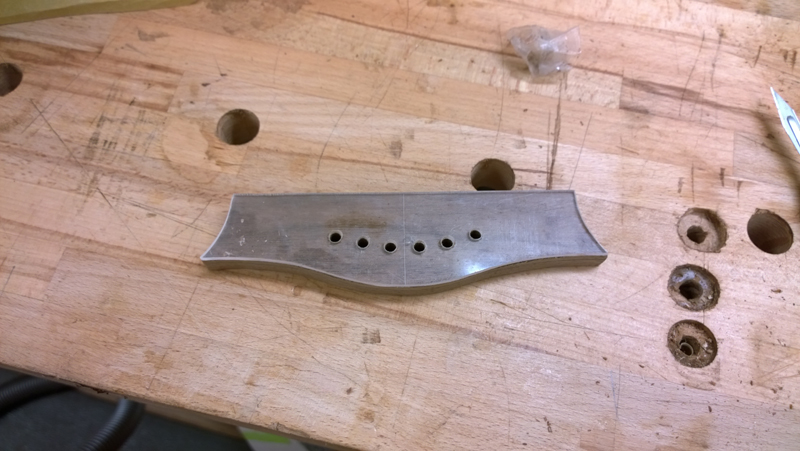
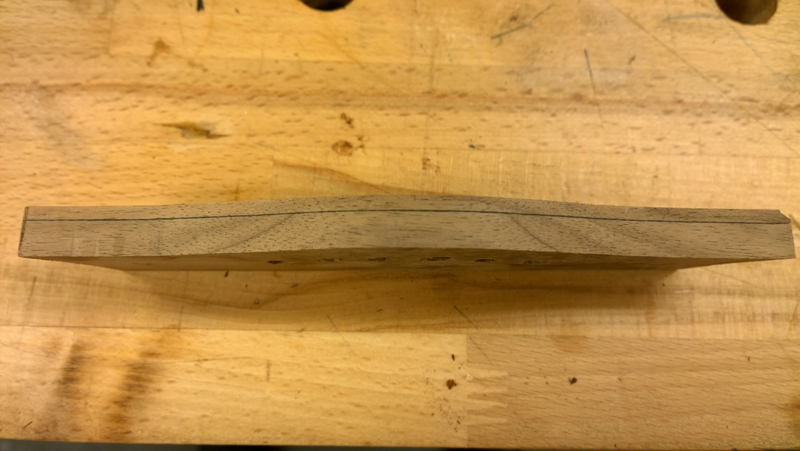
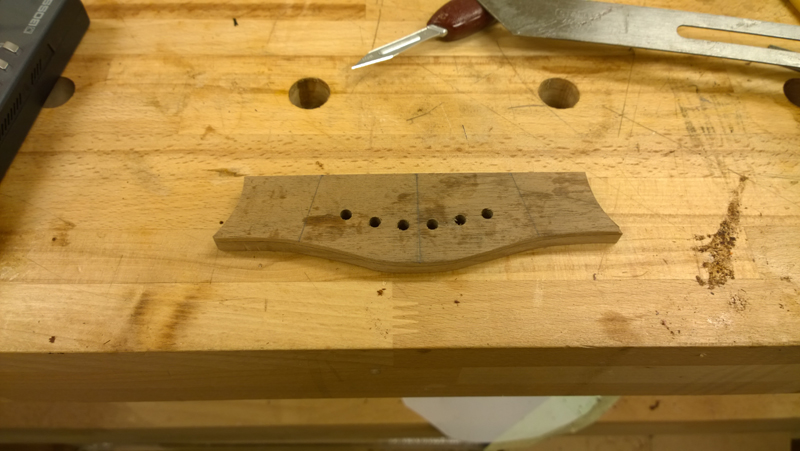
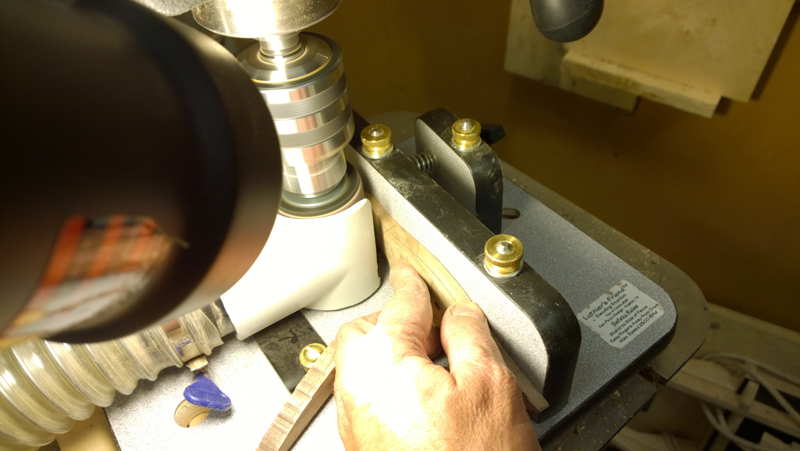
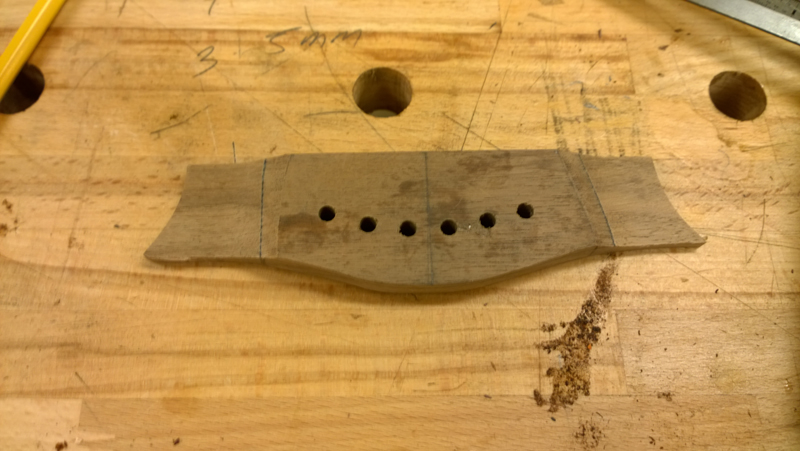
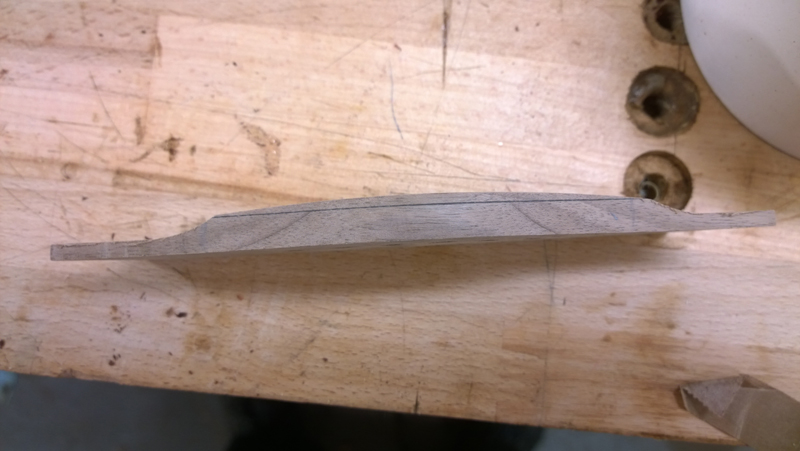
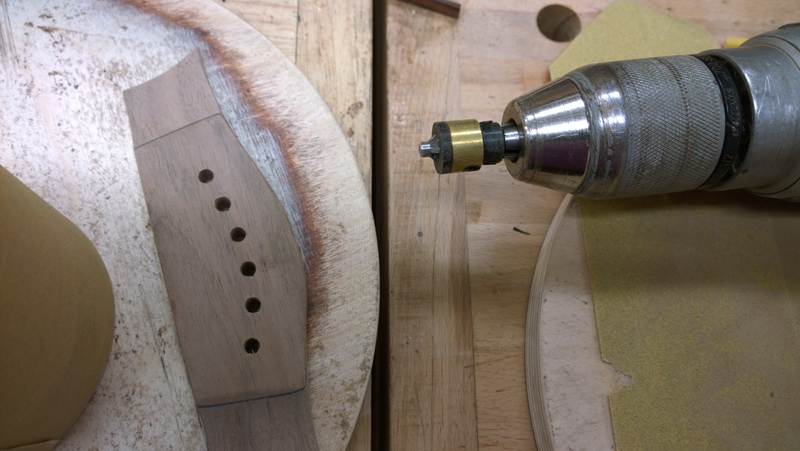
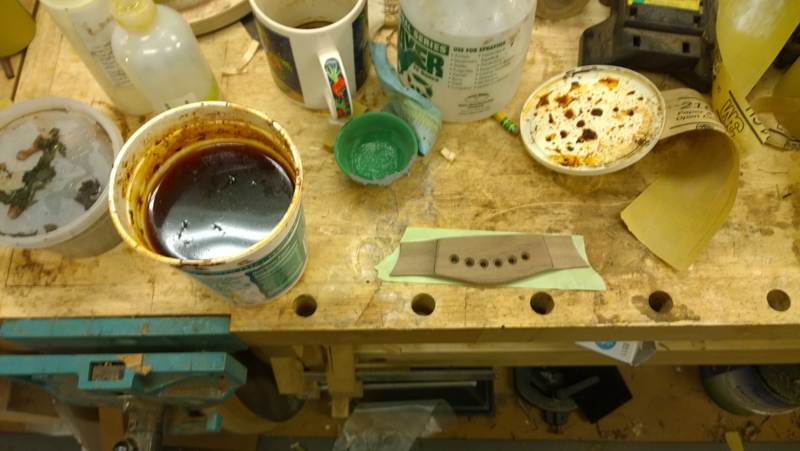
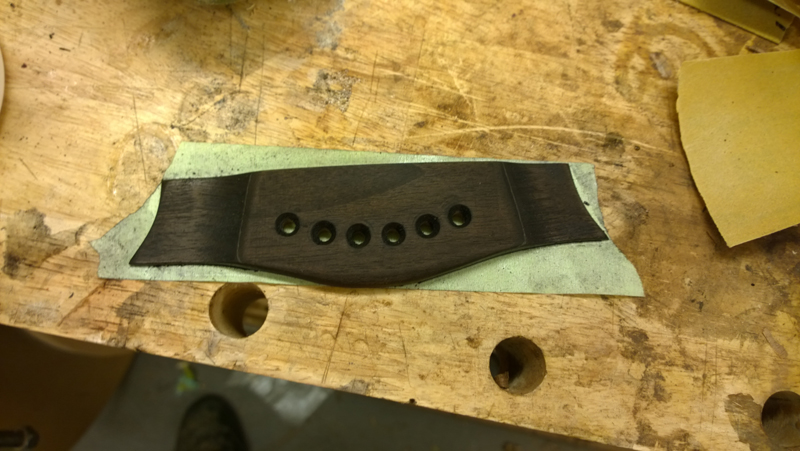
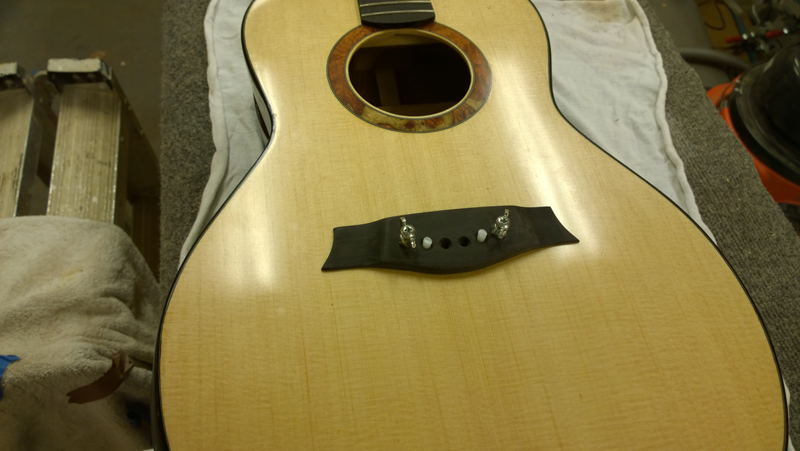
While waiting for the finish to cure, I made the bridge. This bridge is from the Gore/Gilet book — the medium-size acoustic plan. The bridge is reinforced with carbon fibre fabric, and I use it in combination with a 1mm thick hardwood CF reinforcement plate.
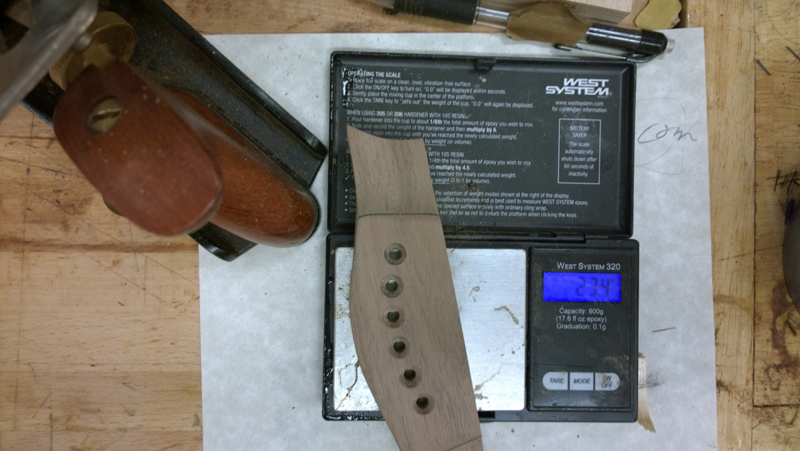
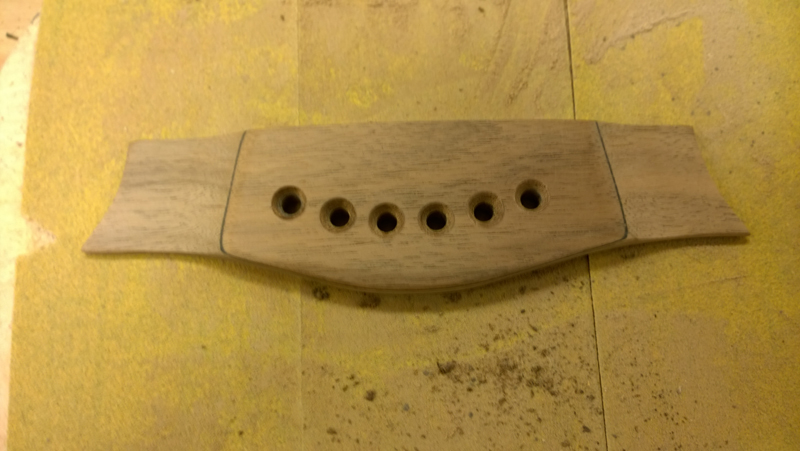
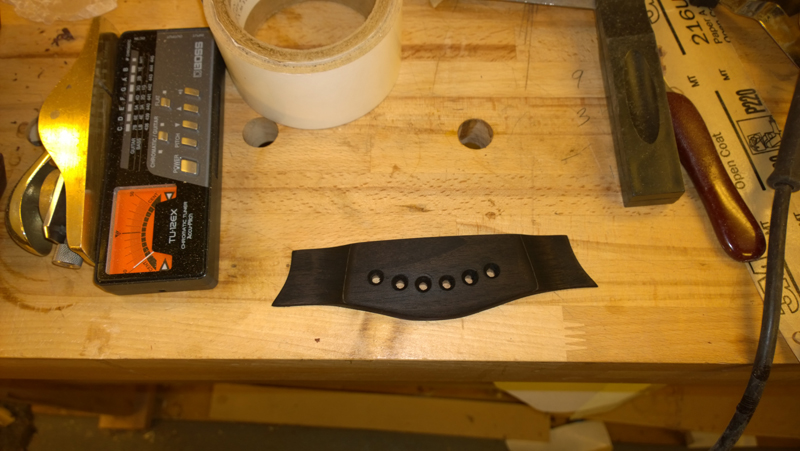
For the bridge material, I ebonized some Walnut using a vinegar and iron solution. The result is a deep, even black that looks like Ebony but is lighter and easier to work.
Ebonized Walnut Soaking steel wool in white vinegar creates an iron acetate solution. Brushed onto Walnut (which is high in tannins), it turns the wood a deep, consistent black. Herman noted it was something to keep in mind — I am taking a liking to ebonized Walnut bridges.
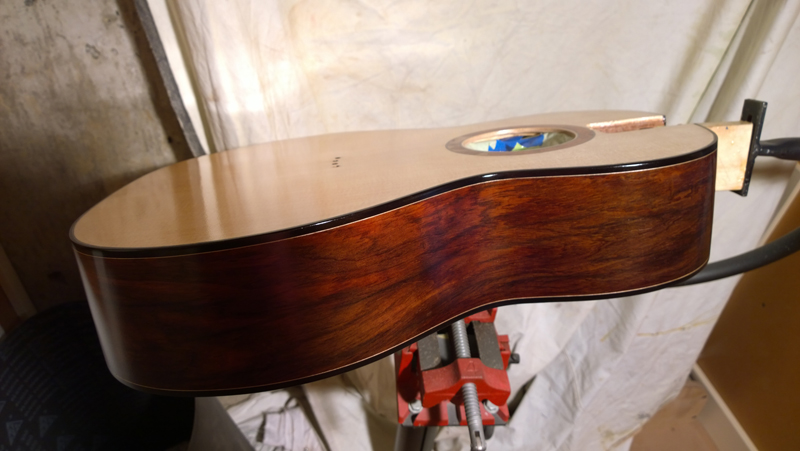
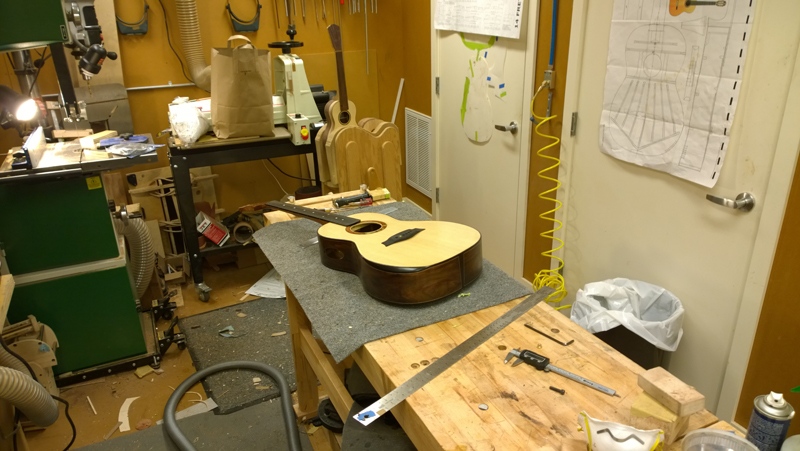
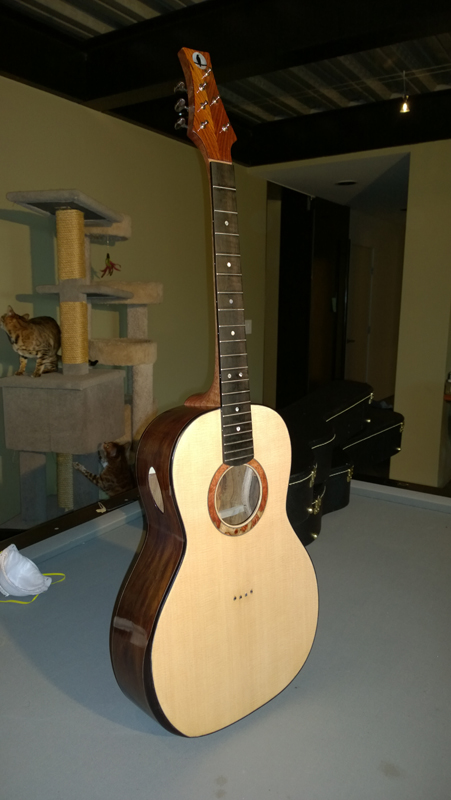
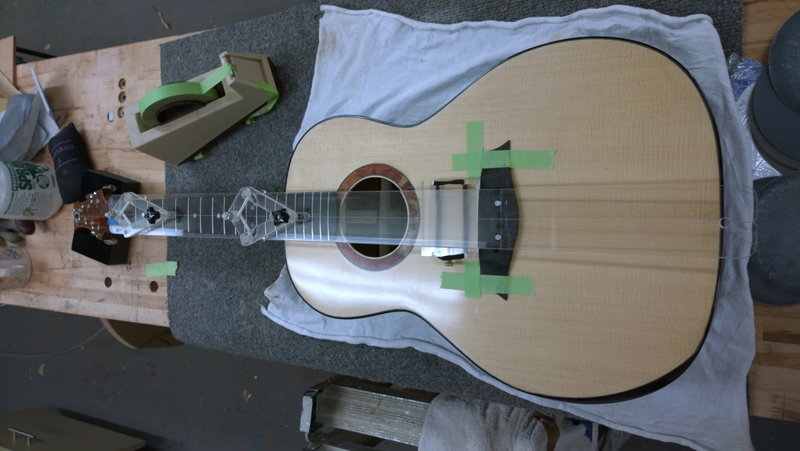
I just pulled this guitar out of the spray booth this afternoon. I am going to wait until the morning to start wet-sanding and buffing out the finish. I think I am getting better with the spray gun — these pictures are the guitar with 15 or so coats of EM6000 lacquer with no leveling needed.
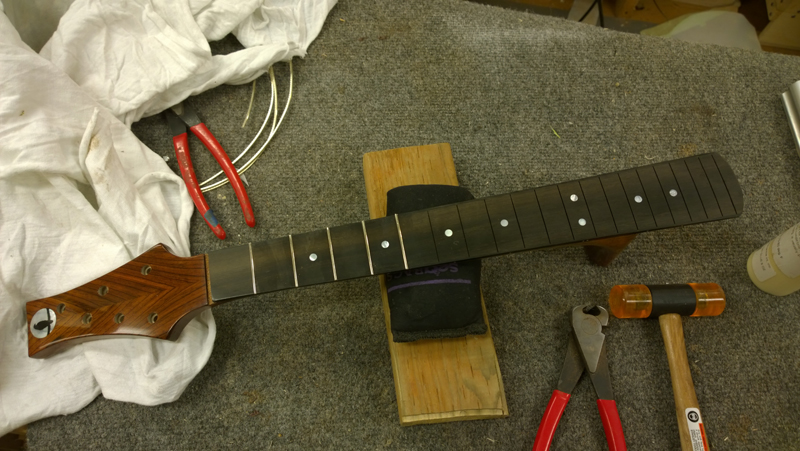
While I impatiently wait for the bridge glue to cure I have some time to post a few more photos. I fretted the neck, sanded and polished the guitar, installed the tuners, and am currently gluing on the bridge.
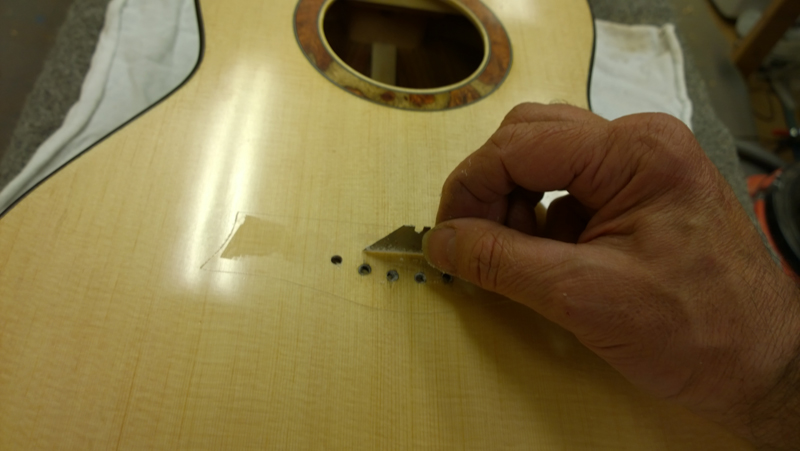
I don’t tape off the bridge area before spraying. Instead I mask the bridge footprint with finish, then carefully remove the finish with a chisel right before gluing. It gives a cleaner glue line than peeling tape.
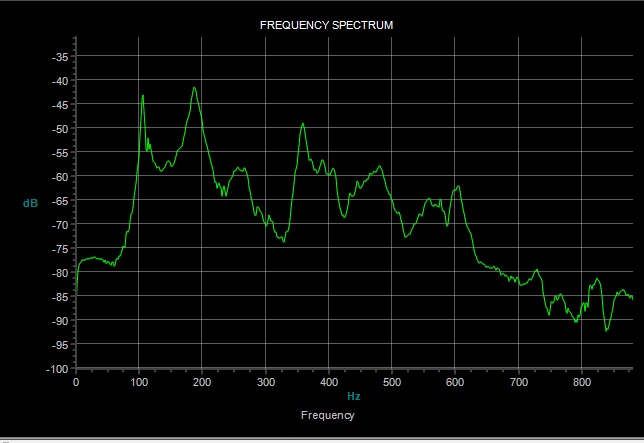
Well, I strung the guitar up this week. Here is the tap spectrum with strings on: the air resonance is at 102, the top at 184, and the back at 152. I have mounts for side weights so I will add some weight looking to move the top closer to 180. The back is not very active, but I have the bottom brace tall so I can start shaving it to bring the back resonance down.
It was a dense plate of Cocobolo, so I did not expect a very active back. All in all the guitar is starting to sound pretty good — not as nice yet as my Gore medium-size steel string, but it is brand new and needs to open up.
The Art on the WallJohn Link kept noticing a metal rectangle on the wall beside the cat perch and finally asked what it was. It’s a modern art encaustic painting! He had thought it was an unusually good-looking accident of some solvent on metal. But it is the result of human aesthetic activity, which explains how it got to be appealing.
I notice the guitar getting better to my ear in the first few days. After that I’m not sure — I am not sure the ToneRite is doing anything. But I was too busy to start playing it anyway.
Tap Spectrum Tuning With the guitar strung up, the real tuning work begins. The air resonance, top resonance, and back resonance all interact. The goal is to get the back about four semitones above the top. With a dense Cocobolo back, I left the bottom brace tall so I can shave it through the sound hole to lower the back’s resonance and bring it into balance with the top.
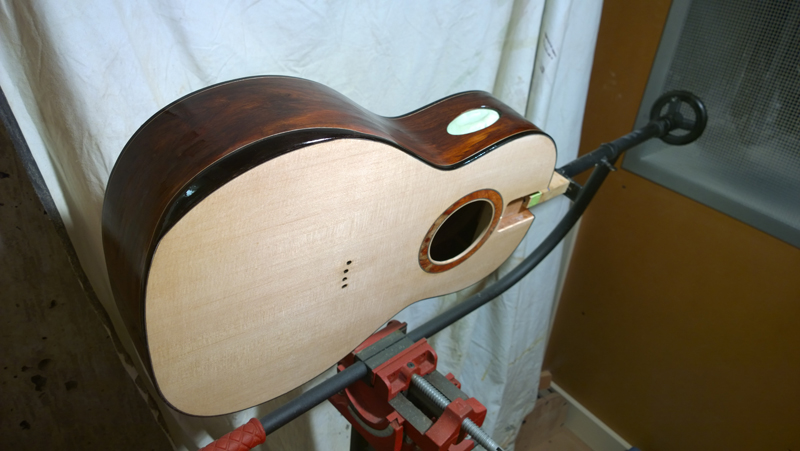
I am ready to ship out the Lutz/Cocobolo 00 today. John Link put it beautifully: at a certain level of achievement, guitars sound “different from” each other, not necessarily “better than.” This one has an aggressive aspect in the treble notes — a marked edge to the treble sounds that comes from the smaller box. Herman noted the silk in the top — the Lutz really does shimmer under finish.
My client received his guitar and the response was everything a builder hopes for. At 6:30 in the morning: “The guitar arrived in perfect condition and is exactly what I was hoping for. It is so much more comfortable to play.” He noted the guitar doesn’t have the bass boom he was always trying to avoid when recording his Martin D-35, and the frets and action were right in his zone. A bit later that day he reported the acoustic guitar tracks on a song sounded great — and the guitar helped him get it done. Quite a relief for both of us.
Specifications
Style00 — 14 Fret, Cutaway
BracingFalcate — CF Reinforced (Gore / Gilet)
TopLutz Spruce
Back & SidesCocobolo
NeckMahogany — Bolt-On / Bolt-Off
FretboardEbony
BindingsEbony
BridgeEbonized Walnut — CF Reinforced
Headstock VeneerCocobolo (Back Cutoff)
RosetteAmboyna Burl
FeaturesArm Bevel (Kent Everett) · Active Back
FinishEM6000 Lacquer over Zpoxy Pore Fill
Build PeriodJune – November 2014