African Blackwood Classical Guitar
June 1st 2013
Moving along, I had to hit the honey do list today, so I was only able to get the end strip in and cut a bunch of small braces to hold the transverse braces down.
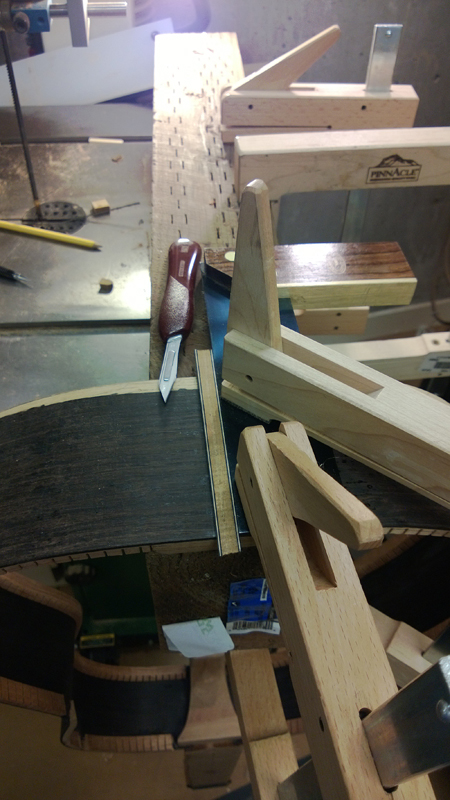
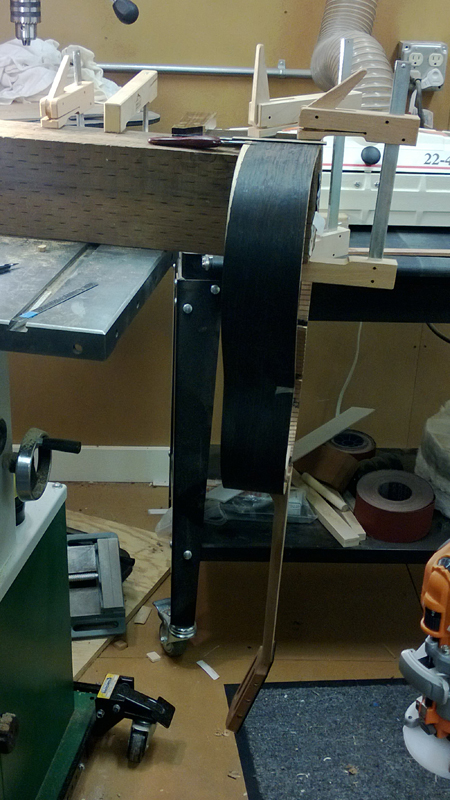
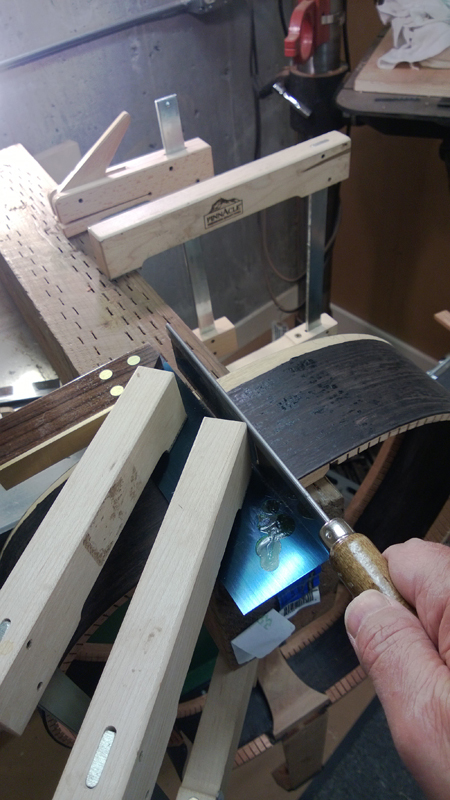
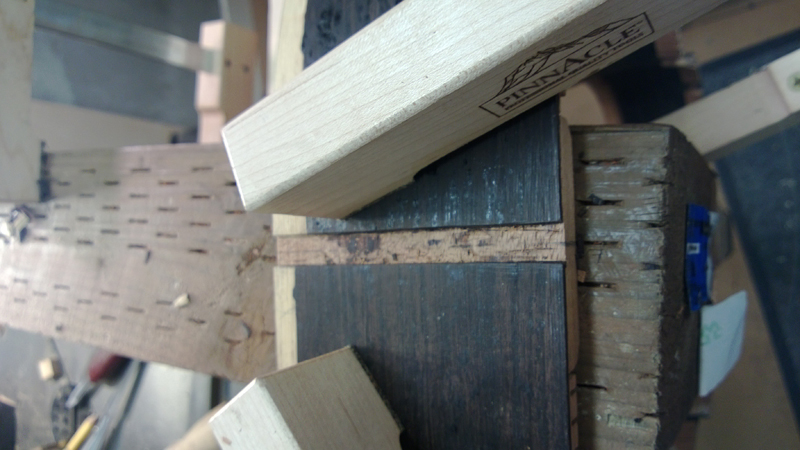
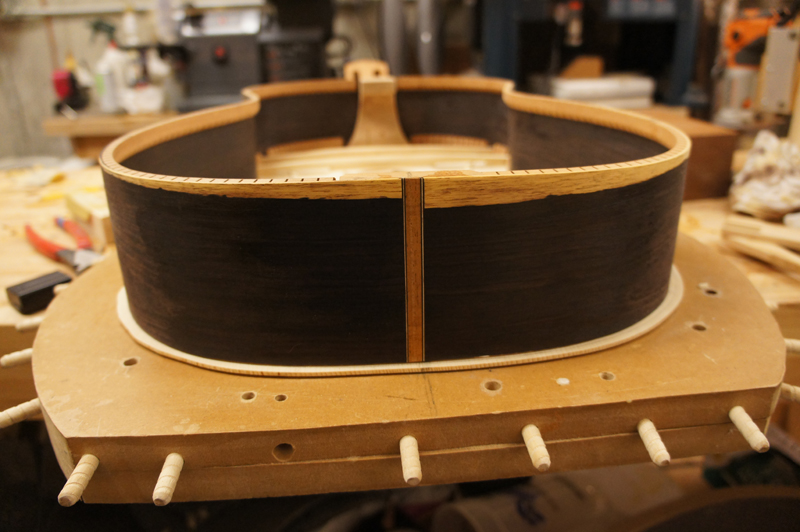
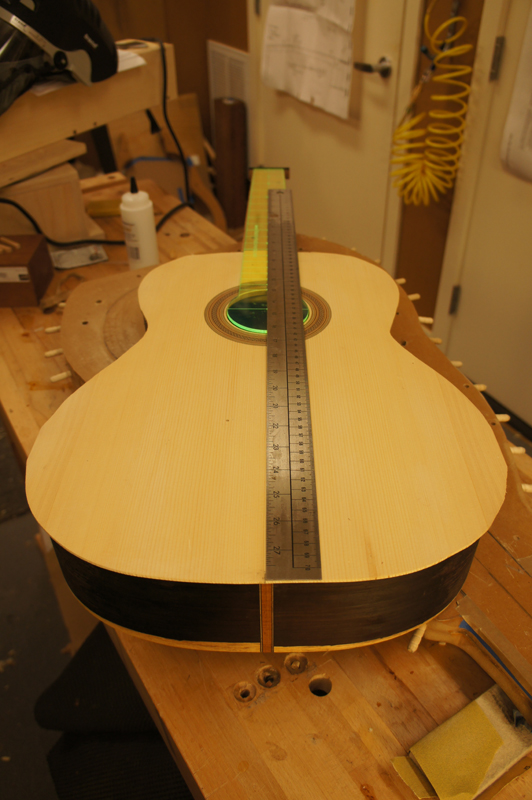
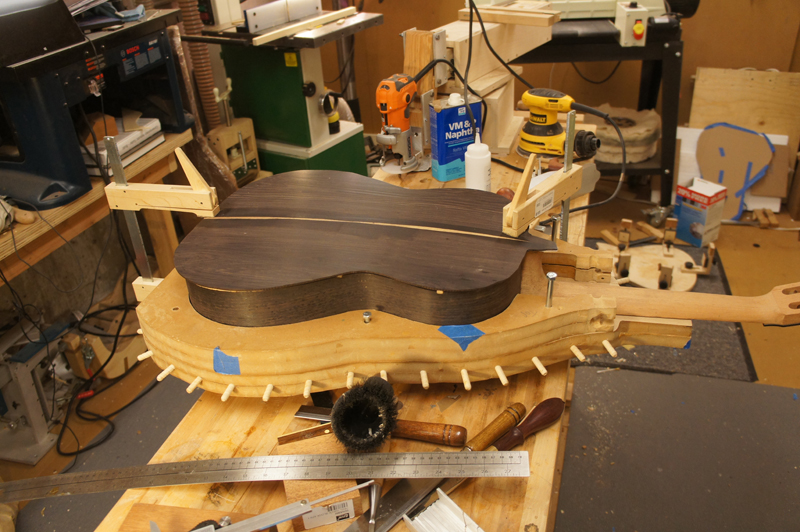
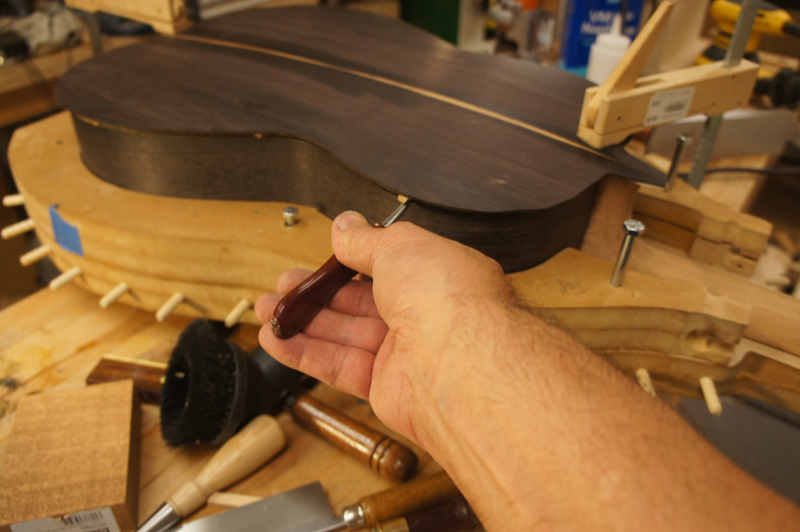
When I glue the top down it will happen as shown in the pictures. The top and sides will be in the solera. I will mostly use cam clamps but I can use rubber bands as well, that is what all of those dowels are for on my solera. It is nice working this was as I can make sure the rims are clamped right where I want it on the top. For those following (I describe it early in the blog) you will see that I still have the top indexed to the solera. Not visible but in place, the neck is also indexed to my solera with a couple of 1/8" diameter dowels. So if my indexing is correct I can not fail having the top and next properly aligned. Here are a few pictures cutting the rebate and installing the end strip. The picture also are the first view of my Australian blackwood (Acacia melanoxylon) bindings combined with my African blackwood (Dalbergia melanoxylon ) back and sides
I just use a scrapper as a guide for my saw. Before I cut with a razor saw I score very deep with a new scalpel blade hoping to have a clean line at the top of the cut. Although it does not look like it in this series of pictures. The saw is always on the waste side of the cut and the scraper is on the outside.
June 2nd 2013
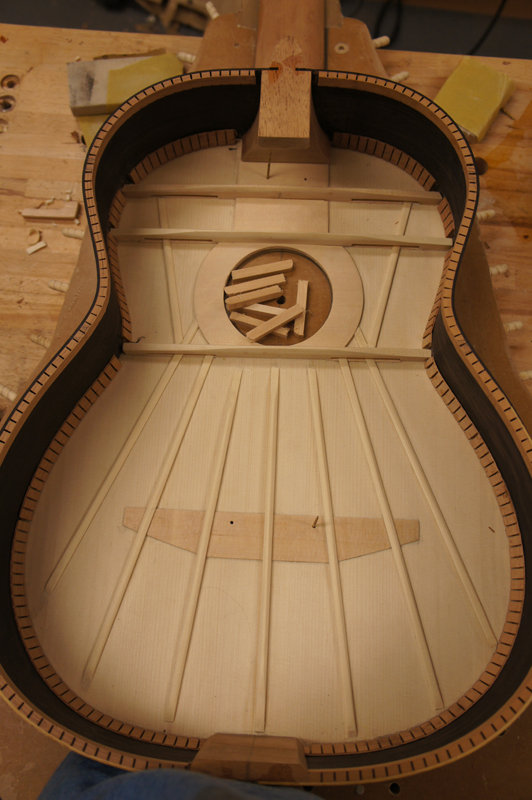
I did get the top glued onto the rims today with the neck straight and centered. Also I nearly finished the preparations for gluing on the back. After I glued on the top I glued some small braces to hold the harmonic braces in place. I finished up marking where I need to route for the back braces. I had to cook dinner and I had a couple of drinks so I will save the routing for tomorrow.
June 4th 2013
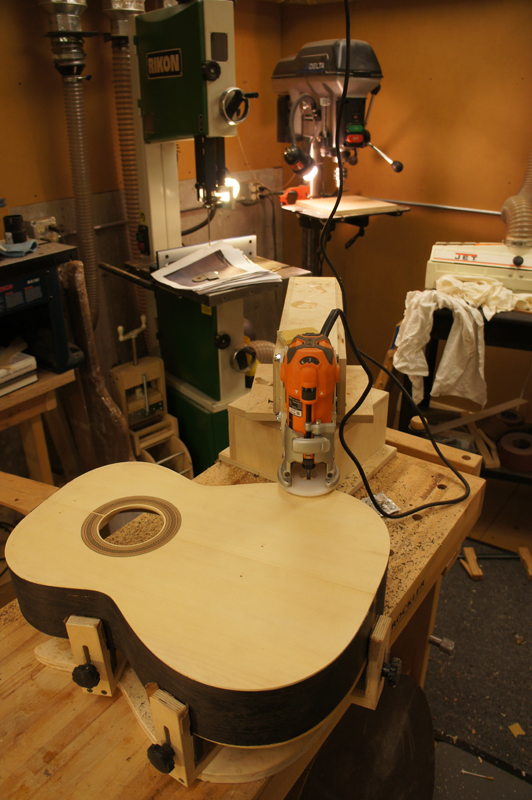
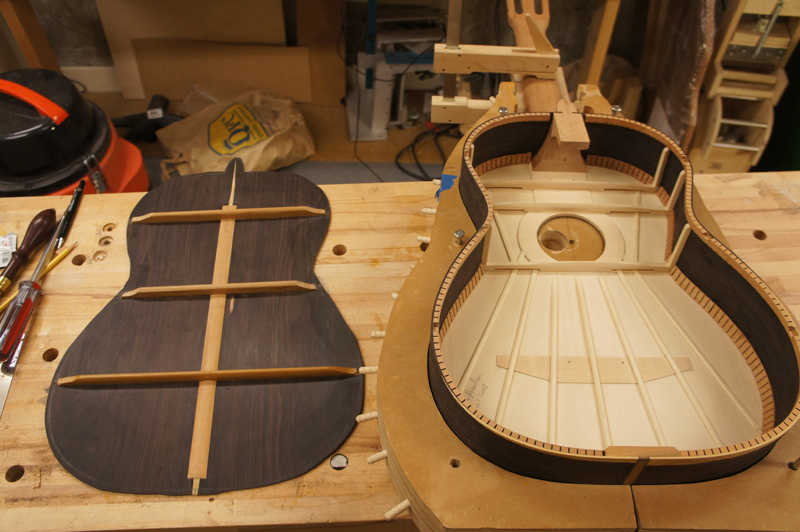
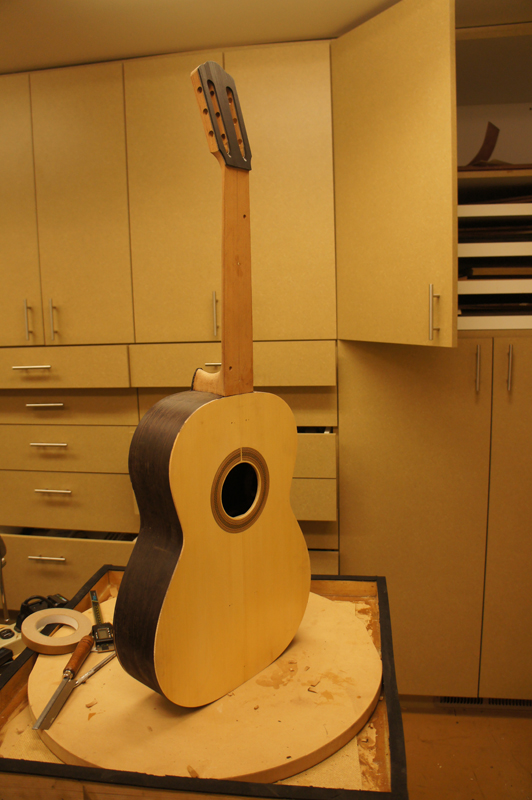
I finished closing the box on the classical guitar today. From the last post I had to route out the rebates for the back braces and sort of clean things up. Another change I made at the last minute was to rework my solera so that the neck will have a slight forward tilt. The nut location on the neck should be about 2 mm higher than the plane of the guitar. I was not going to do this and rework the fret board instead to get my geometry but most of the higher end classical guitar luthiers do it so I decided to do so as well. I am waiting for the glue up of the back to cure before I know how it will work.
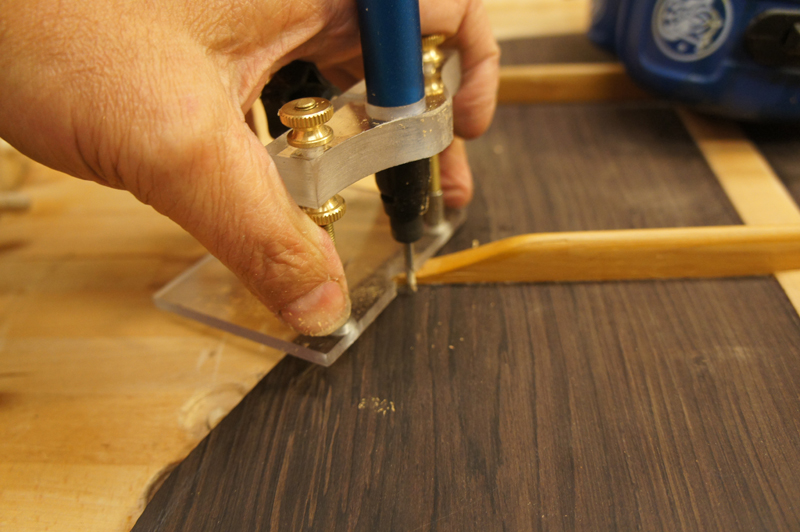
The pictures below show my setup for routing the rebates for the braces and how I set the depth. I mostly carve the ends very close to 1/8" but setting the depth of the bit on my baby die grinder right on the brace allows me to have really tight joints.
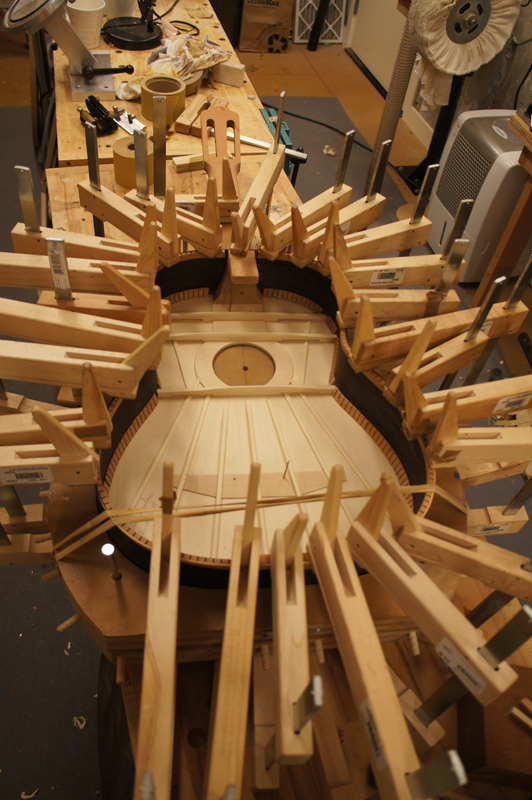
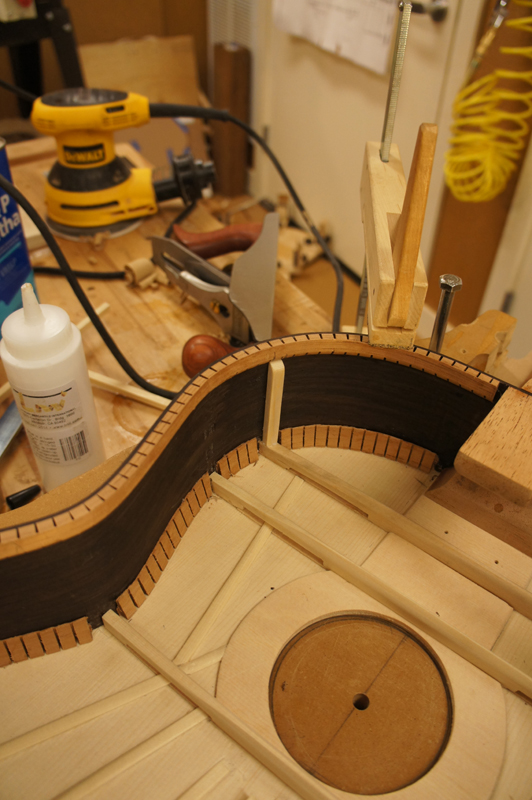
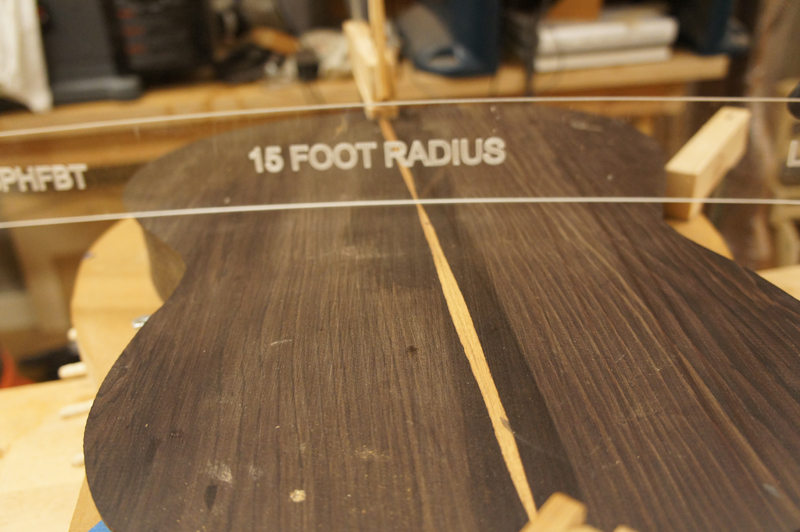
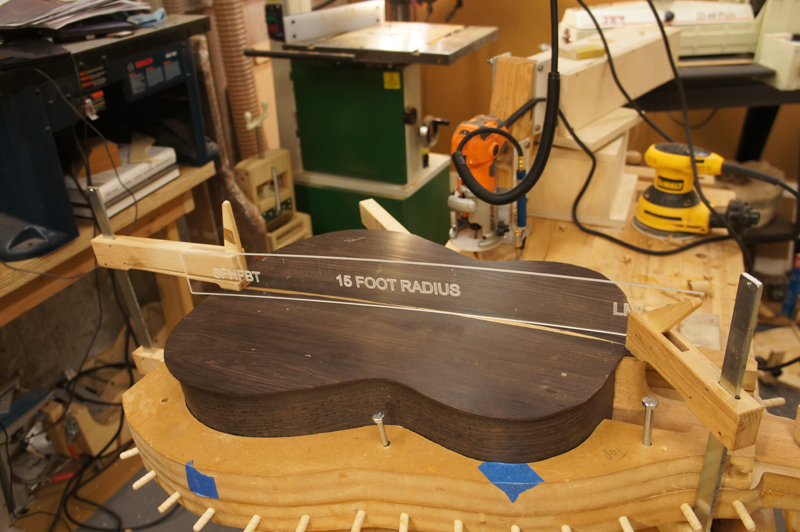
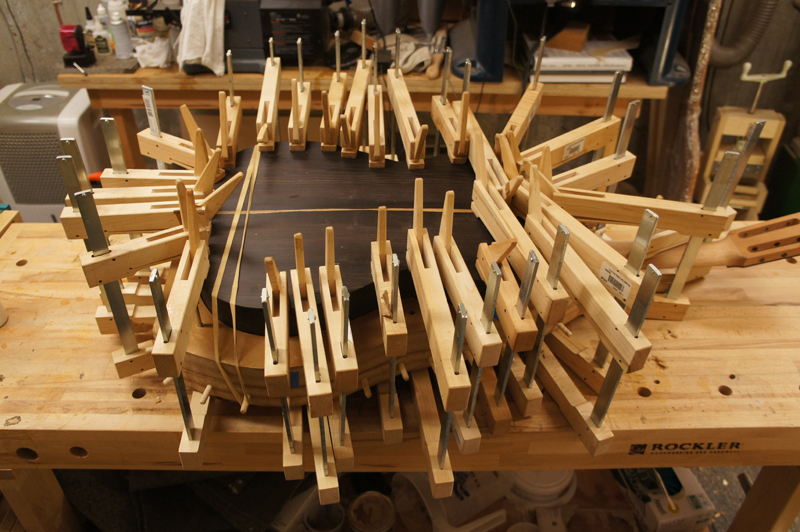
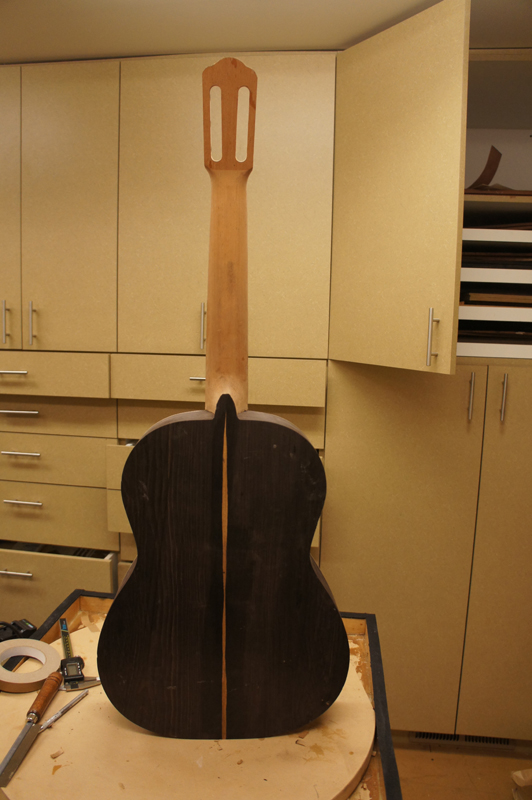
The back matched the profile really well you can see that it conforms nicely to 15' radius, clamping just the heel and the end block. Also when I went to glue the back on I got really good squeeze out after just a few clamps were on, although ultimately I did not skimp on the number of clamps.
June 5th 2013
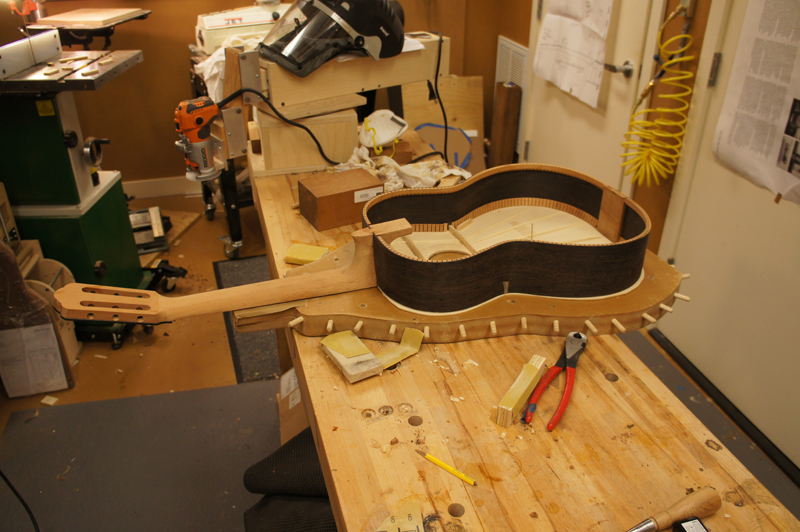
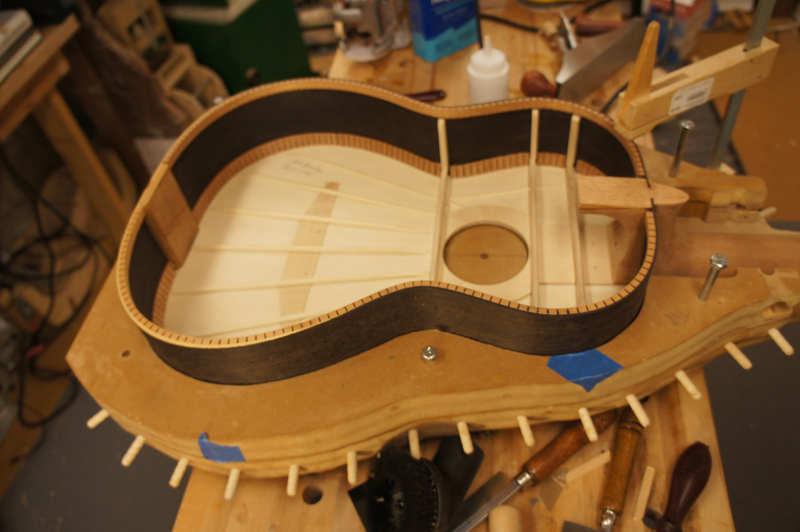
Like Christmas morning I could only sleep till 4:30! I pulled the clamps off of the guitar and trimmed the excess every where except near the neck and heel. From my initial measurements everything is where I wanted it. On to the binding and purflings. The only new thing I am going to do is to not taking the binding all the way around on the heel end of the back. Instead I am going to take the binding just past the edge of the heel so that it looks to be inset into the heel cap extension I left on the back. If I can not make it look clean I will go ahead and cut it through and bind it like I normally do. Having the neck already on makes this whole operation a lot harder. Extending the back through the heal cap assures that I have a lot of hand tool work to bind the back. I will take pictures as I go for the good or the bad.

Next Page
| 